Weekends at home this summer have been rare.
We are constantly on the road for weddings, family events, visits with friends, concerts, sporting events, trips to the lake, etc. etc.
So, yesterday when I woke up, in my own bed with no plans until dinner, I was in a great mood. It was a gorgeous, sunny, yet unseasonably cool morning. Adam had some errands he needed to run so I saw the time to myself as a great opportunity to go to the Farmer’s Market in town.
A Farmer’s Market is one of my favorite places. I grew up going with my mom and have tried to make an effort to go when I can since living on my own. I love the spirit of the market. There are families, dogs, amazing produce, baked goods and crafts. You can see some people just enjoying the morning and others clearly doing their shopping for the week.
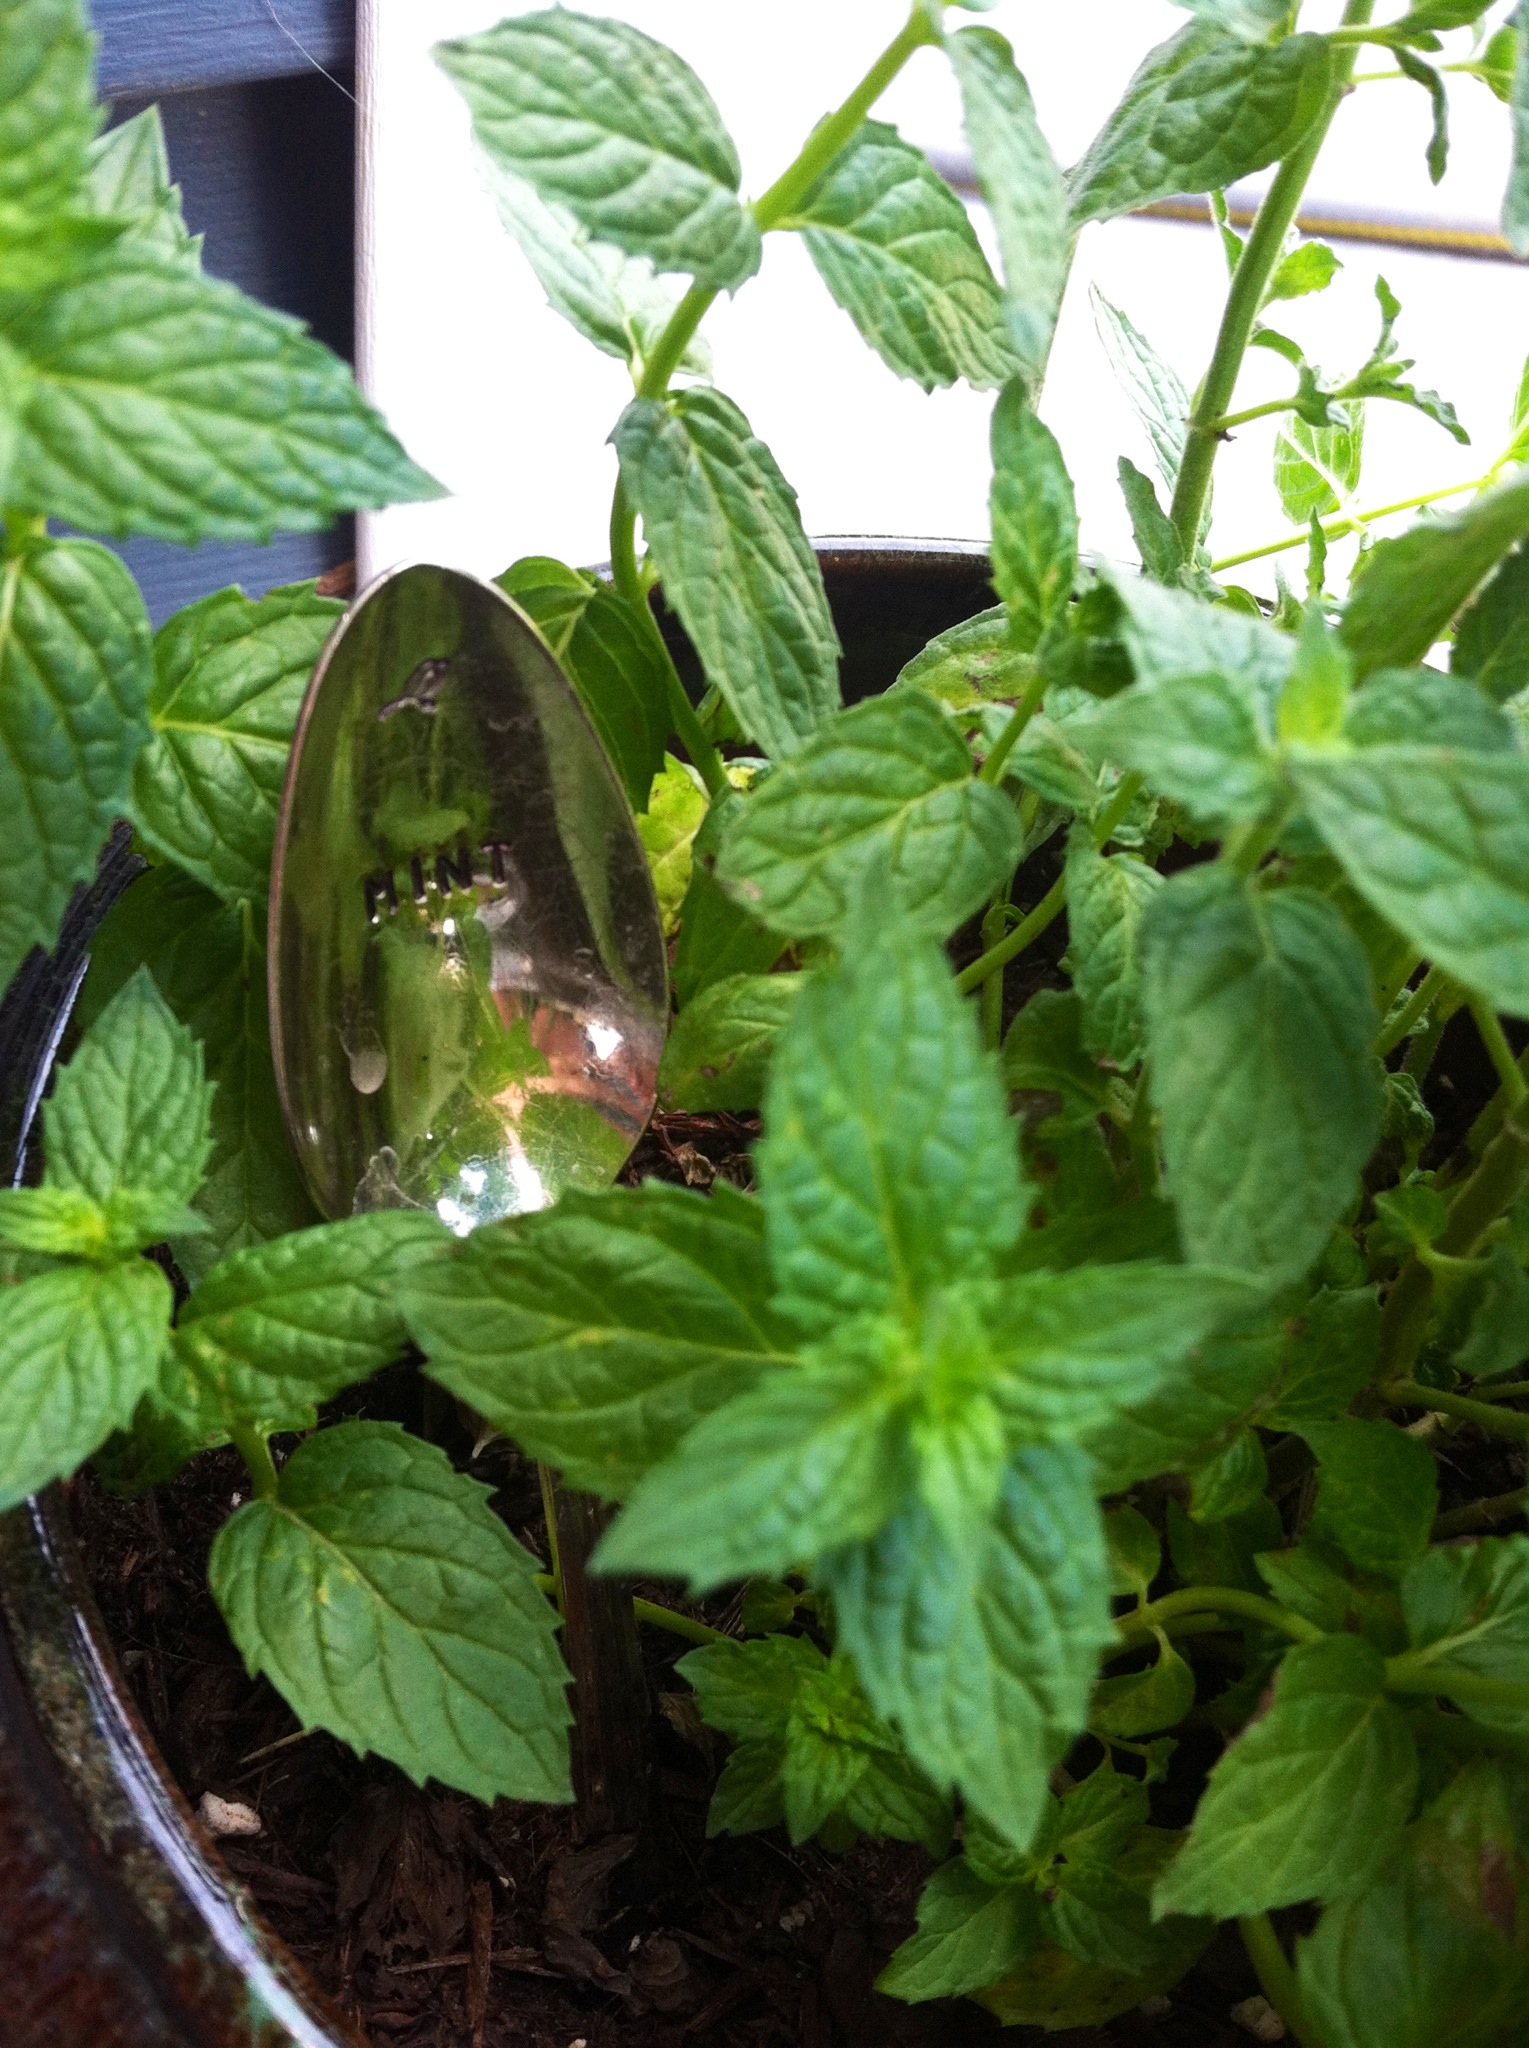
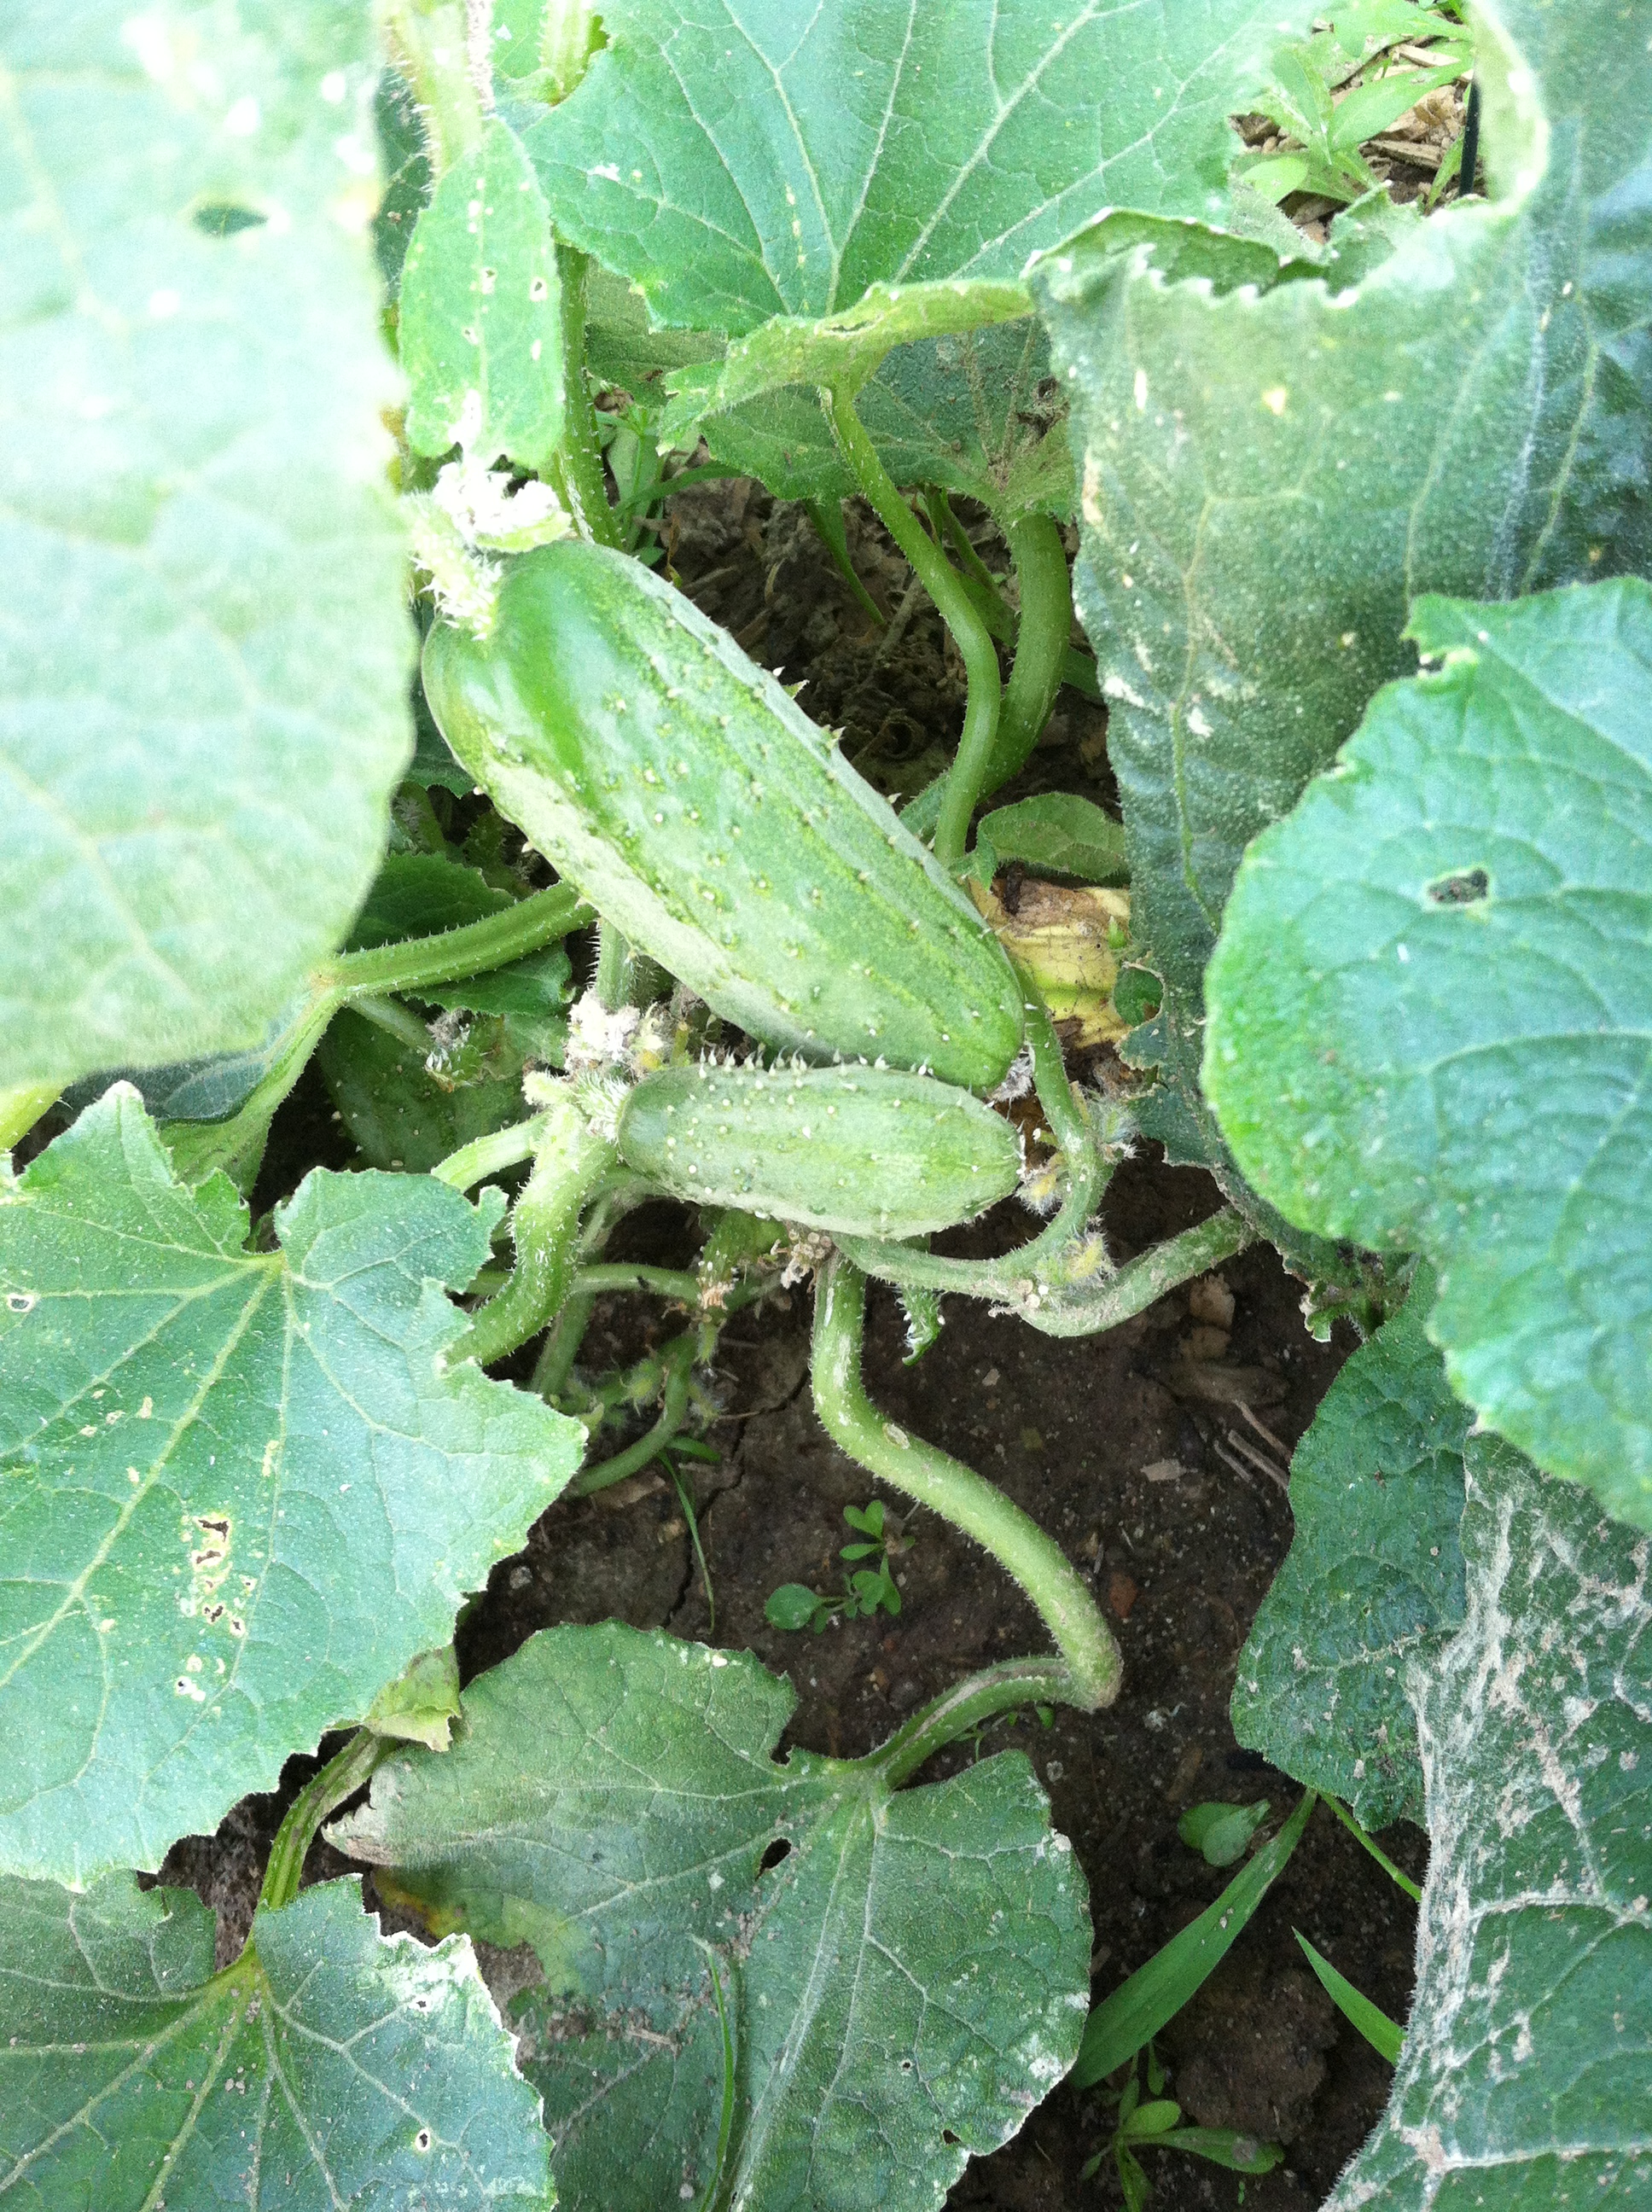
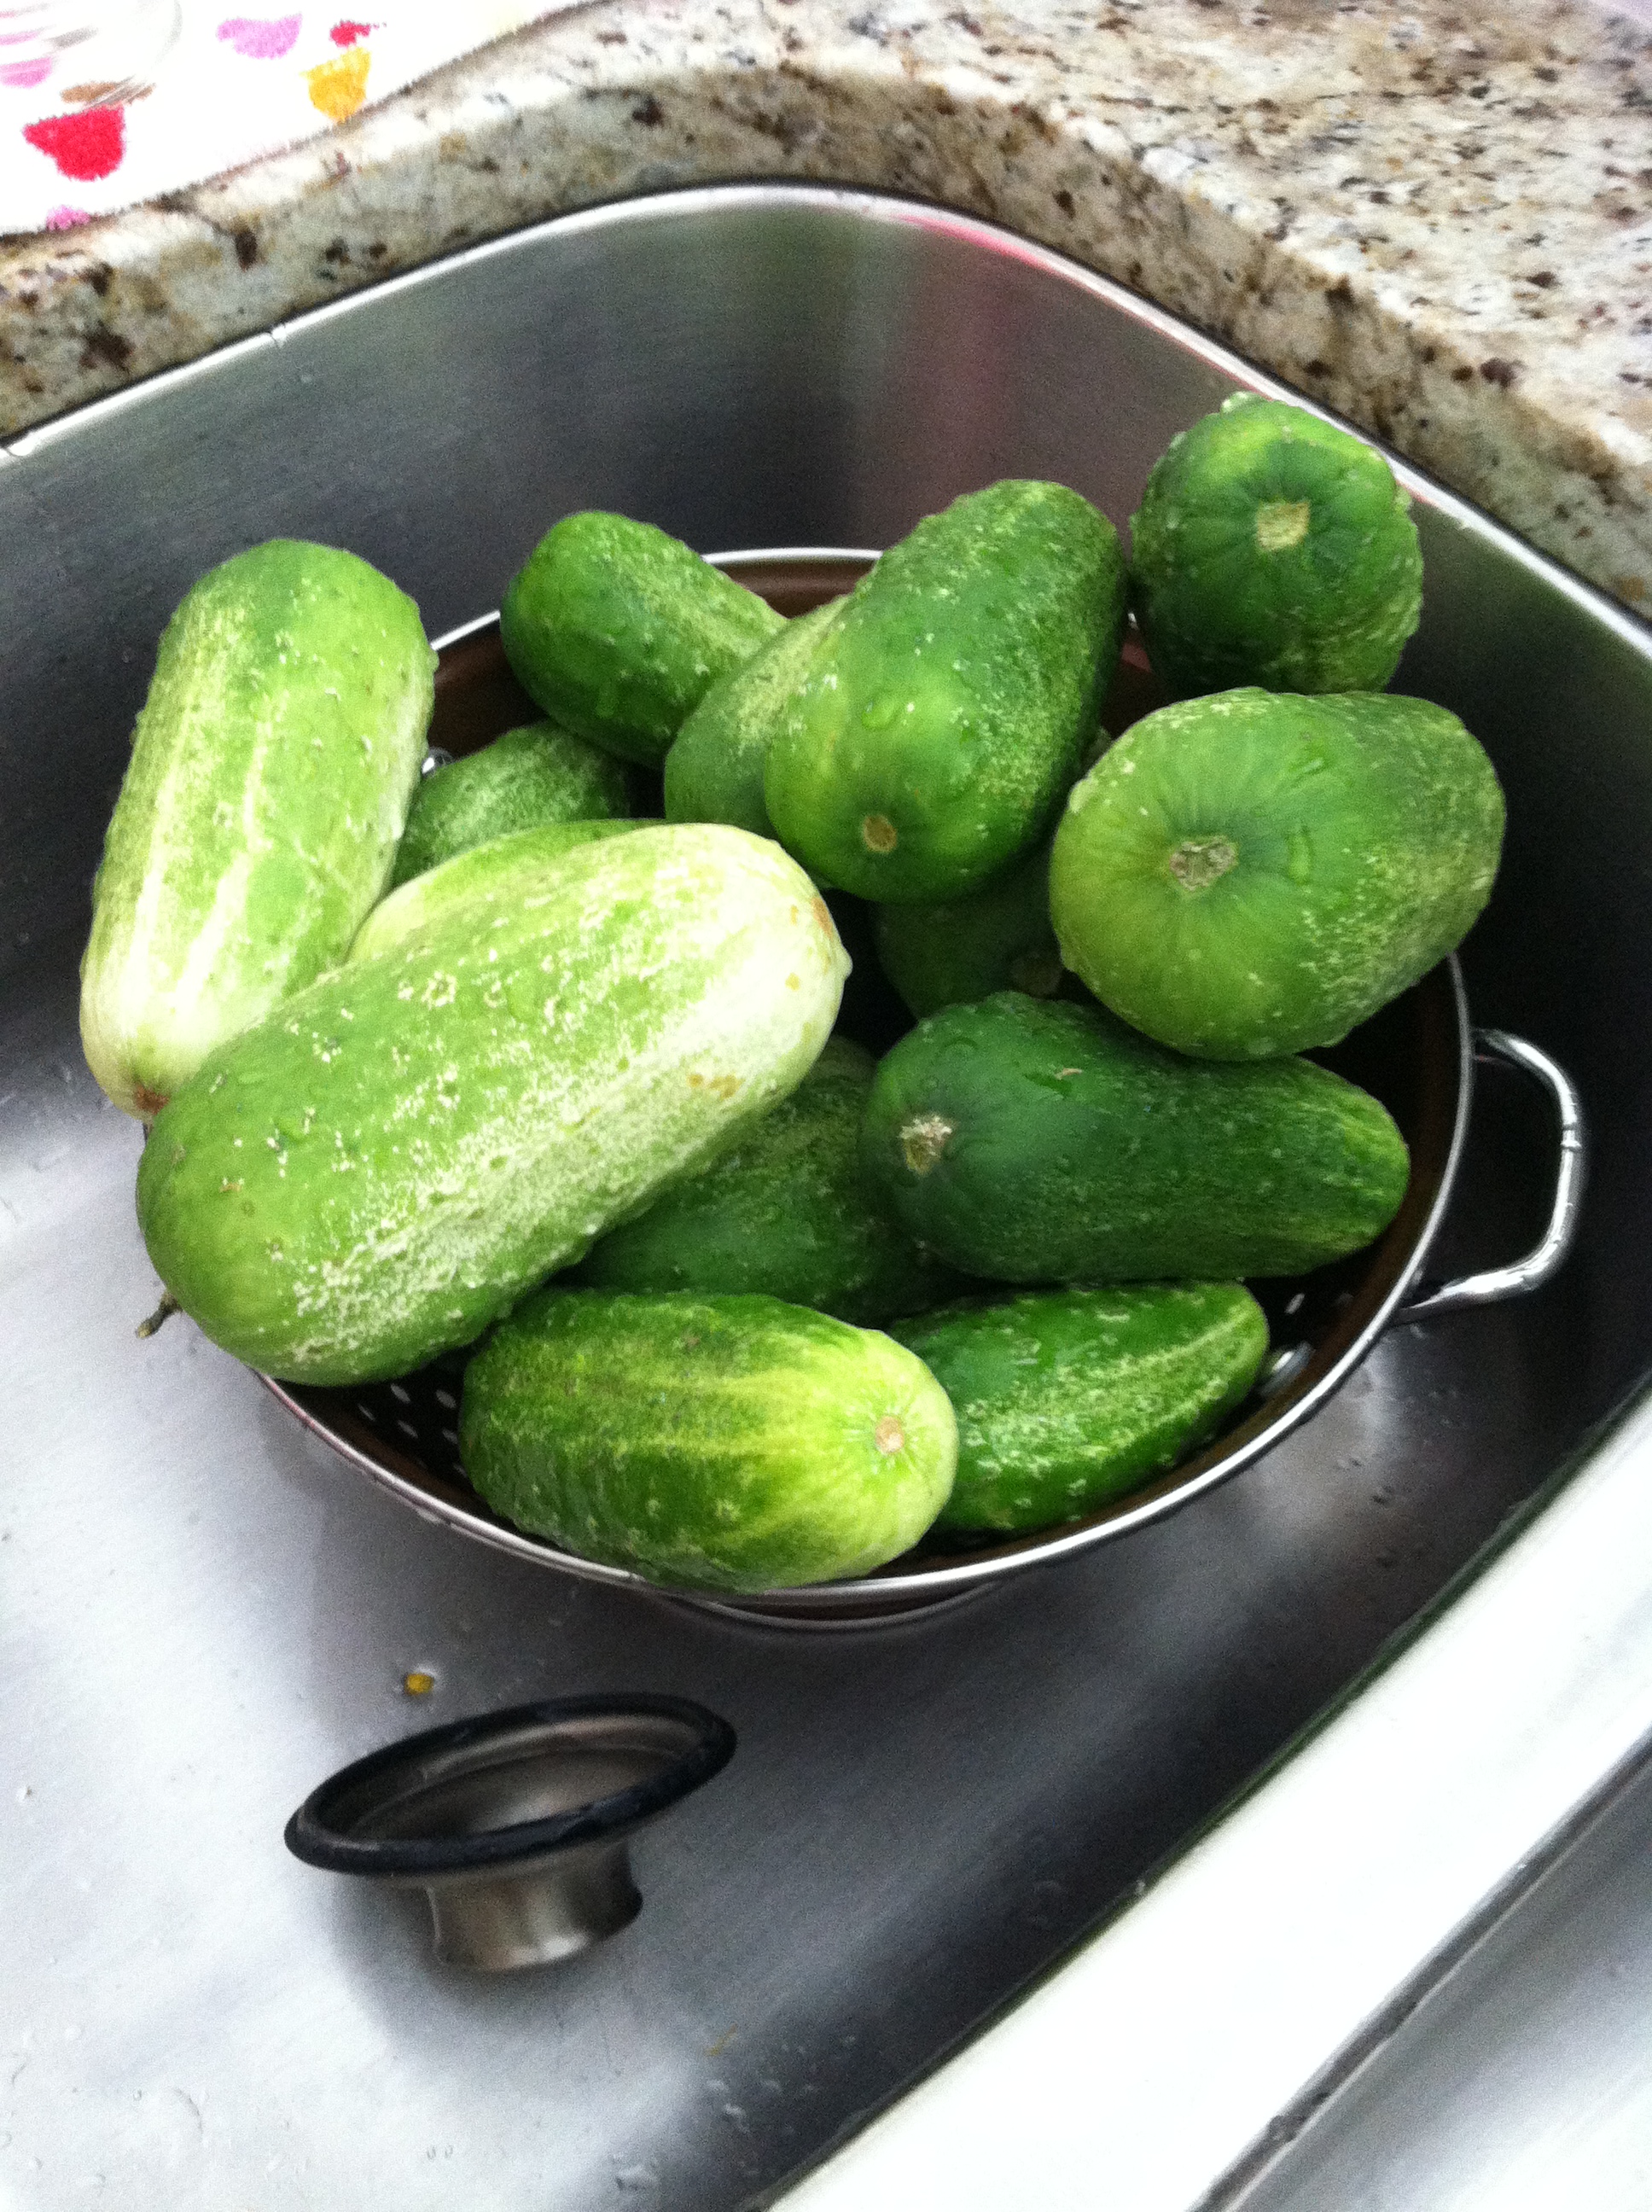
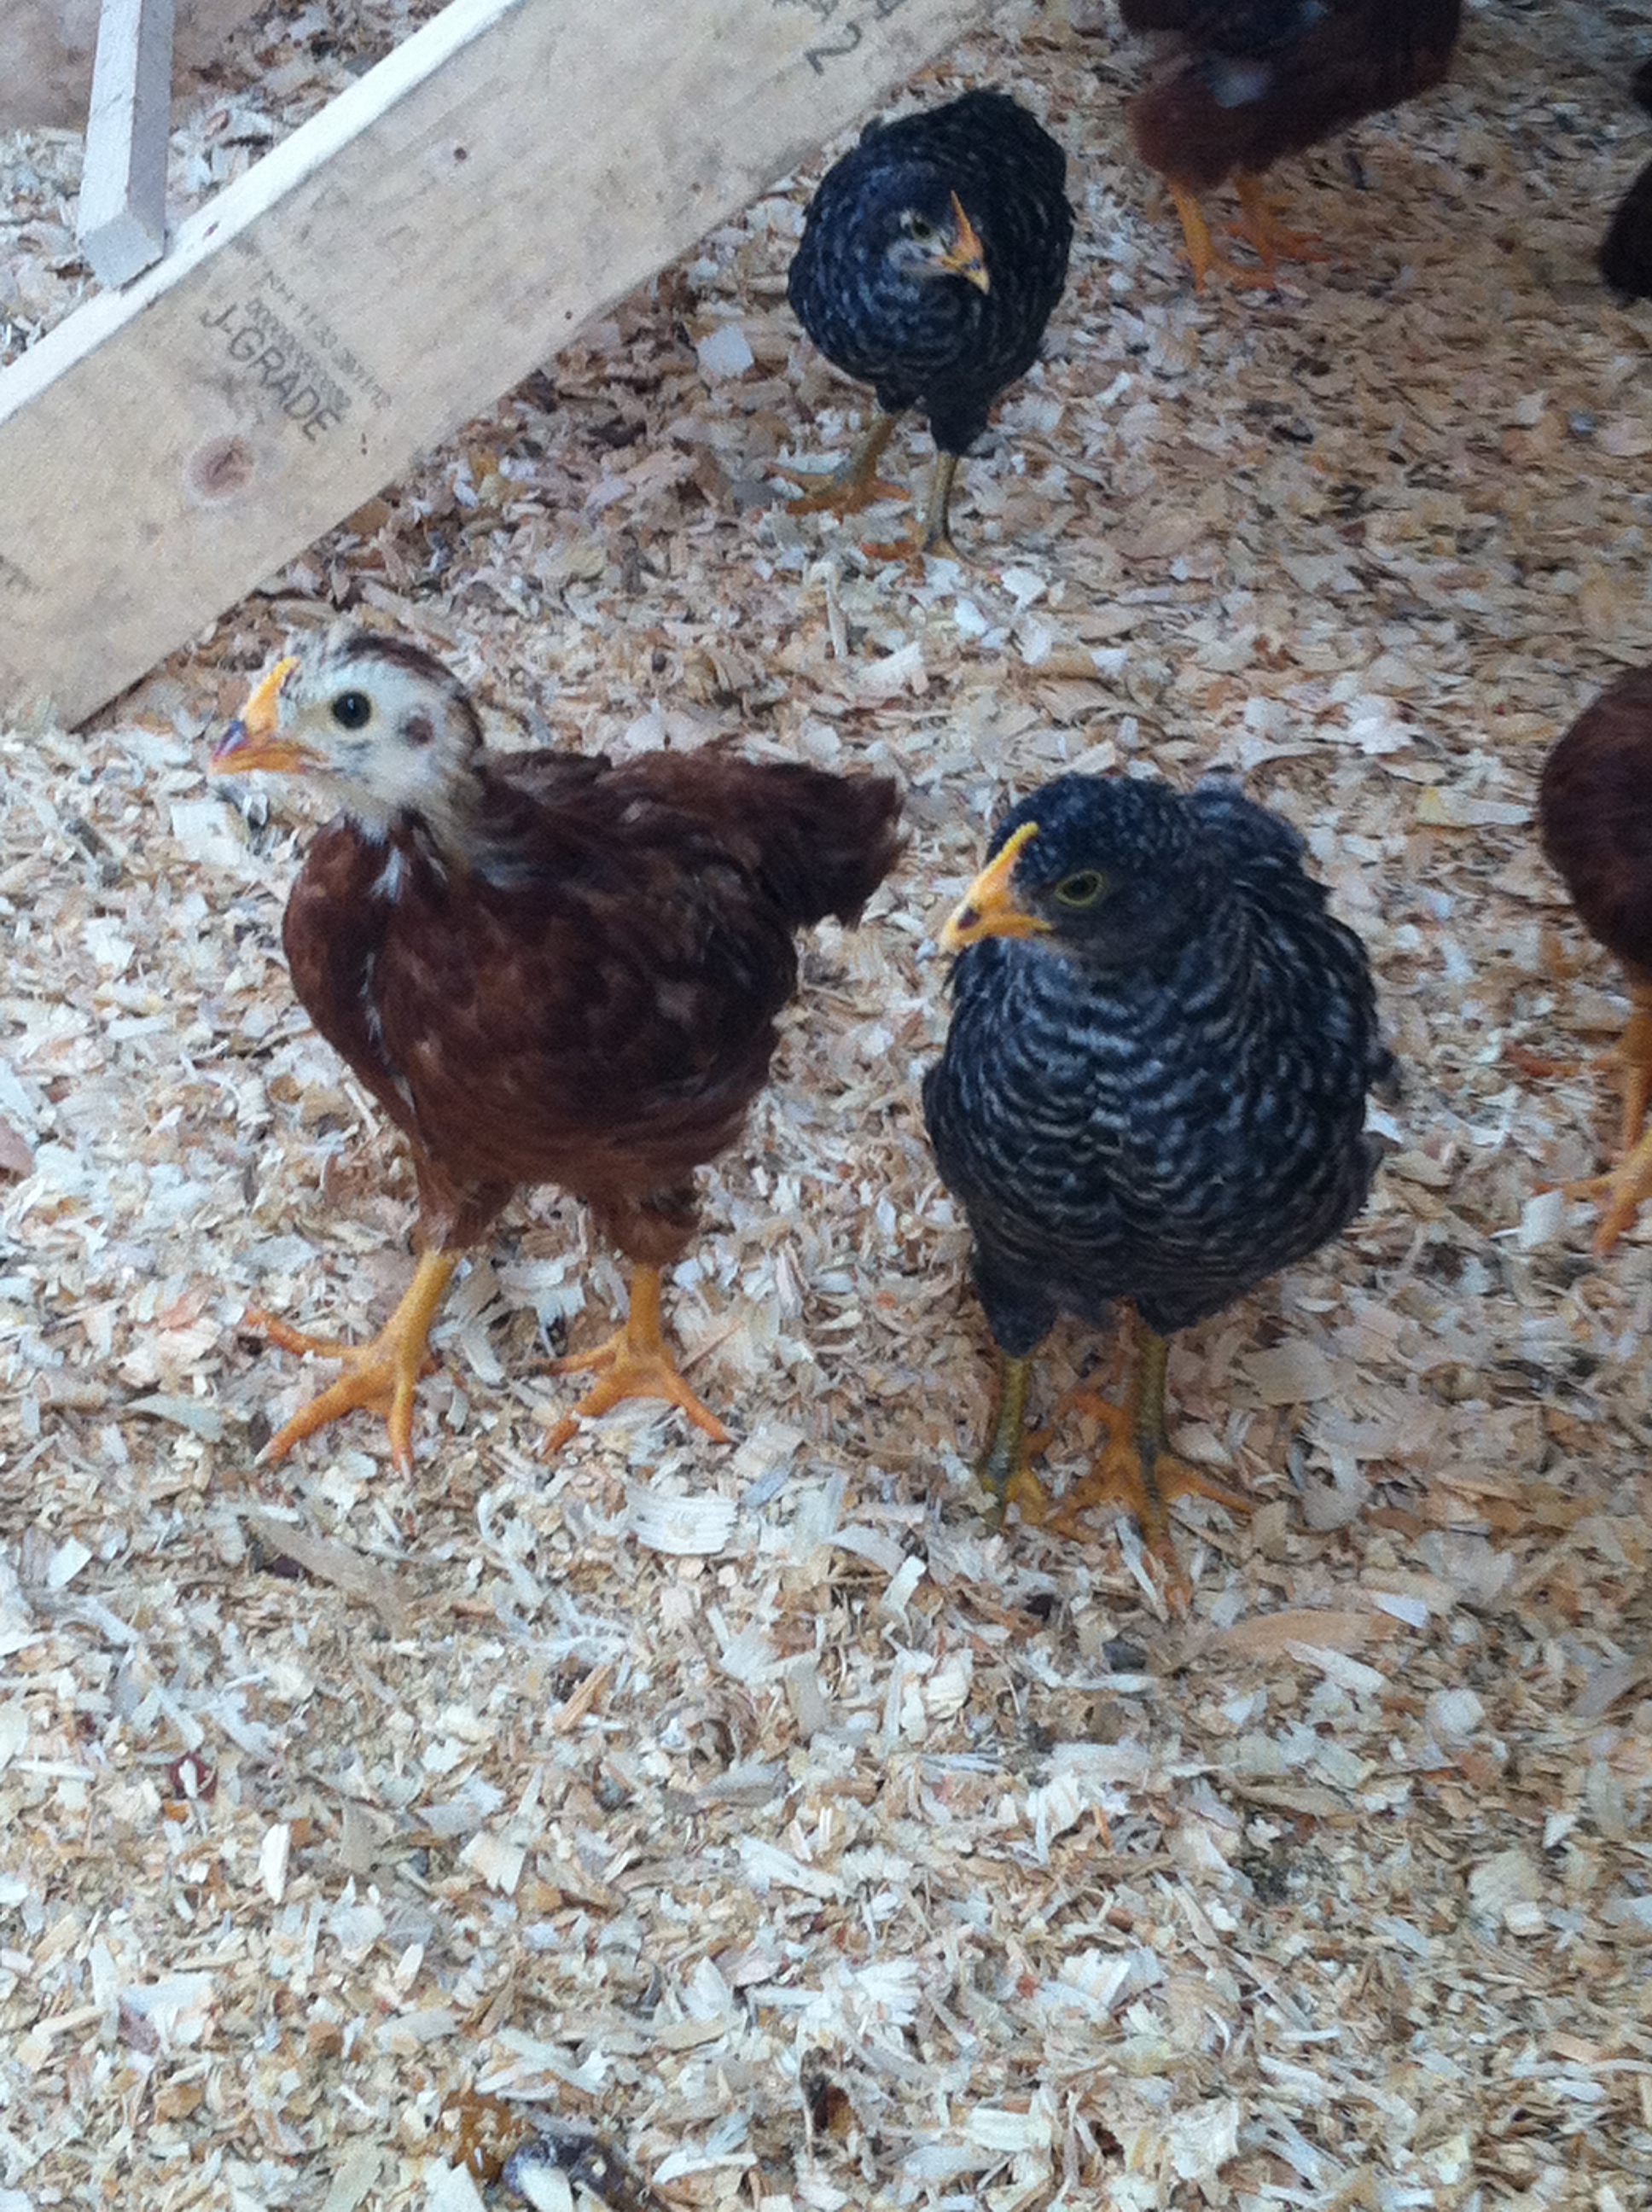
Even with everything coming out of my garden these days, I wanted to look for fresh eggs and herbs. I also was inspired to try to cook some beets after the Chopping Block class.
So, I made a quick list of things I wanted to look for while there based on items I knew were in season and not in my garden. Making this list I knew I may not be able to find any of these items but I think it helps to have an idea of what to look for.
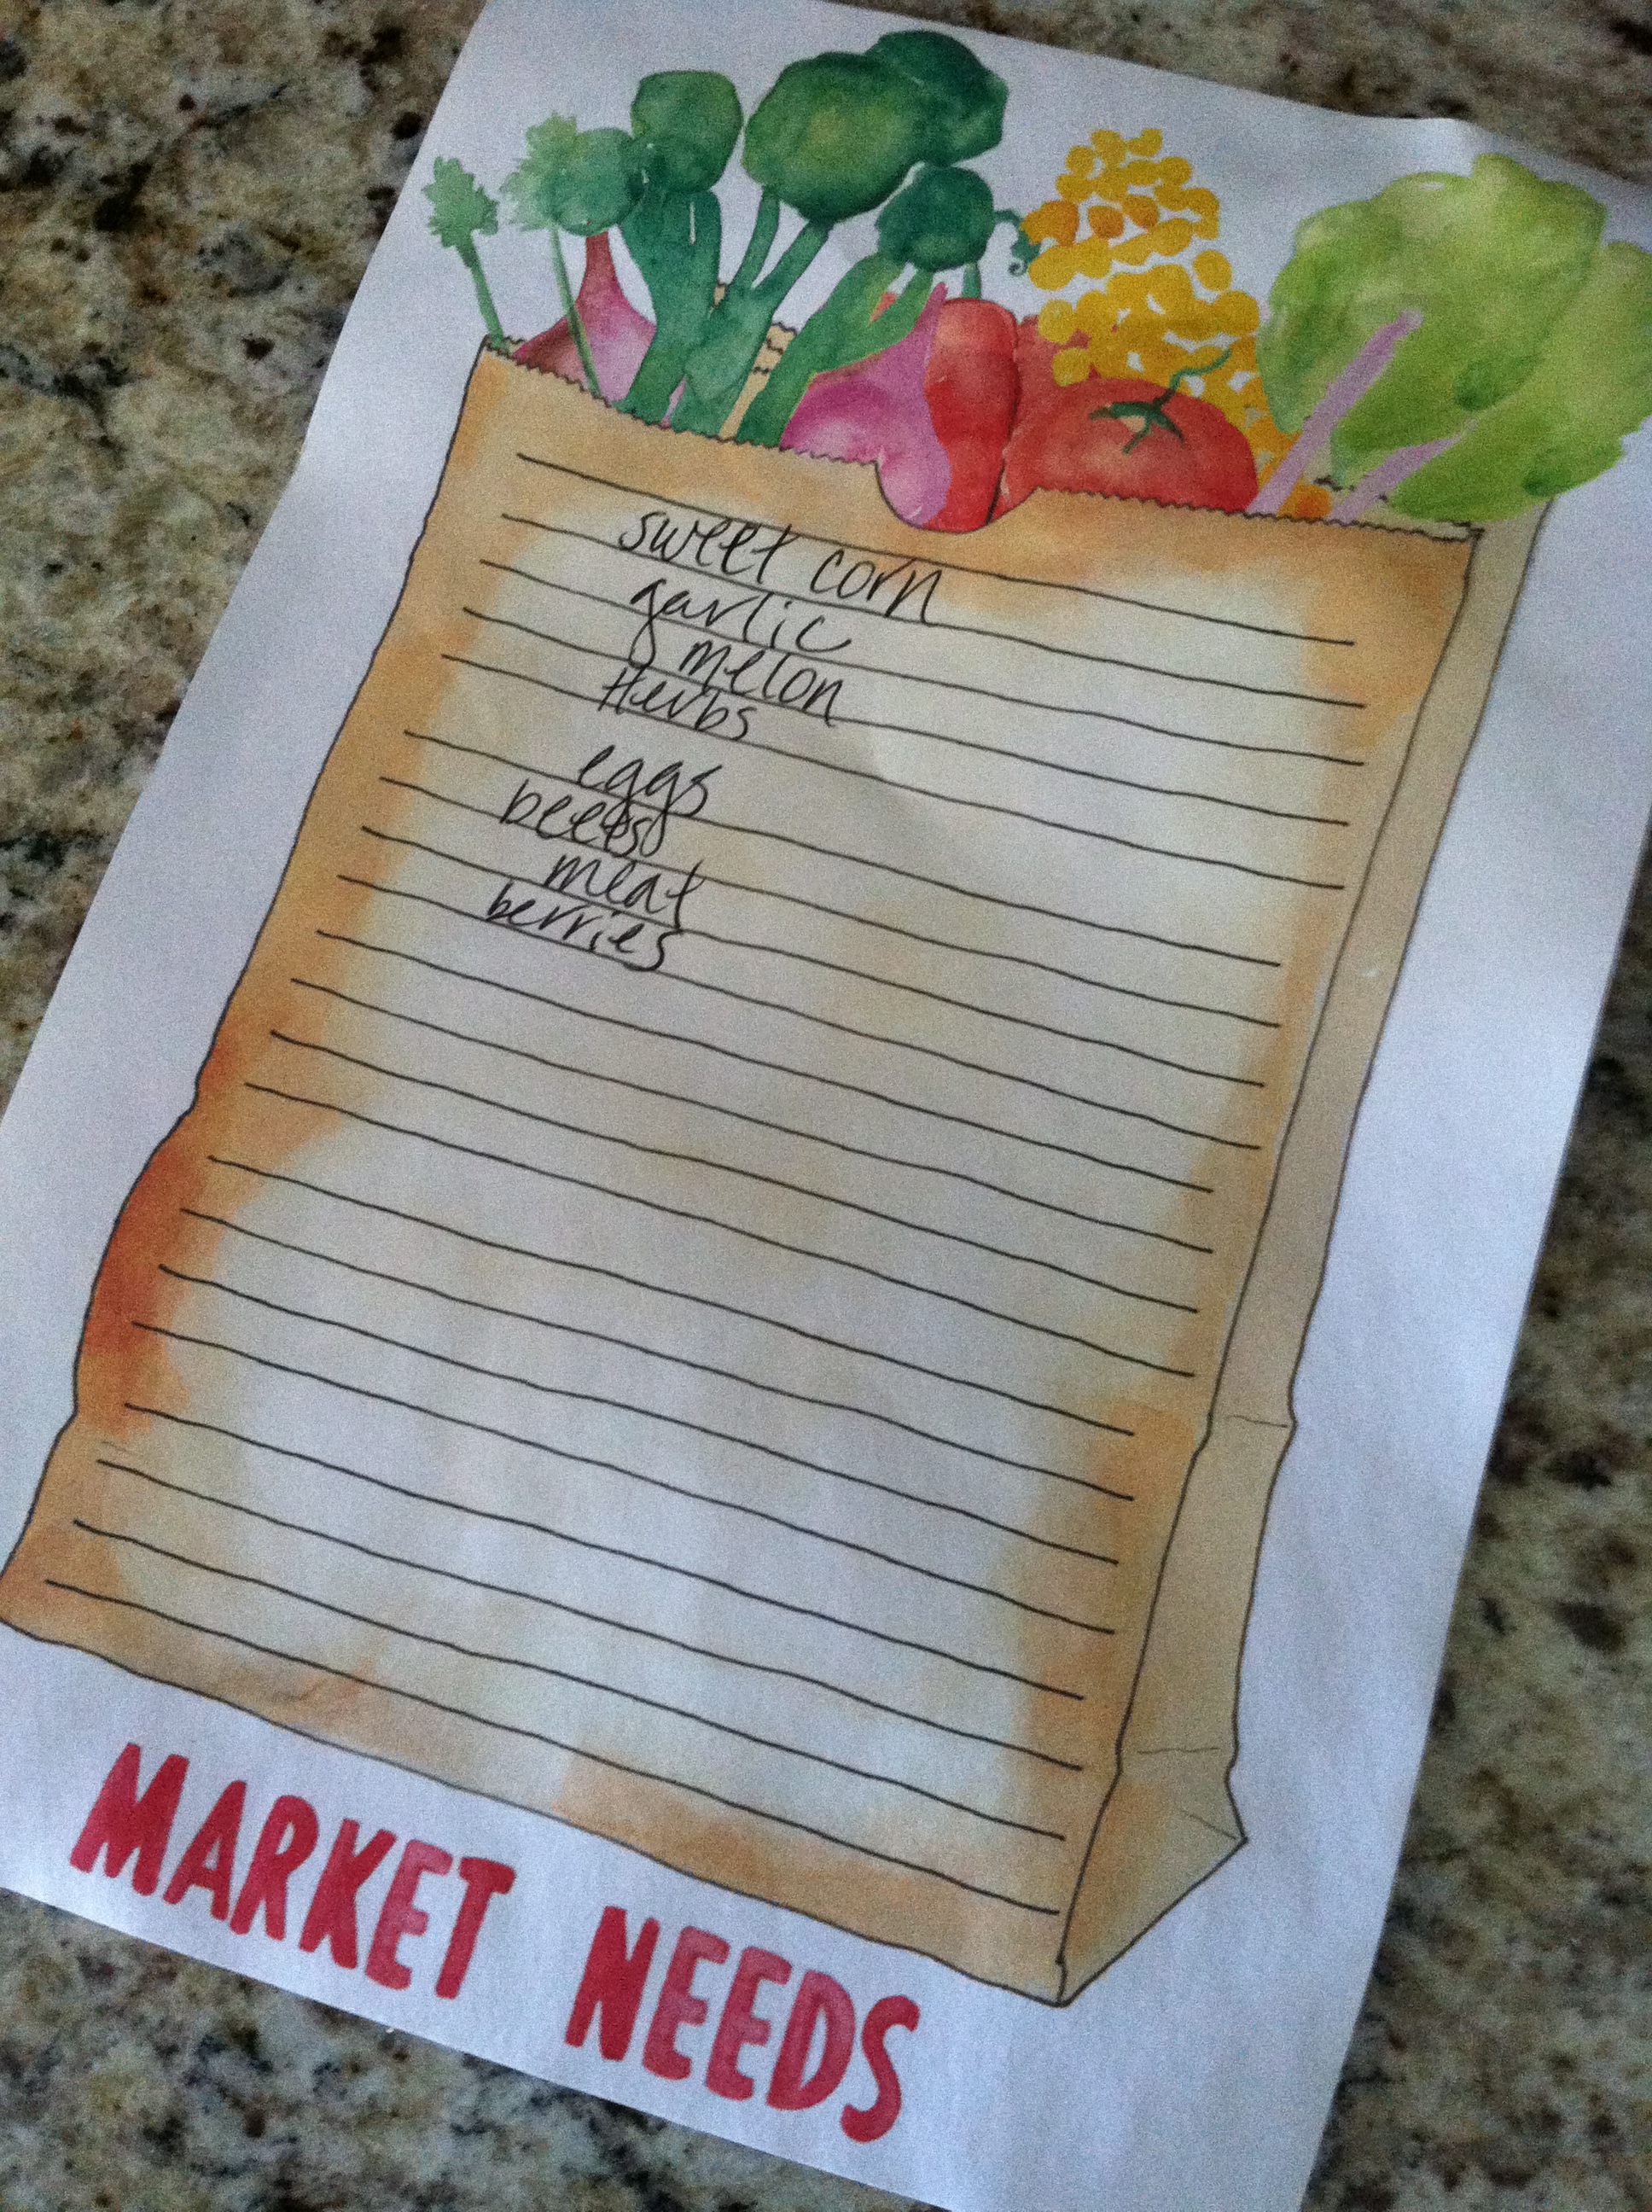
I actually got to take sweet corn off the list because two friends from college surprised us with a quick visit when they were in town visiting family and ten ears of sweet corn!
Below are a few other tips I have for a trip to the Farmer Market based on my experiences:
Bring cash and make sure you have small bills. It will be easier on the farmers so they don’t have to make change. They probably are prepared, but if everyone else is paying with twenties this may eventually be hard for them. (More and more Farmer’s Markets are becoming technology friendly and can take credit cards. Many also beginning to accept food assistance stamps or cards, which is awesome.)
BYOB. Bring your own bags. Farmers Markets are a great way to give plastic shopping bags another use or just invest in a few reusable bags before you go. They are for sale everywhere and a lot of grocery stores will knock a little bit off your bill when you use them. (When at the grocery you can also ditch the cart and just load up your bags throughout the store. You get the added bonus of a little arm workout while you shop!)
Cher, in the nineties classic, Clueless, suggests that when at a party to “do a lap before we commit to a location.” The same is true for the Farmers Market. I always take a lap, see what each vendor is offering, maybe price shop a tad, check out quality, and then make a purchase.
I know it seems, like, totally “Saturday Chic” to grab a latte after yoga and hit the Farmer’s Market but having the grande Starbucks in your hand the whole time is annoying for you and the farmers. You will need your hands to touch and smell the produce. To carry your shopping bags. To pay. Not to mention, it can spill. (Remember how I said all of these were based on actual experience…?) Just swing by the drive through on your way home.
I have heard mixed reviews on this one, and I can understand both ways, but I say get there early. I want to make sure that I have the farmer’s best products to choose from. I don’t want the picked through produce. Also, farmers can, and often do, sell out of things. The flip side to this is that at the end of the market some farmers may give you a deal so that they don’t have to take things home. I am bad at finding shoes I like on sale, let alone food. So, that’s your call.
Things won’t look like they do in the store. A good example is tomatoes. Typical grocery store tomatoes are bright red and round. A Farmer’s Market tomato may be short and fat. It may have ripples. It’s because that is how a tomato grows naturally. It will still be great, if not better. Farmers Market produce will also be straight from the ground so don’t be alarmed by roots, stems, or dirt.
Here are some red flags and things to be aware of when picking out produce:
– Tomatoes continue to ripen, even after they are picked. It’s okay to have some green on the top.
– Berries do not continue to ripen after they are picked so pick ones that have full, vibrant color.
– Like I mentioned above: Use your hands and nose. Melons should smell sweet. Herbs should smell fresh and not be brown. Produce should be soft. Pass on wrinkled or squishy items.
– Inspect the produce to ensure there isn’t any mold, decay, or evidence of insects.
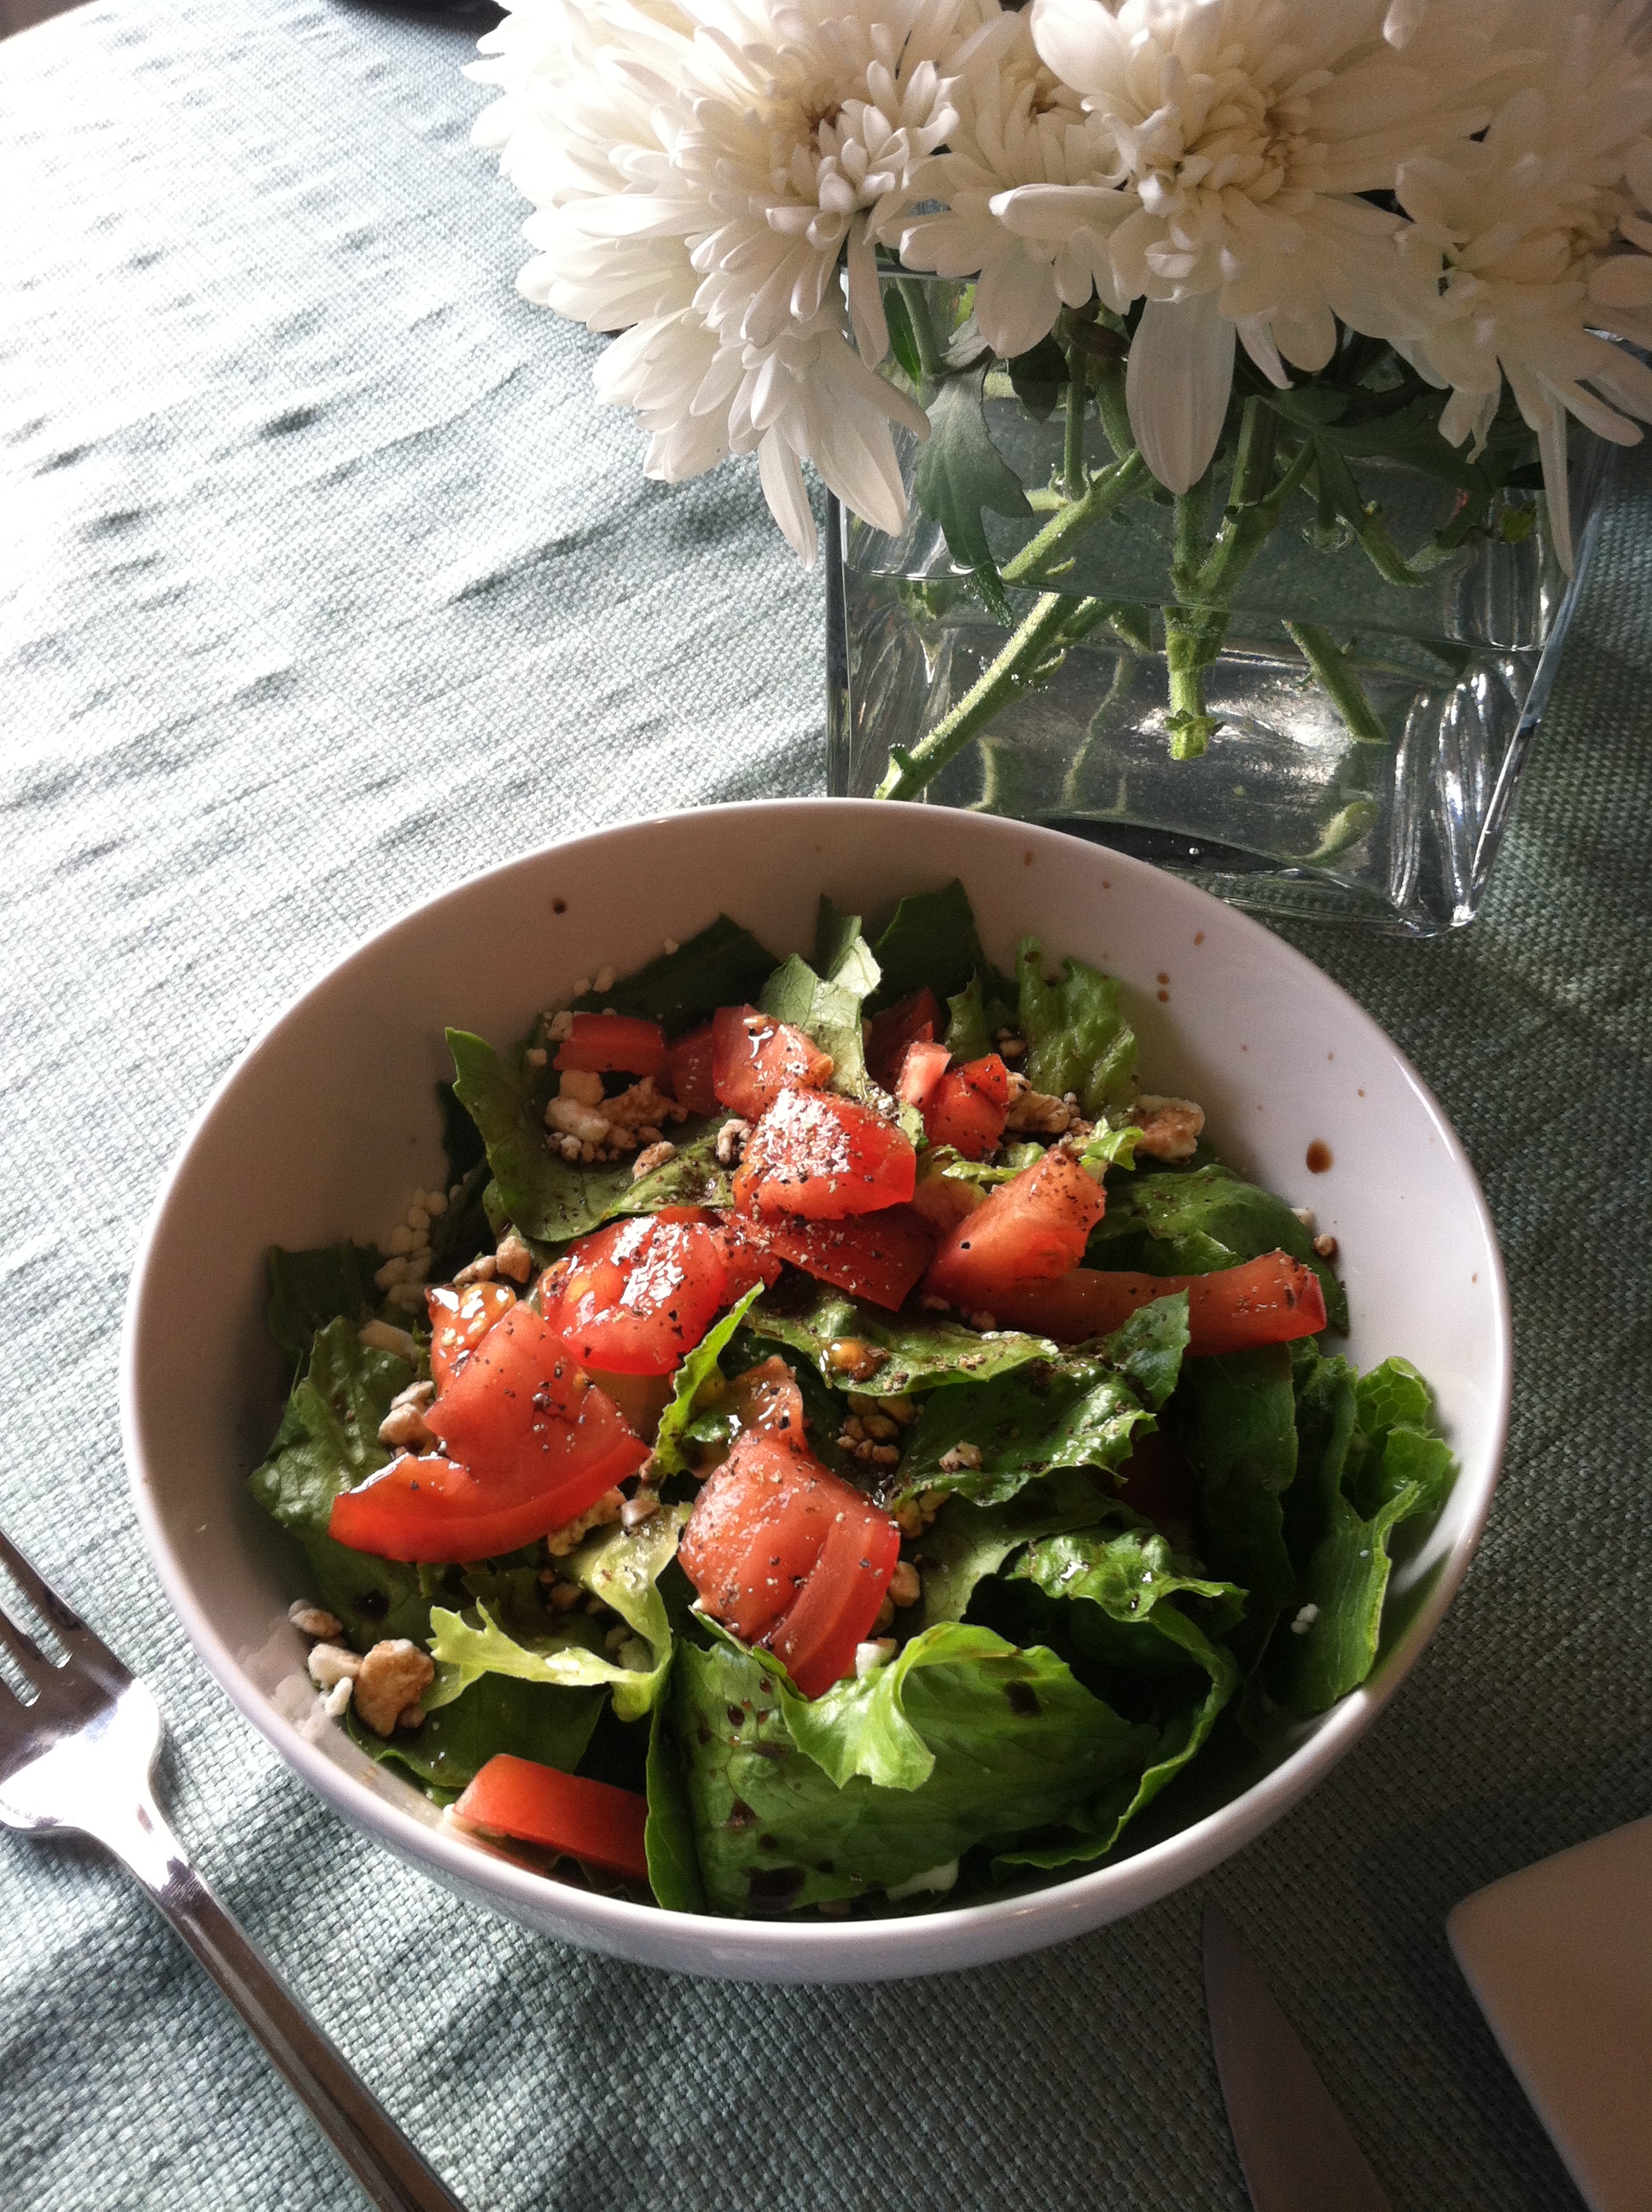
Remember, the produce at the market is fresh and should be consumed sooner rather than later! So, get cooking!
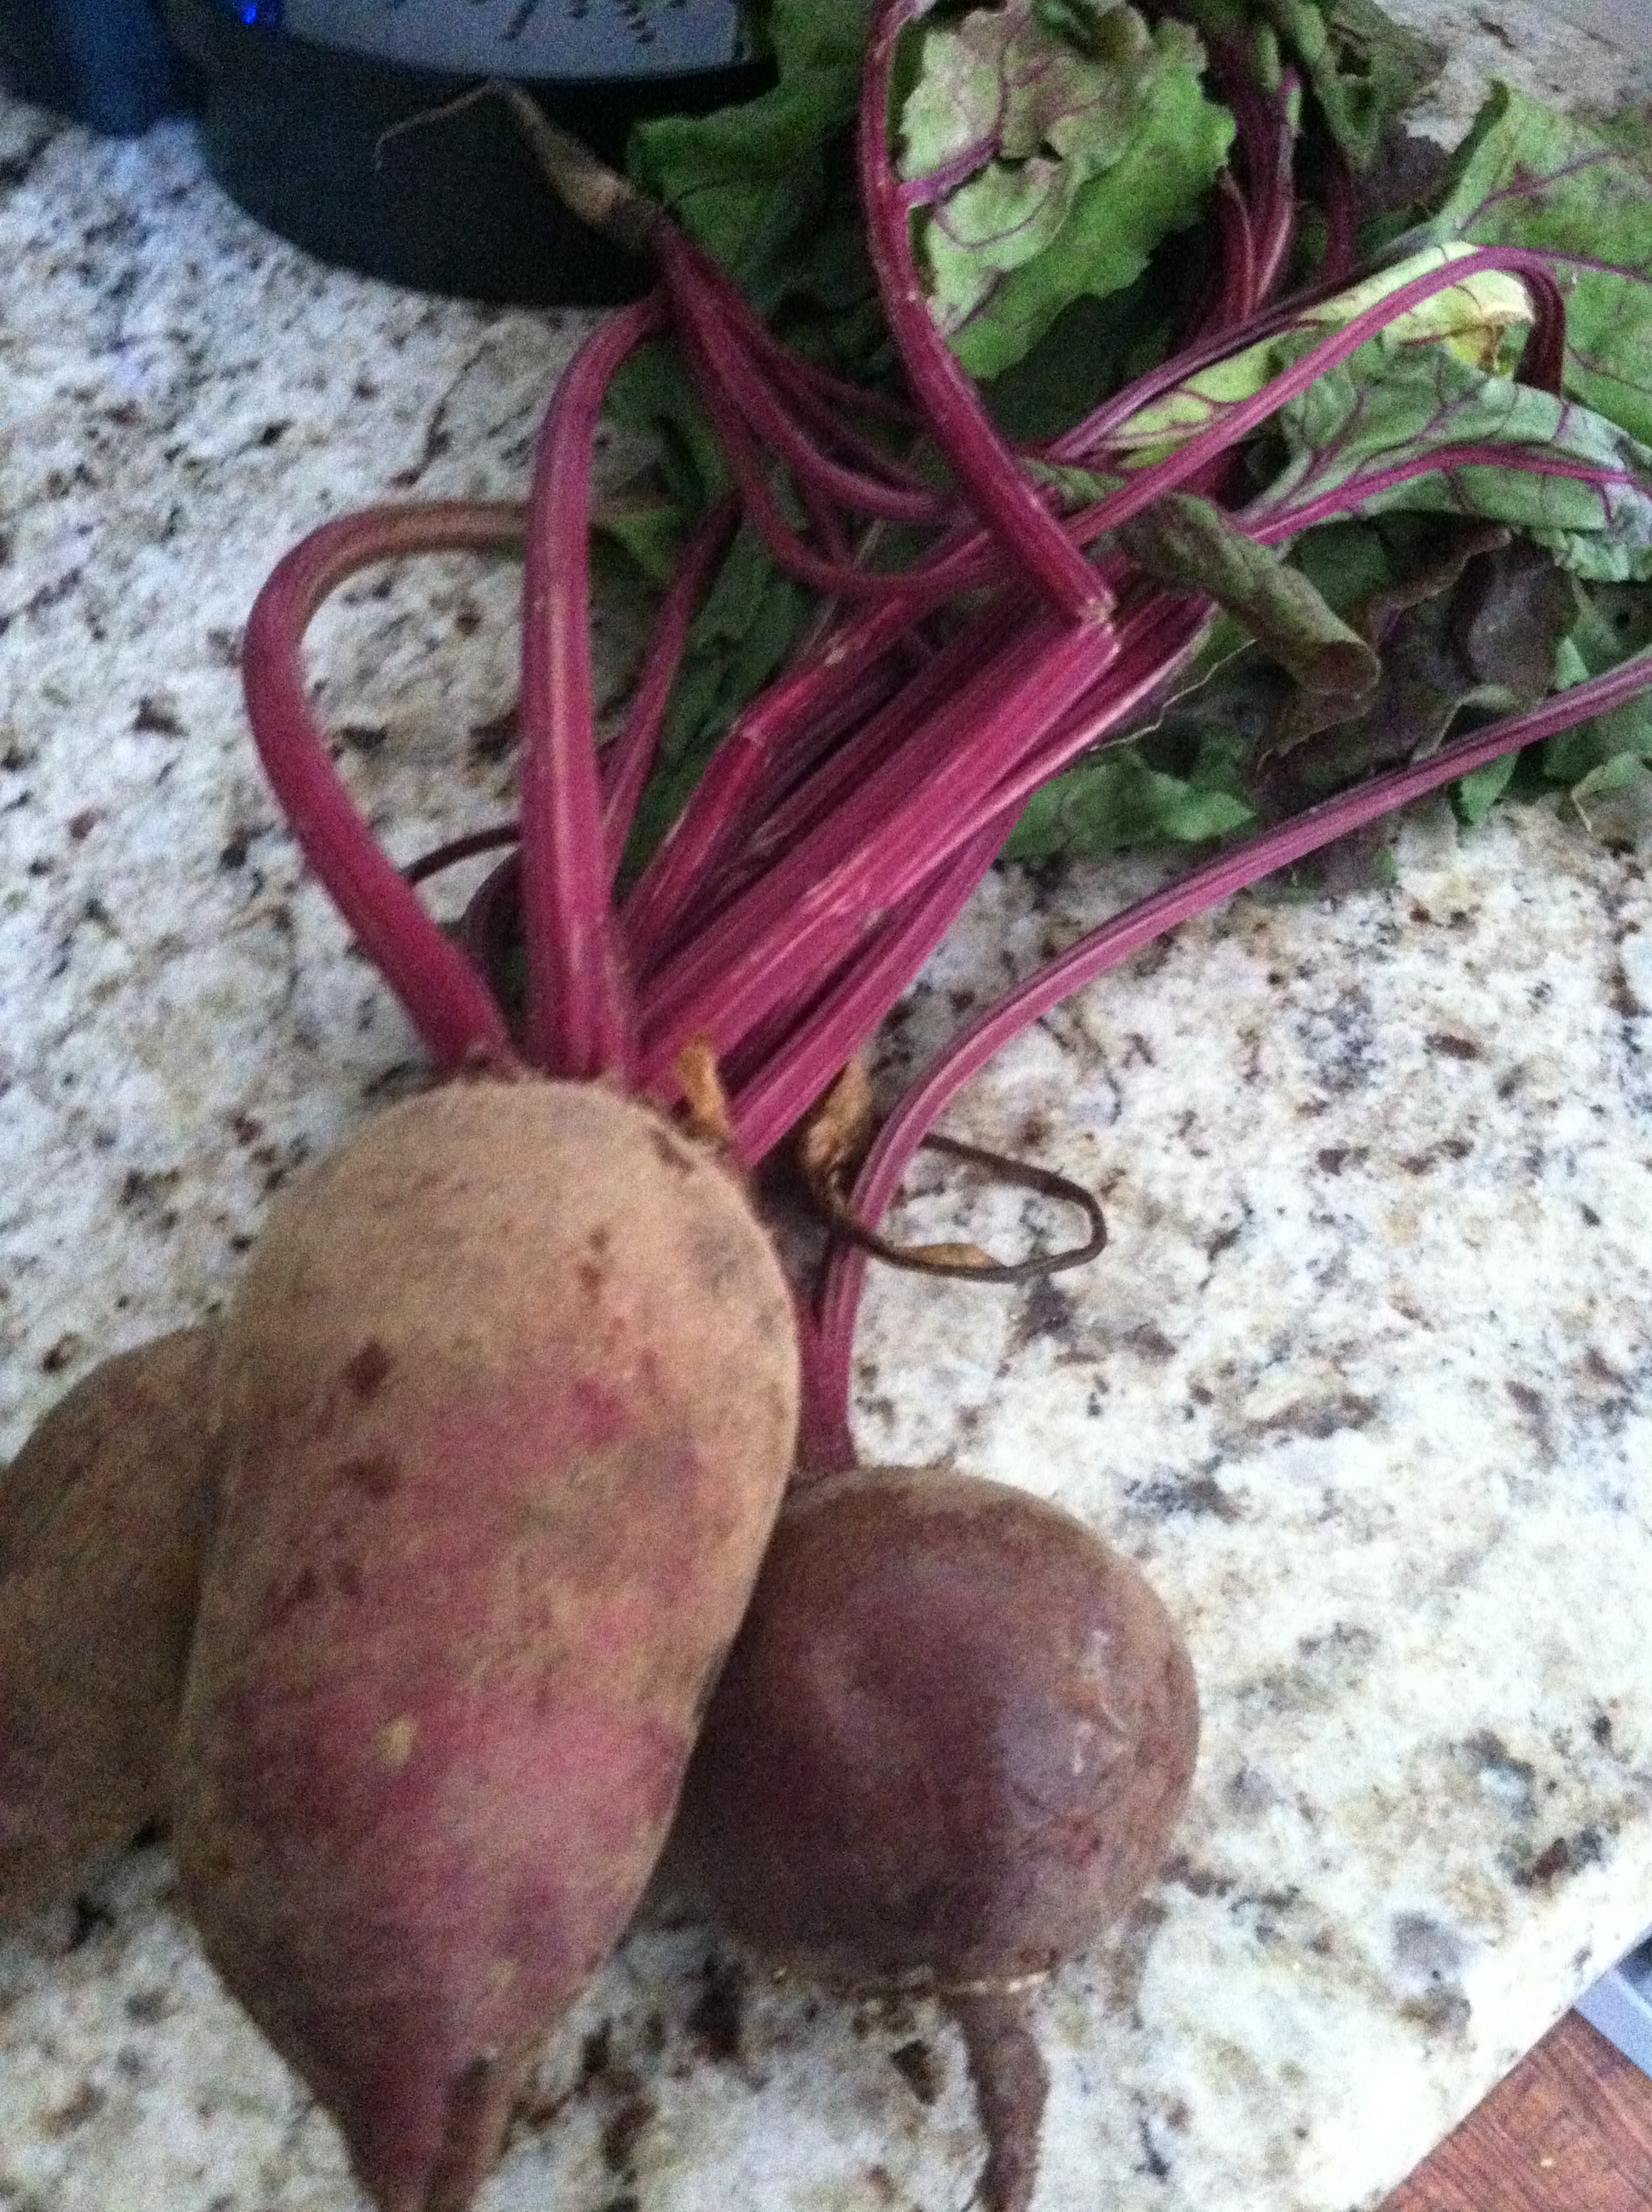
And that is what I plan to do with my beets and brown eggs from a young man on the eastern edge of our county.
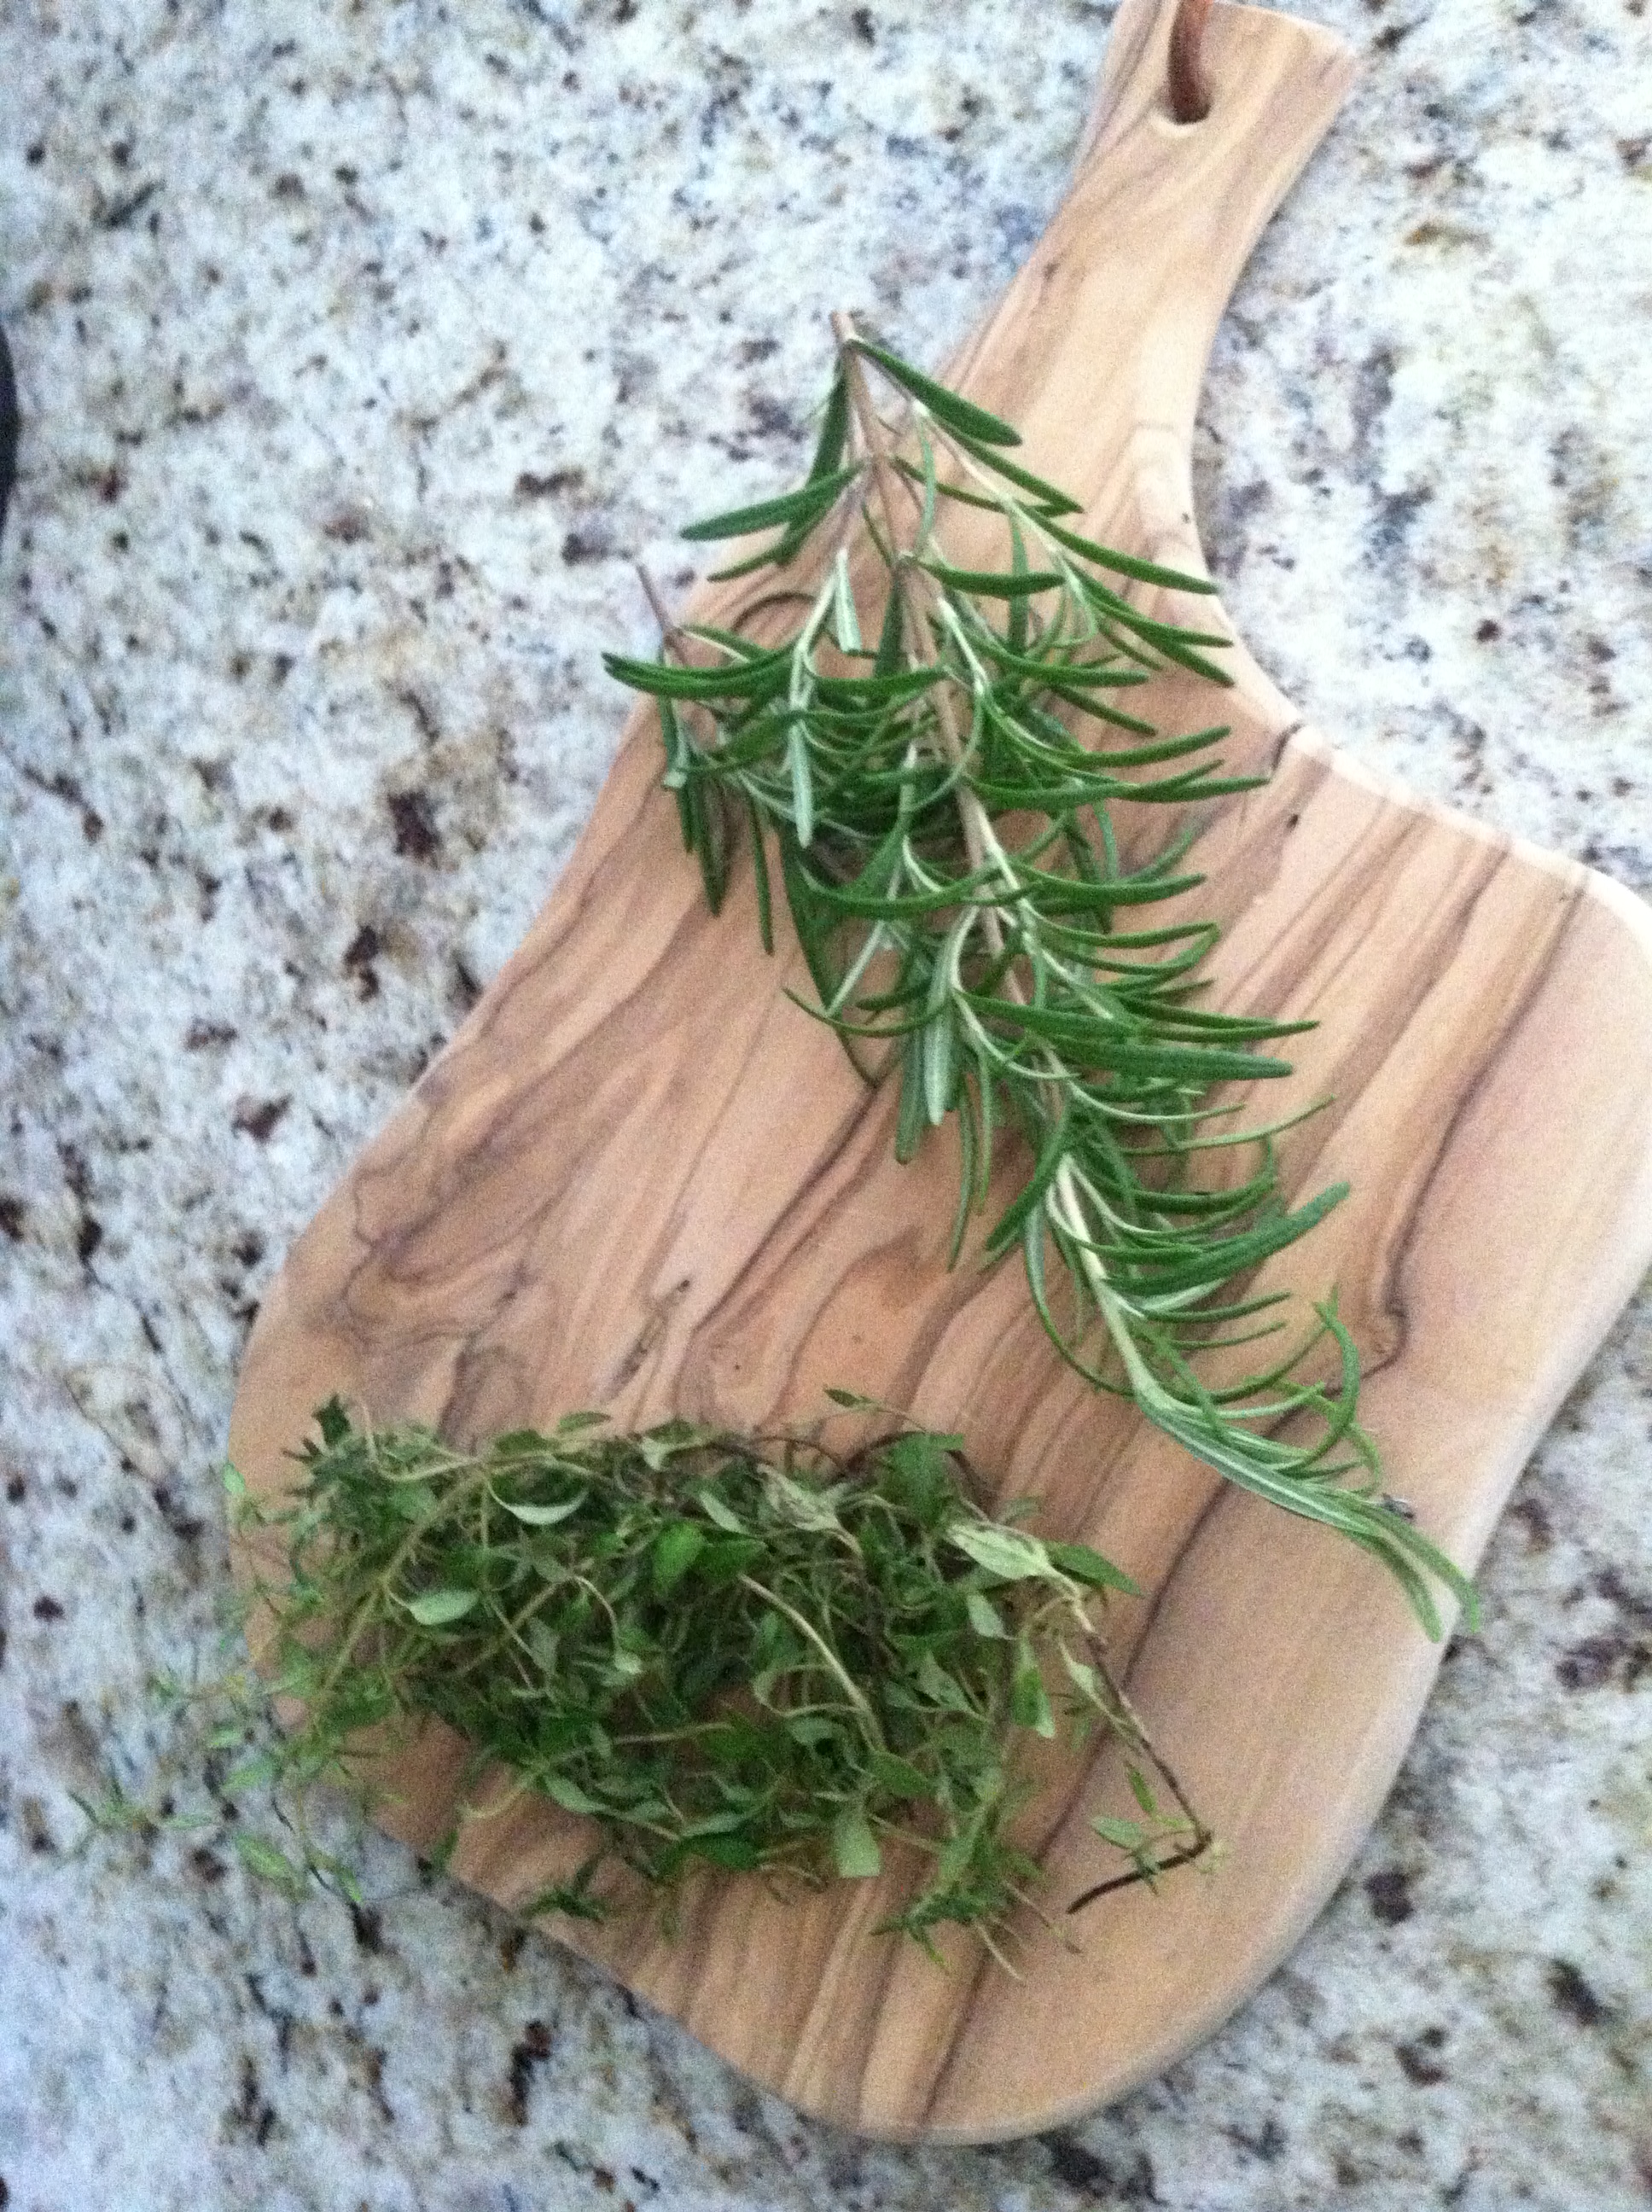
Garlic, thyme, and rosemary from a woman who grows her produce on her mother-in-laws property at the northern most part of the county.

A whole chicken from this passionate guy from northern Indiana who claimed he has perfected chicken in determining the best age and weight it should be.
Pork Chops that were raised in a good friend’s hometown by a family who told me “They all are great!” when I asked for their suggestion for the best cut of the pig.
I also, with the help of the chicken man’s wife, designed a gorgeous summer floral bouquet with flowers from their farm. The colors even match the theme to my brother-in-law’s wedding next weekend!

So, stay tuned… and in the mean time, find a Farmer’s Market close to you!
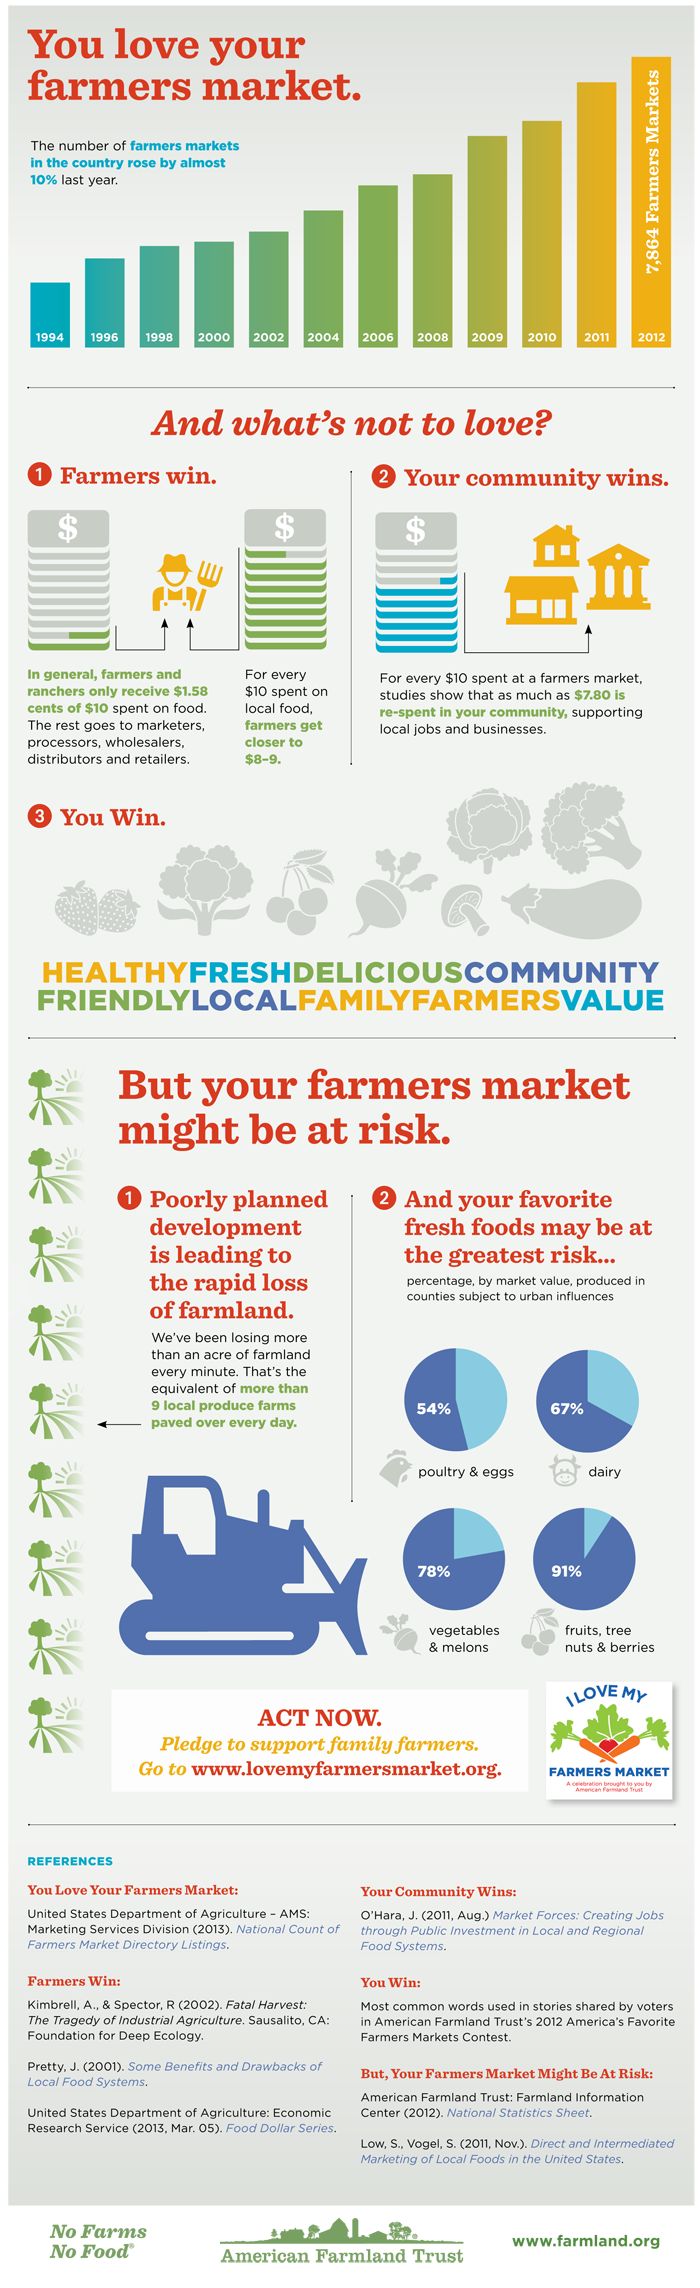
Love this info graphic about Farmer’s Markets.