At Purdue we had to take cooking labs as part of the Hospitality major. In the labs we worked in a mock restaurant where everyone was assigned roles that lasted the whole semester. I don’t know how they assigned us to the roles because we didn’t answer any questions about what we liked or where we had experience, but there always seemed to be a system to it.
Students with restaurant backgrounds were put on the line, cooking the entrees. People with strong, bossy personalities were expediters, inspecting every plate before it went out to a customer. Pretty girls, who wanted to be wedding planners or in sales, were servers and would spend the lab learning new napkin folds. People who didn’t want anything to do with restaurants and the food industry were put on the dish washing machine… and they hated the lab.
It wasn’t a hard system to crack.
And, for some reason, I was always put in charge of desserts.
I think the reasoning there was: She’s in a sorority and has a cute face but a little chub. She must like to bake.
Okay. Sure.
Guilty as charged.
I did.
At eighteen only real kitchen experience I had was baking with my mom at home.
So the system hit the nail on the head.
And, I did pick up quite a bit about making great desserts from the labs at the university and in the classes I took in Europe. (Yes. I was, somehow, assigned to desserts there as well. Sizing me up translated the same way all the way on another continent.)
Too this day I still like to make desserts, I just try not to do it often as I have this problem where everything sweet and wonderful tends to go to my behind. Does any one else suffer from this crazy phenomenon?
But, if I had to pick a favorite dessert to make it is hands down ice cream. We got an ice cream maker for our wedding and I love it. It is such a neat tool and makes ice cream making super easy. I have made sherbets, herb infused ice creams and more.
I decided that I wanted to make ice cream this weekend because I wanted to try the ginger syrup from the trip to Atlanta. The grower at the farmer’s market mentioned it is great drizzled over vanilla ice cream.
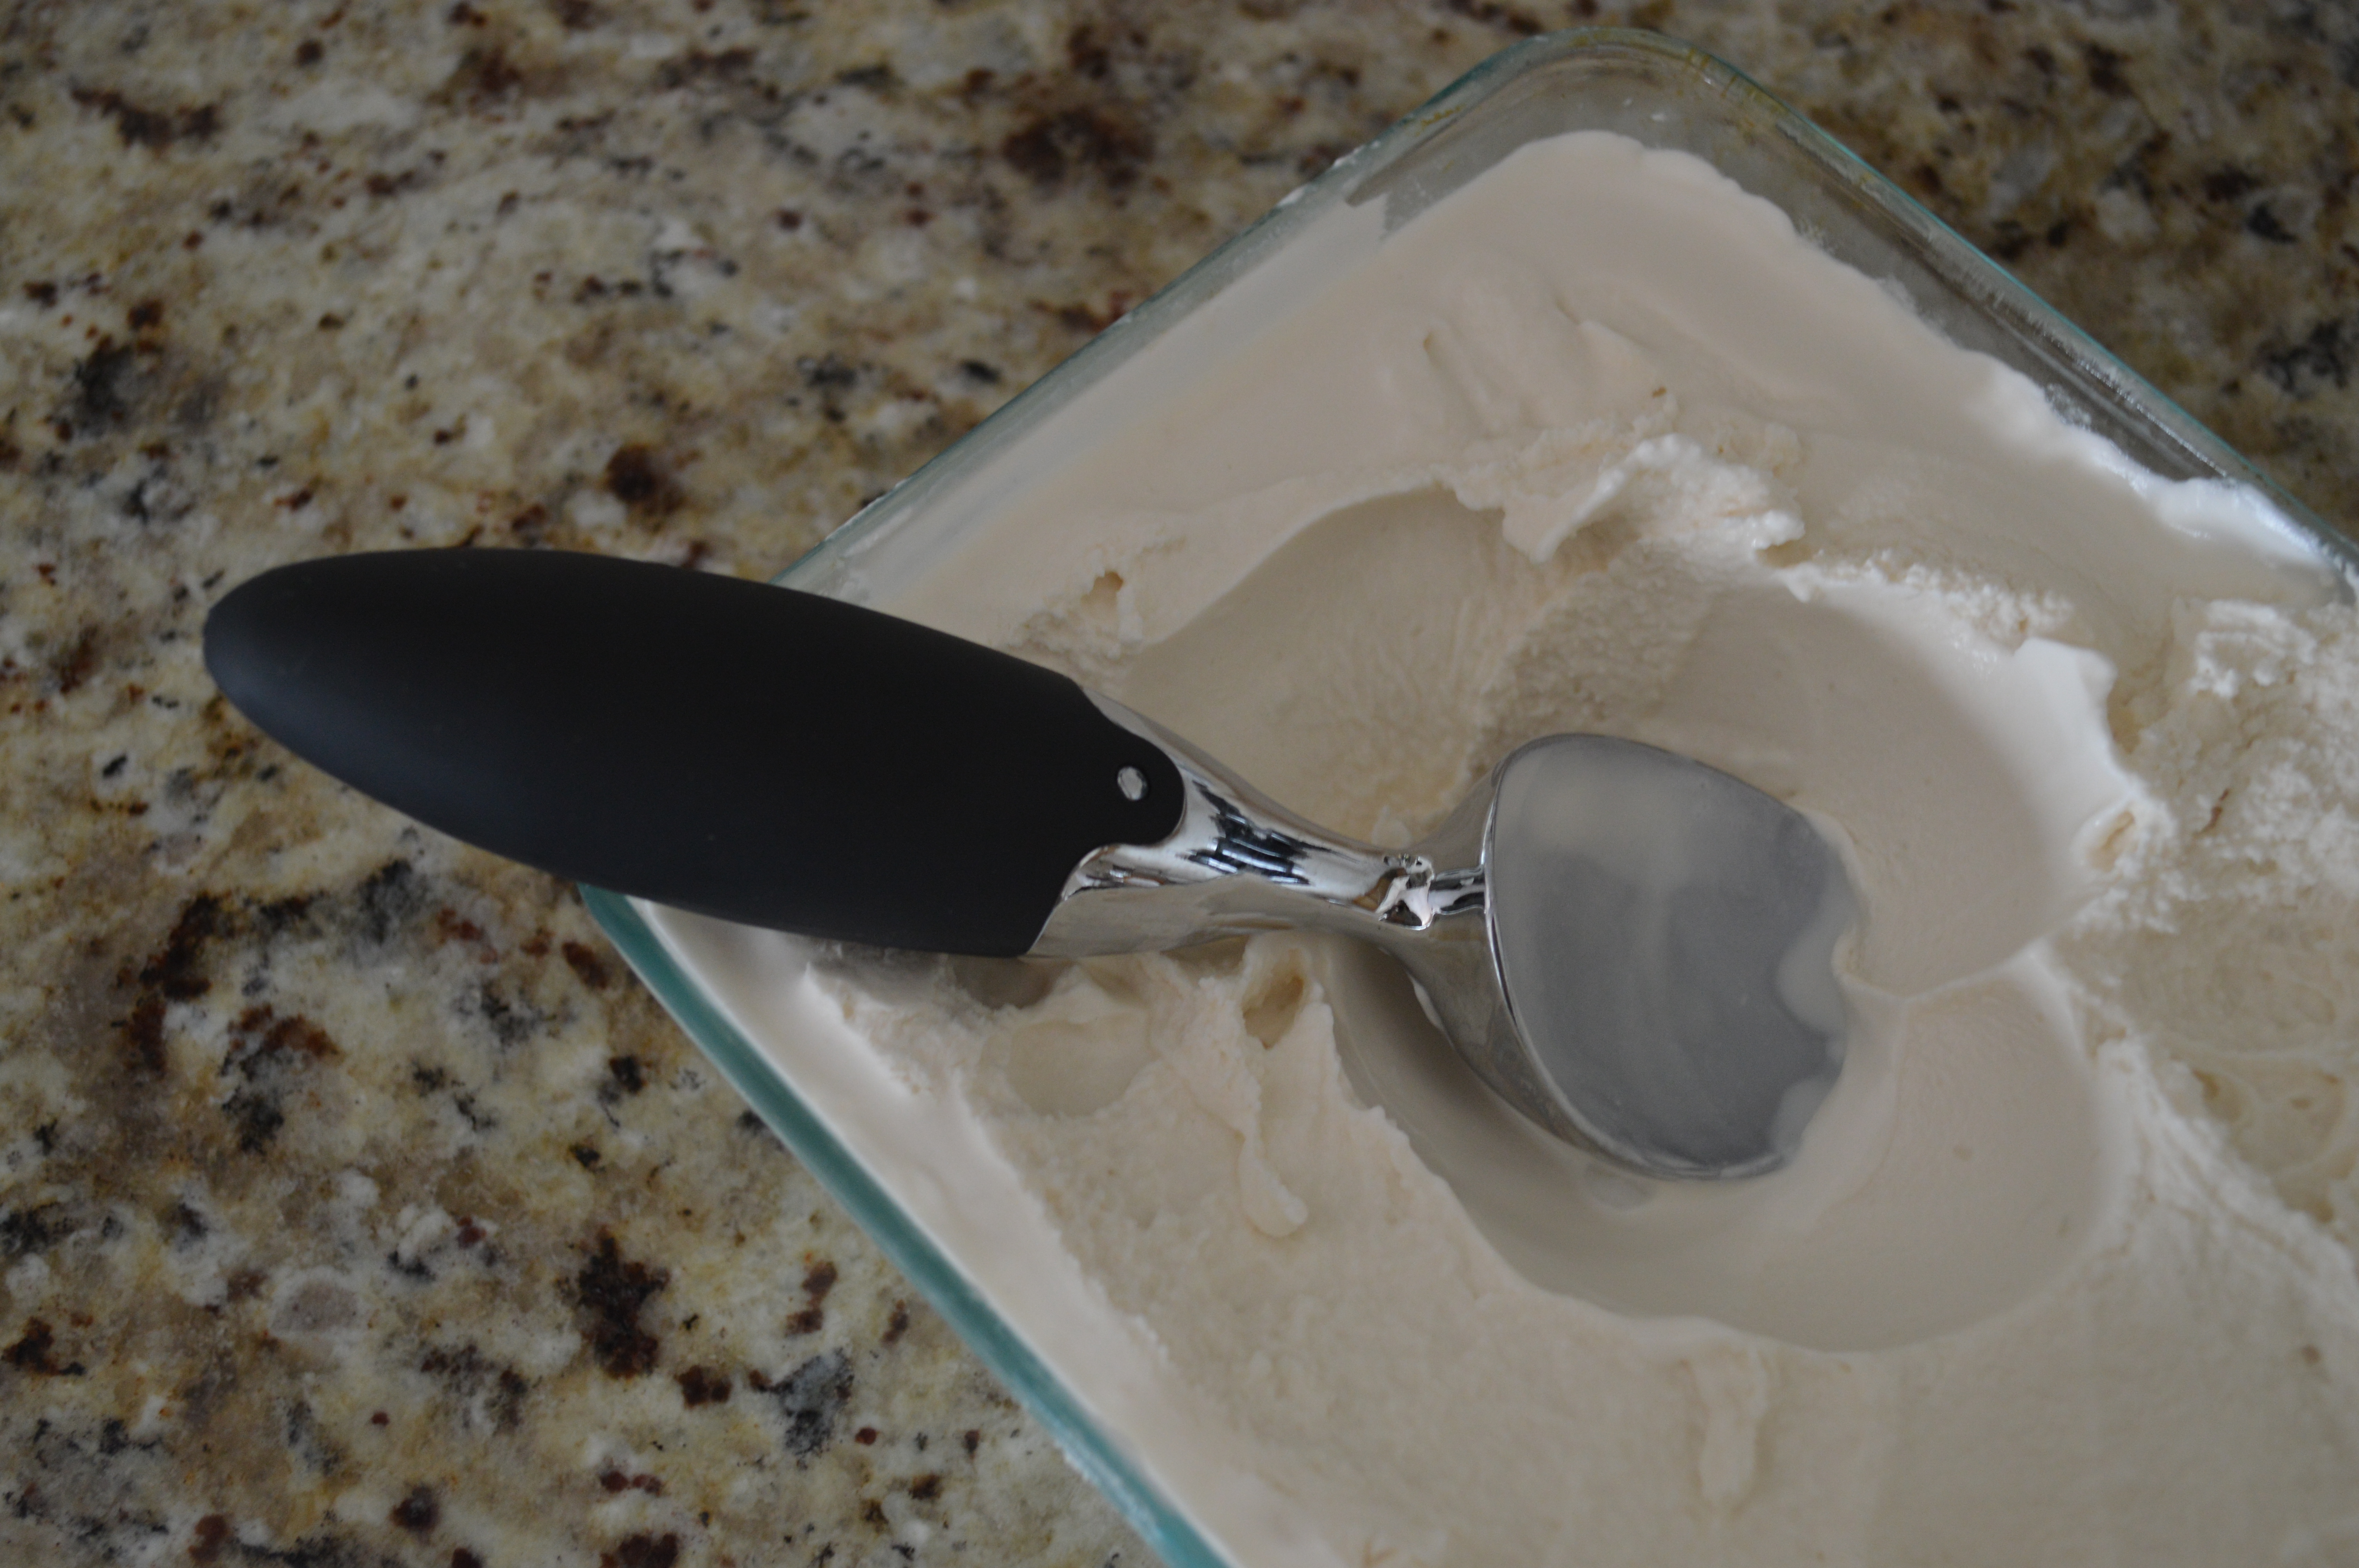
Vanilla ice cream is ridiculously easy to make. There are a whopping four ingredients in it versus the, like, forty in the ice cream at the store. Best of all, it has this great, creamy, authentic flavor.
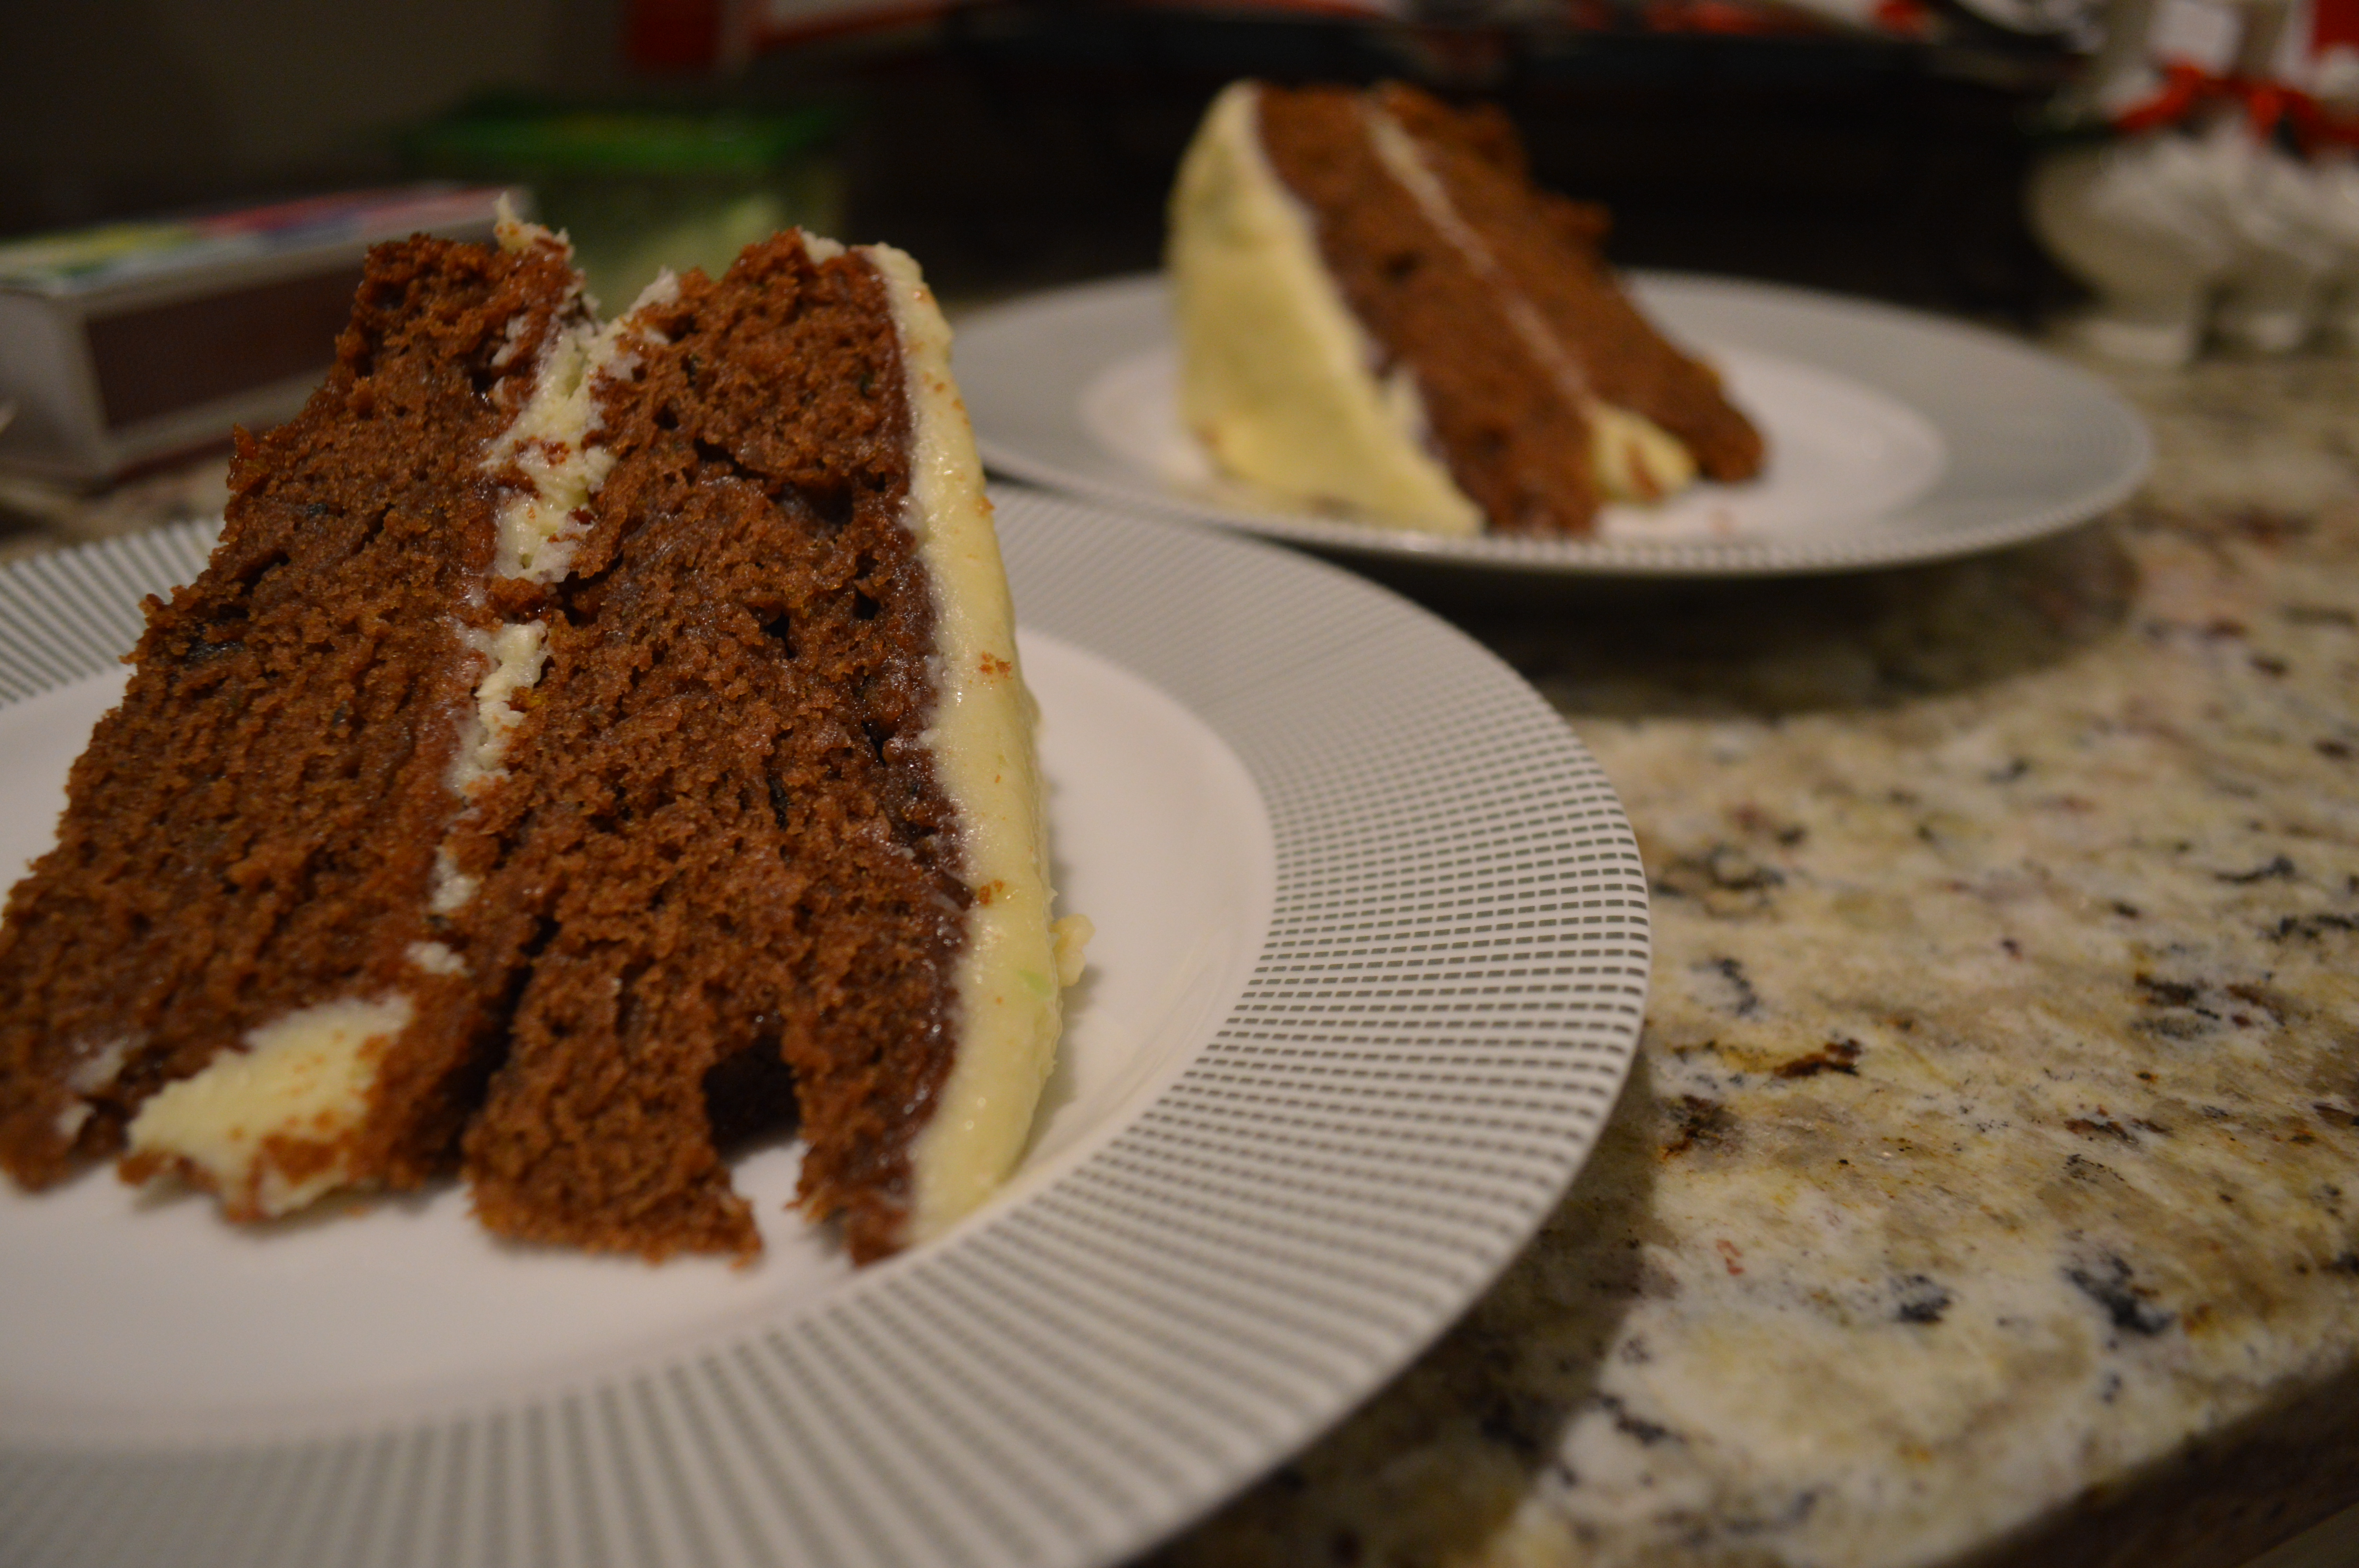
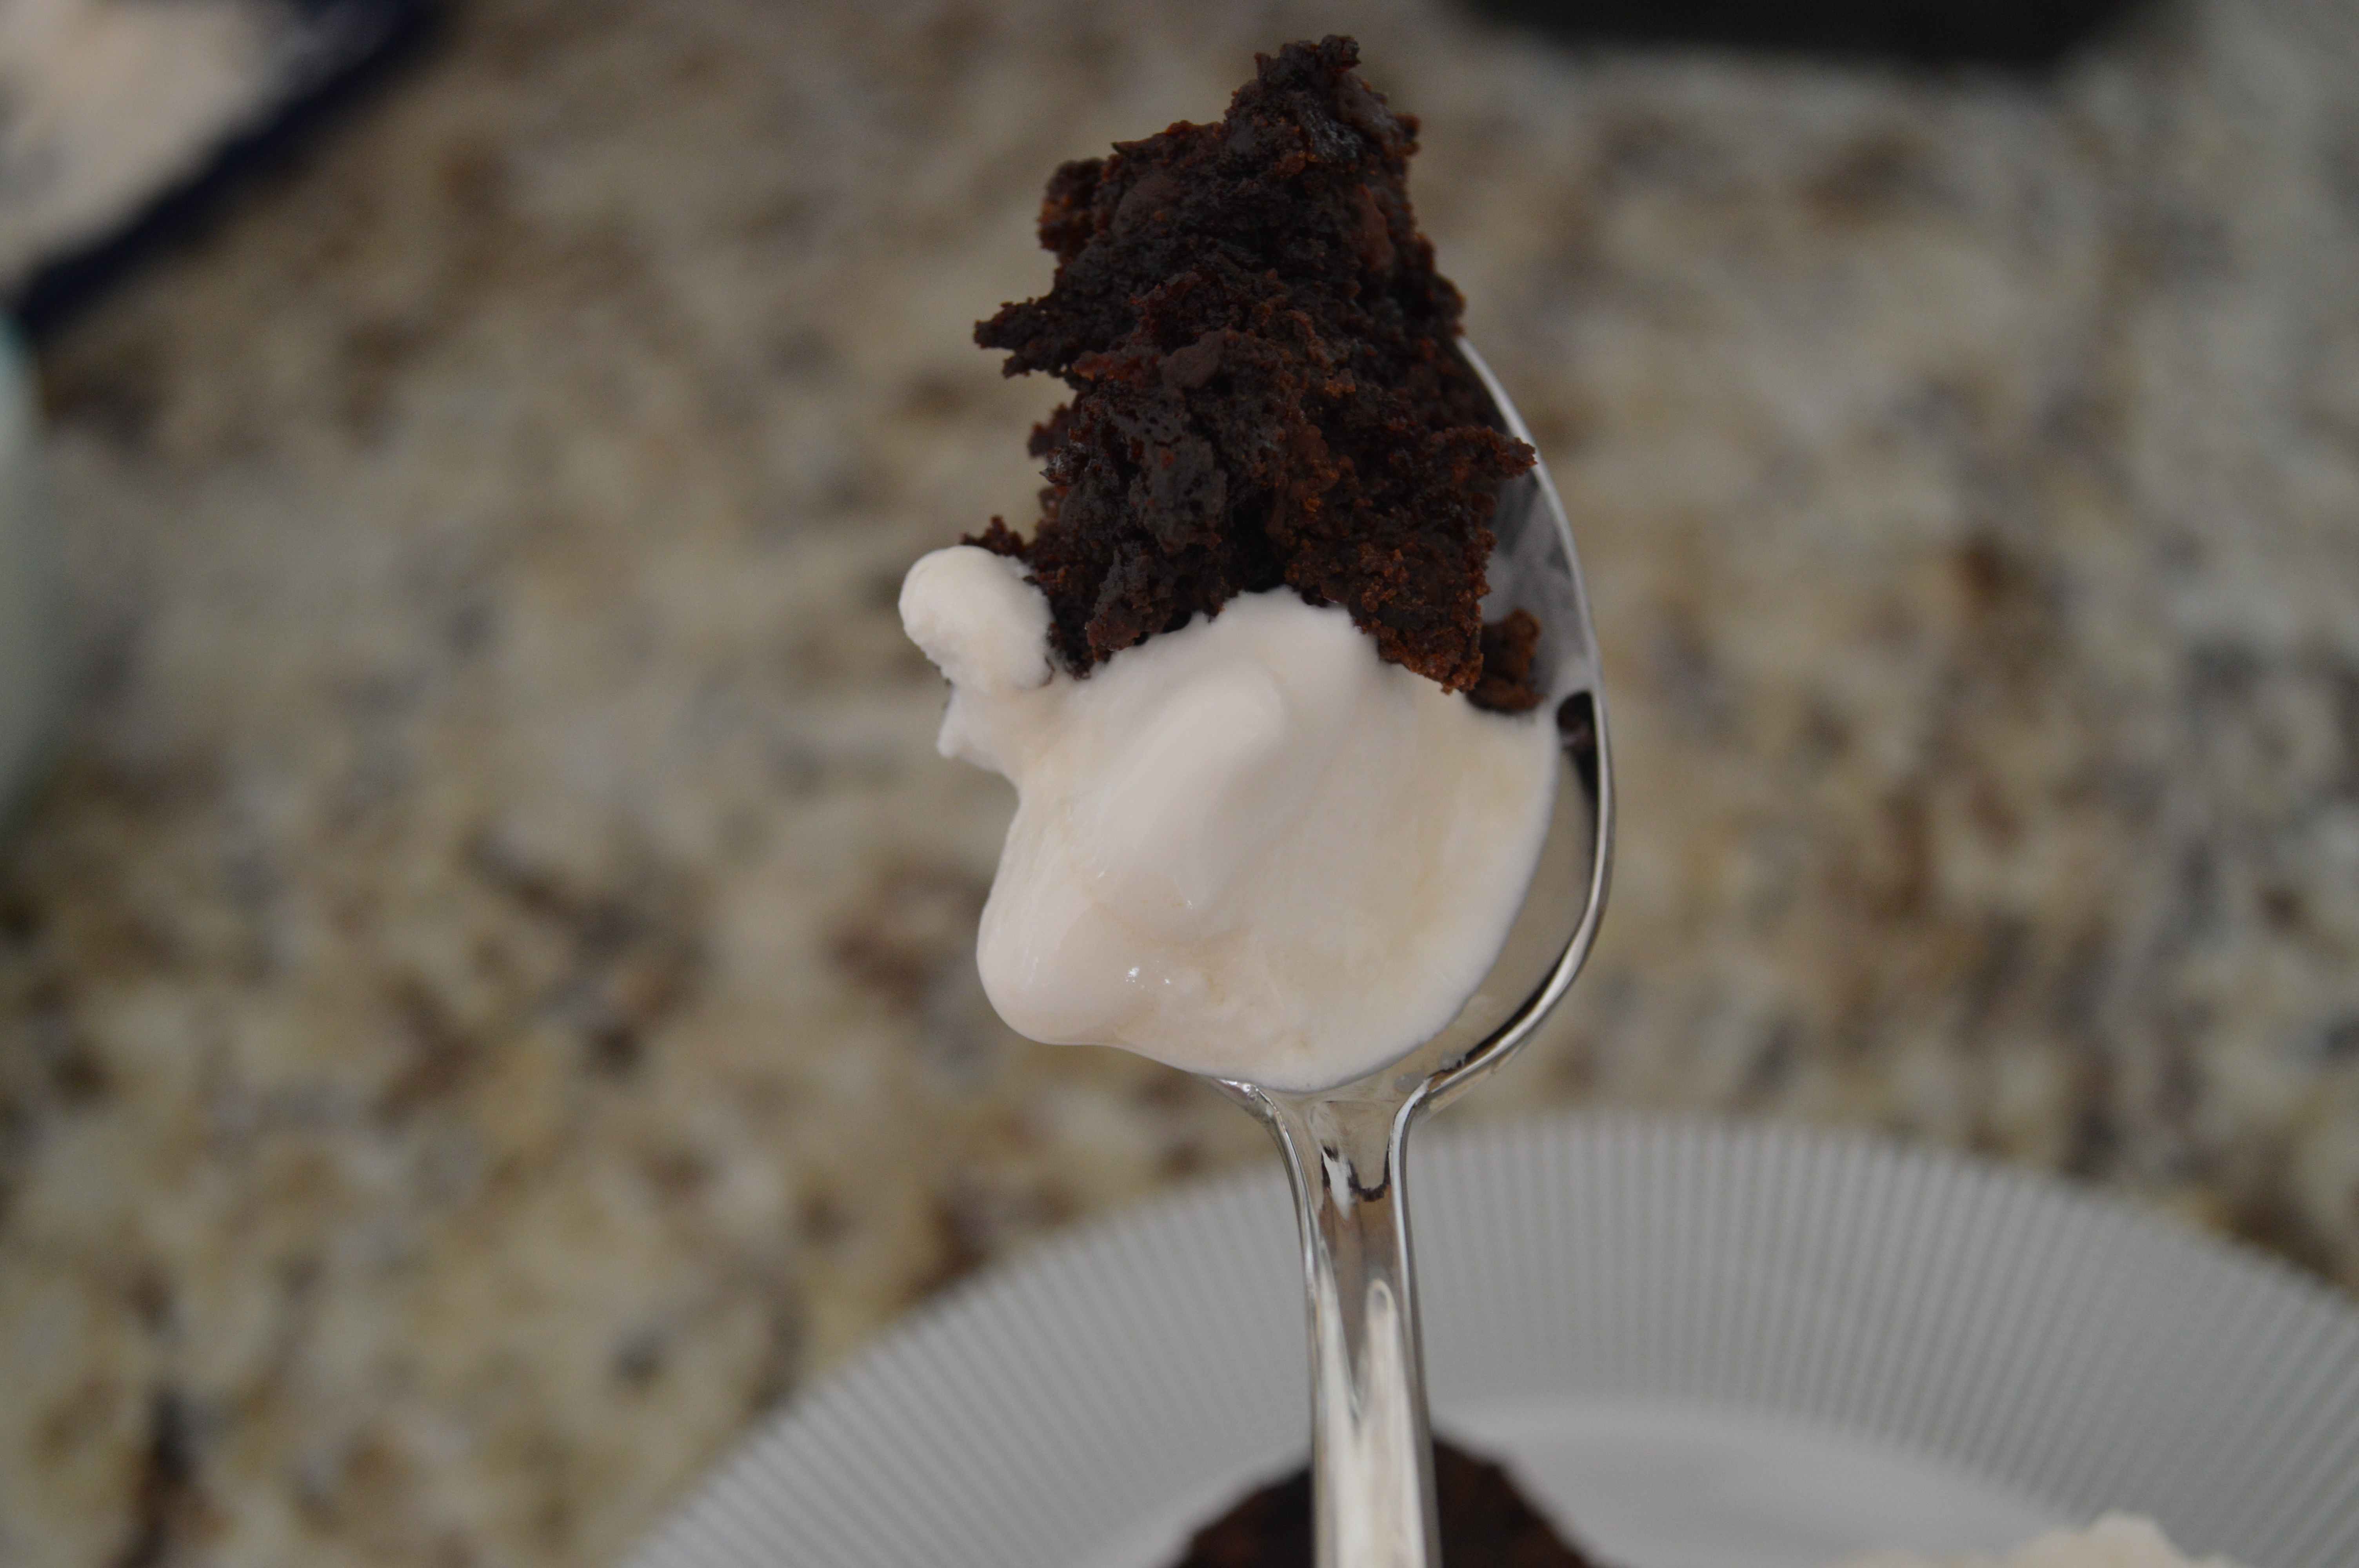
As I dug through my pantry to find the vanilla extract, I thought about what also goes great with cold vanilla ice cream: Warm, fresh baked brownies.
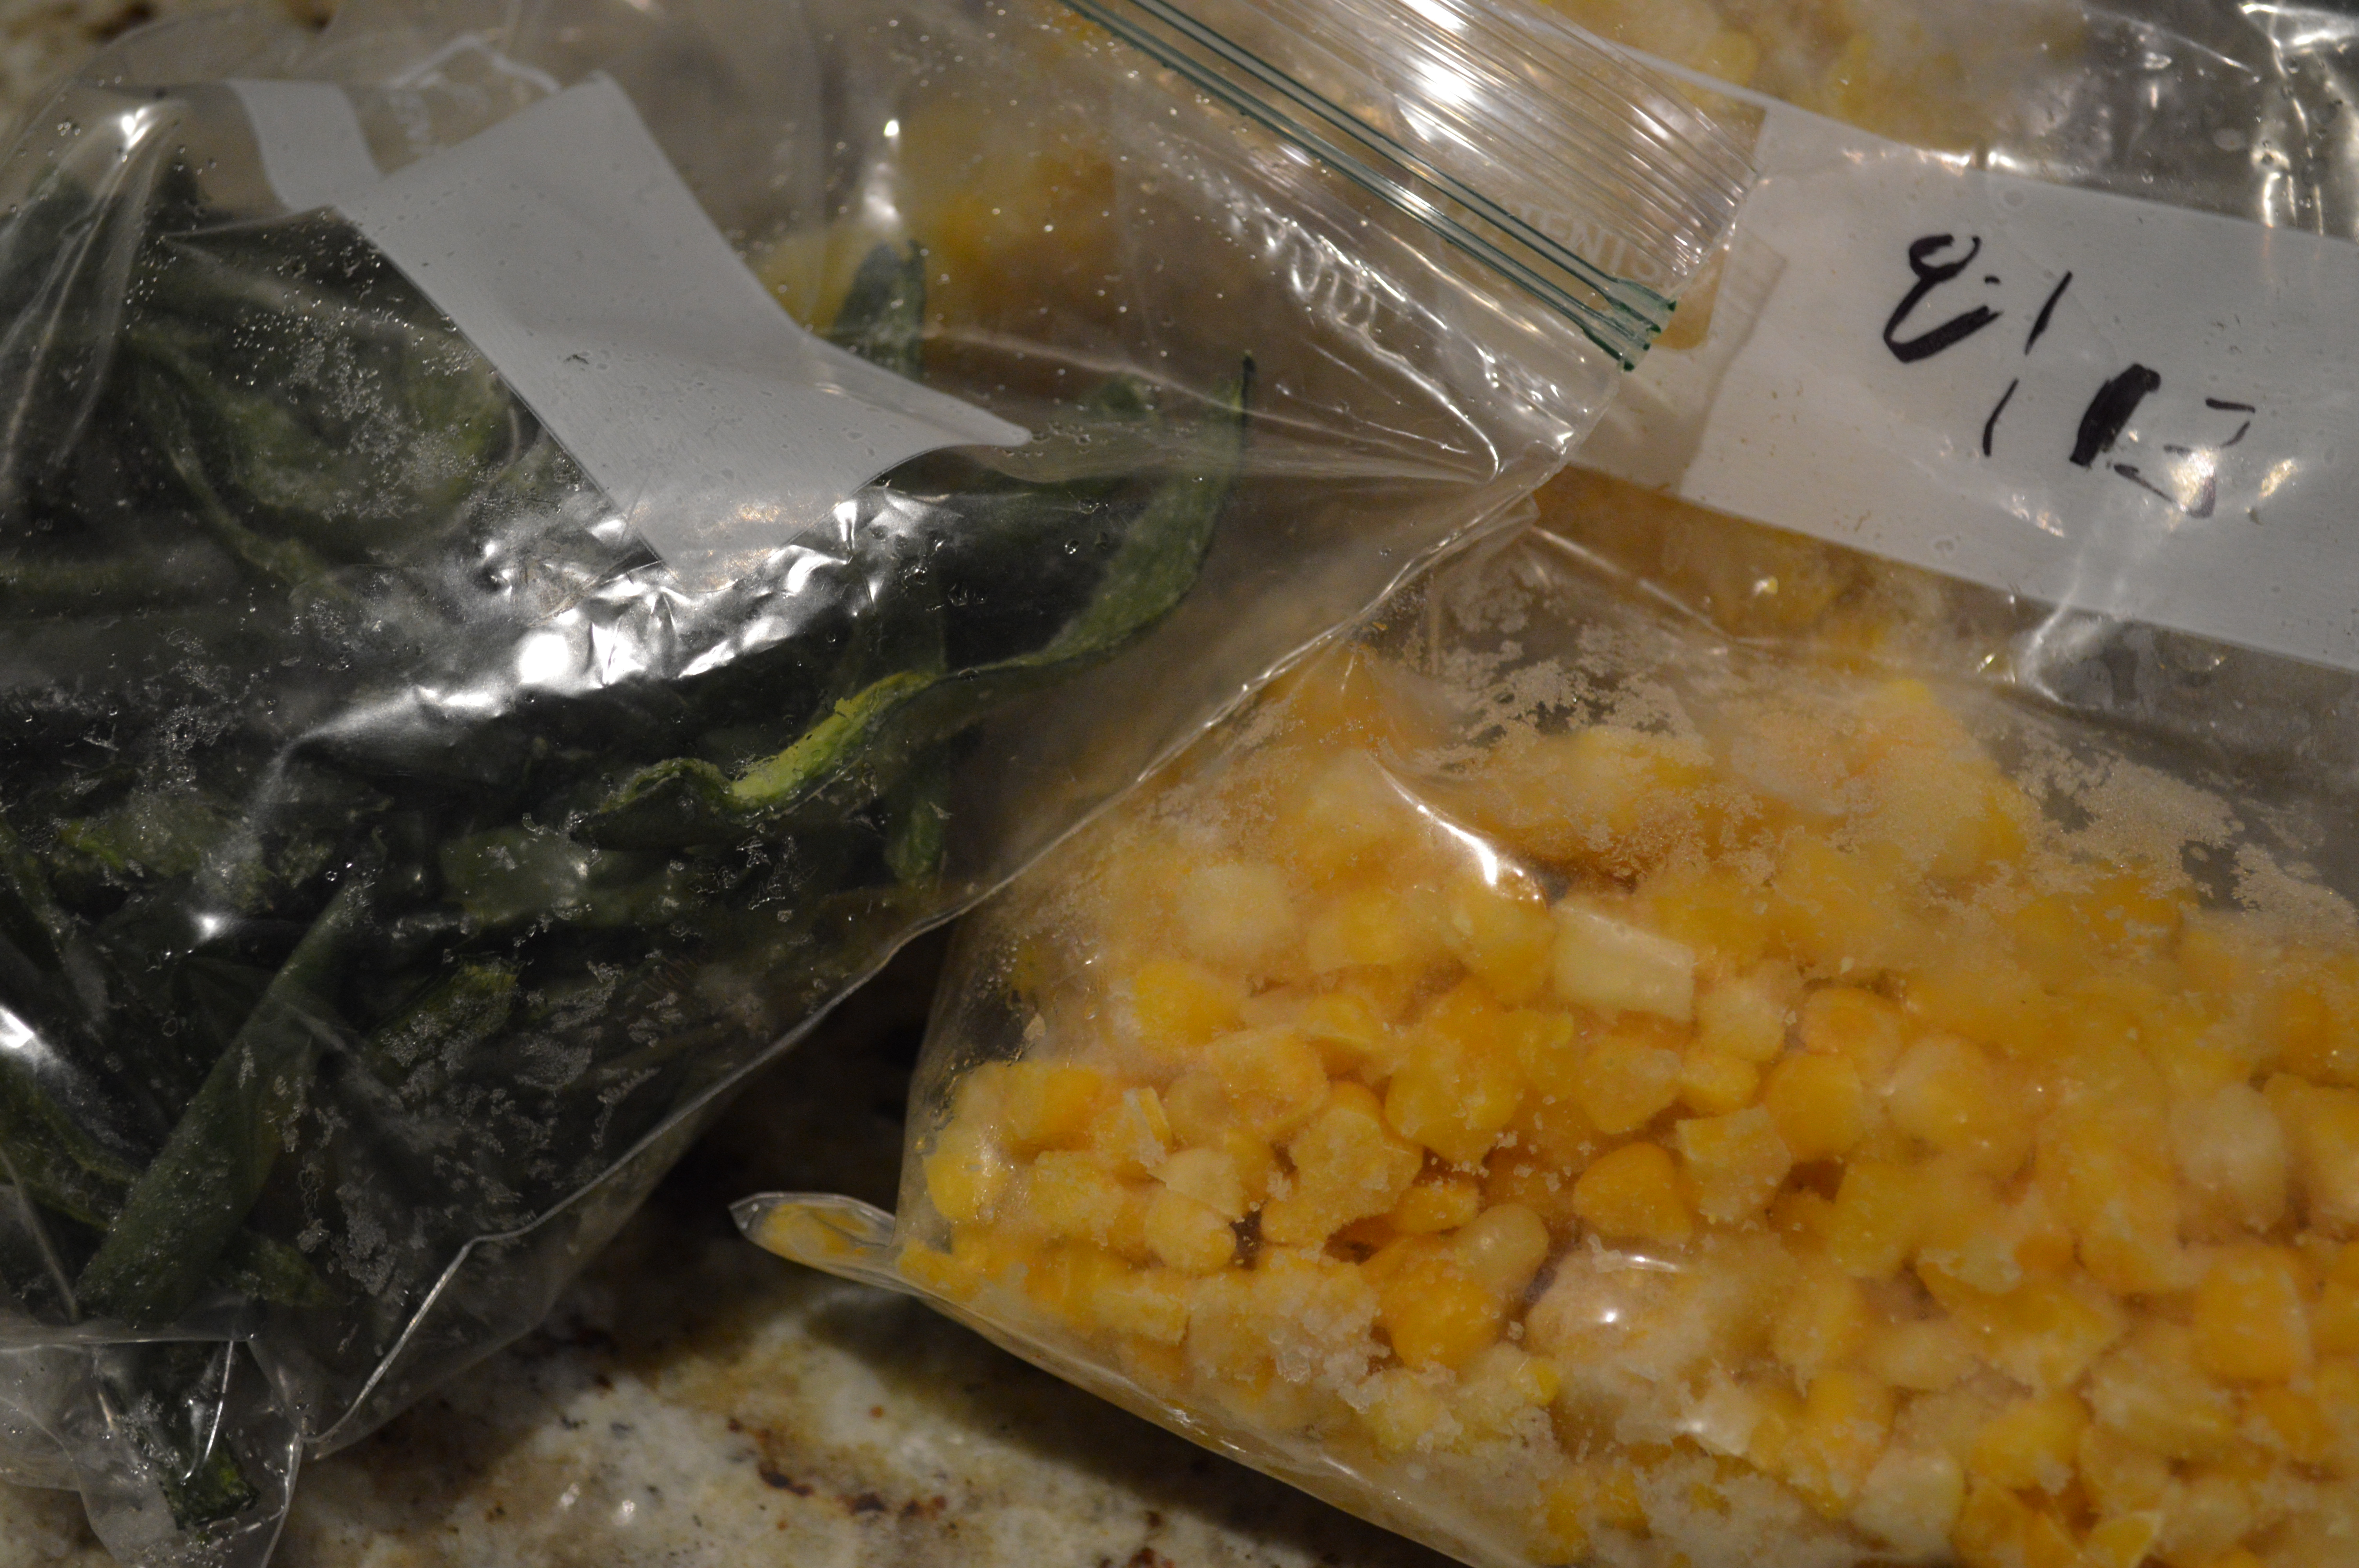
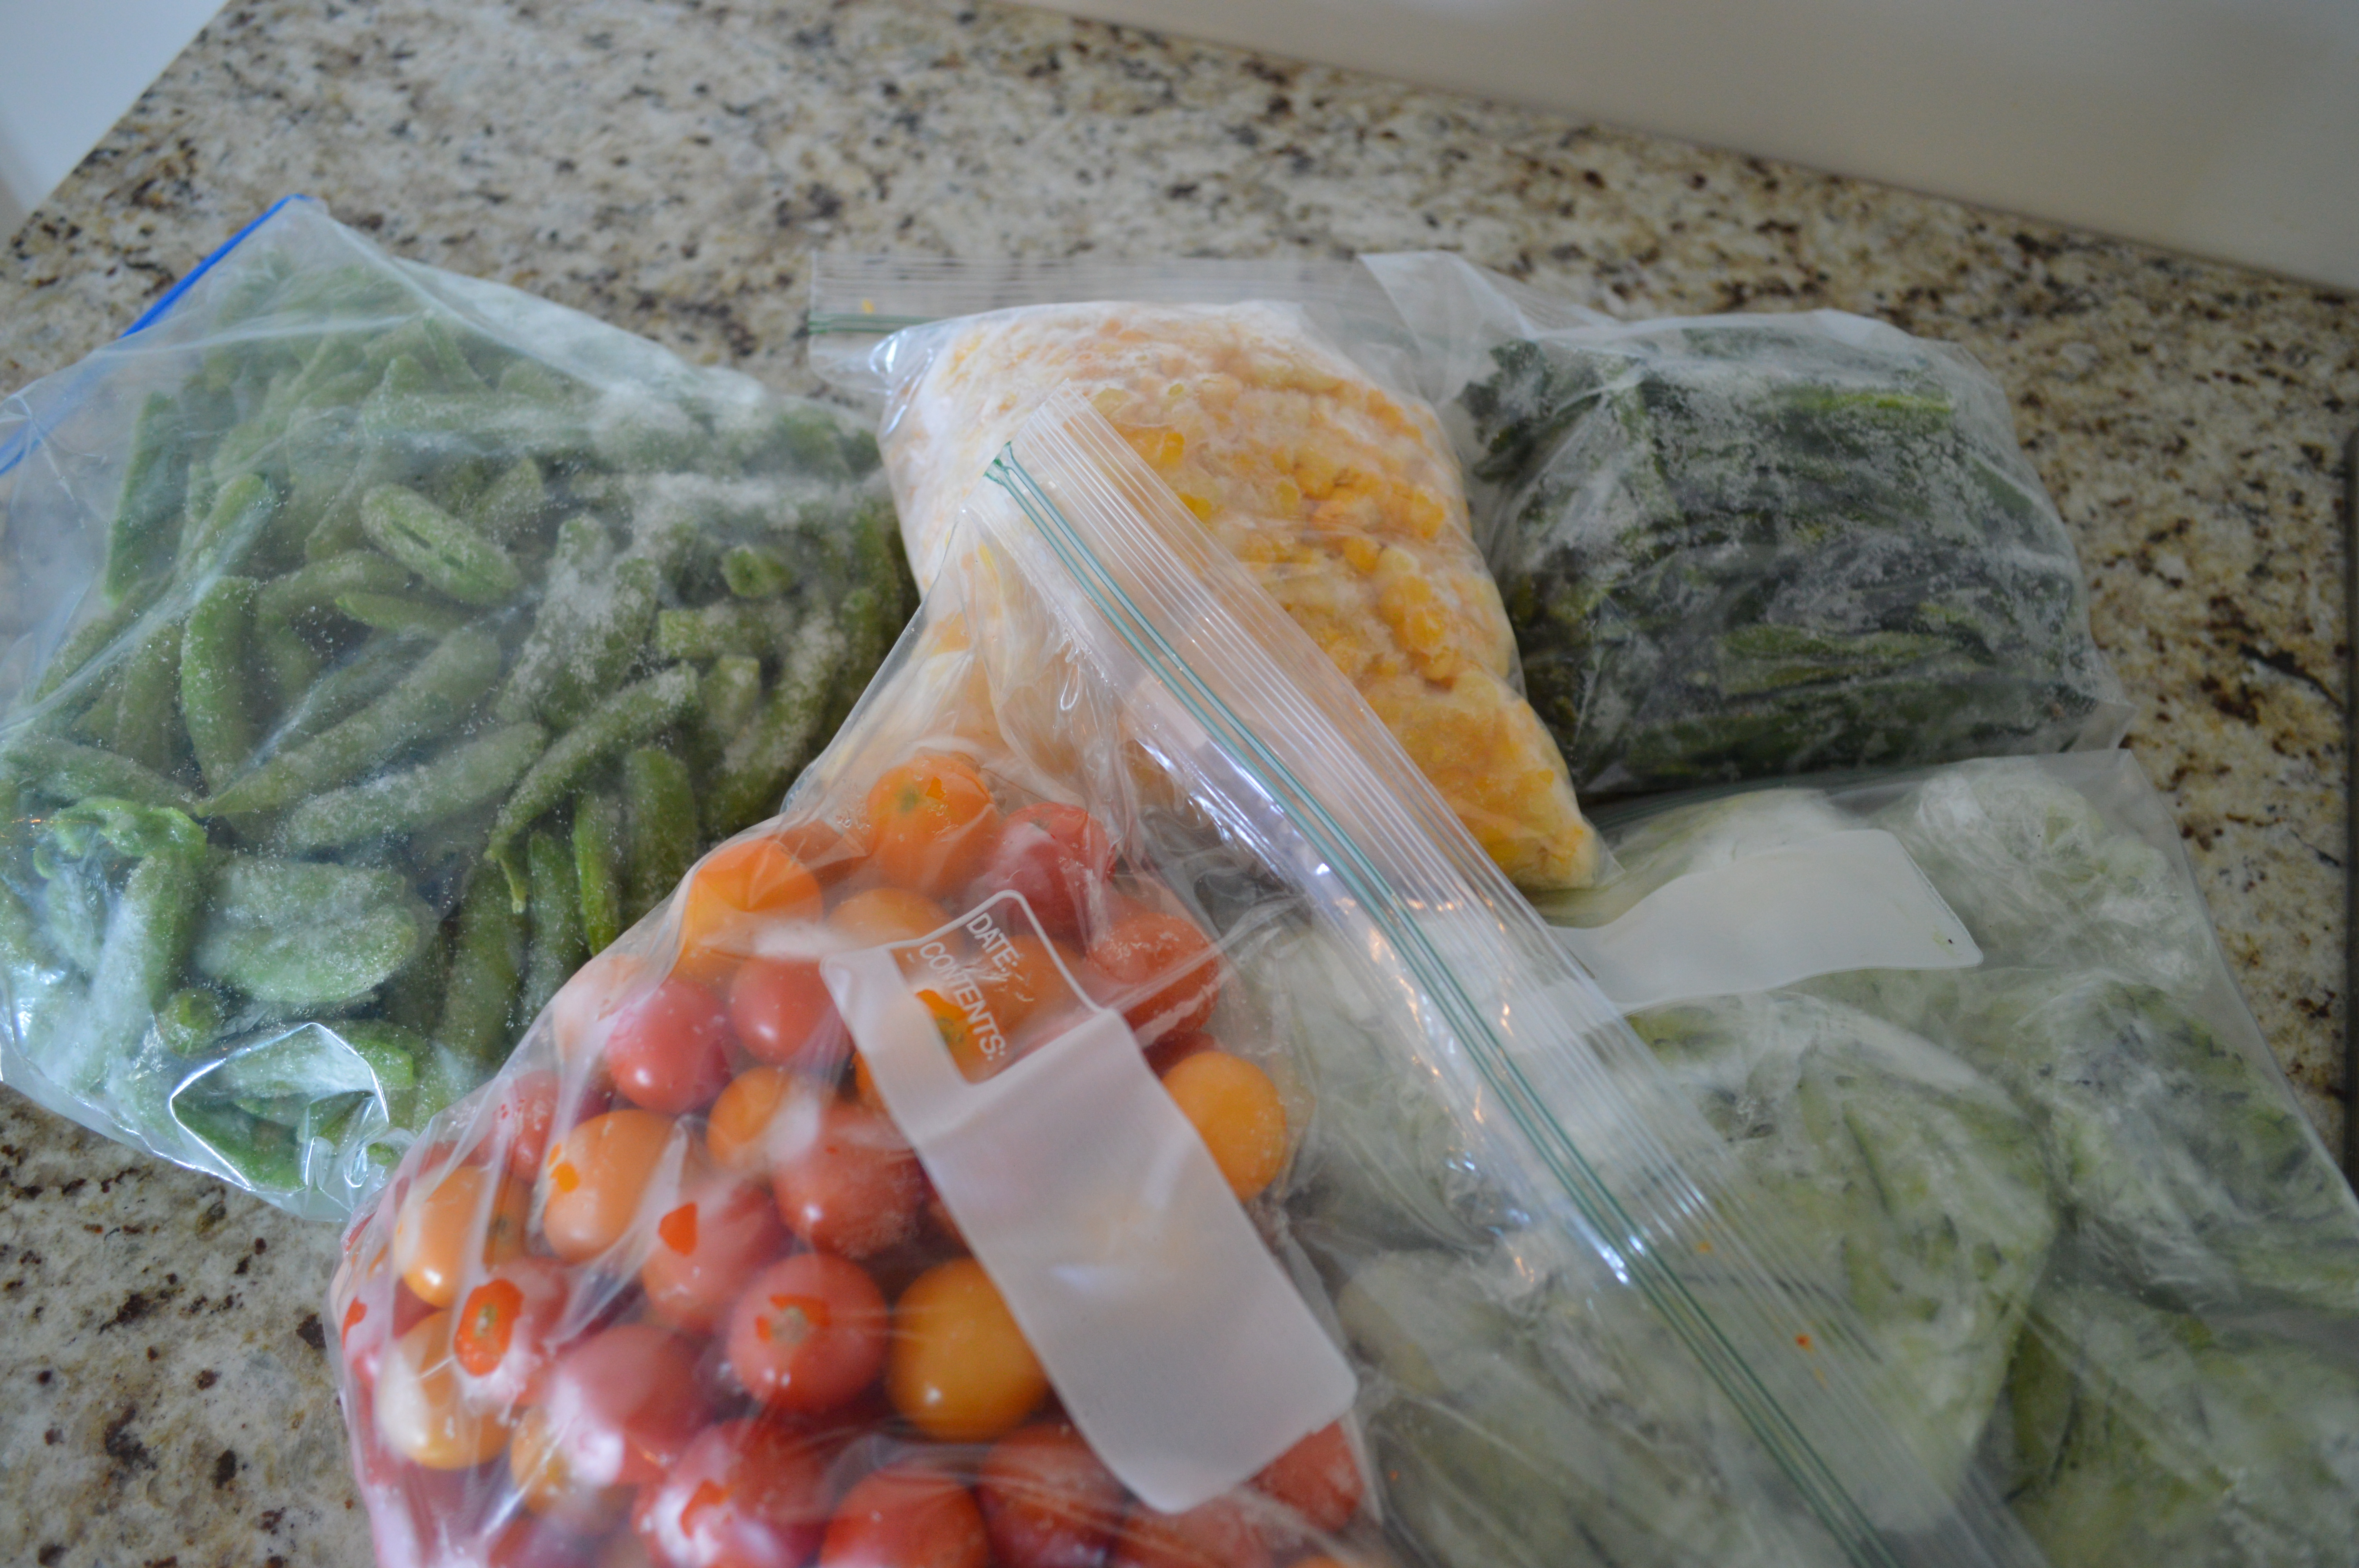
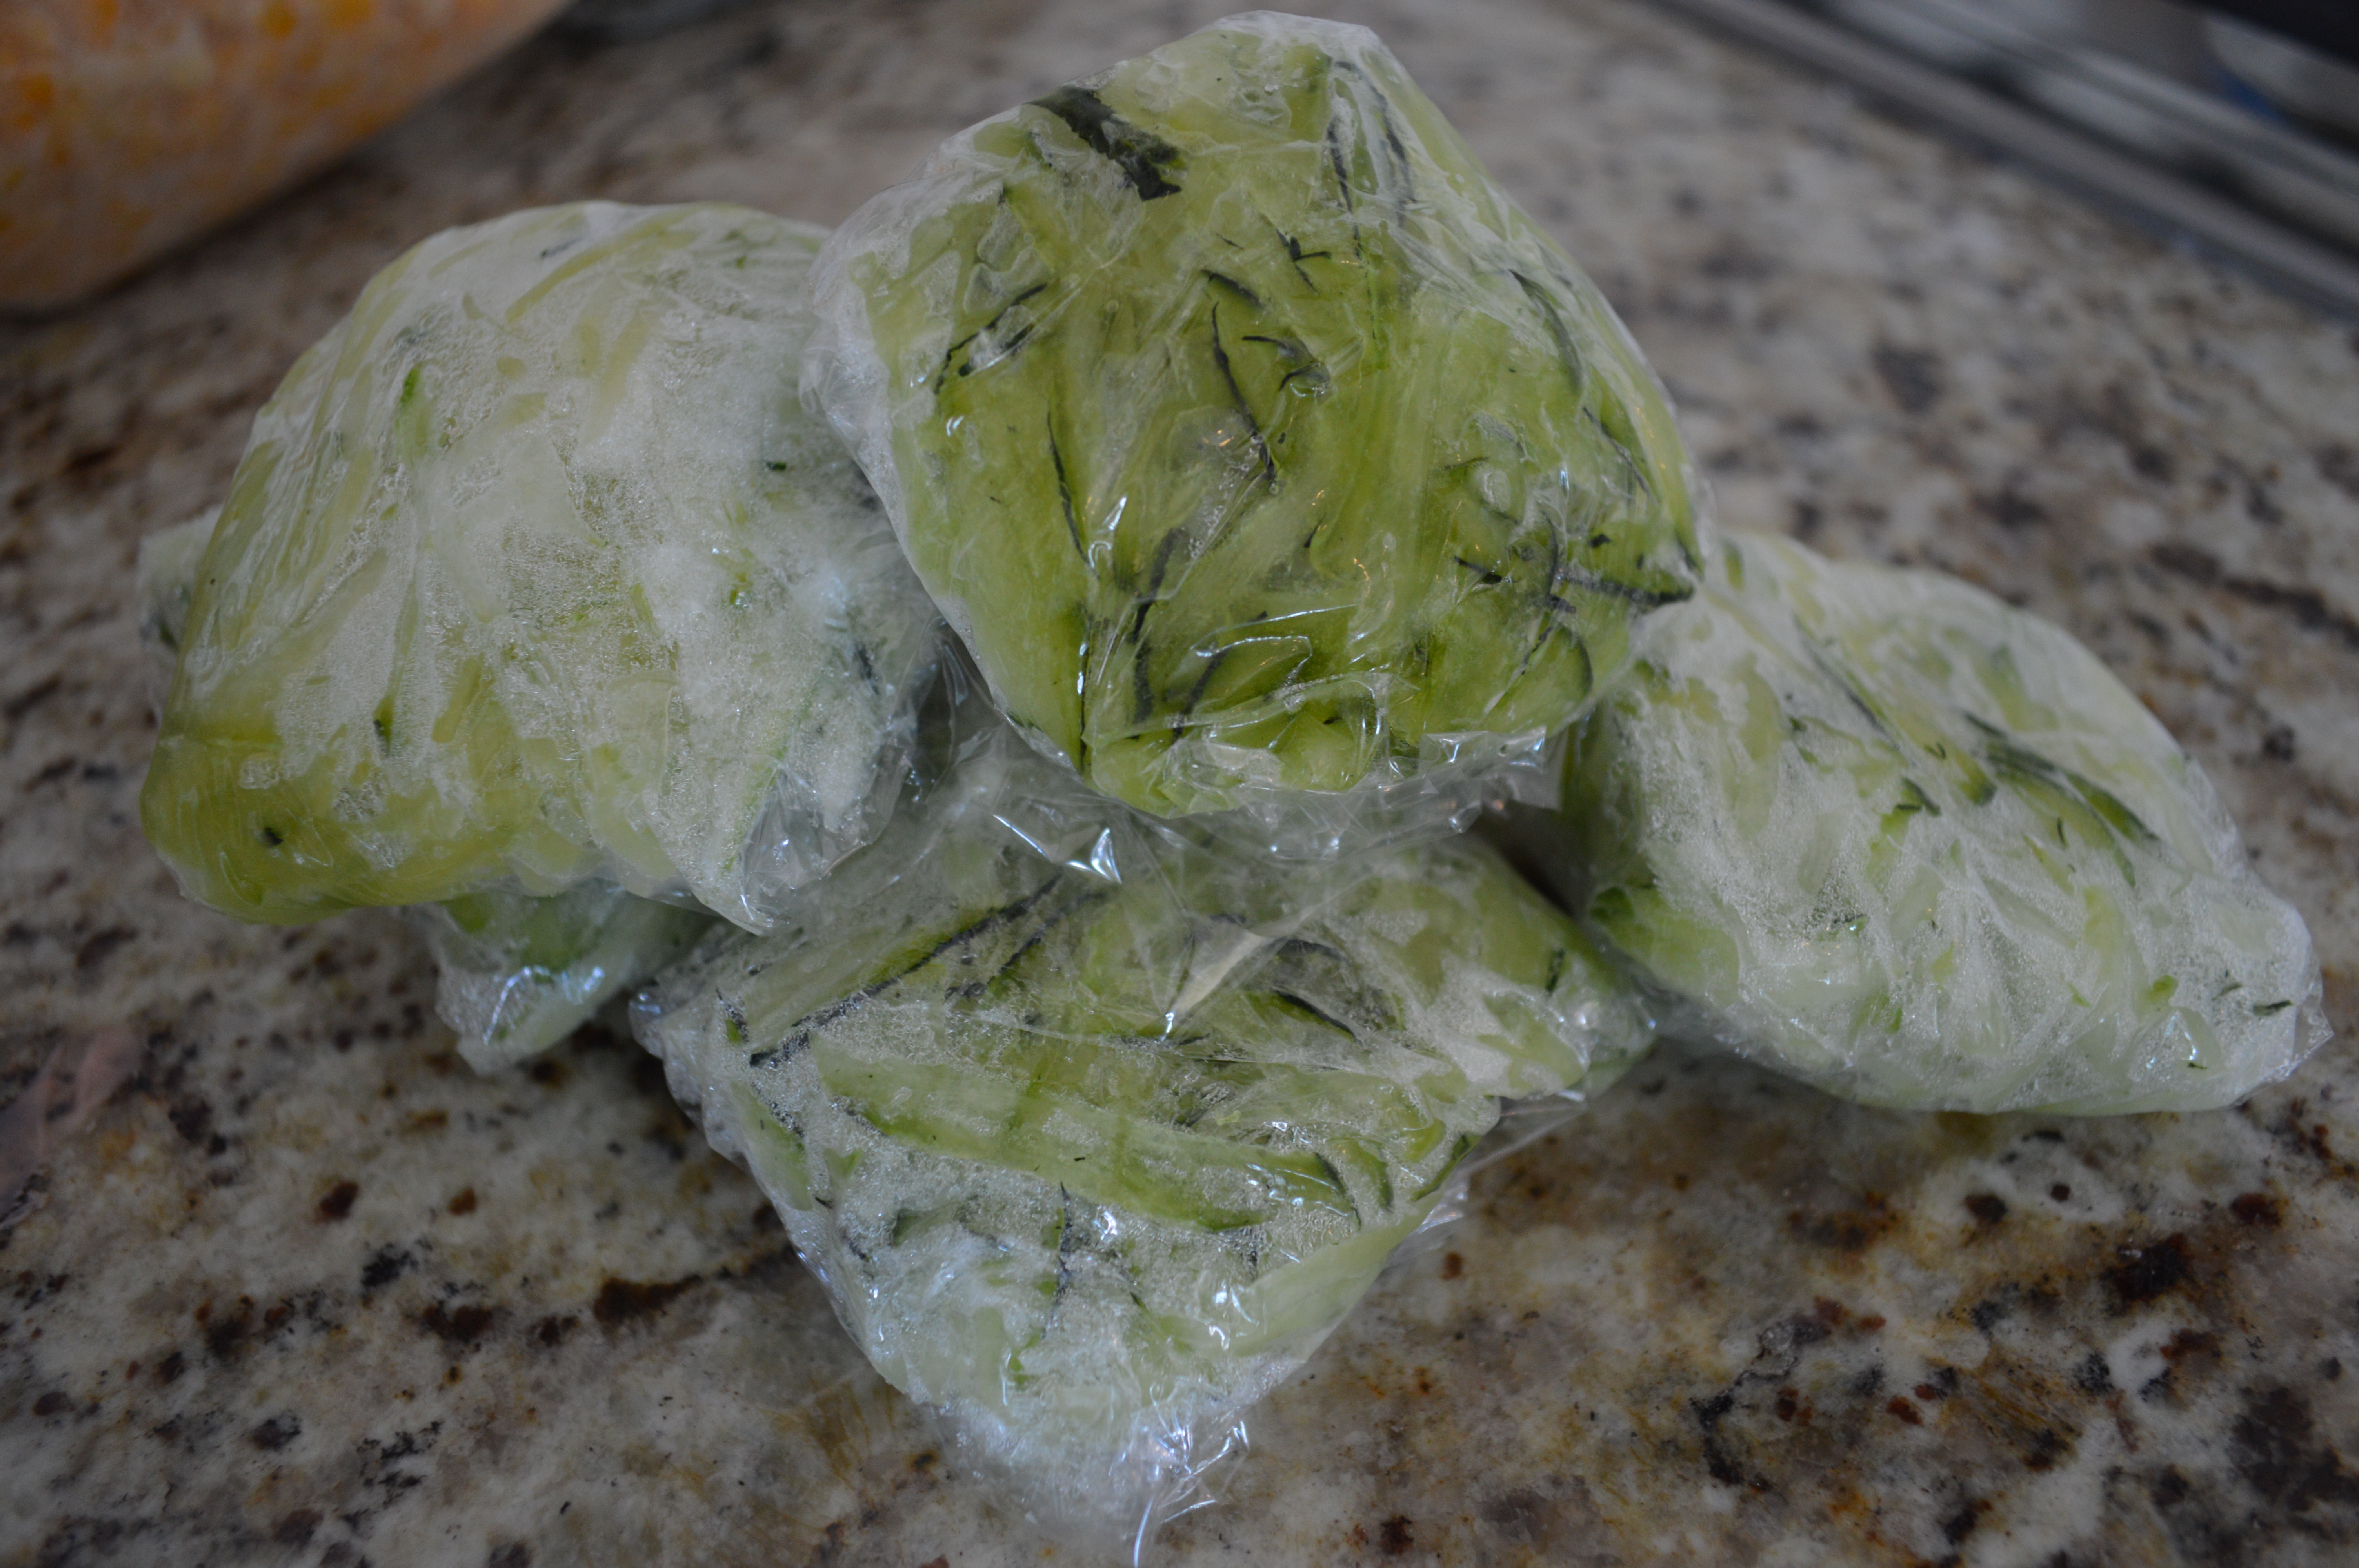
Get ready for dessert overload because in this post I have my super easy vanilla ice cream recipe and a great chocolate zucchini brownie recipe using some of last summer’s frozen zucchini.

And in the spirit of full disclosure, the ginger syrup was excellent on the fresh made ice cream. The gingery bite of the syrup on the cool, creamy vanilla ice cream elevated my basic vanilla ice cream to a ten.
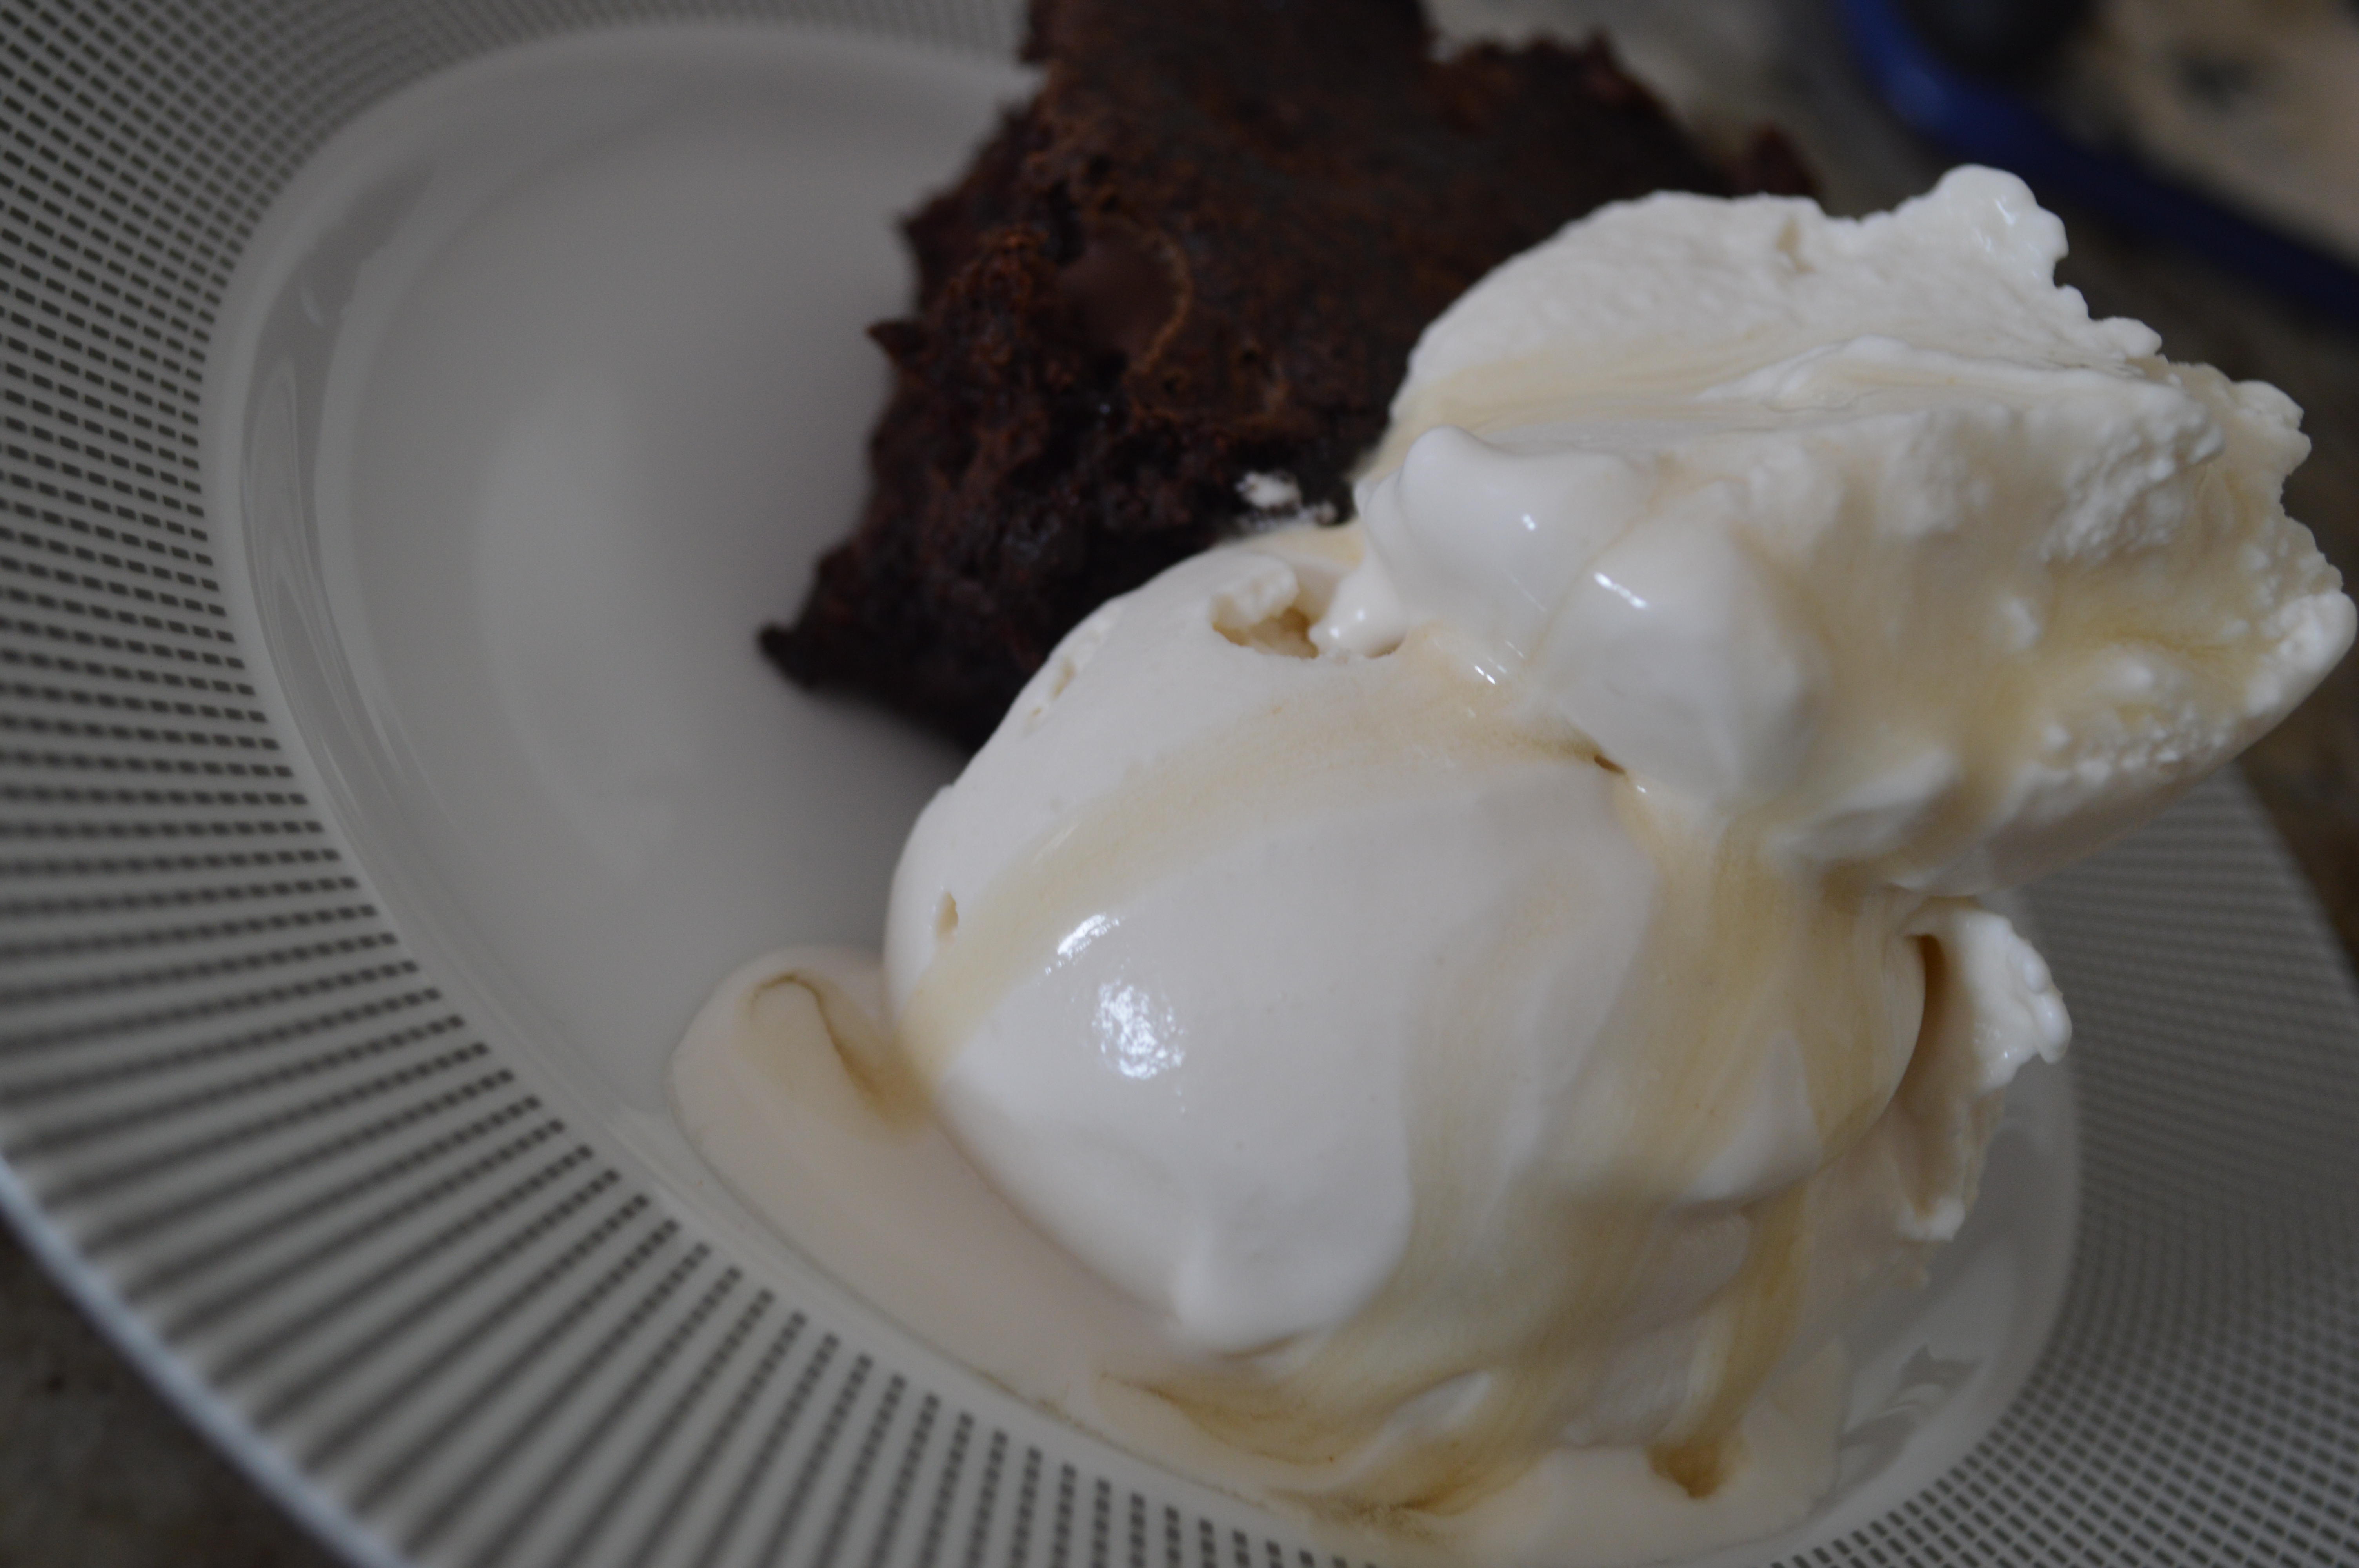
Gingery drizzle.
Vanilla Ice Cream
1 ½ cups whole milk (… it’s temping to try to save calories and use skim or a lower fat milk. Don’t do it. The texture isn’t right.)
1 ¼ cups granulated sugar
3 cups heavy cream
1 ½ tablespoons pure vanilla extract
Use a hand or stand mixer to combine milk and sugar in a medium sized bowl. Mix until sugar is dissolved, about three minutes.
Mix in heavy cream and vanilla.
Pour mixture into the ice cream maker’s chilled freezer bowl. Mix for about 25 minutes.
Transfer to a container and freeze for at least two hours before serving.
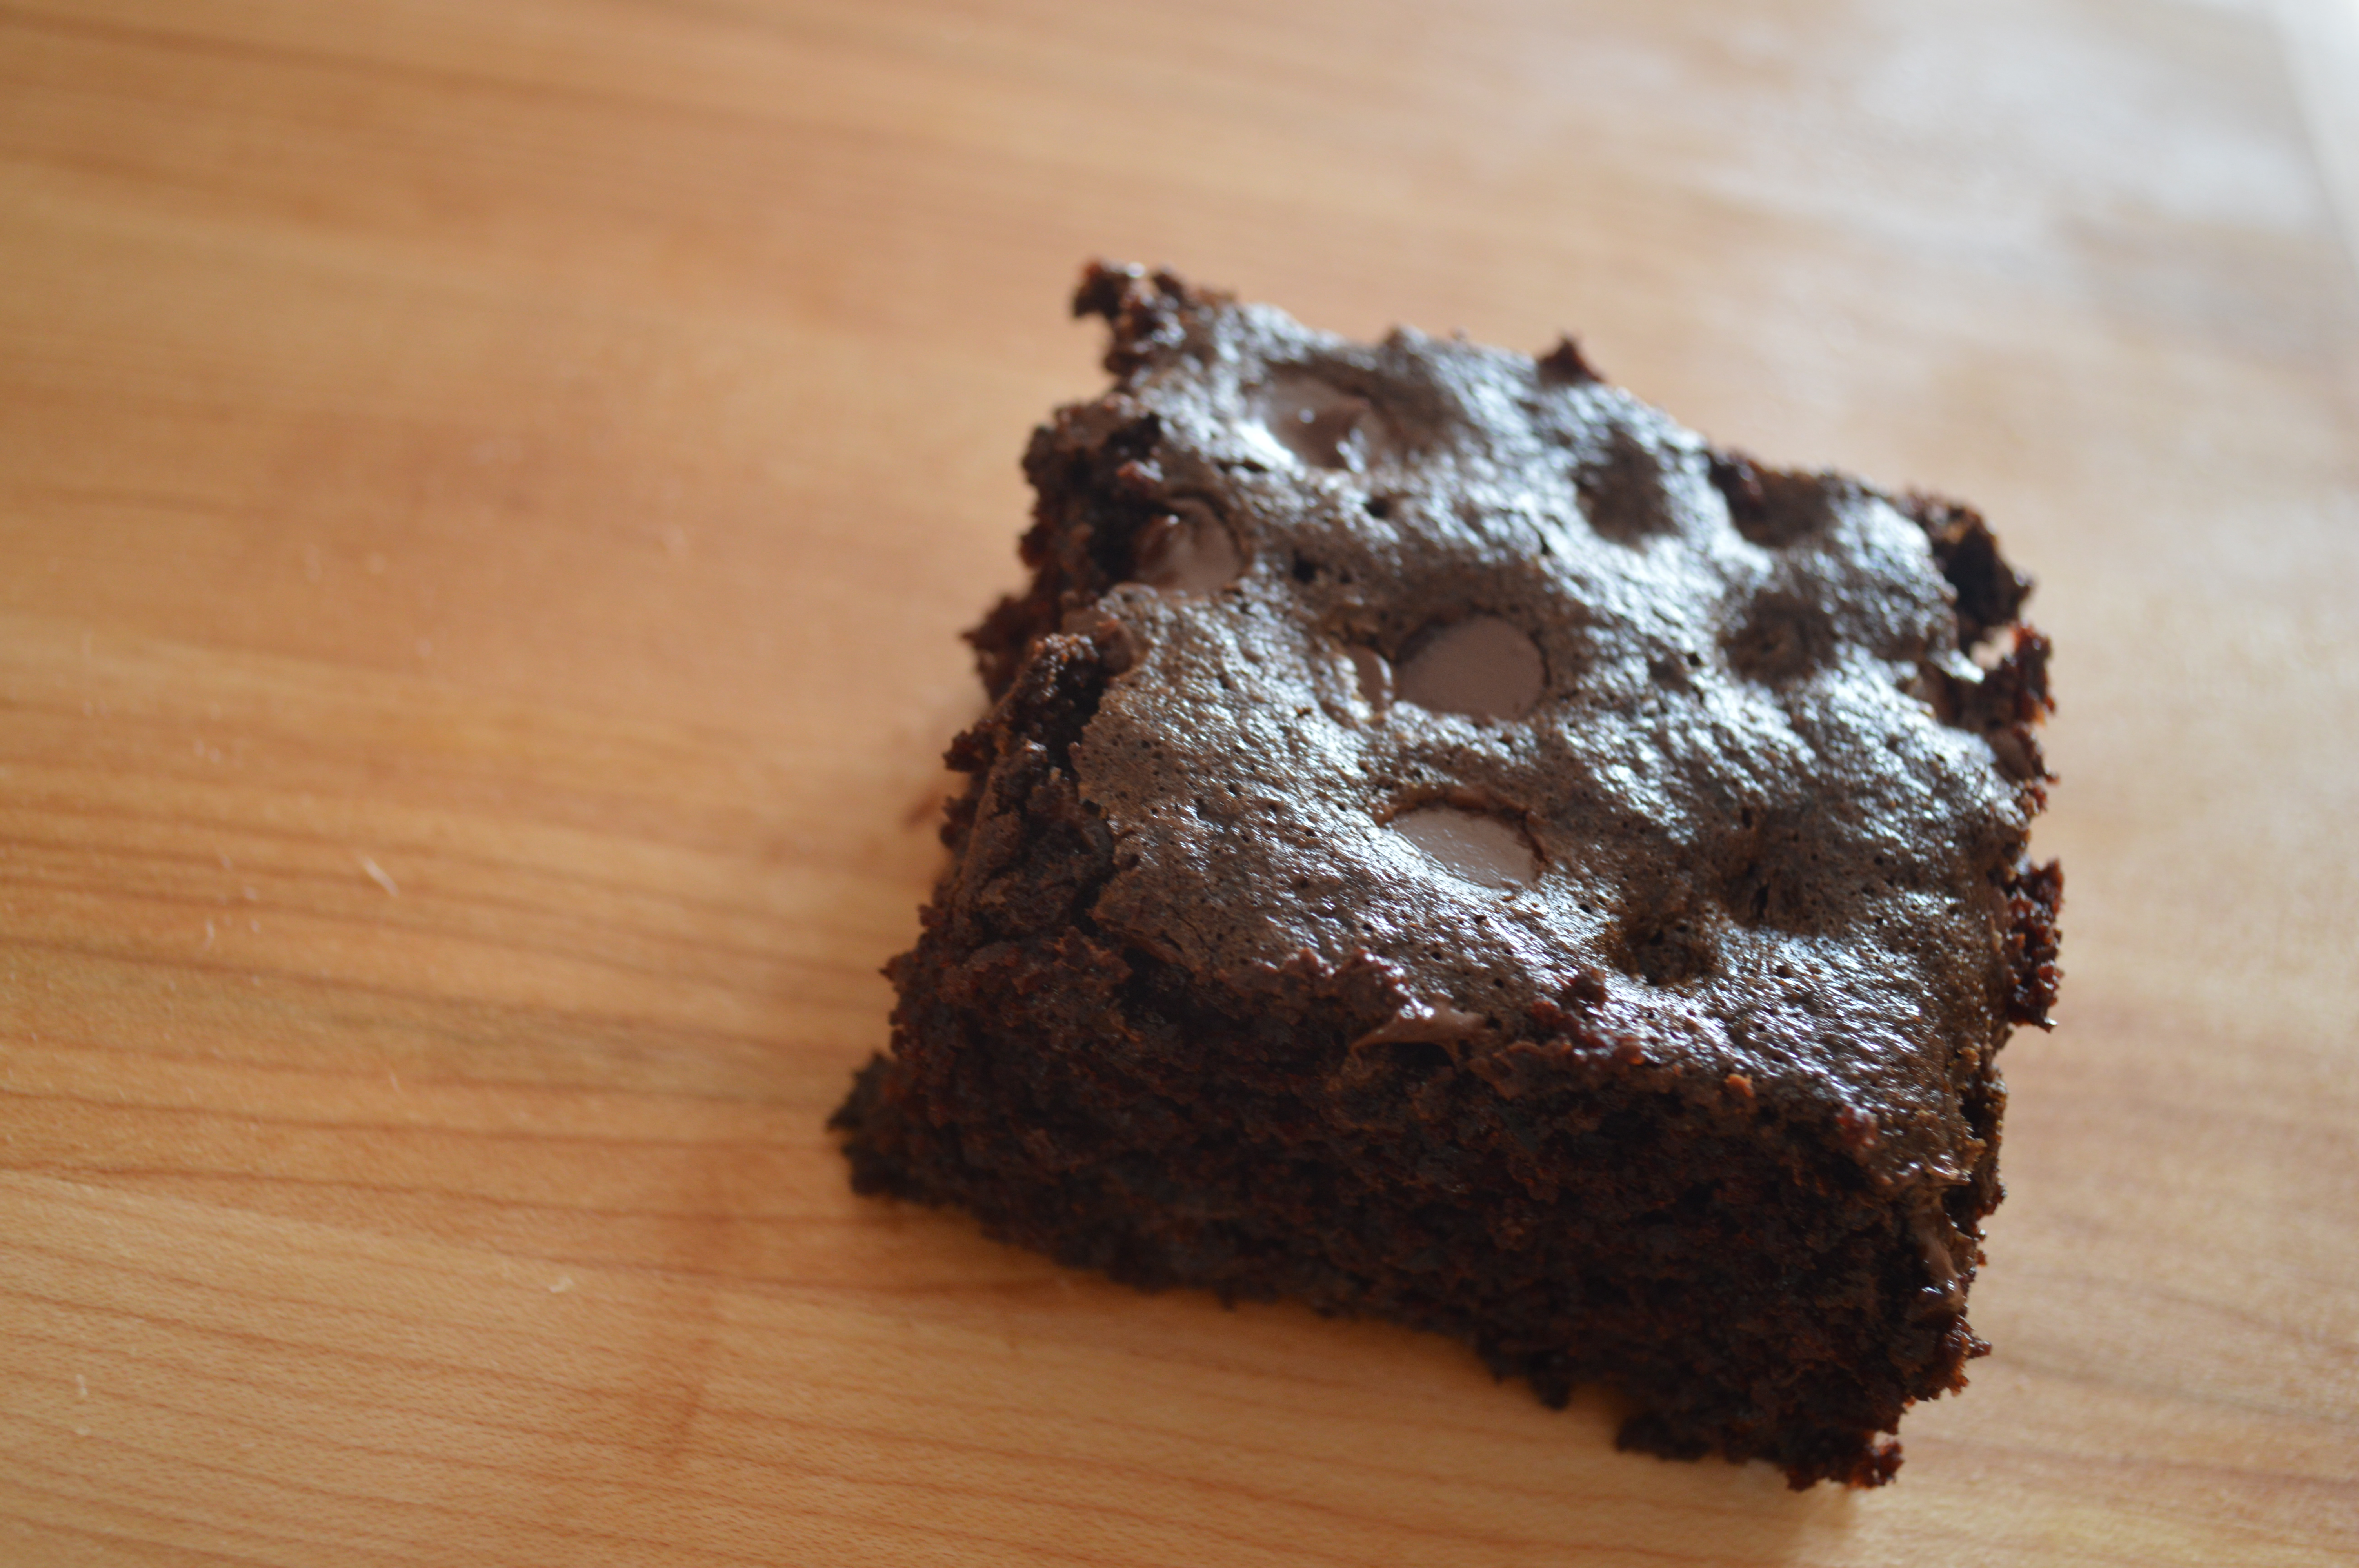
Chocolate Zucchini Brownies
2 large eggs
1 tablespoon pure vanilla extract
2 cups grated zucchini
1 cup granulated sugar
¼ melted butter
1 cup flour
Pinch of salt
¼ cup unsweetened Cocoa Powder
1 ½ teaspoon baking soda
1/2 tablespoon cinnamon
¼ teaspoon allspice
1 cup chocolate chips and a handful for topping
Pre-heat oven to 350.
Spray an 8×8 baking pan with non-stick cooking spray.
In a large bowl, whisk together eggs, zucchini, vanilla, sugar, butter and salt until combined. Stir in flour, cocoa powder, baking soda, cinnamon, and allspice. Just combine.
Add chocolate chips and mix until incorporated.
Pour batter into baking pan. Top with a handful of chocolate chips. Bake for about 40 minutes or until the center is cooked through.
… In defense of my super decadant afternoon snack, I also planted a whole flat of lettuce today. It’s all about balance, right?!
Uh, yeah. If you need me, you can find me at the gym.