During our visit to my parent’s home in Michigan earlier this month, my mom took Adam and me to Holland’s Farmer’s Market. Holland is about twenty five minutes away from my parent’s house and is a really neat little town.

The Farmer’s Market/dish crew…. got to love family dinners.
Holland is home to Hope College, where my little brother is a freshman and a strong backstroker on the swim team. The community plays up the connection to the country, Holland. It is decorated with traditional windmills and hosts a Tulip Festival each spring. There are also a bunch cute boutiques and unique restaurants that I cannot wait to check out on a future visit.
But, it is clear the town value’s the farmers market. A whole street is set up for the market which is open twice a week from May to December.
And even during the first weekend in December, the market was full of produce, baked goods and beautiful Christmas décor.
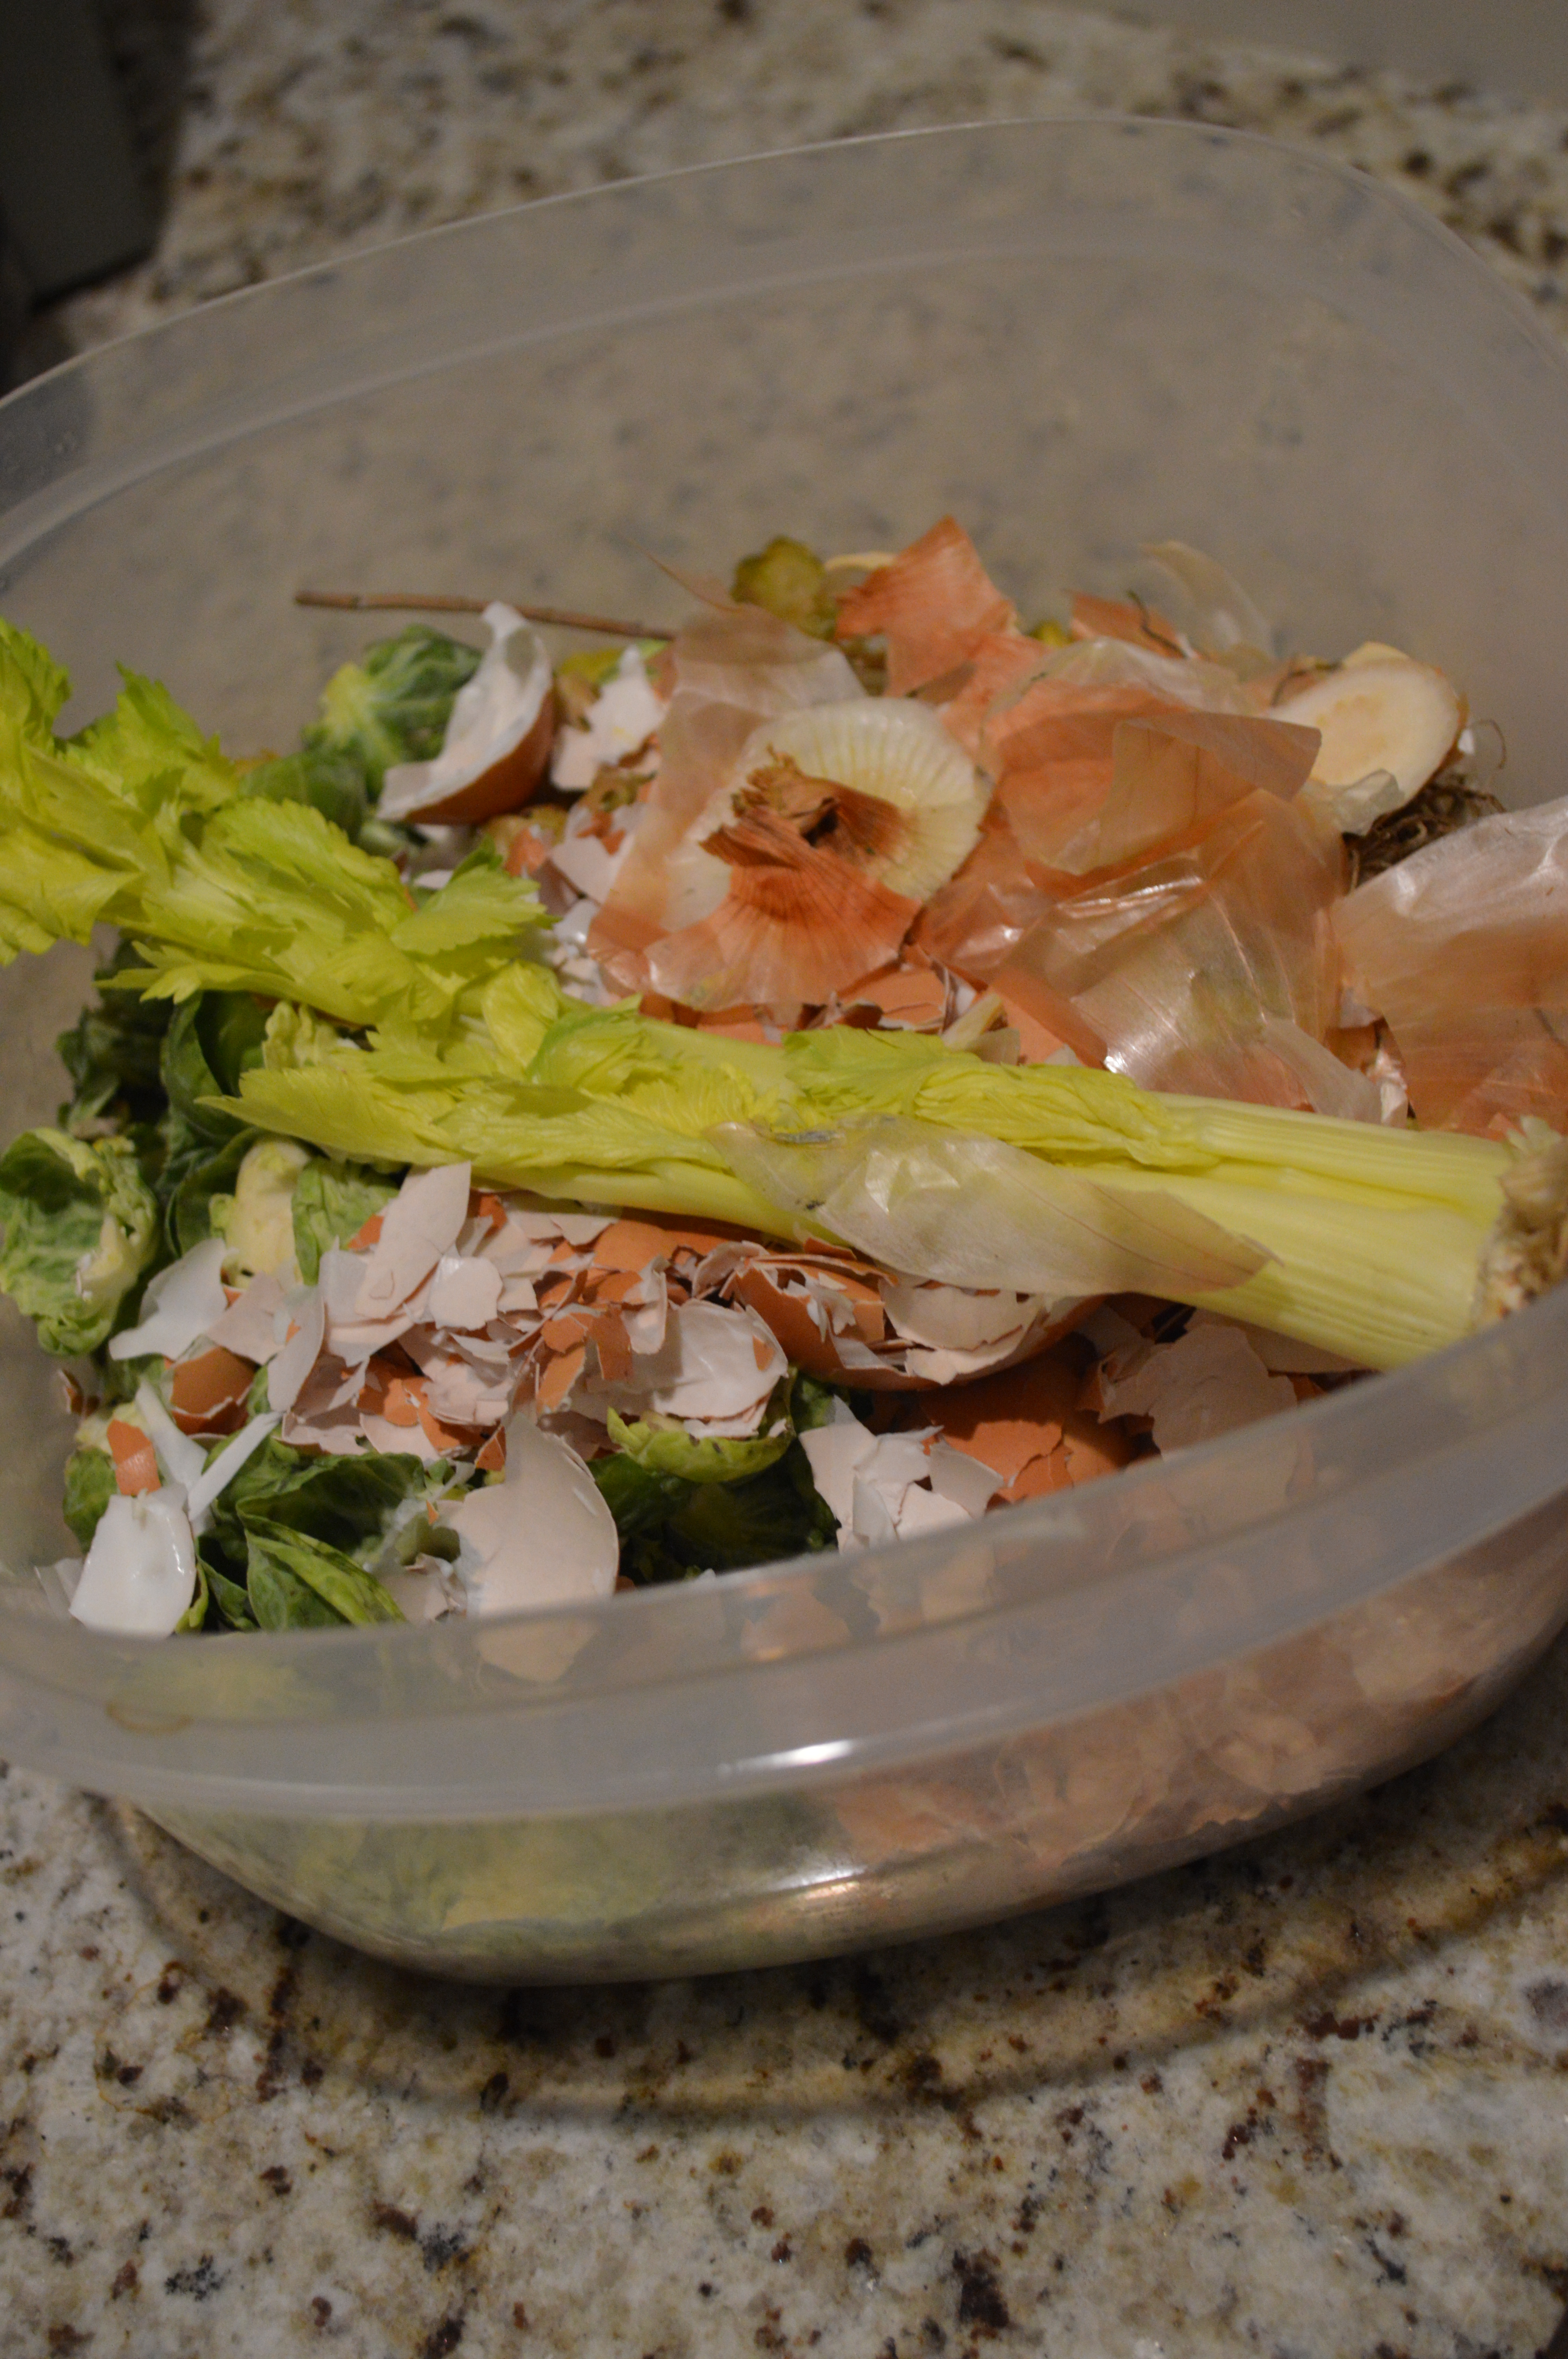
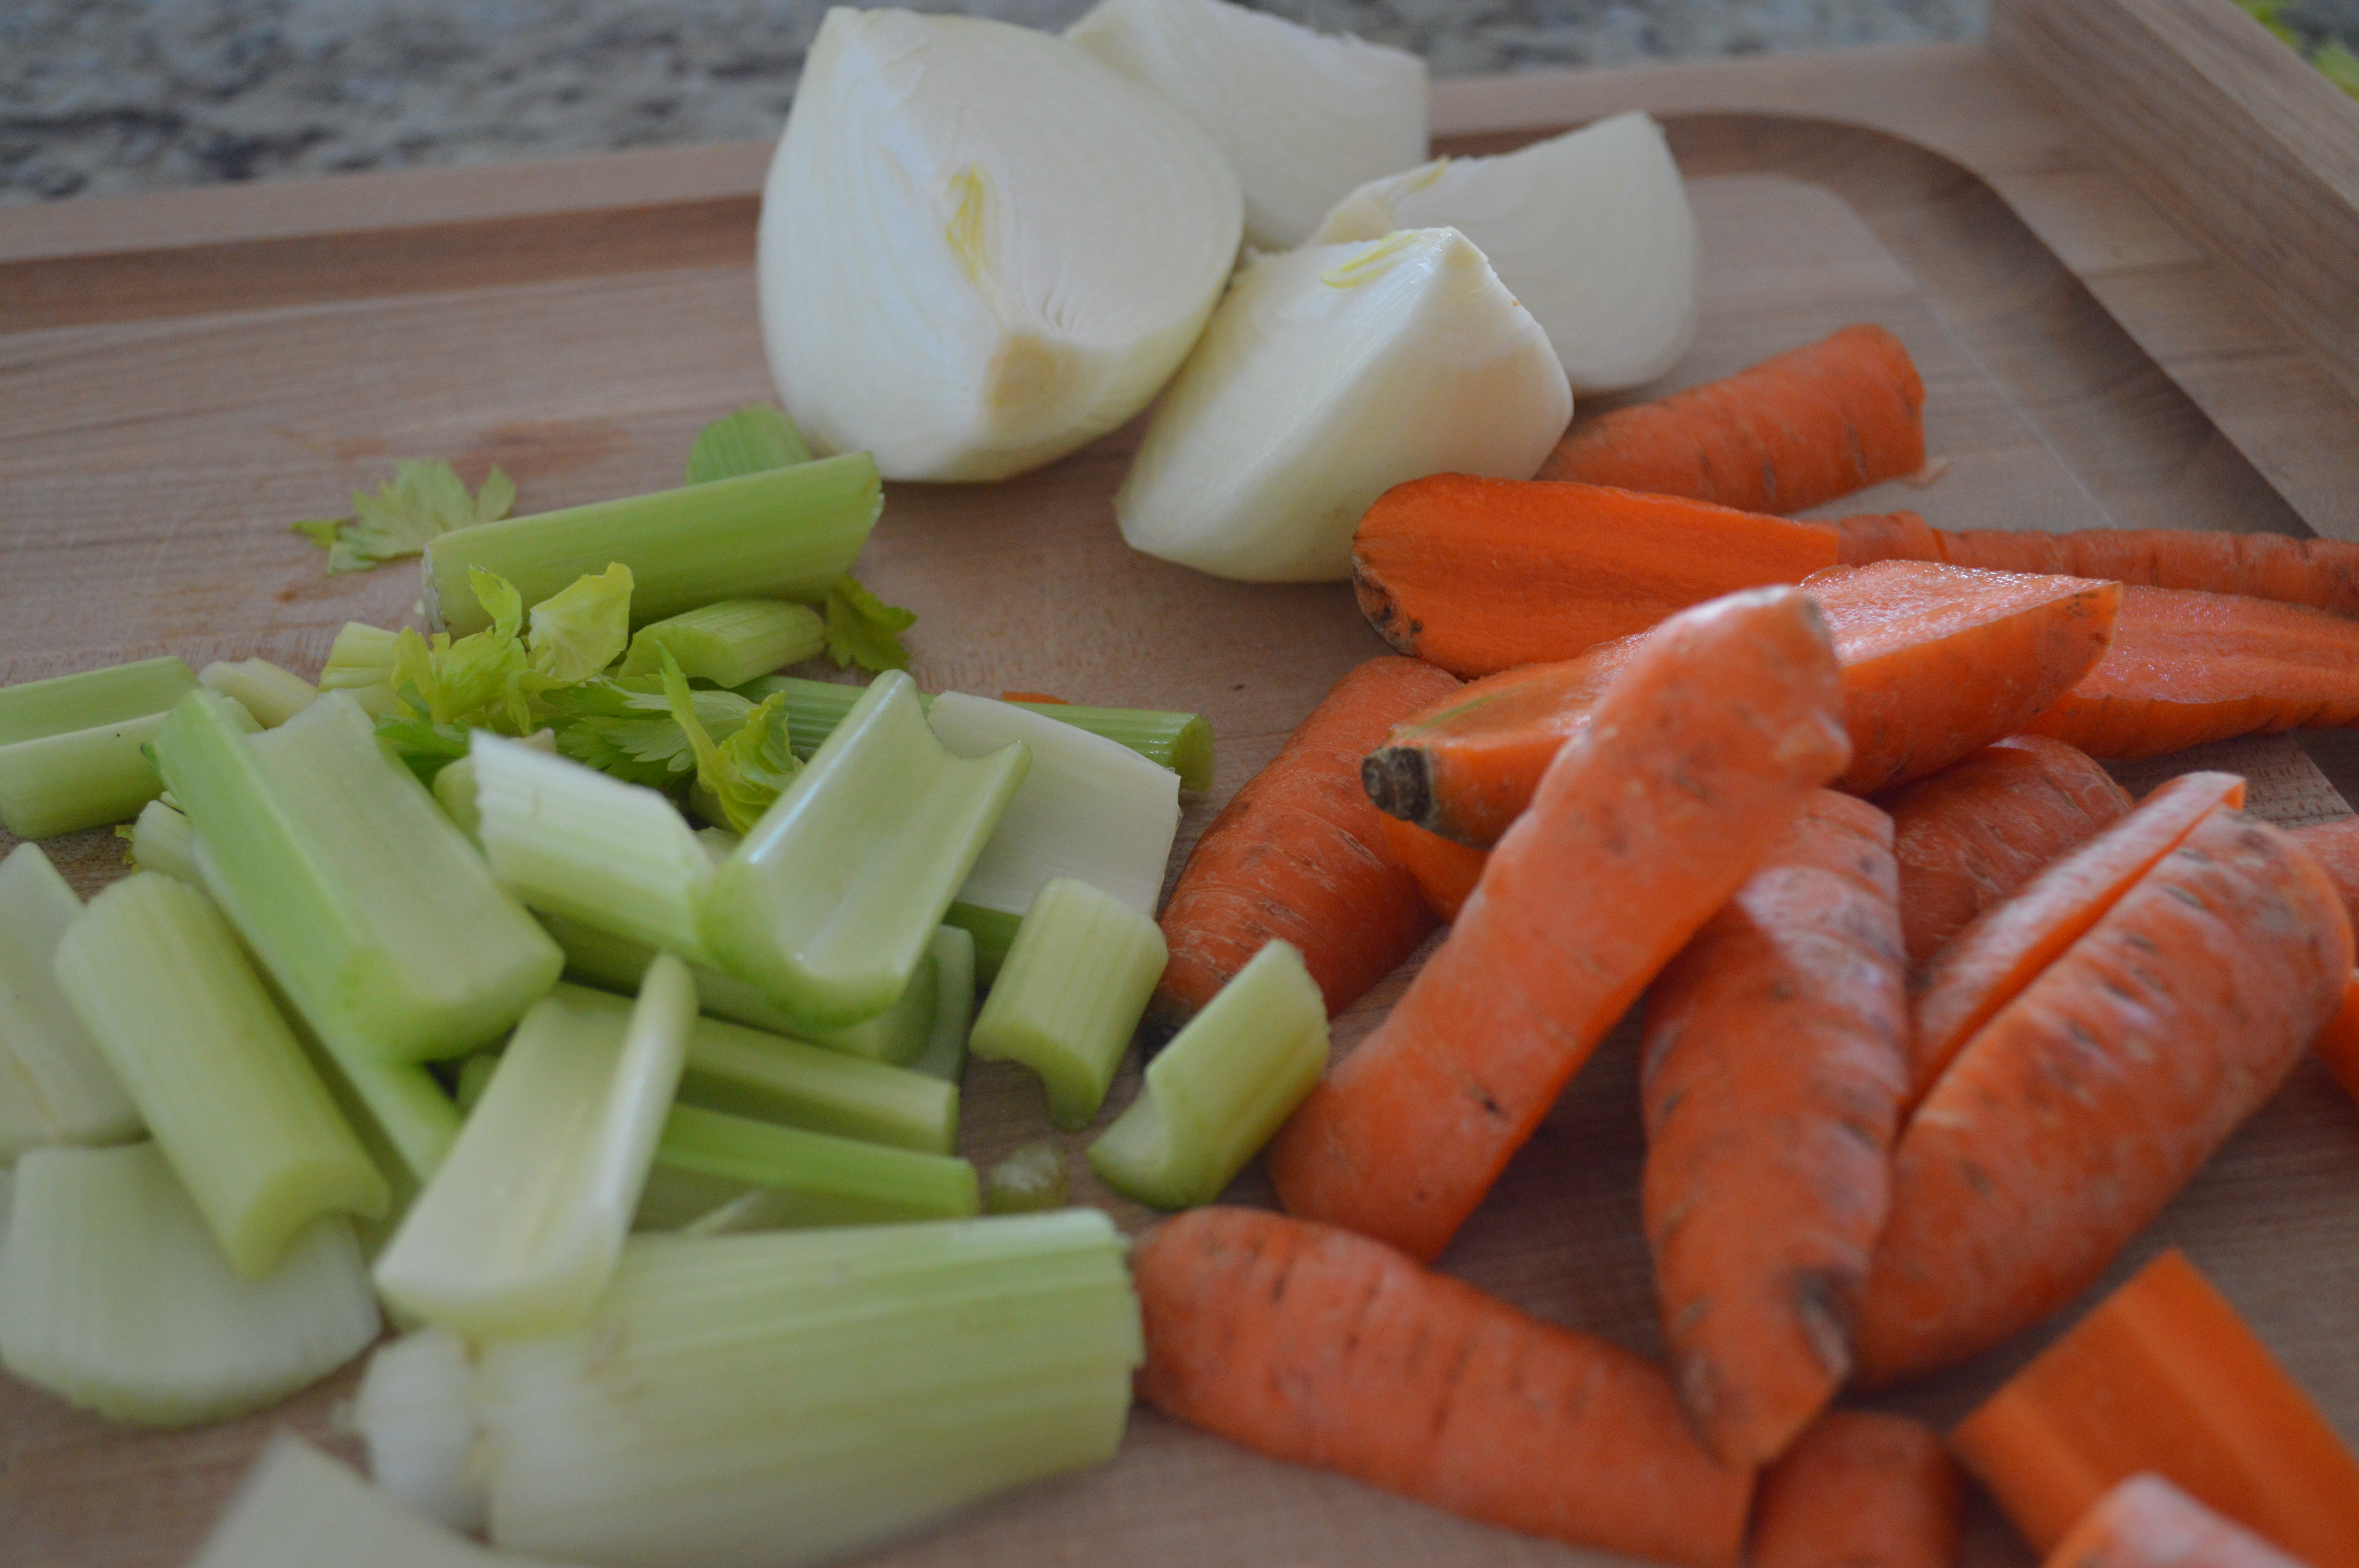
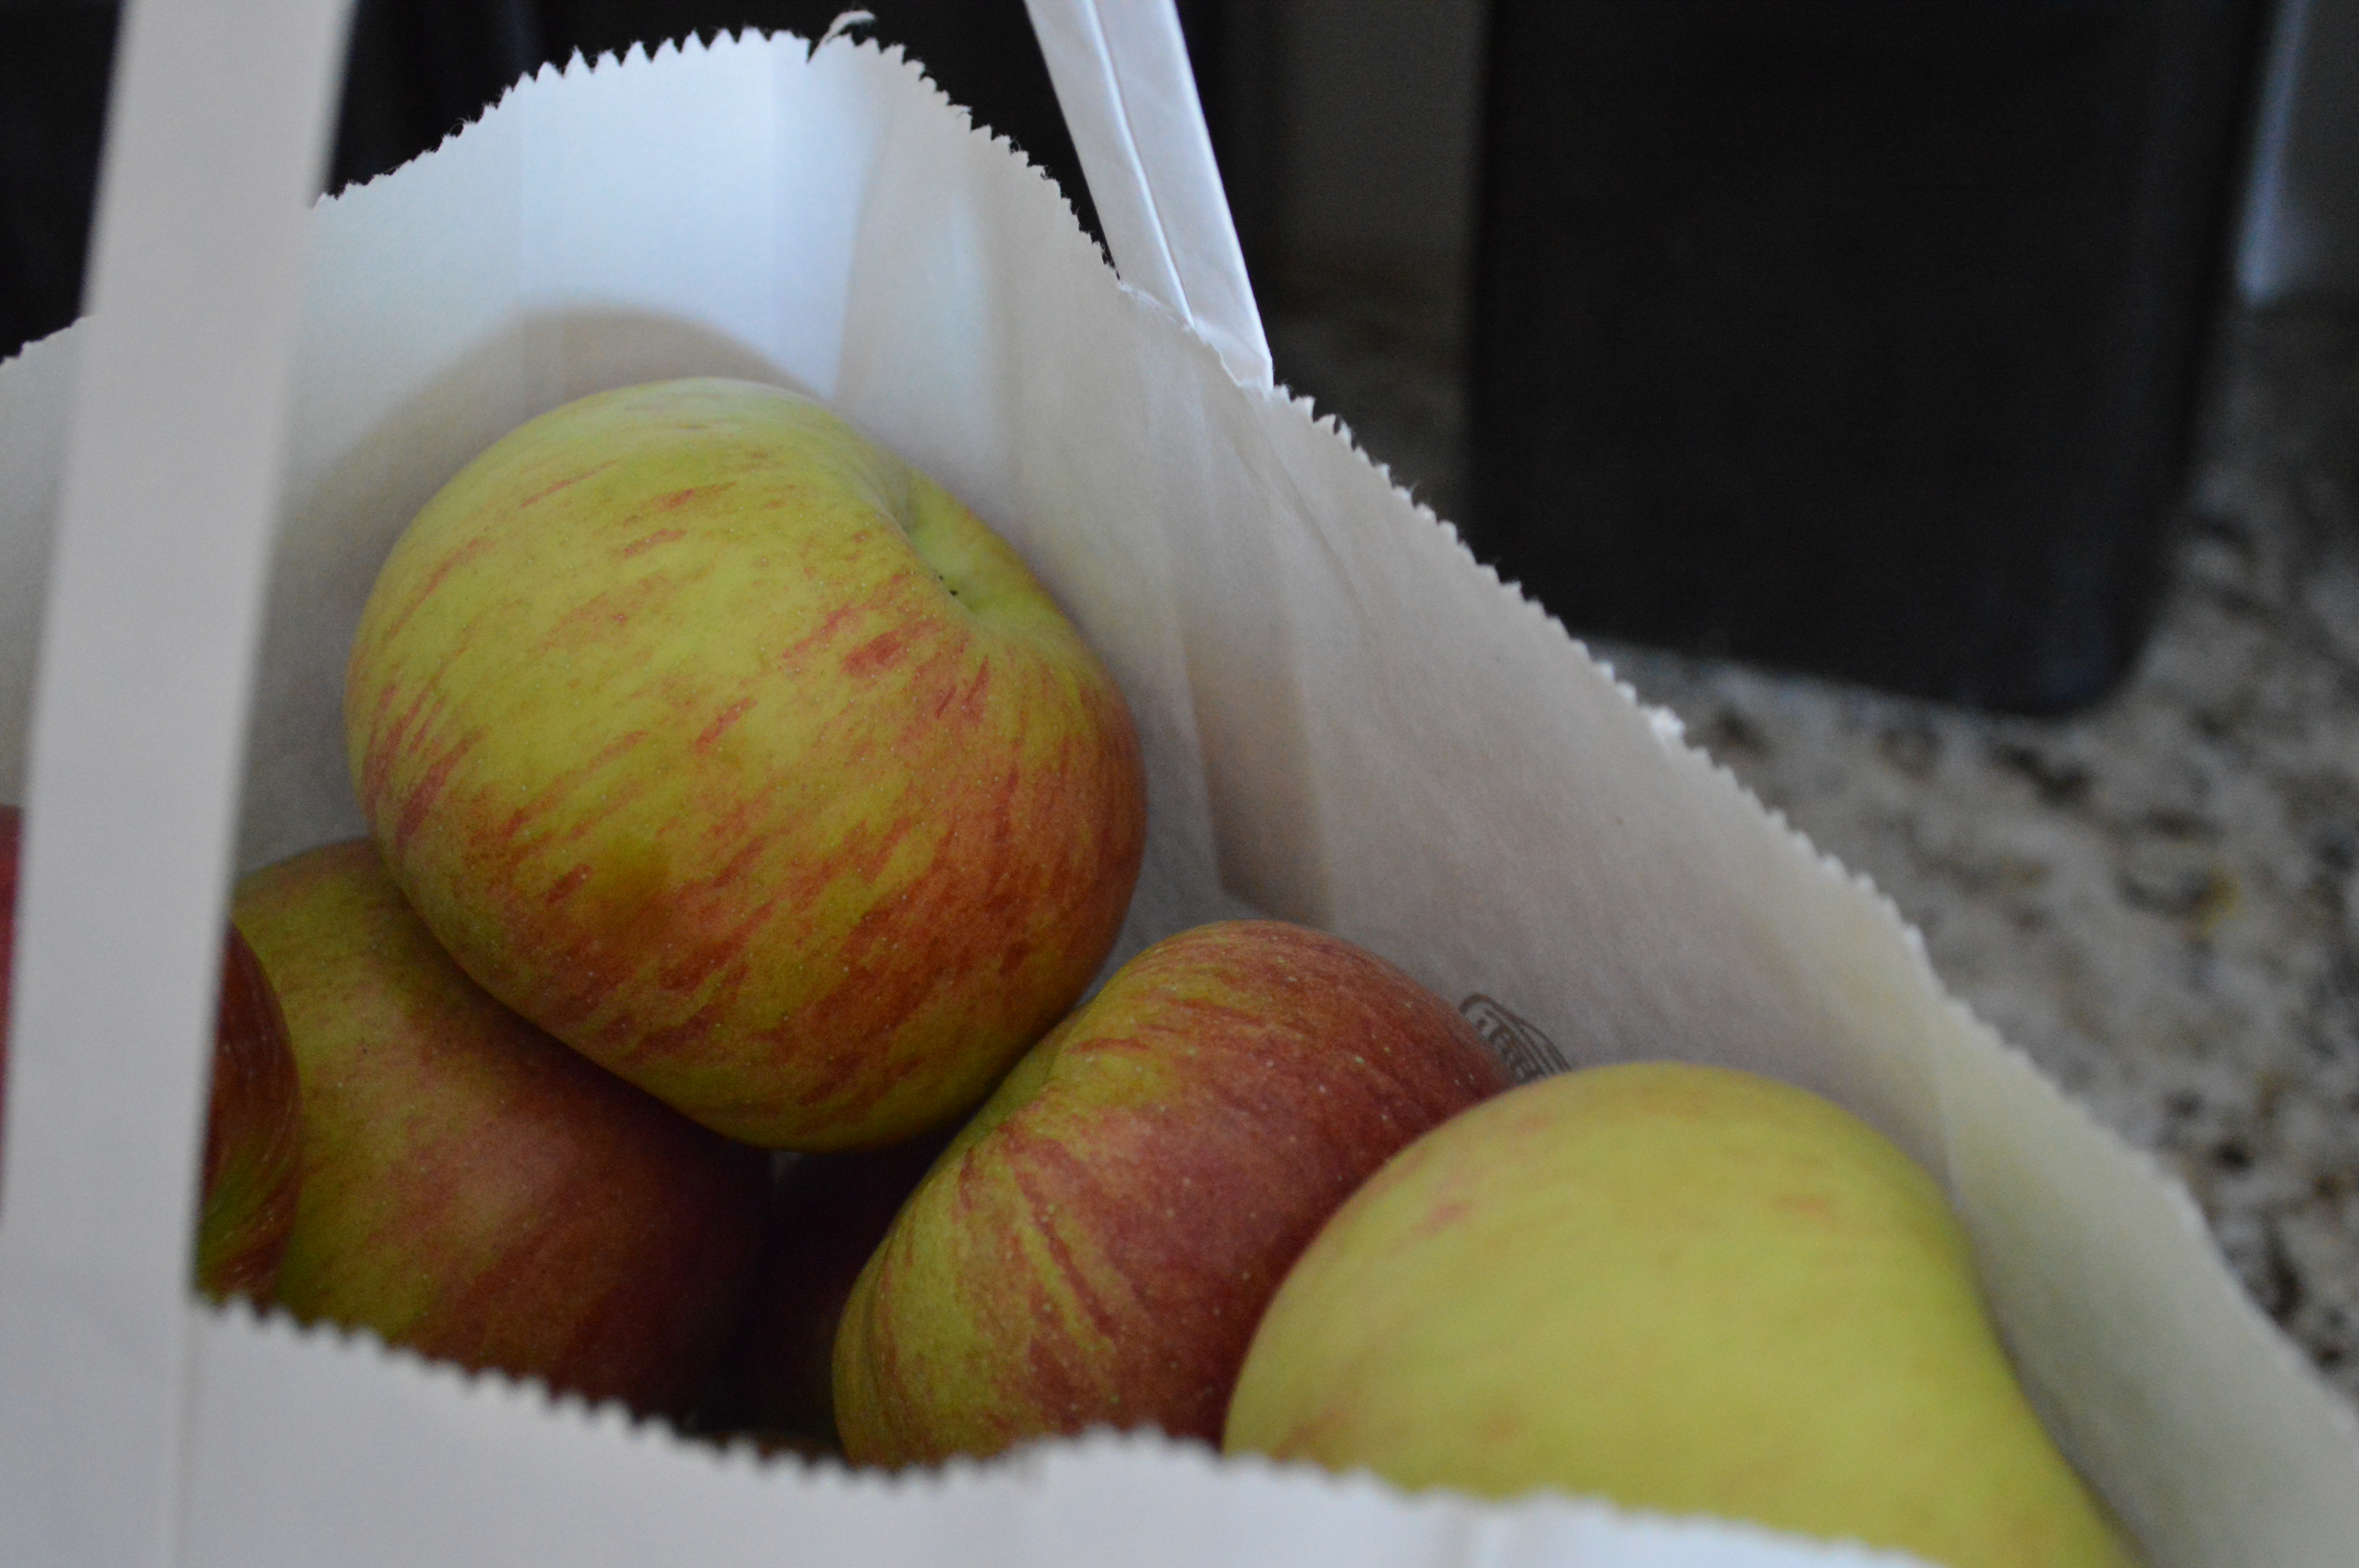
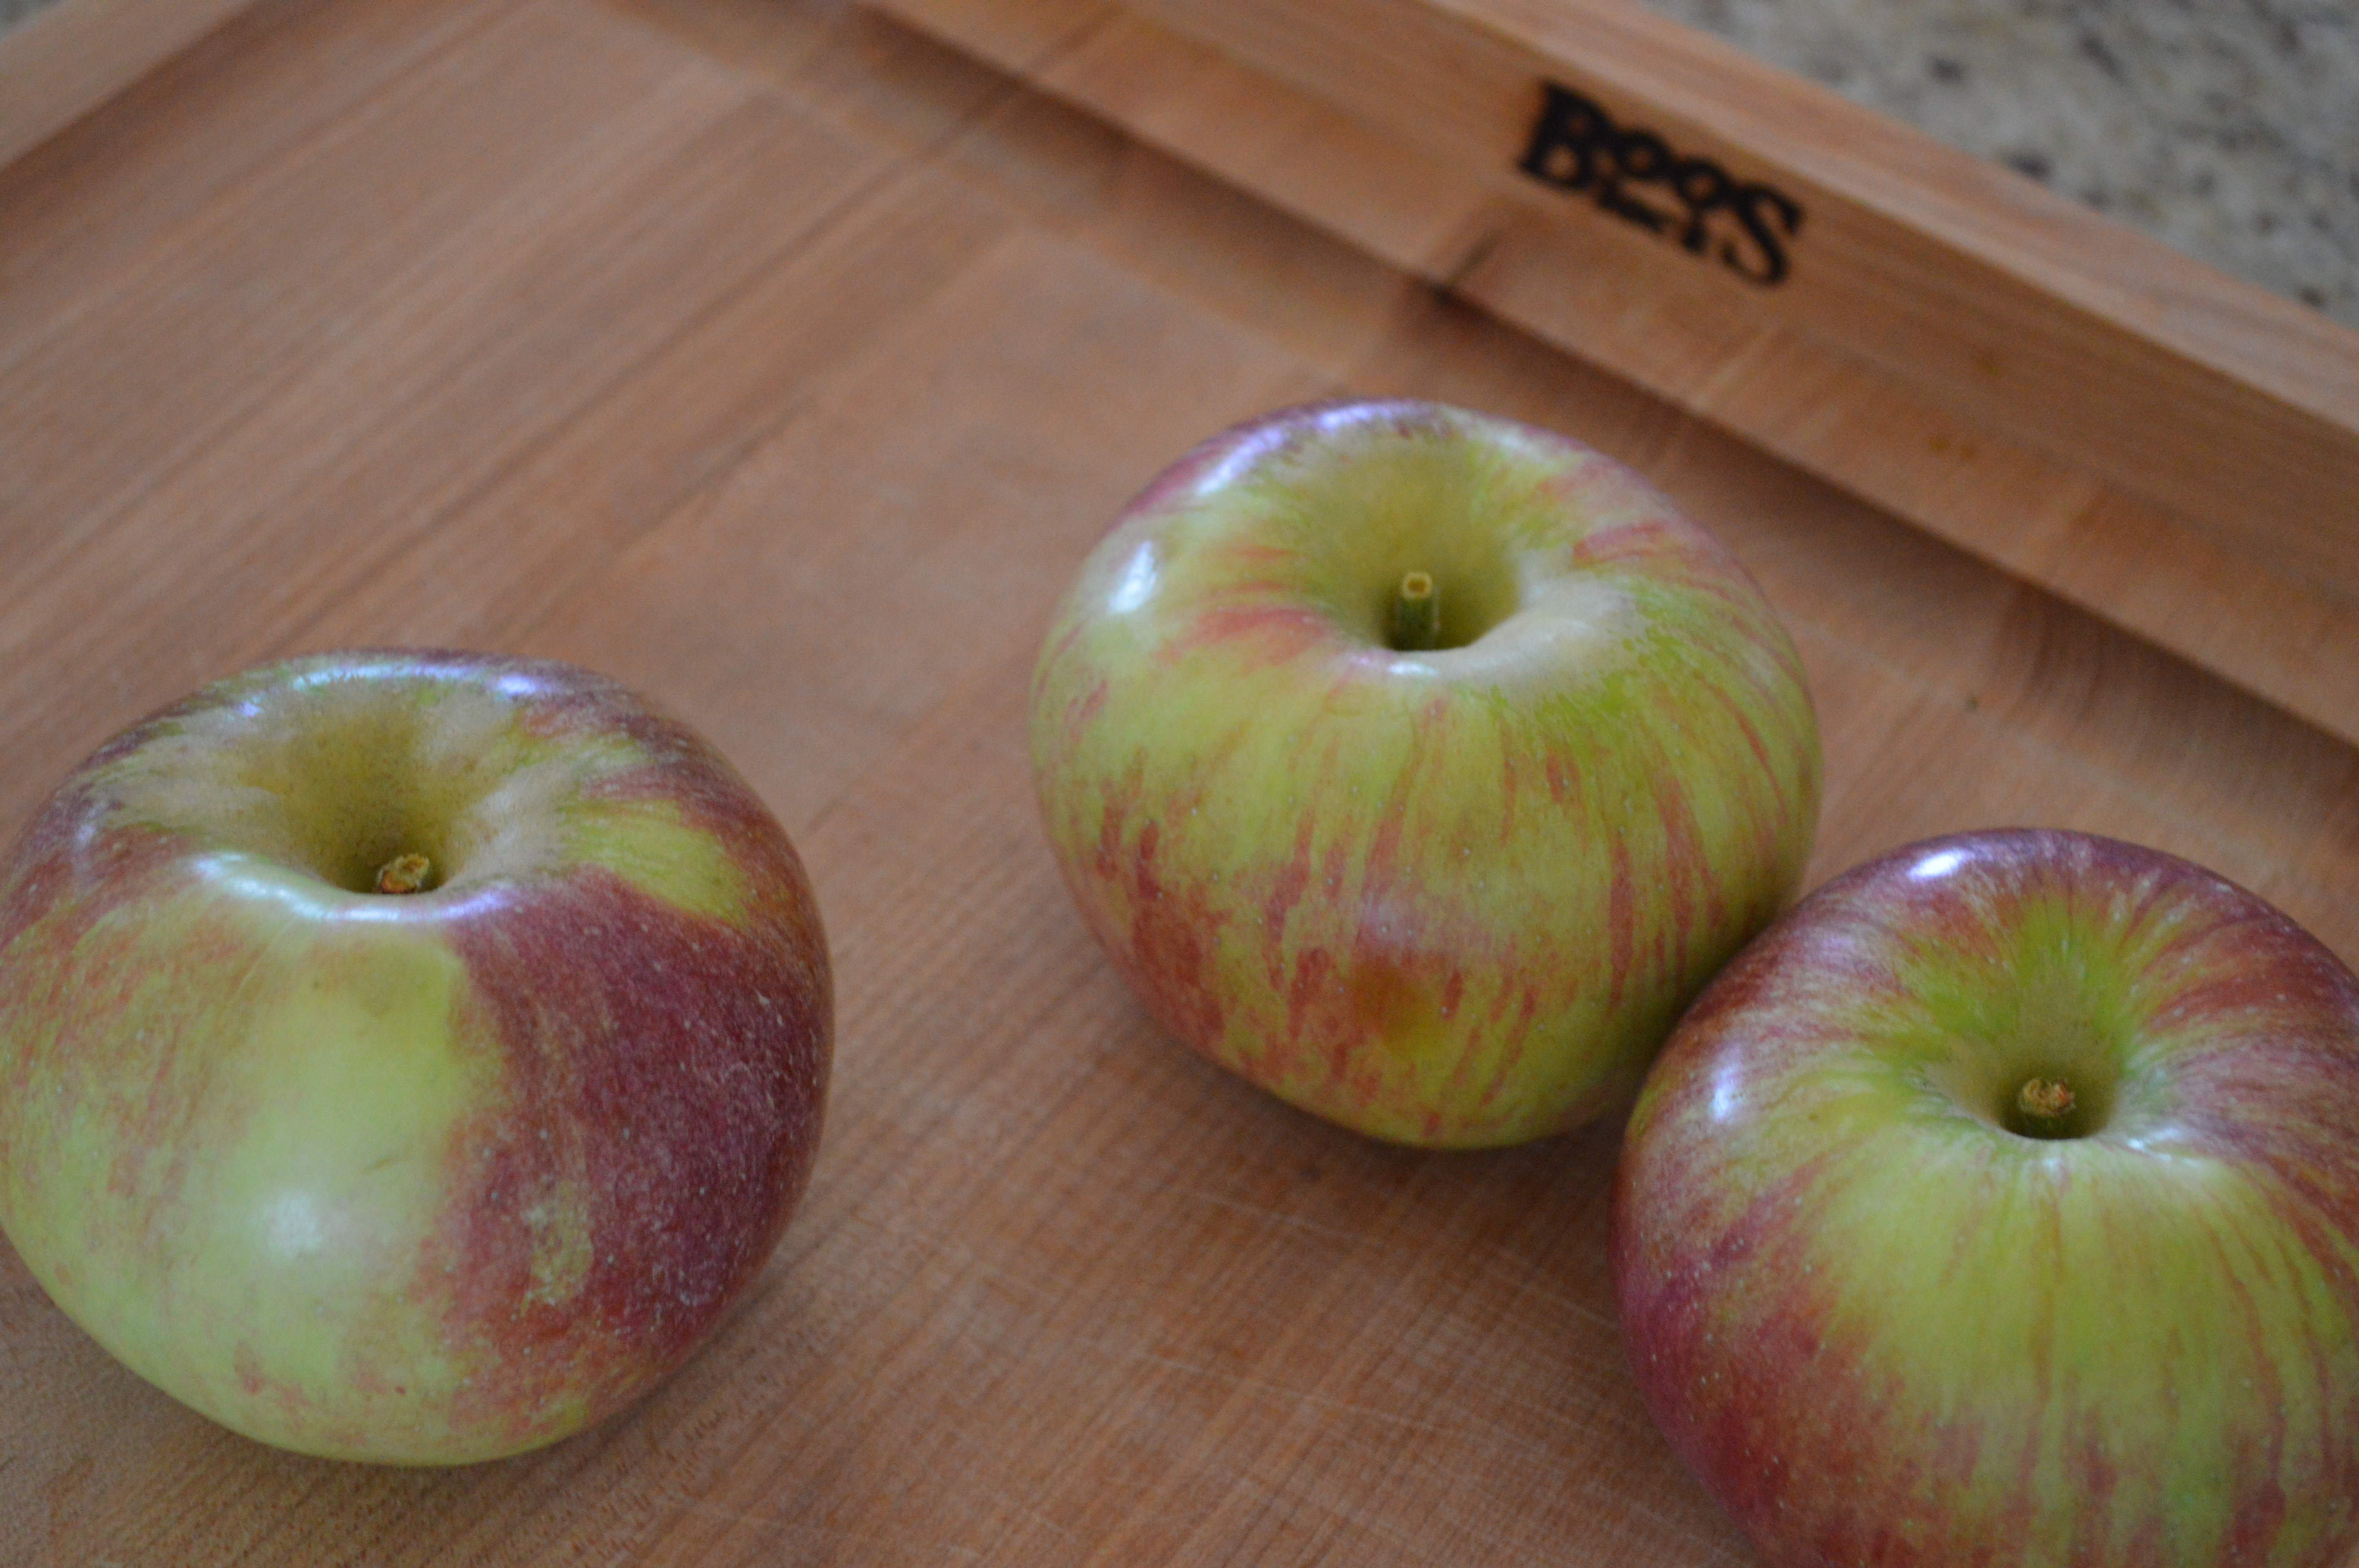
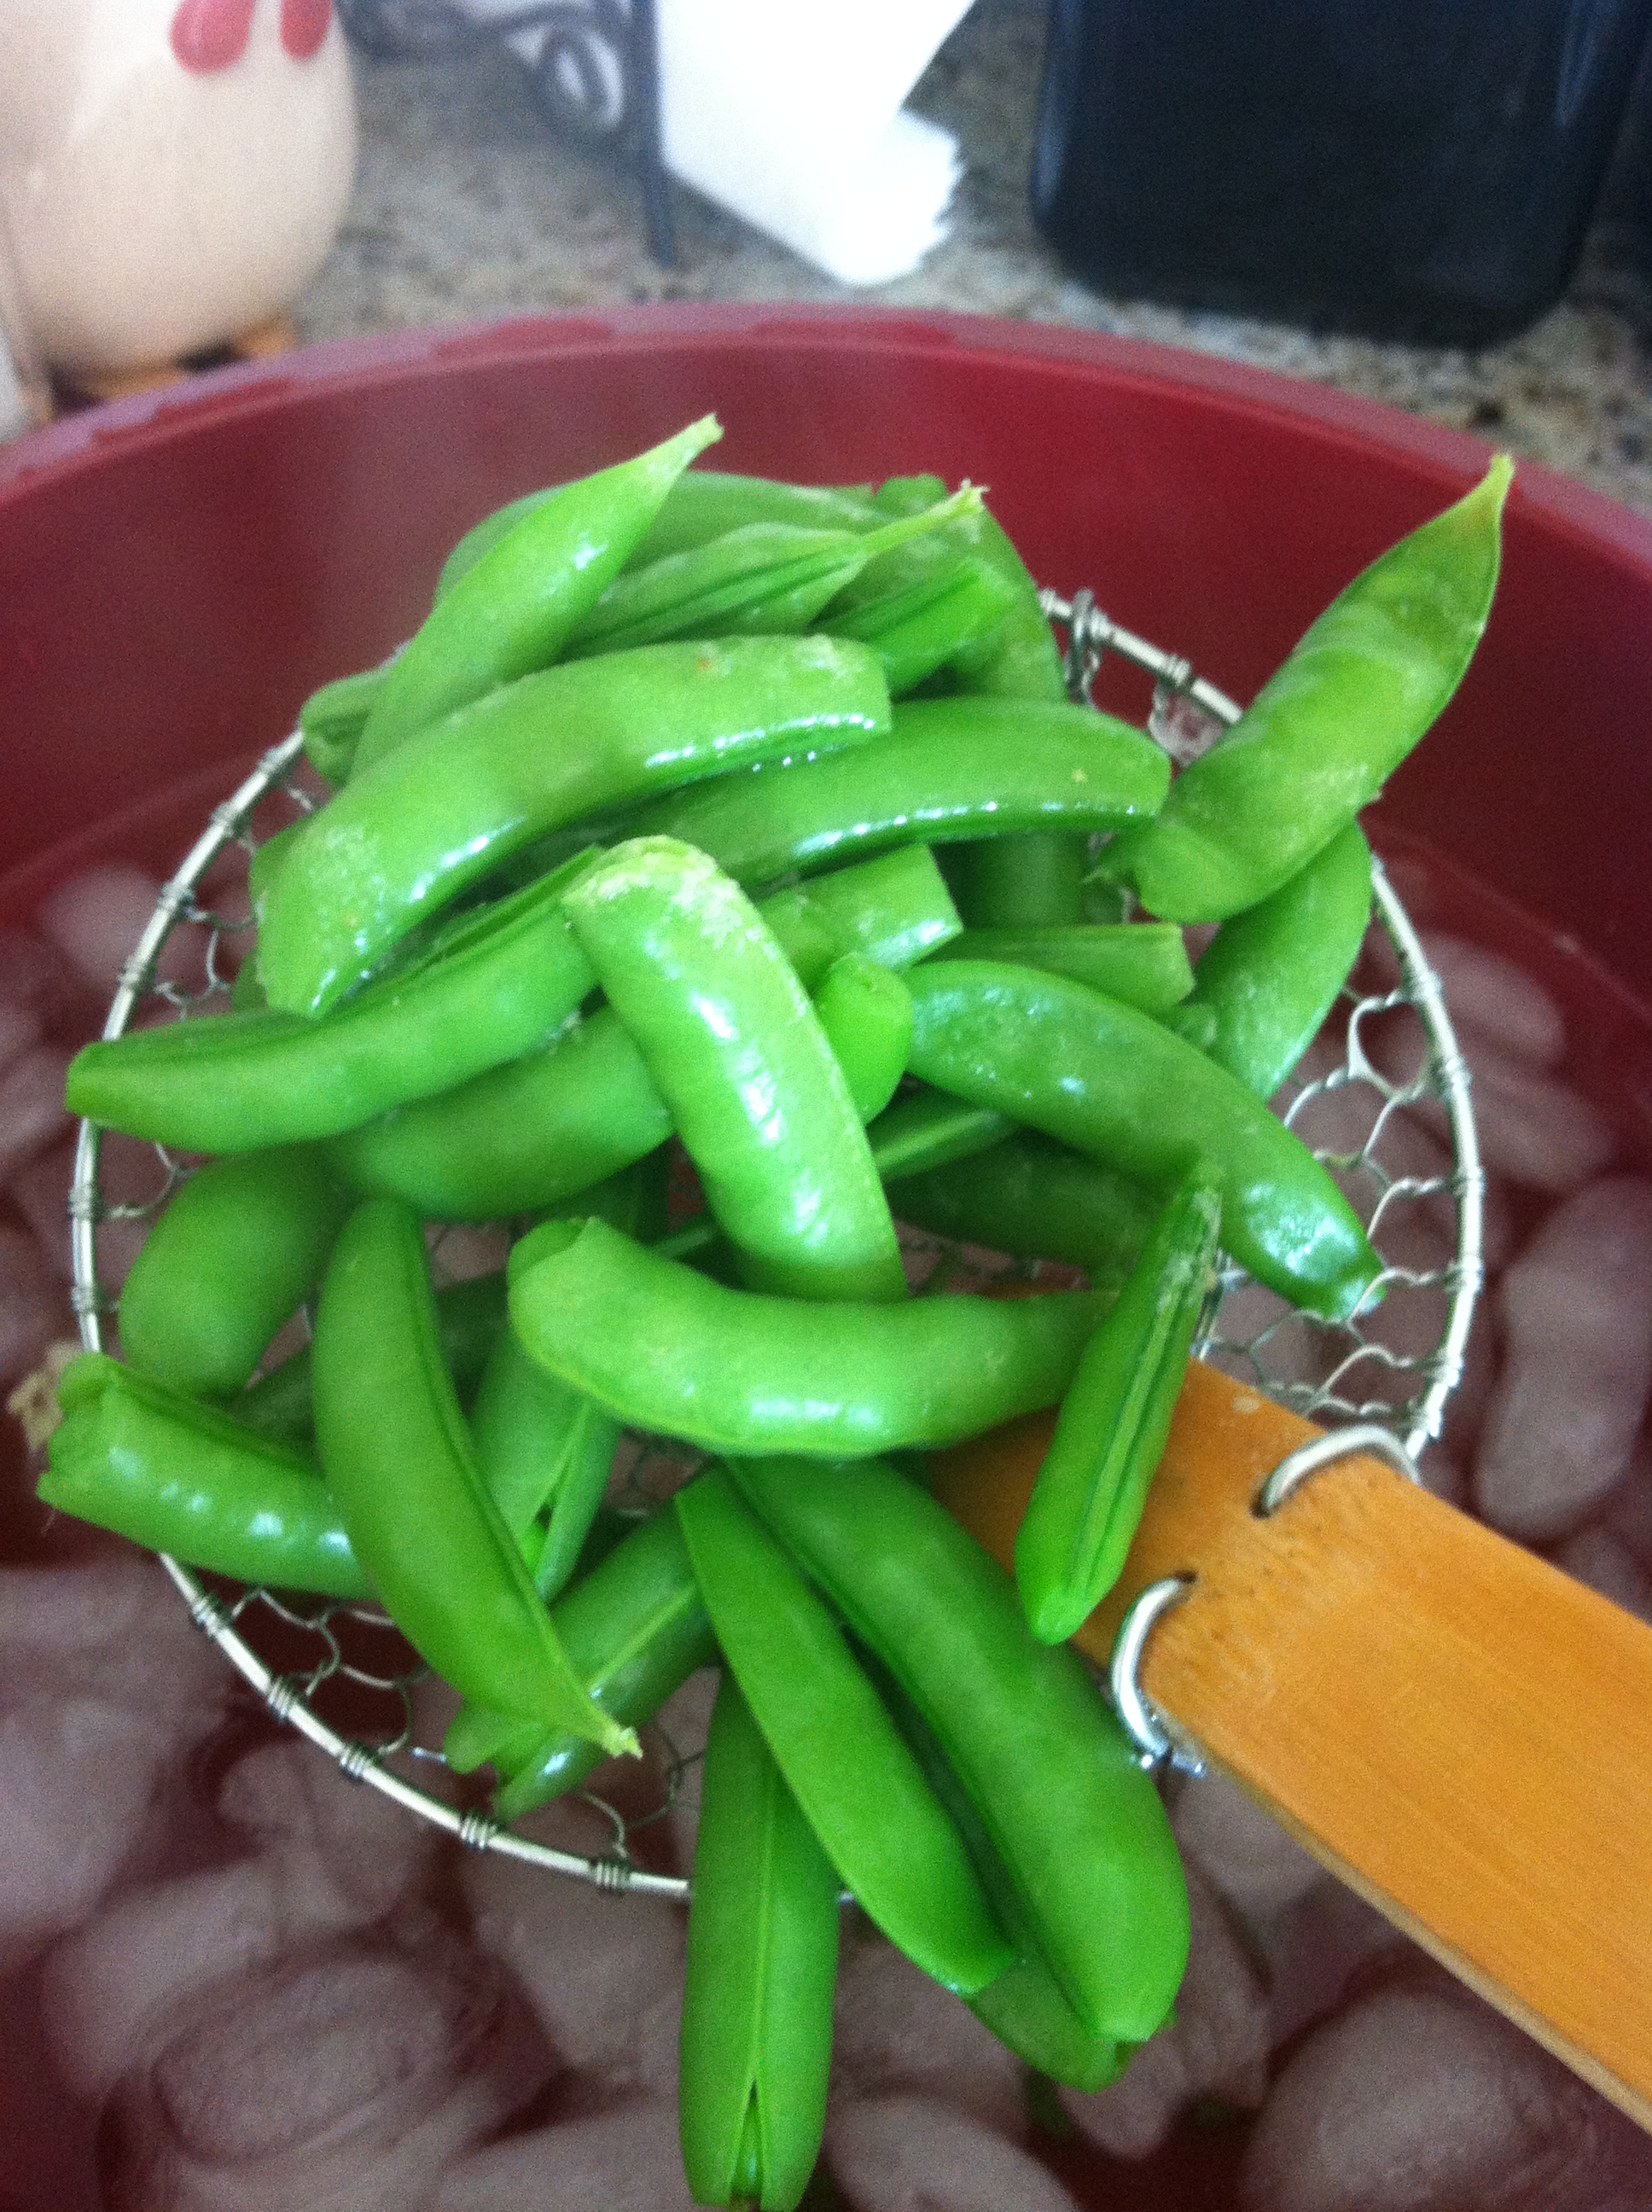
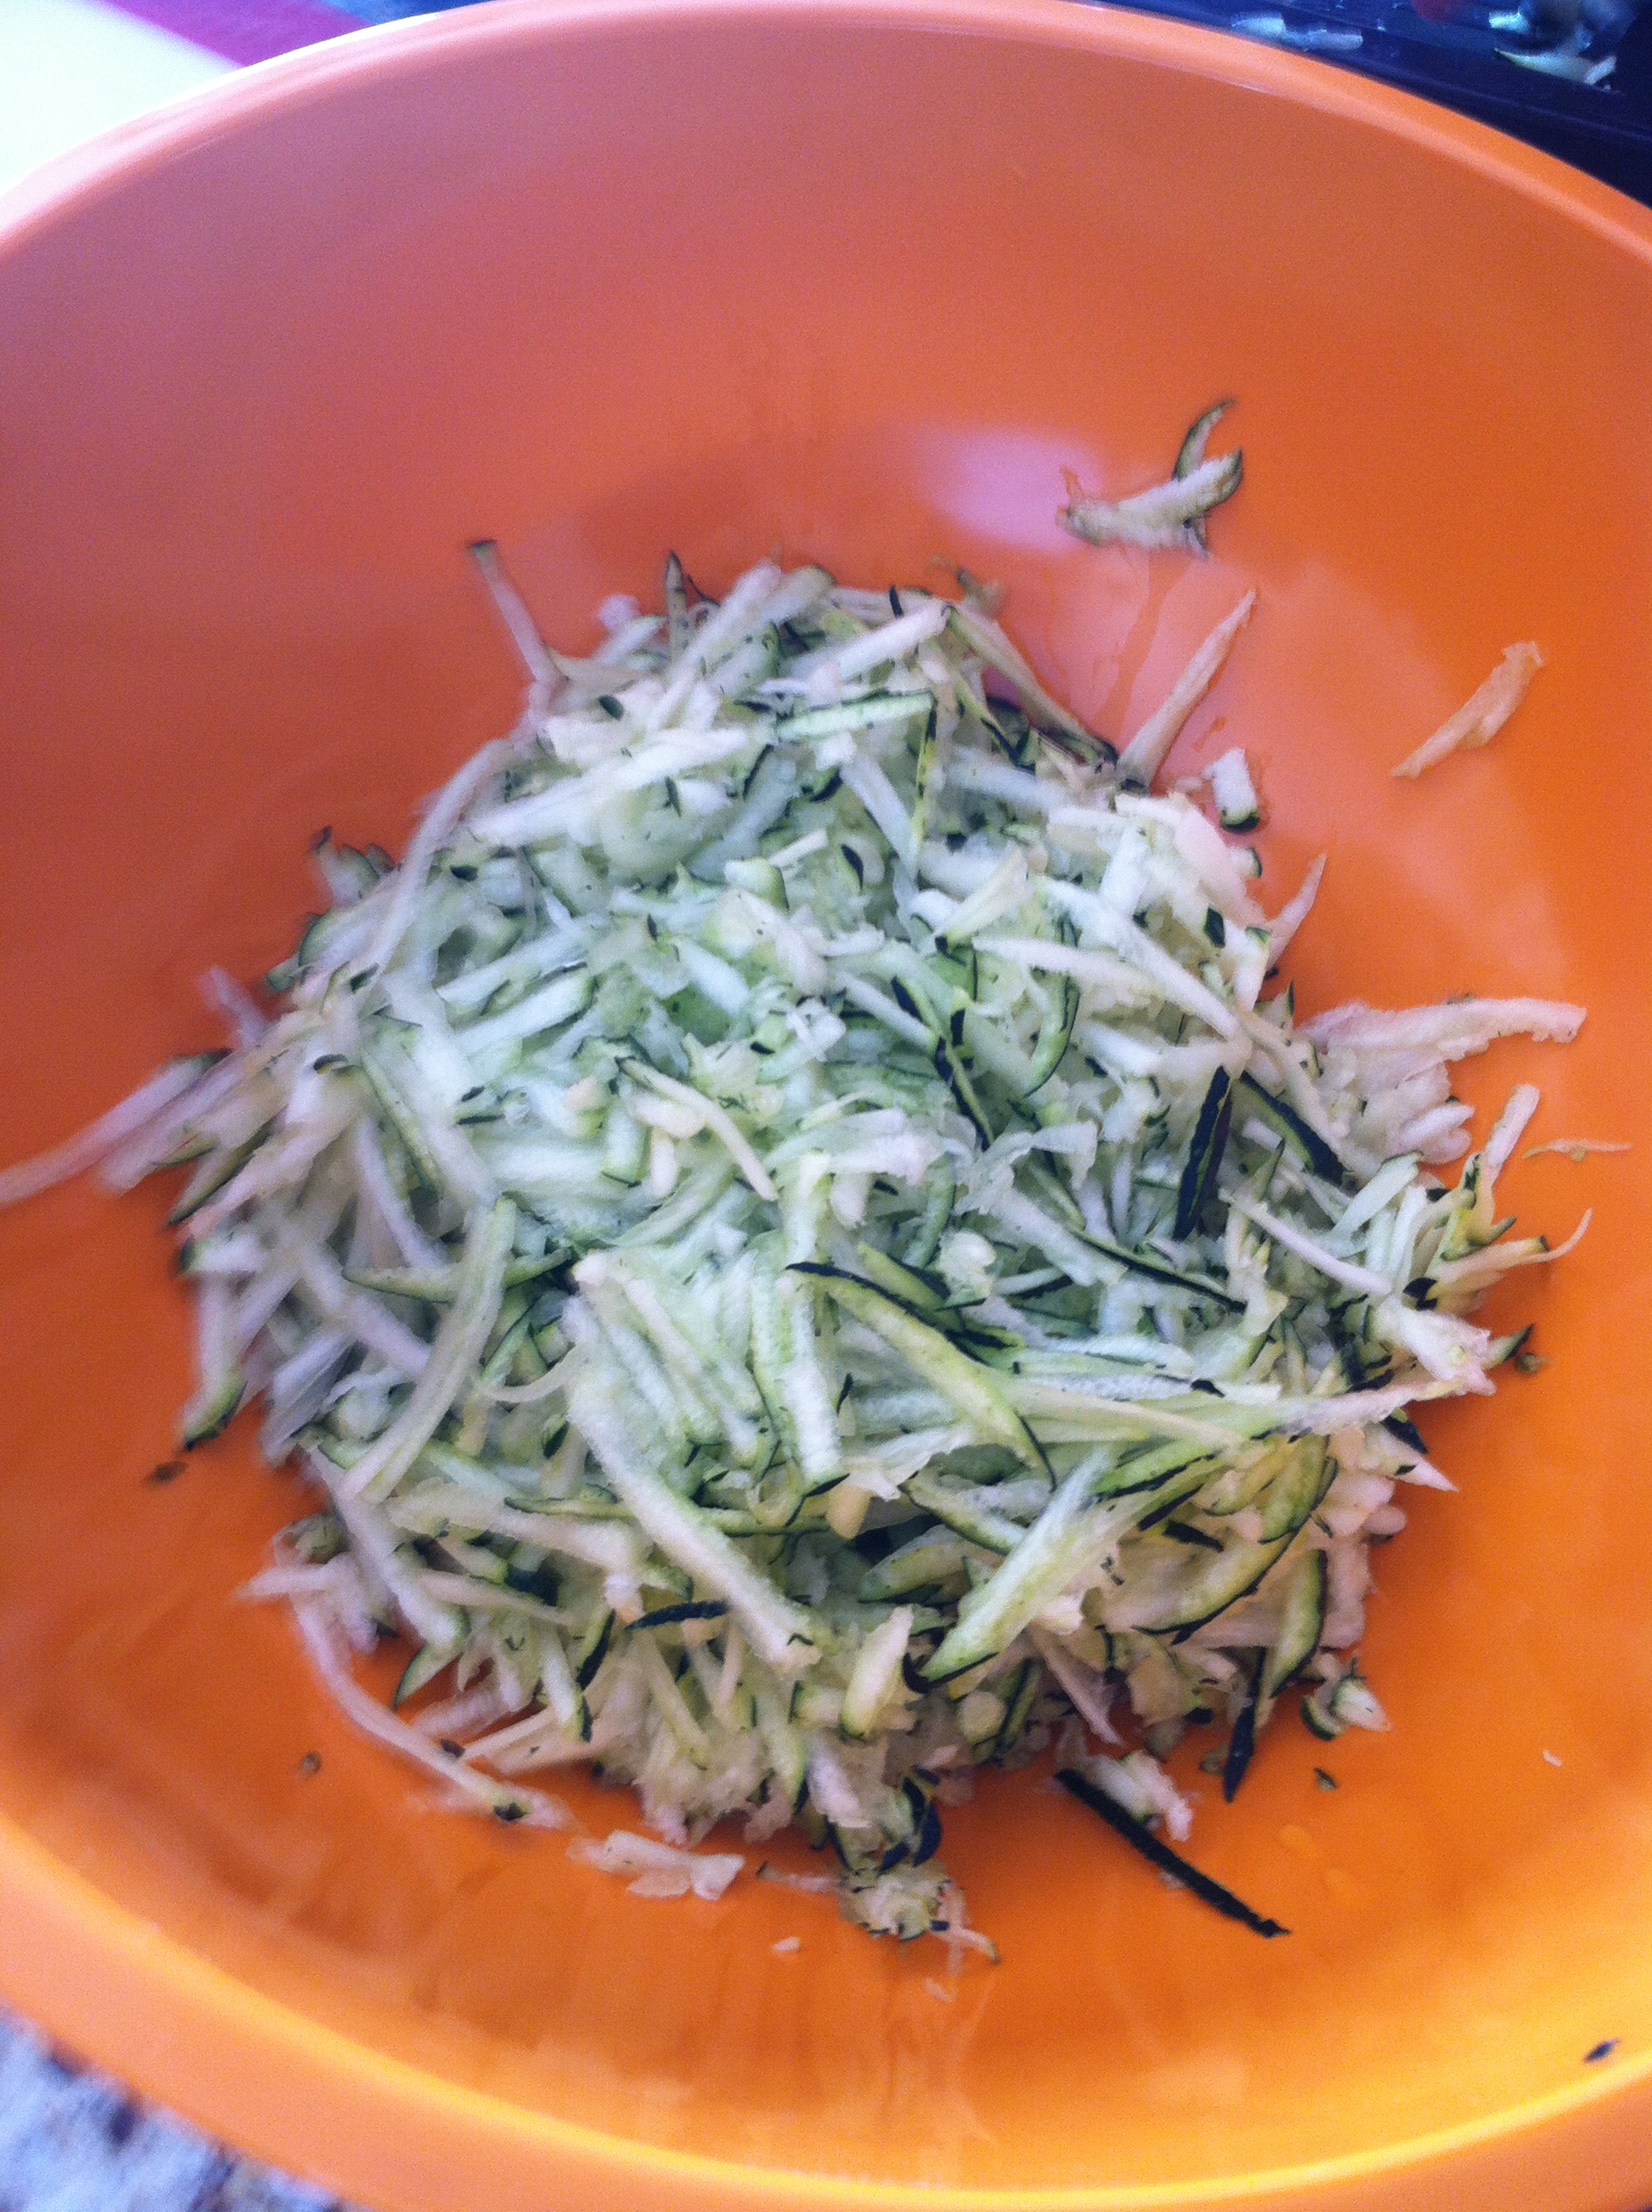
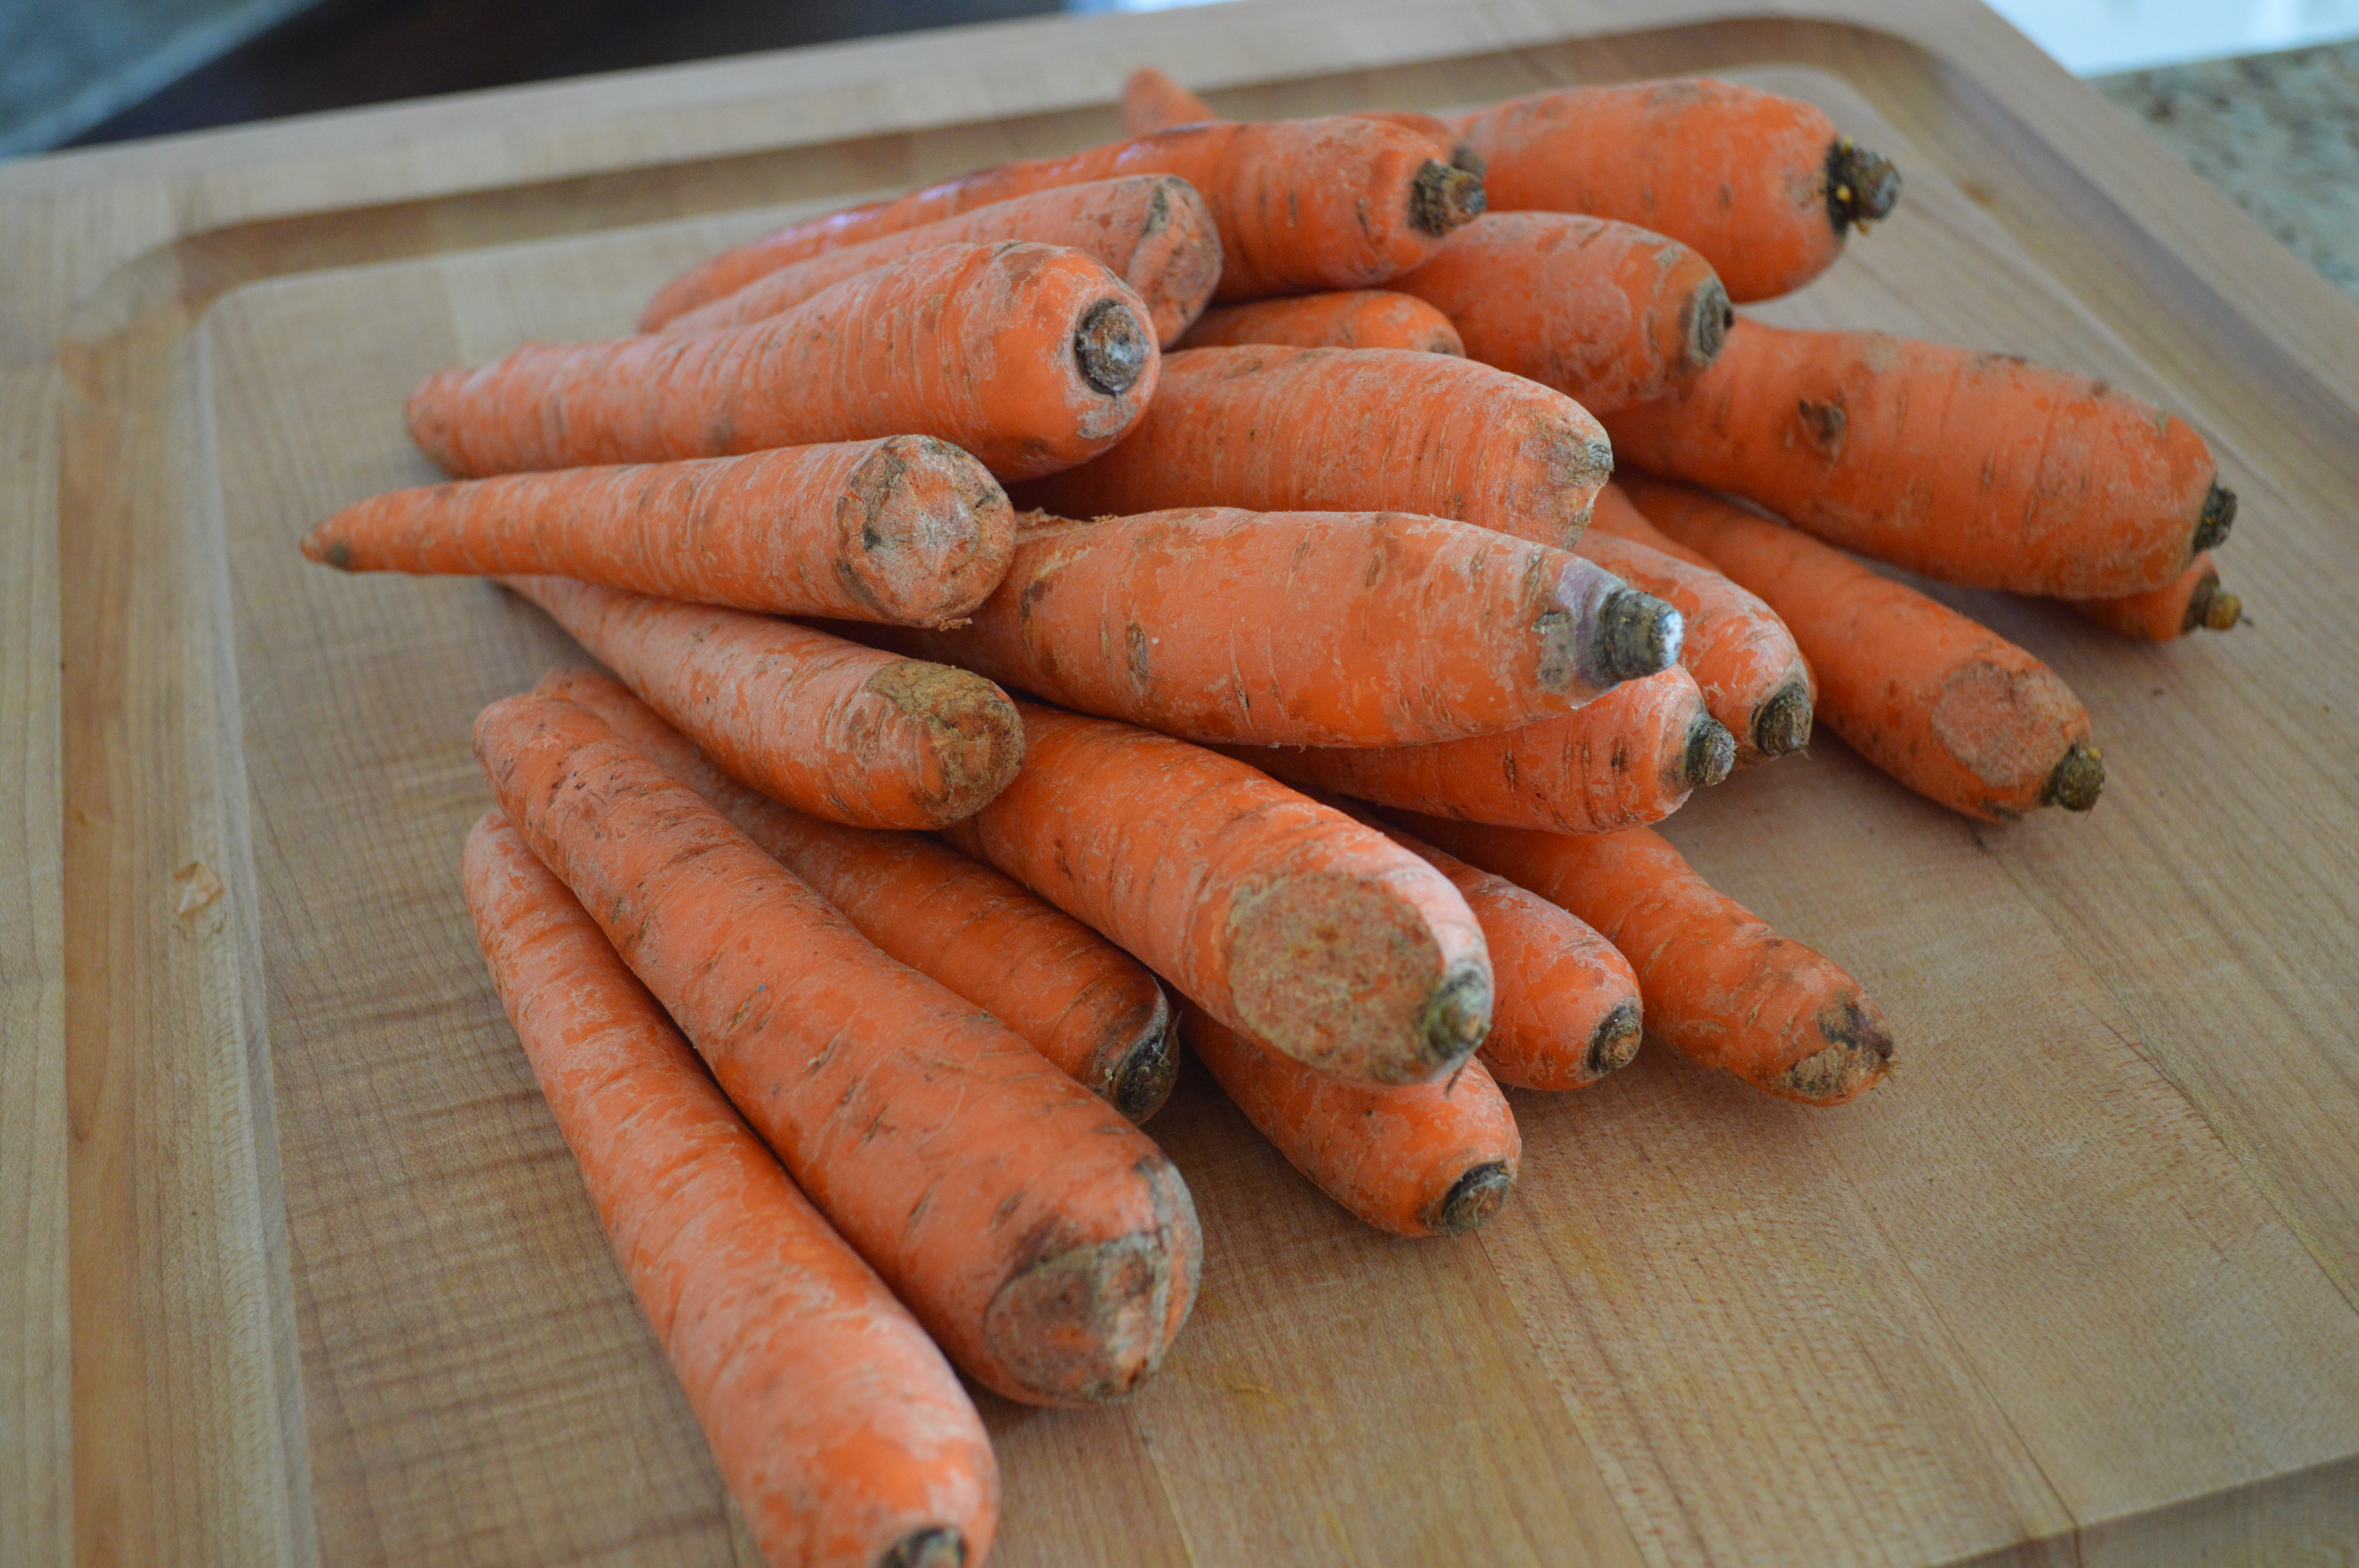
One vendor was offering a deal where you could fill a large department store bag full of any root vegetables of your choice. Adam and I took him up on this offer and filled our bag with Red, Yukon and Sweet Potatoes, lots of carrots, yellow and red onions, beets, and a celery root.


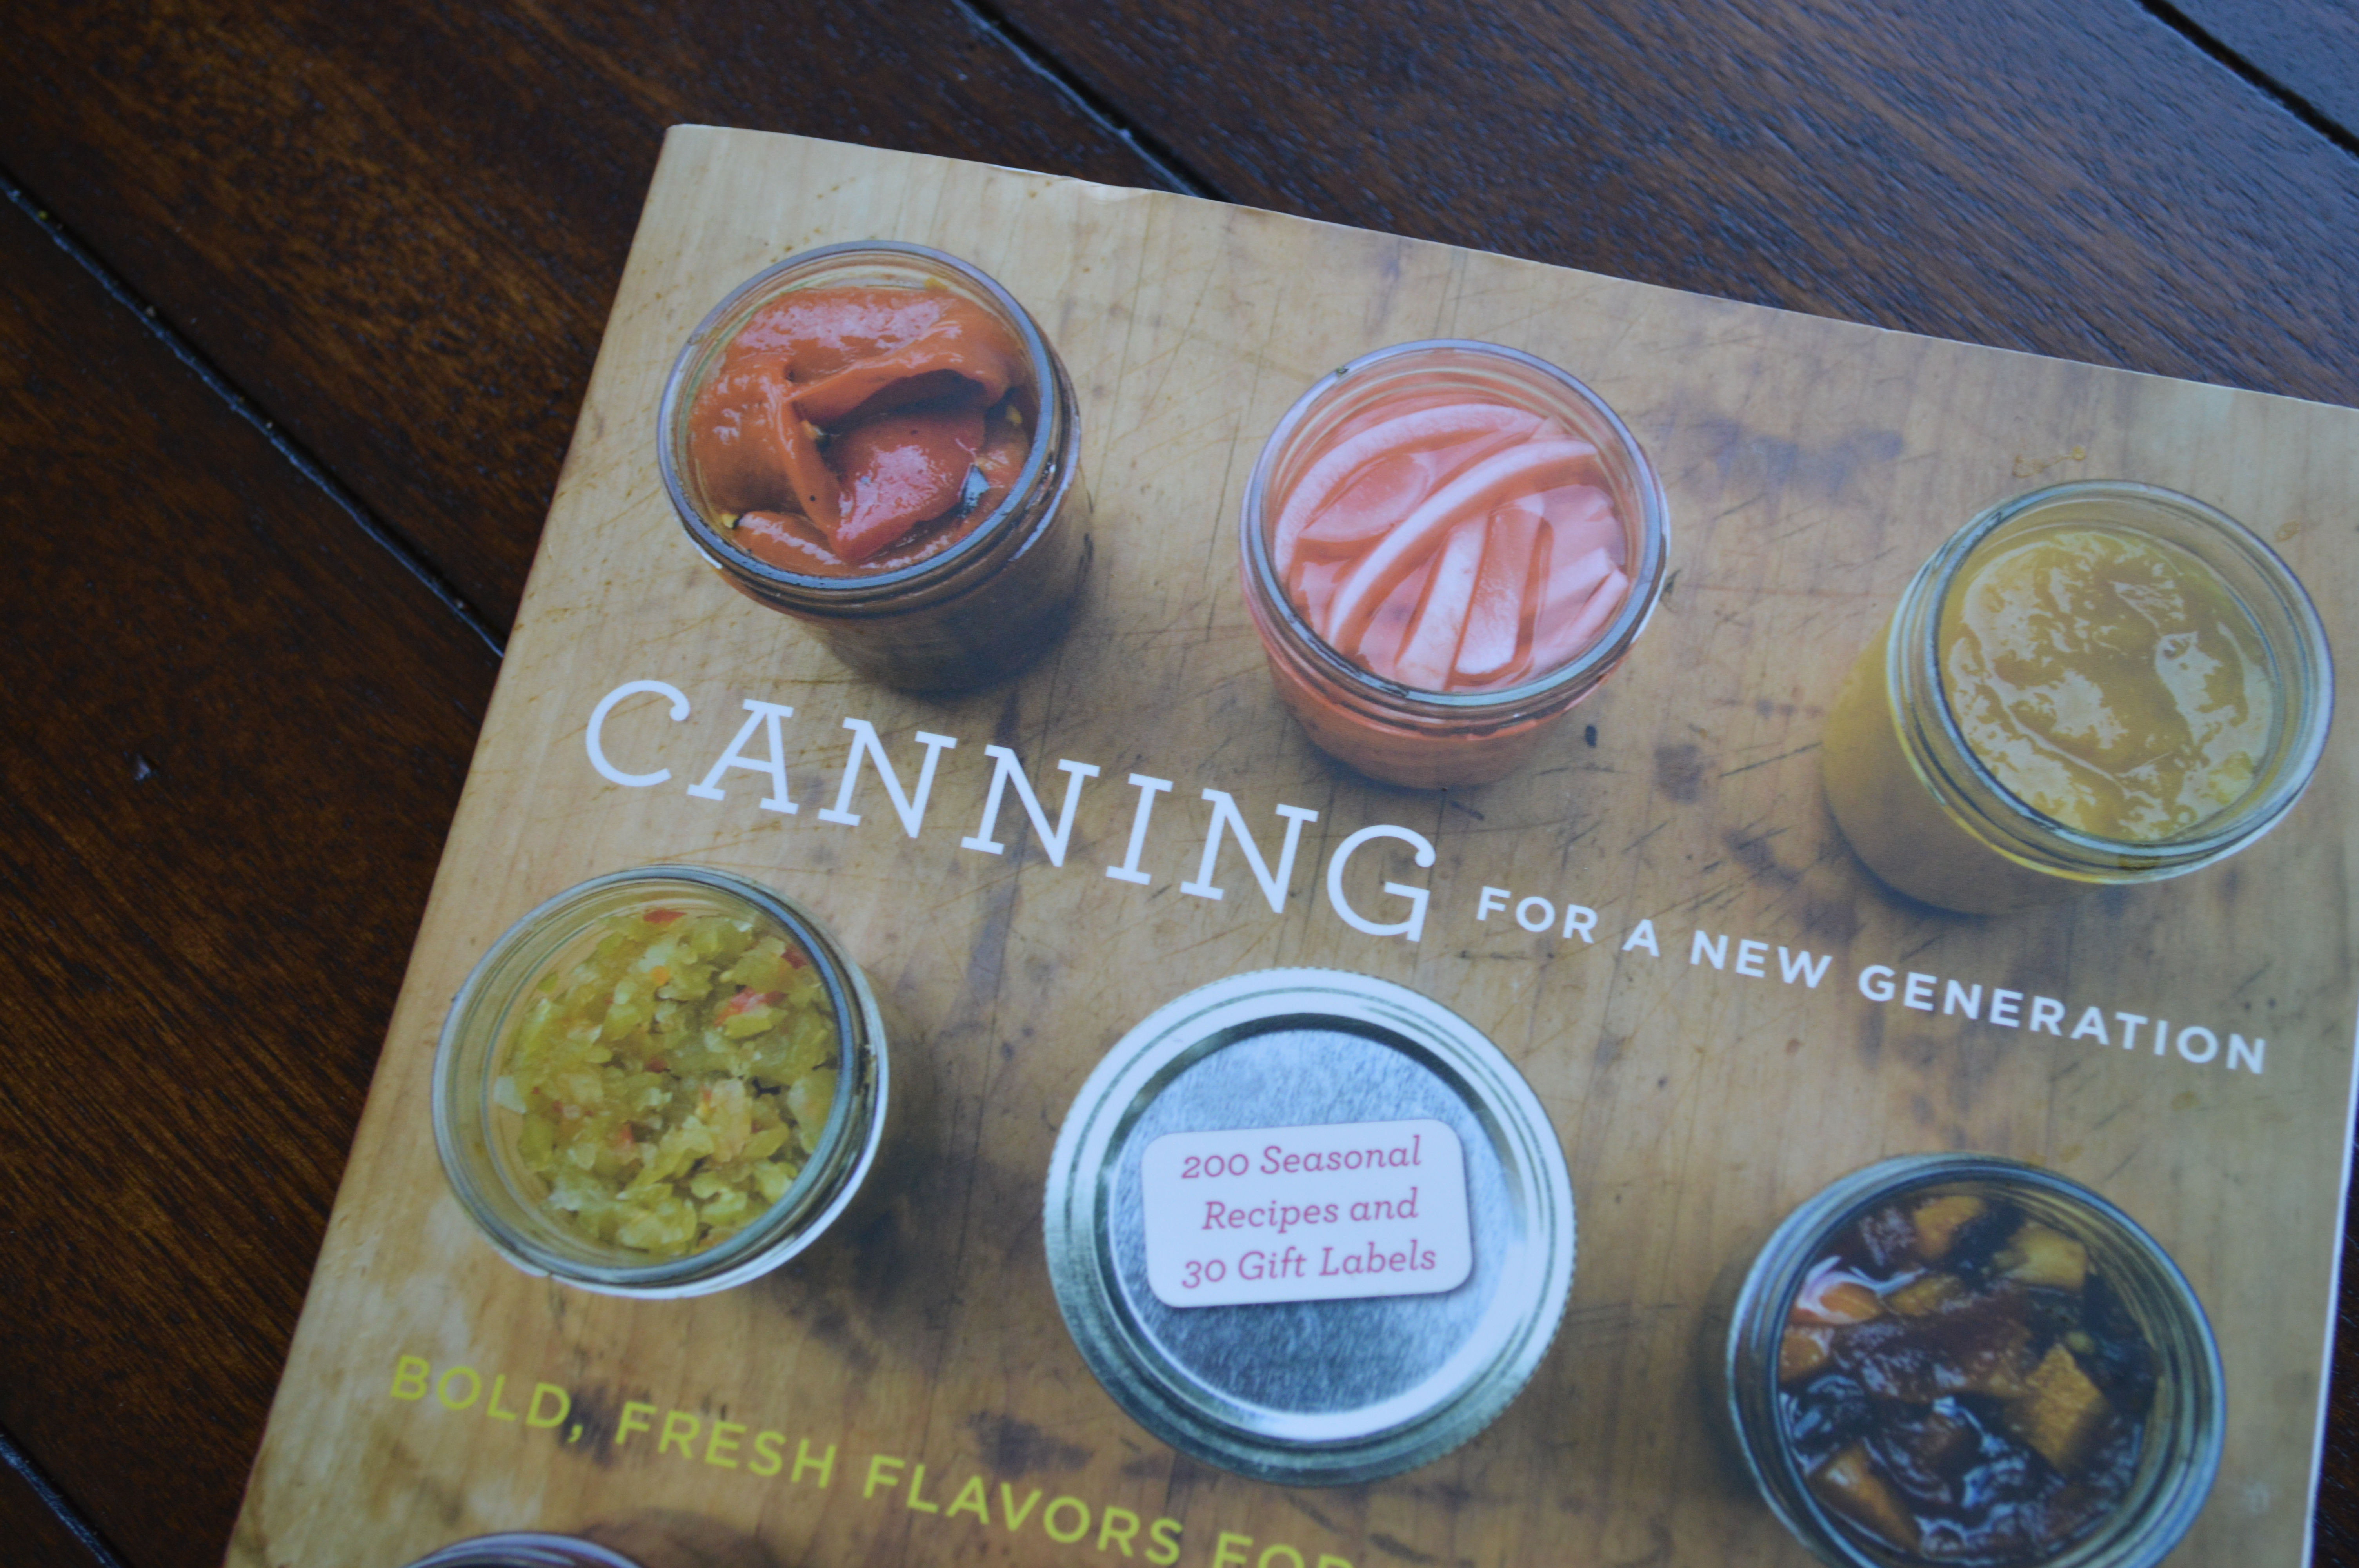
The following are recipes showing what we did with some of these great root vegetables.
Homemade Terra Chips:
I love Terra Chips. If I buy a bag, it rarely makes it into my home unopened because I always seem to “need a snack” on my drive home.
But, I hate how they are so expensive.
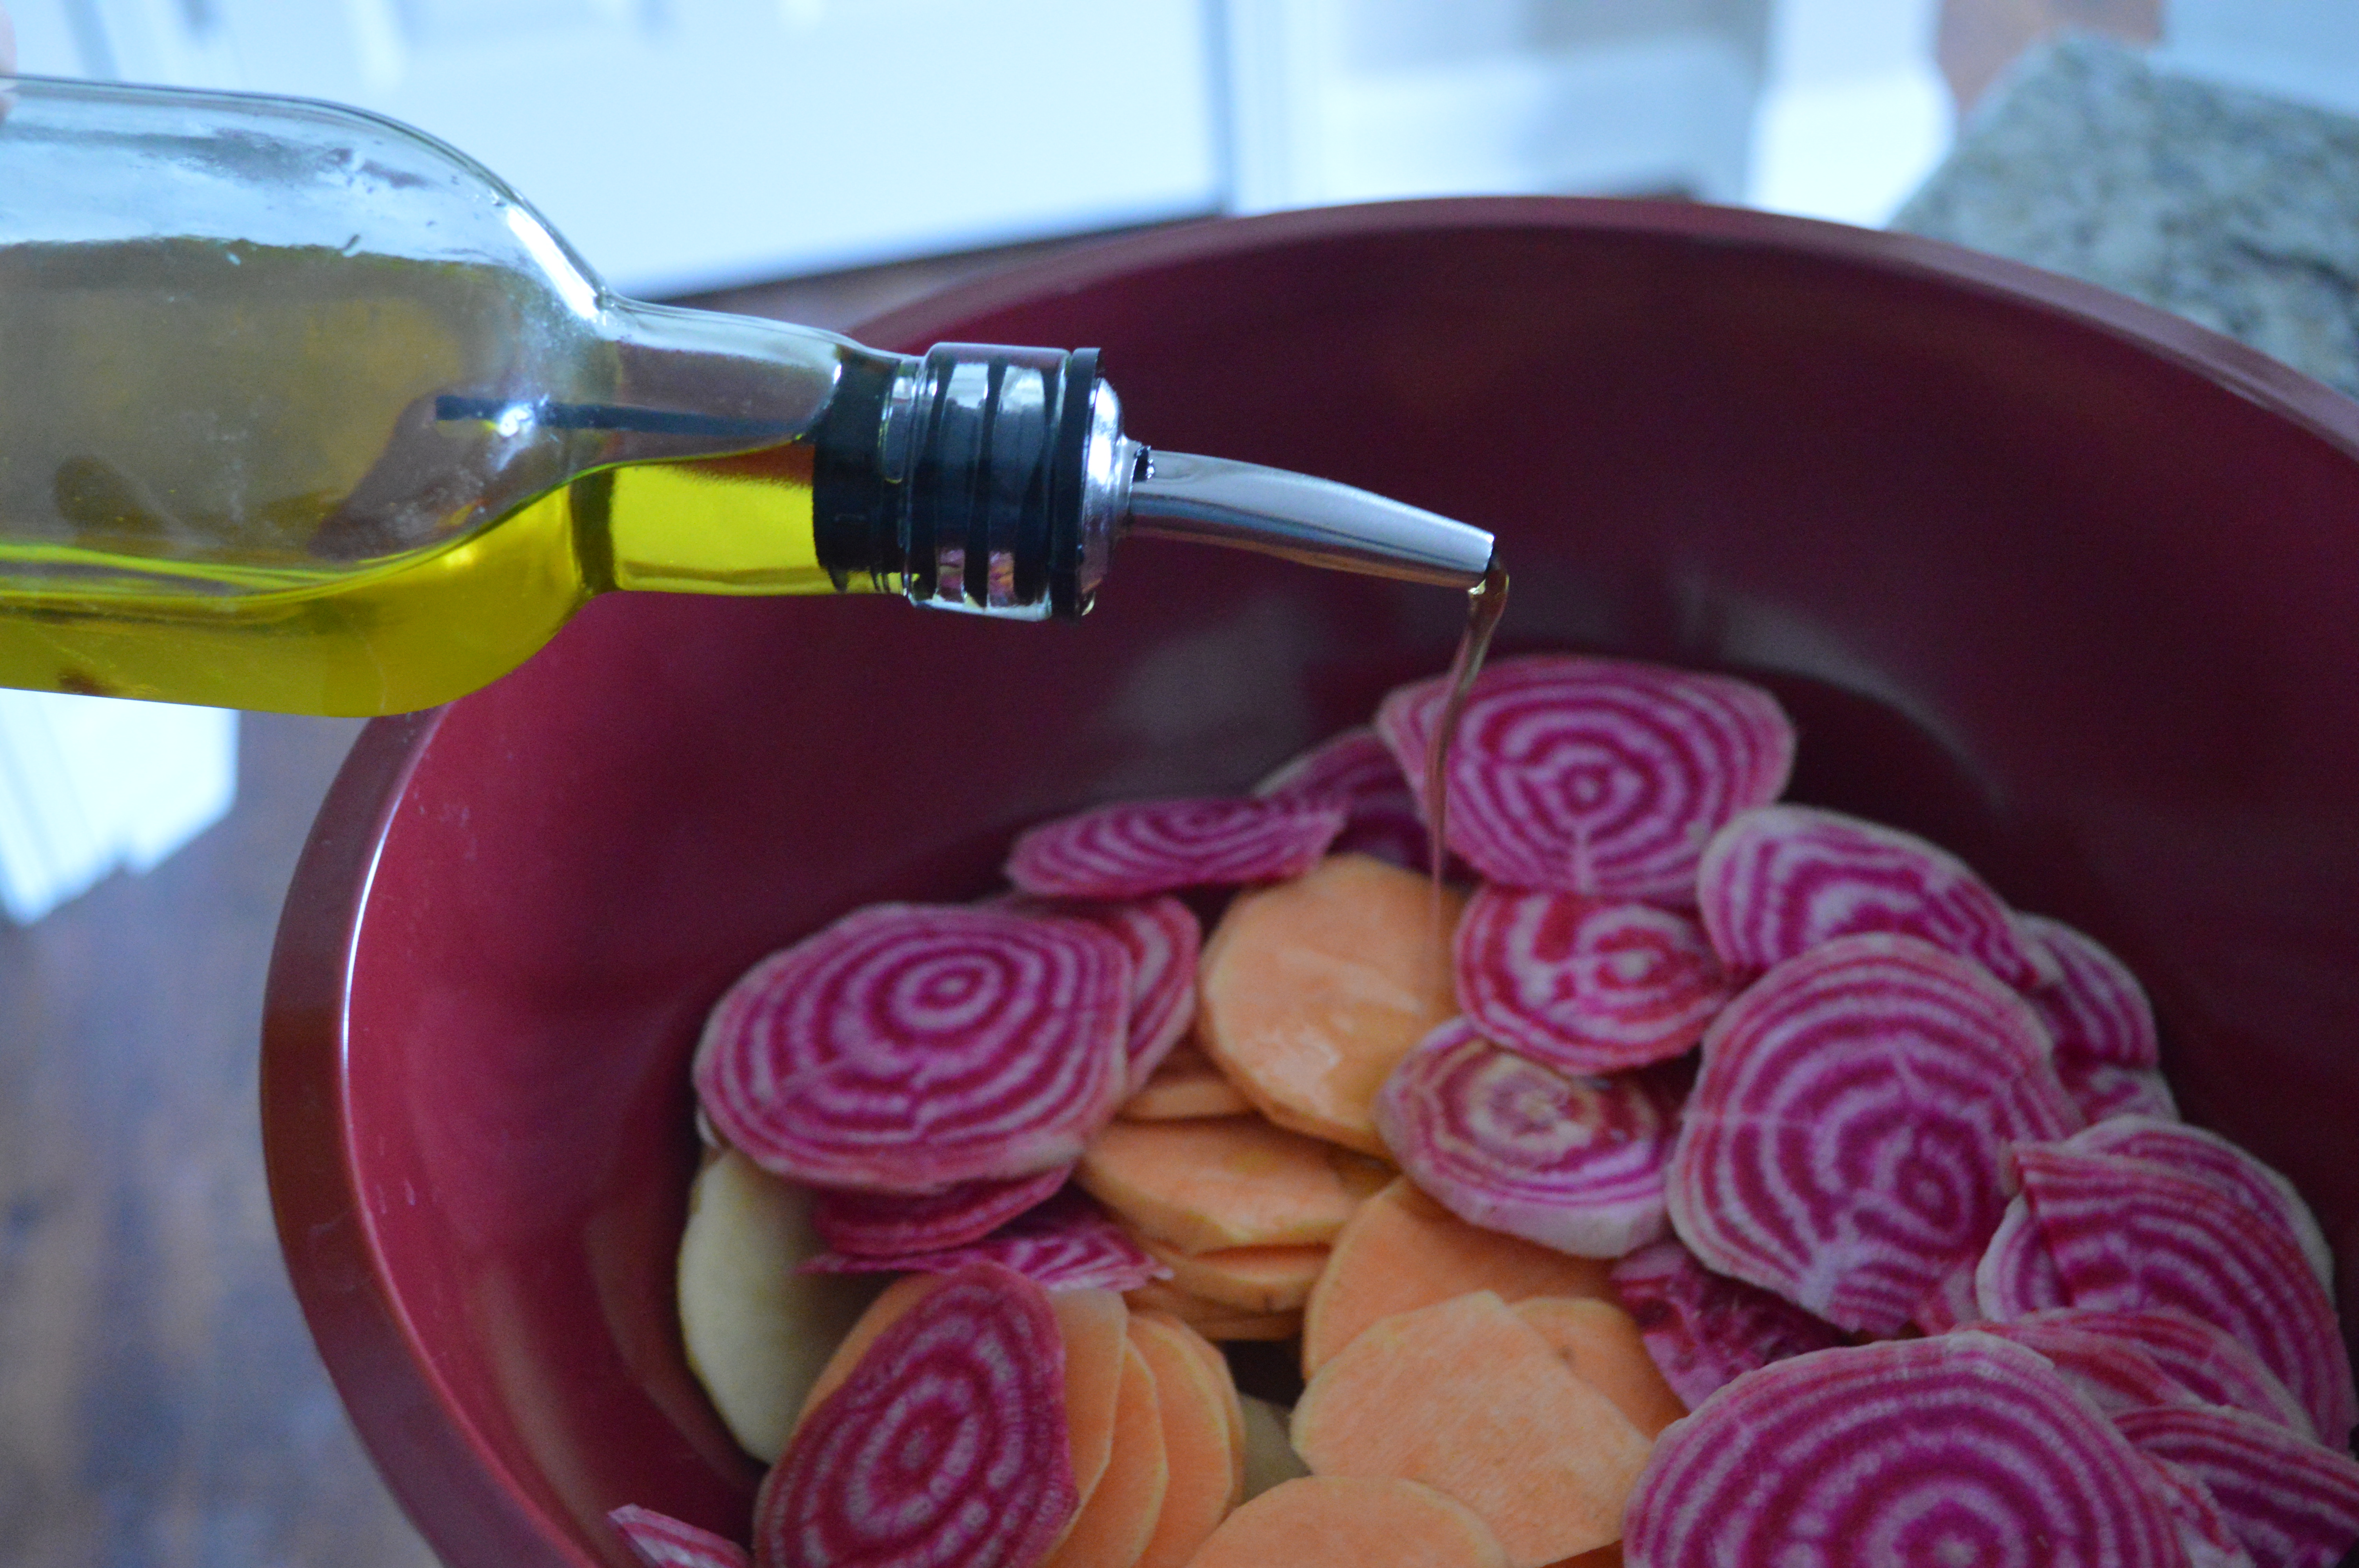
So, using some of my beets, sweet potatoes, and Yukon potatoes from the Holland Farmer’s Market, I decided to make my own.
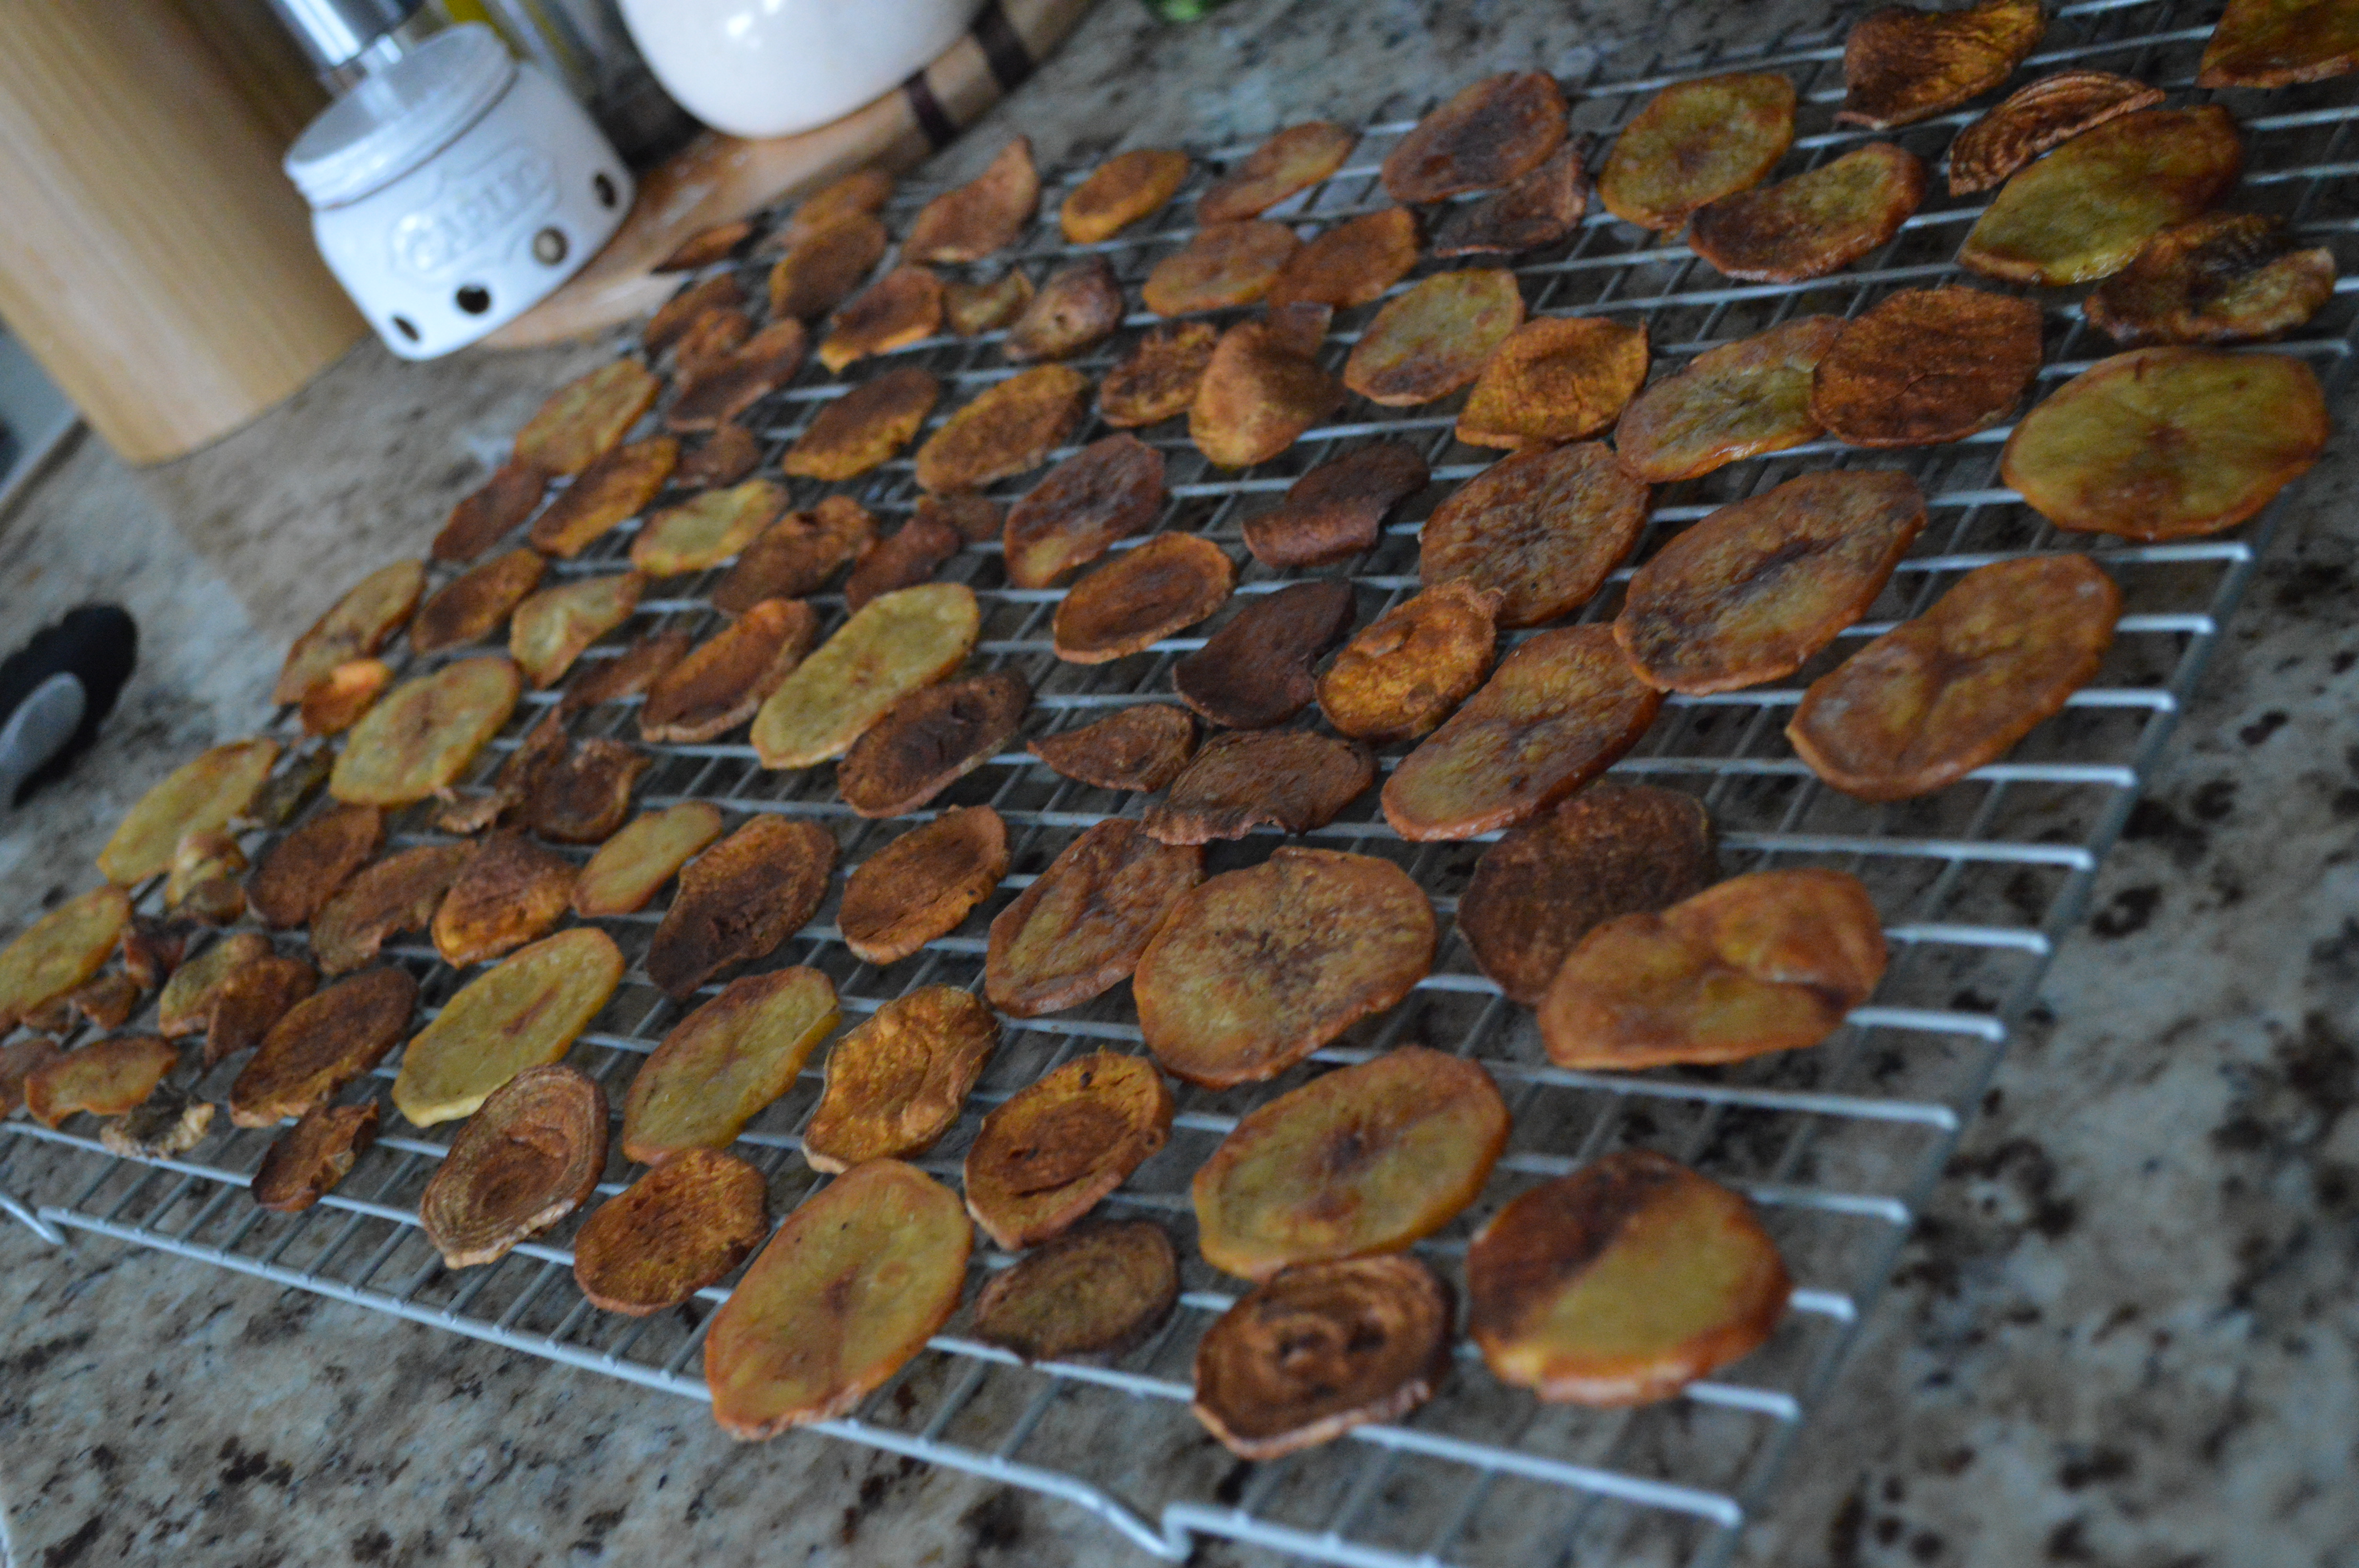
They were great and really easy. The beet chips were sweet and balanced the more savory flavors of the potatoes.
I loved having them around as a snack. Can’t beat getting a serving of vegetables but feeling like you are eating chips. (And saving you the $8 Terra bag…!)
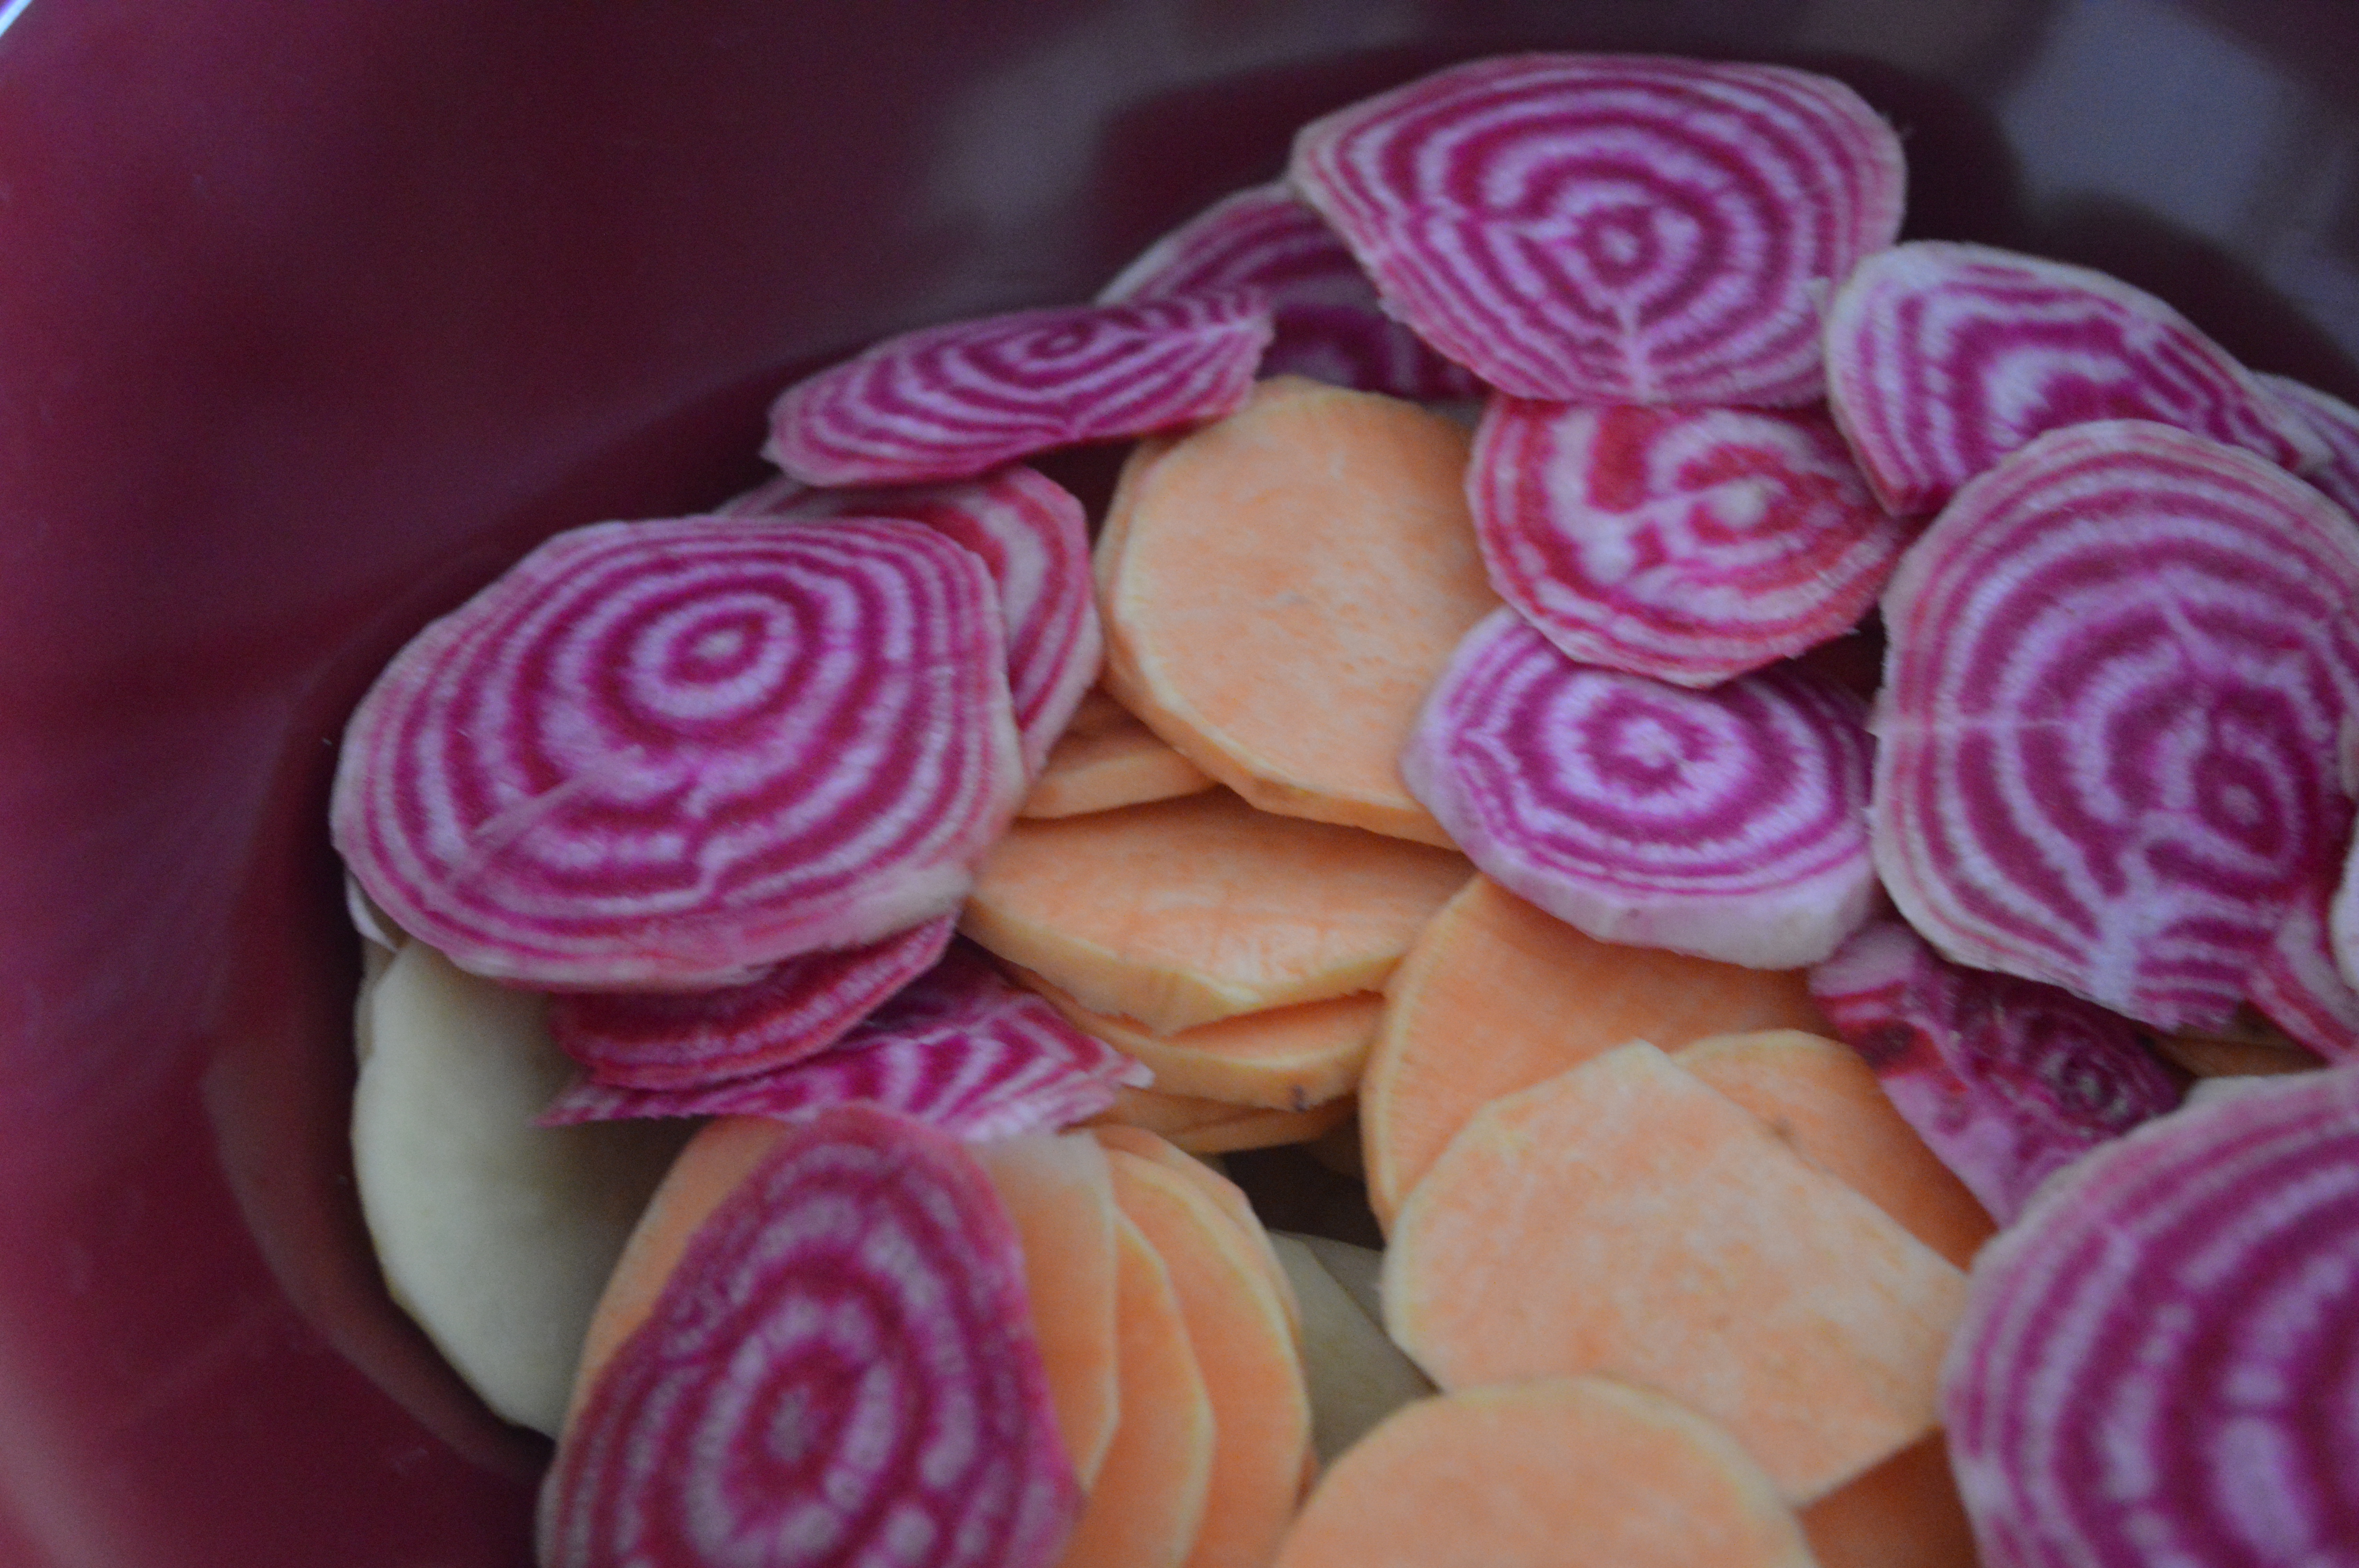
The colors were amazing!
Ingredients:
3 medium beets
1 large sweet potato
3 medium Yukon Potatoes
Olive Oil
Preheat Oven to 400 degrees.
Slice all veggies ¼ inch thick. I used my mandolin. Toss sliced vegetables with oil.
Lay vegetables on a large cookie sheet.

Bake for thirty minutes and place on a cooling rack. Chips will continue to harden as they cool.
Consume within 48 hours.
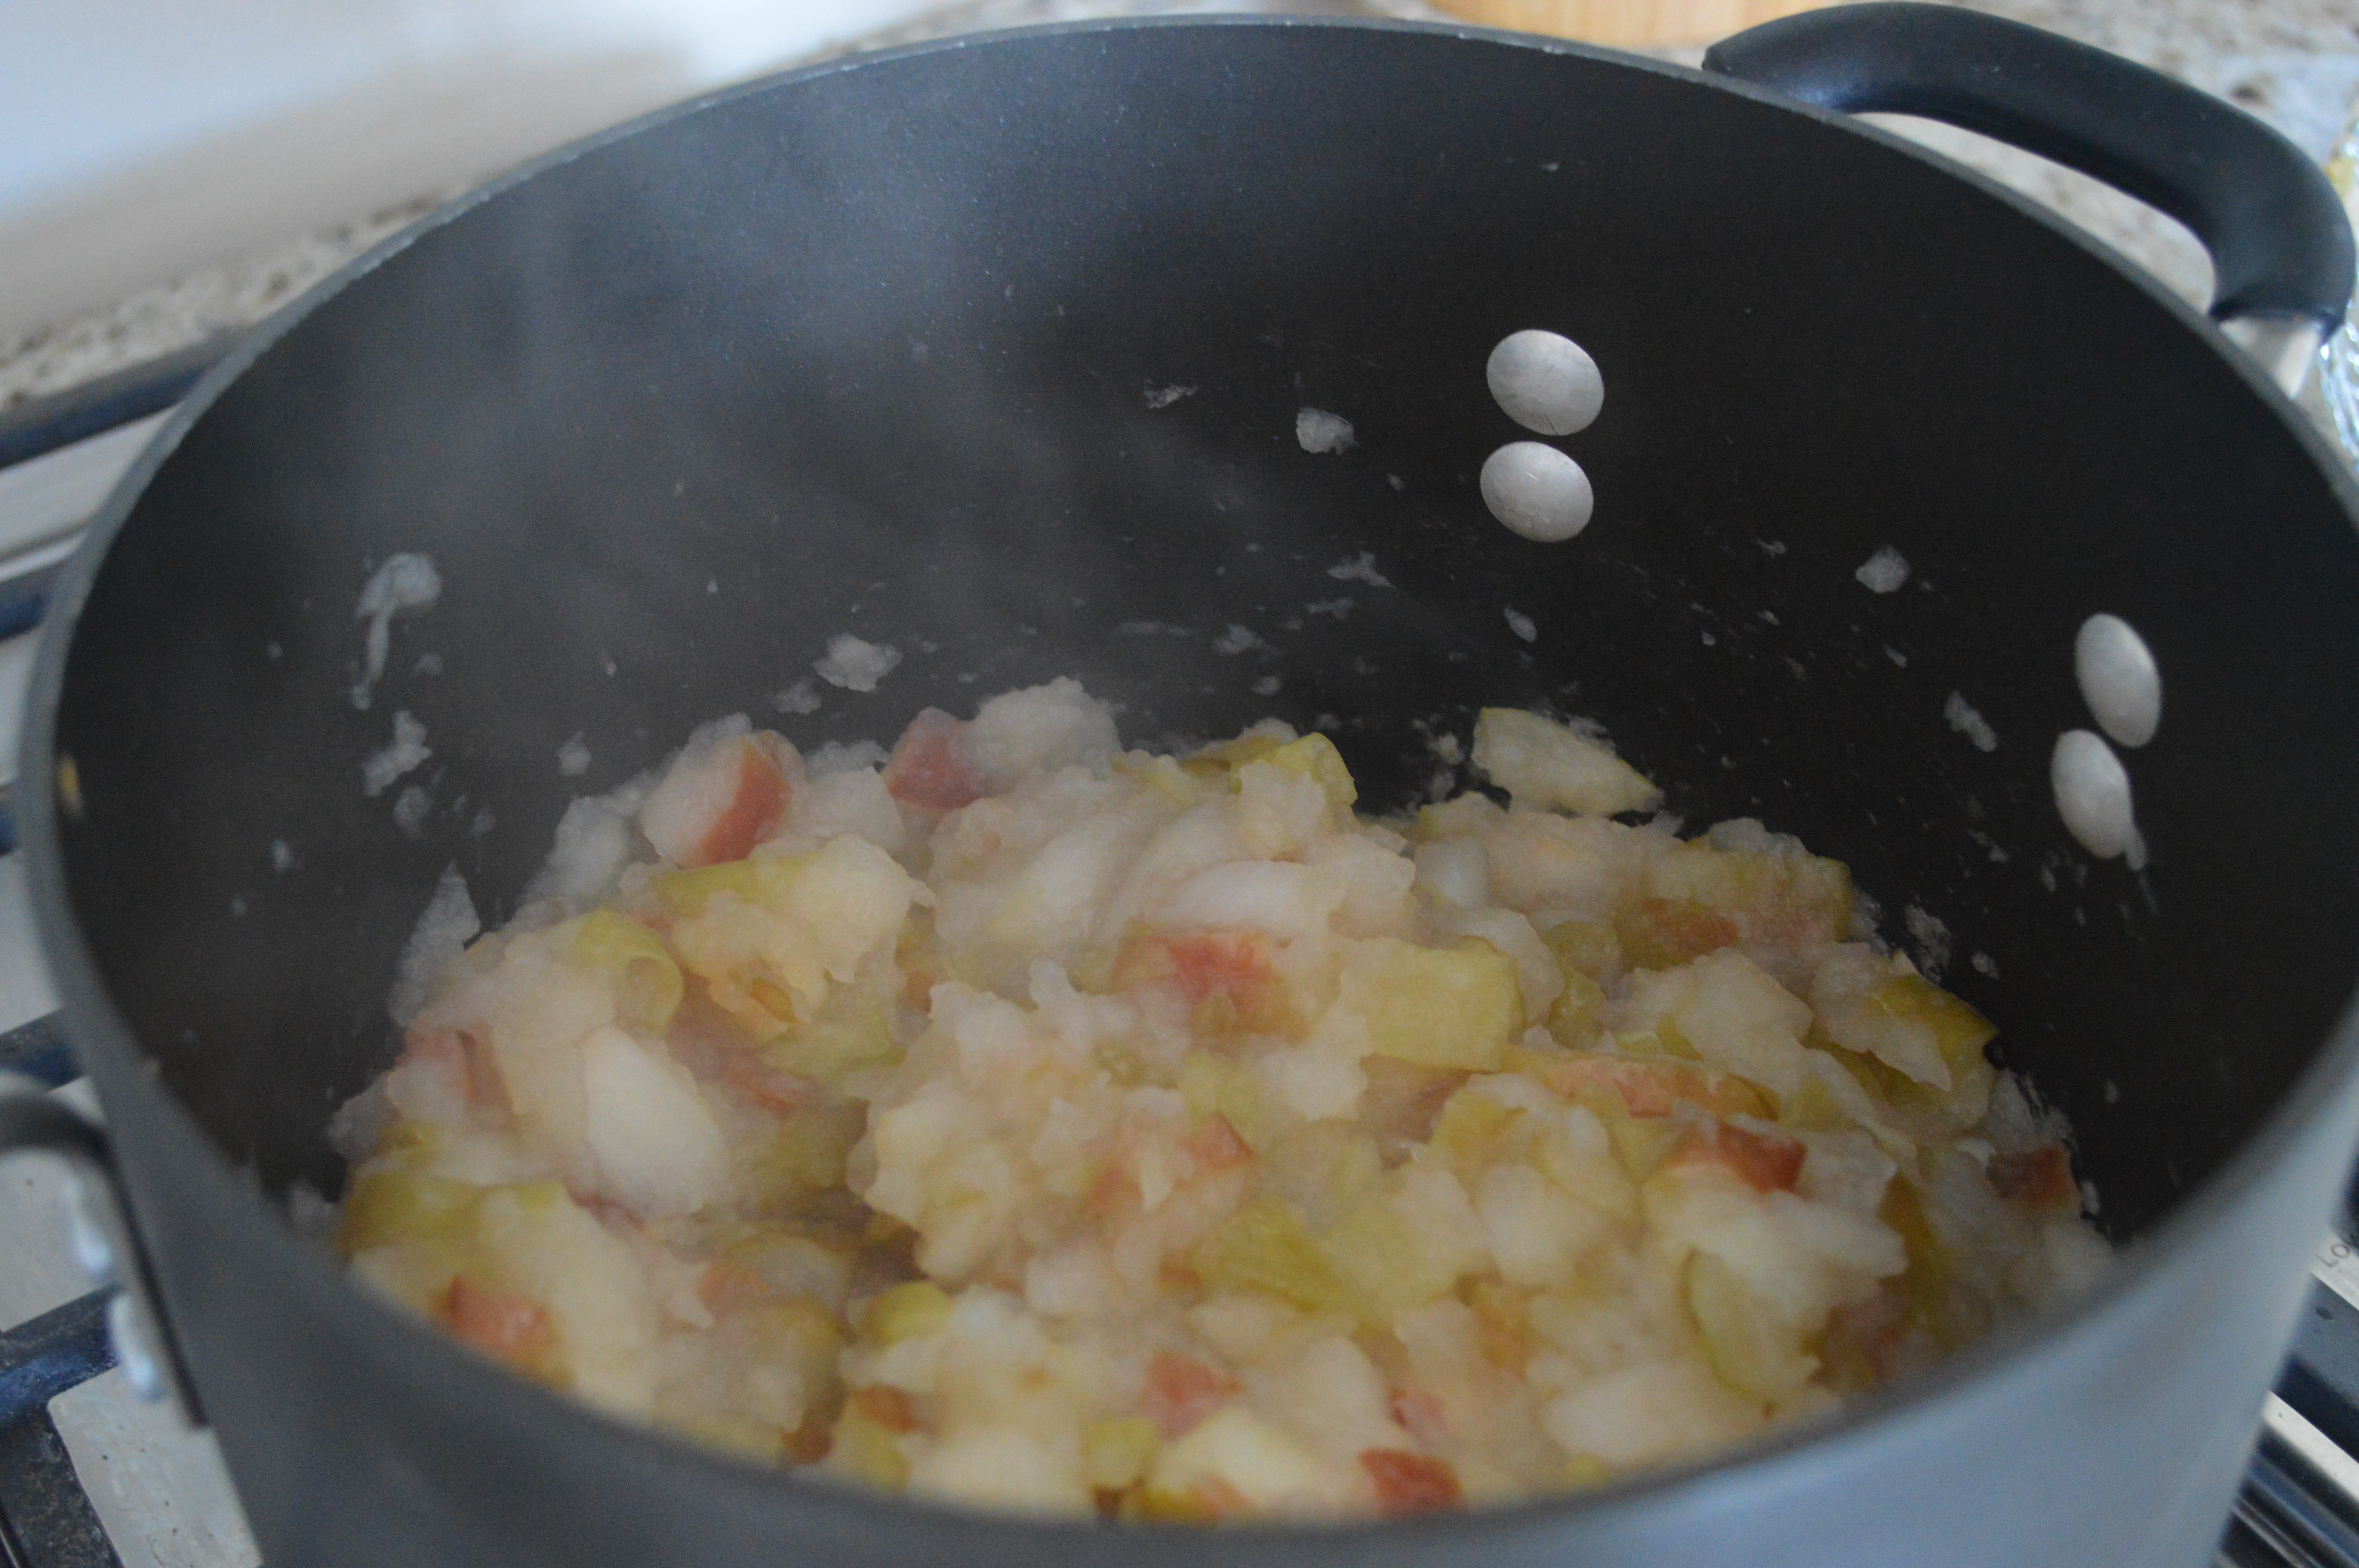
Turning up the Beet on Risotto:
I recently was asked what my favorite thing to cook is. And honestly, I was stumped. I love to cook. Eggs, dessert, breads, vegetables, large roasts, soups, stir fry’s, homemade pizza… I could go on and on.
Then, it came to me at work when I was assisting a chef at my Alma Mater: I love to cook risotto.
I came to this discovery while cooking risotto for eighty sorority women. Even though the muscles in my shoulders burned from stirring the massive amount of Arborio rice, I knew this was my love.
It’s great anytime of year, but there is just something so cozy about it when it’s chilly outside. It is also so versatile. Risotto prep starts the same every time, but you can add all sorts of ingredients towards the end to make it your own. My mom often adds parmesan and scallops. That evening on campus we added coconut milk and toasted coconut flakes to the risotto as it served as an accompanist to some island style chicken.
I was searching for something to do with our farmer’s market beets other than roasting them and through my searching, found that goat cheese pairs great with the sweetness in the beets. Inspired by my risotto at the sorority, I thought it could be a great combination.

And it was.
Ingredients:
3 medium beets
1 shallot, chopped
1 Tablespoon of butter
1 Tablespoon of olive oil
1 cup of Arborio rice
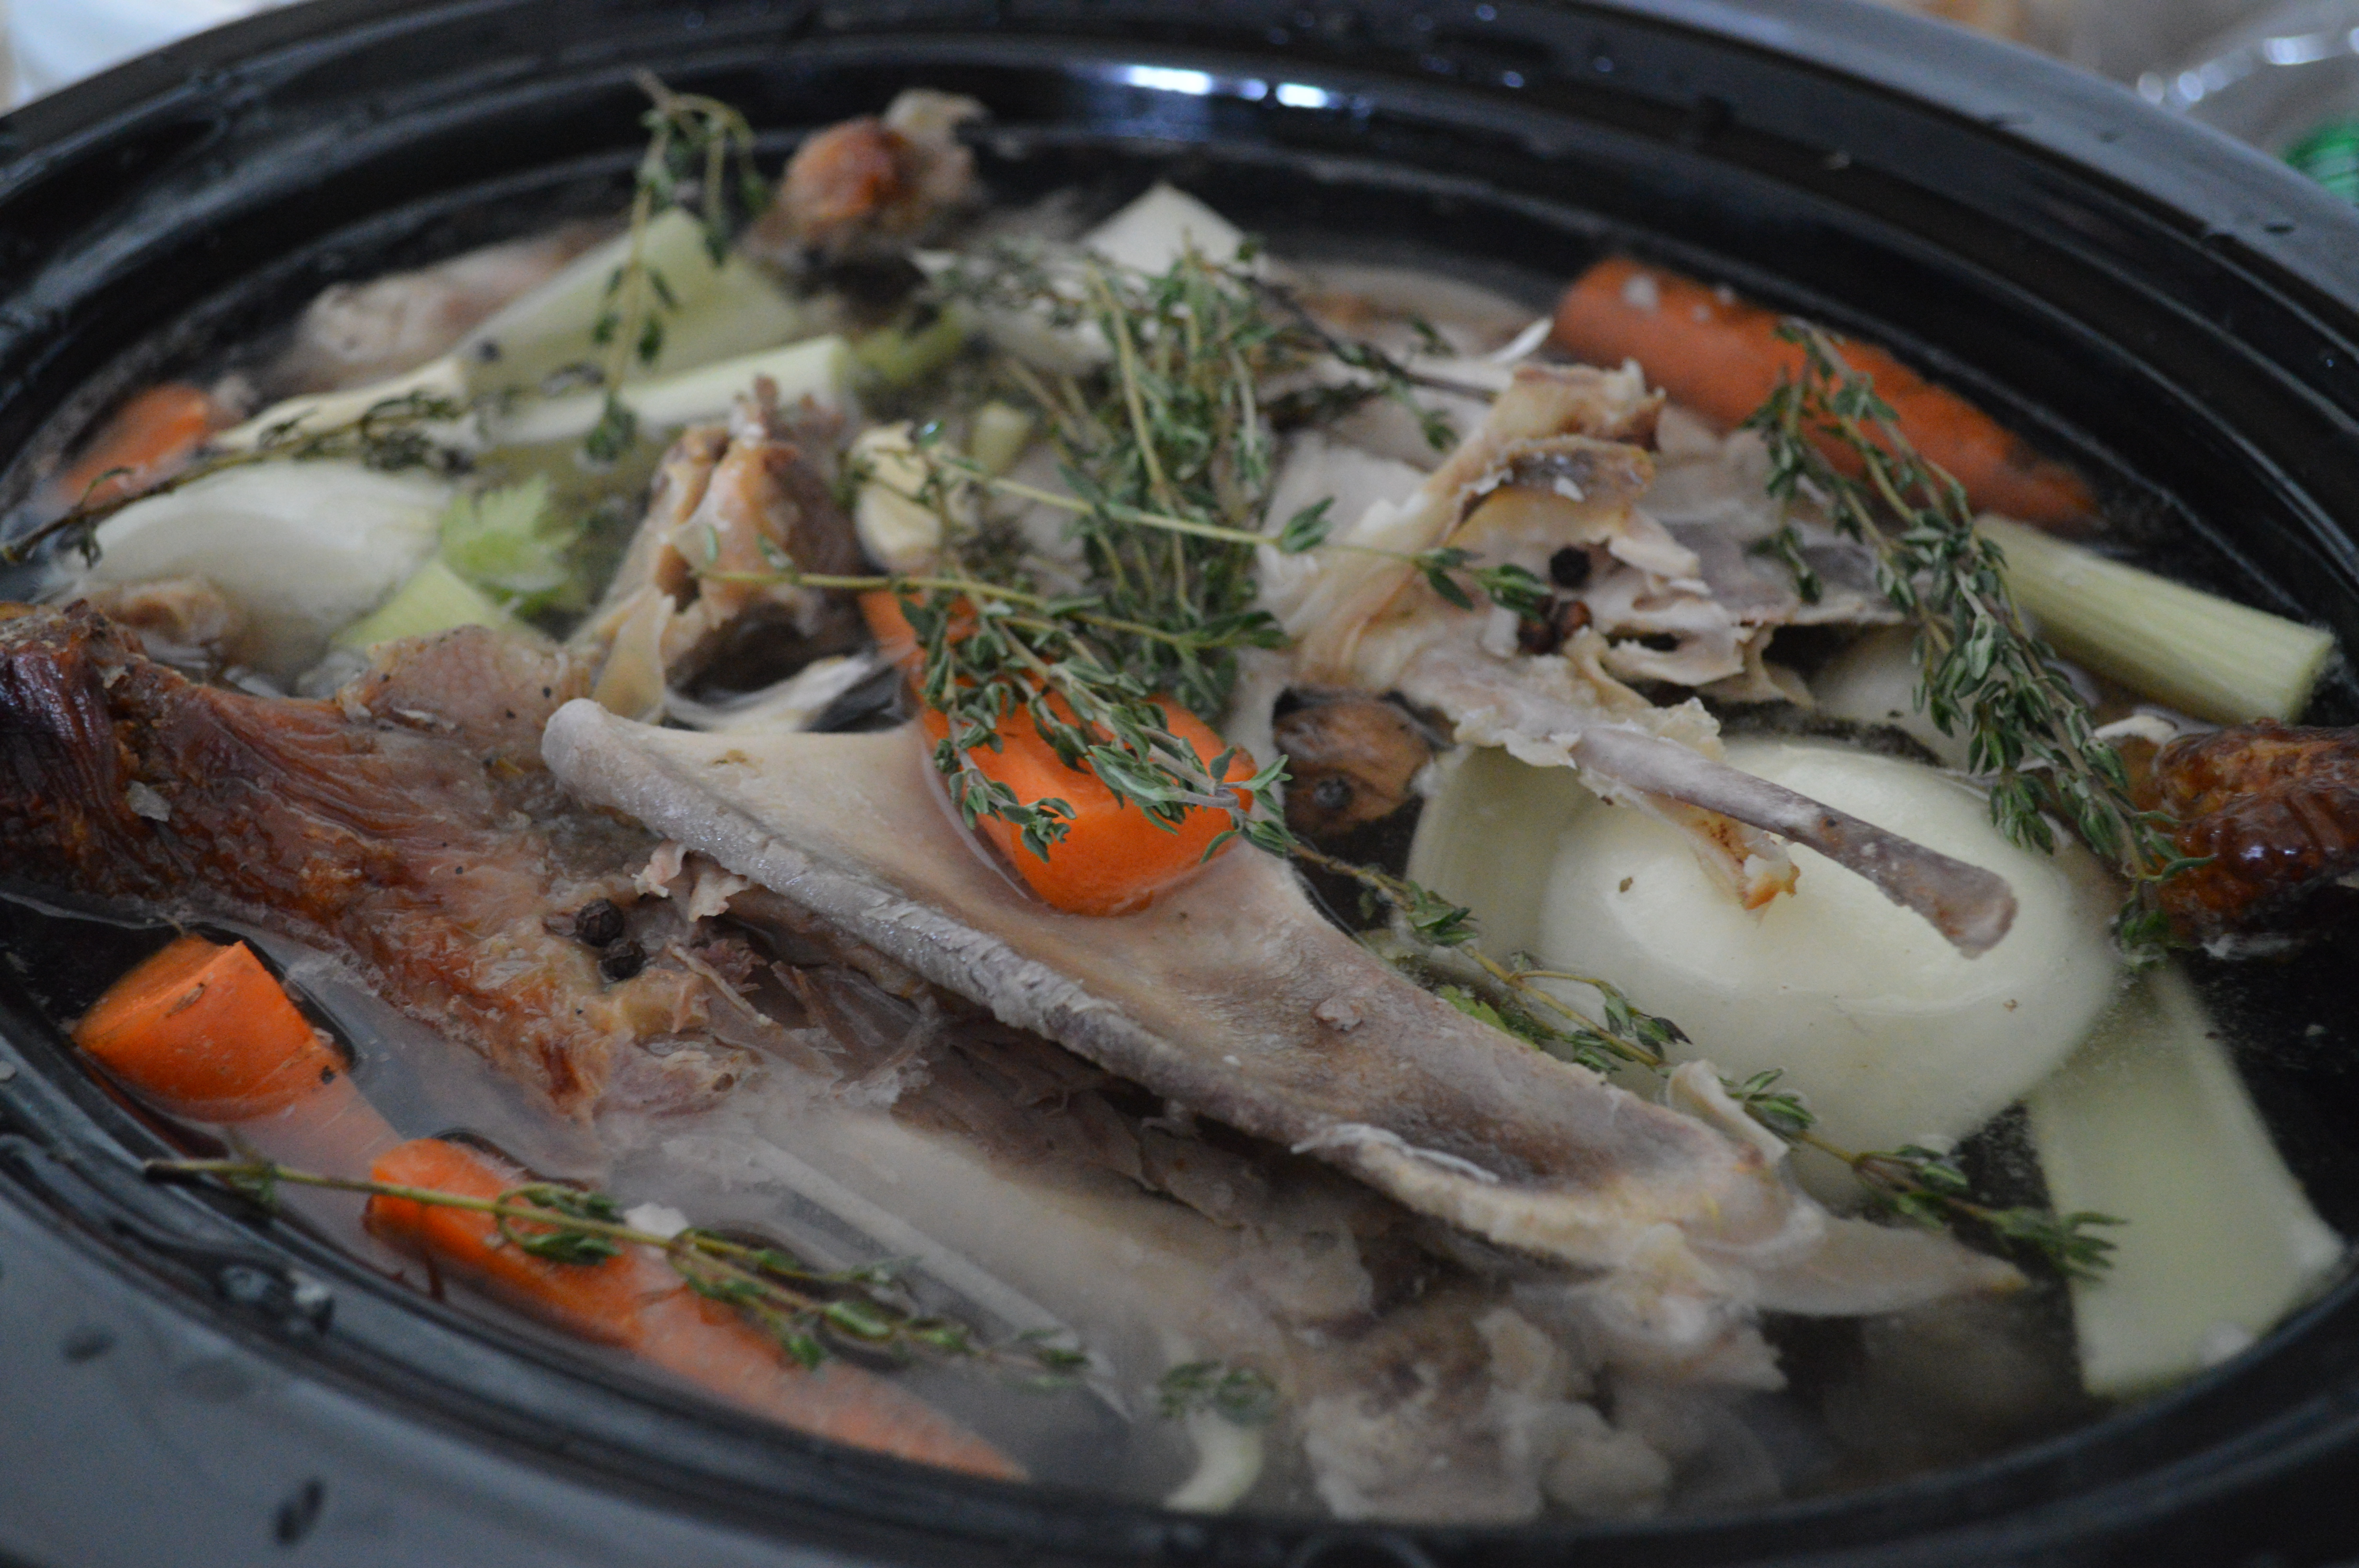
6 cups of chicken stock (… It may take less. I have found with any risotto recipe that I use far more broth than is called for. It is just a lot easier to be prepared and have more ready. I can easily use any leftover broth with something else. Also, for this, we actually used our turkey stock…worked just fine!)
4 ounce log of goat cheese
Salt and Pepper
Fresh Chives for garnish
Preheat oven to 400 degrees.
Rinse any dirt off beets, pat dry. Roast Beets for 40 minutes. Easy way to do this is just place on a sheet of foil. Doesn’t hurt to drizzle a little olive oil on the beets. Once complete, let cool and remove skin. Cut into ½ inch pieces.

Heat up stock in a sauce pan. You want the stock just to steam, not boil.
In a large, high sided skillet (We have found our wok works better than a skillet… I had forgotten about this when I made this risotto.) heat olive oil on medium high heat. Add the shallots and cook for about three minutes. You don’t want them to brown. Add the rice and stir to coat in the oil.
Reduce heat to medium and add a half cup of stock, stir until absorbed. Continue with a half cup of stock at a time until rice is cooked through.

Remove from heat and stir in beets, butter, and goat cheese. Top with chopped chives.

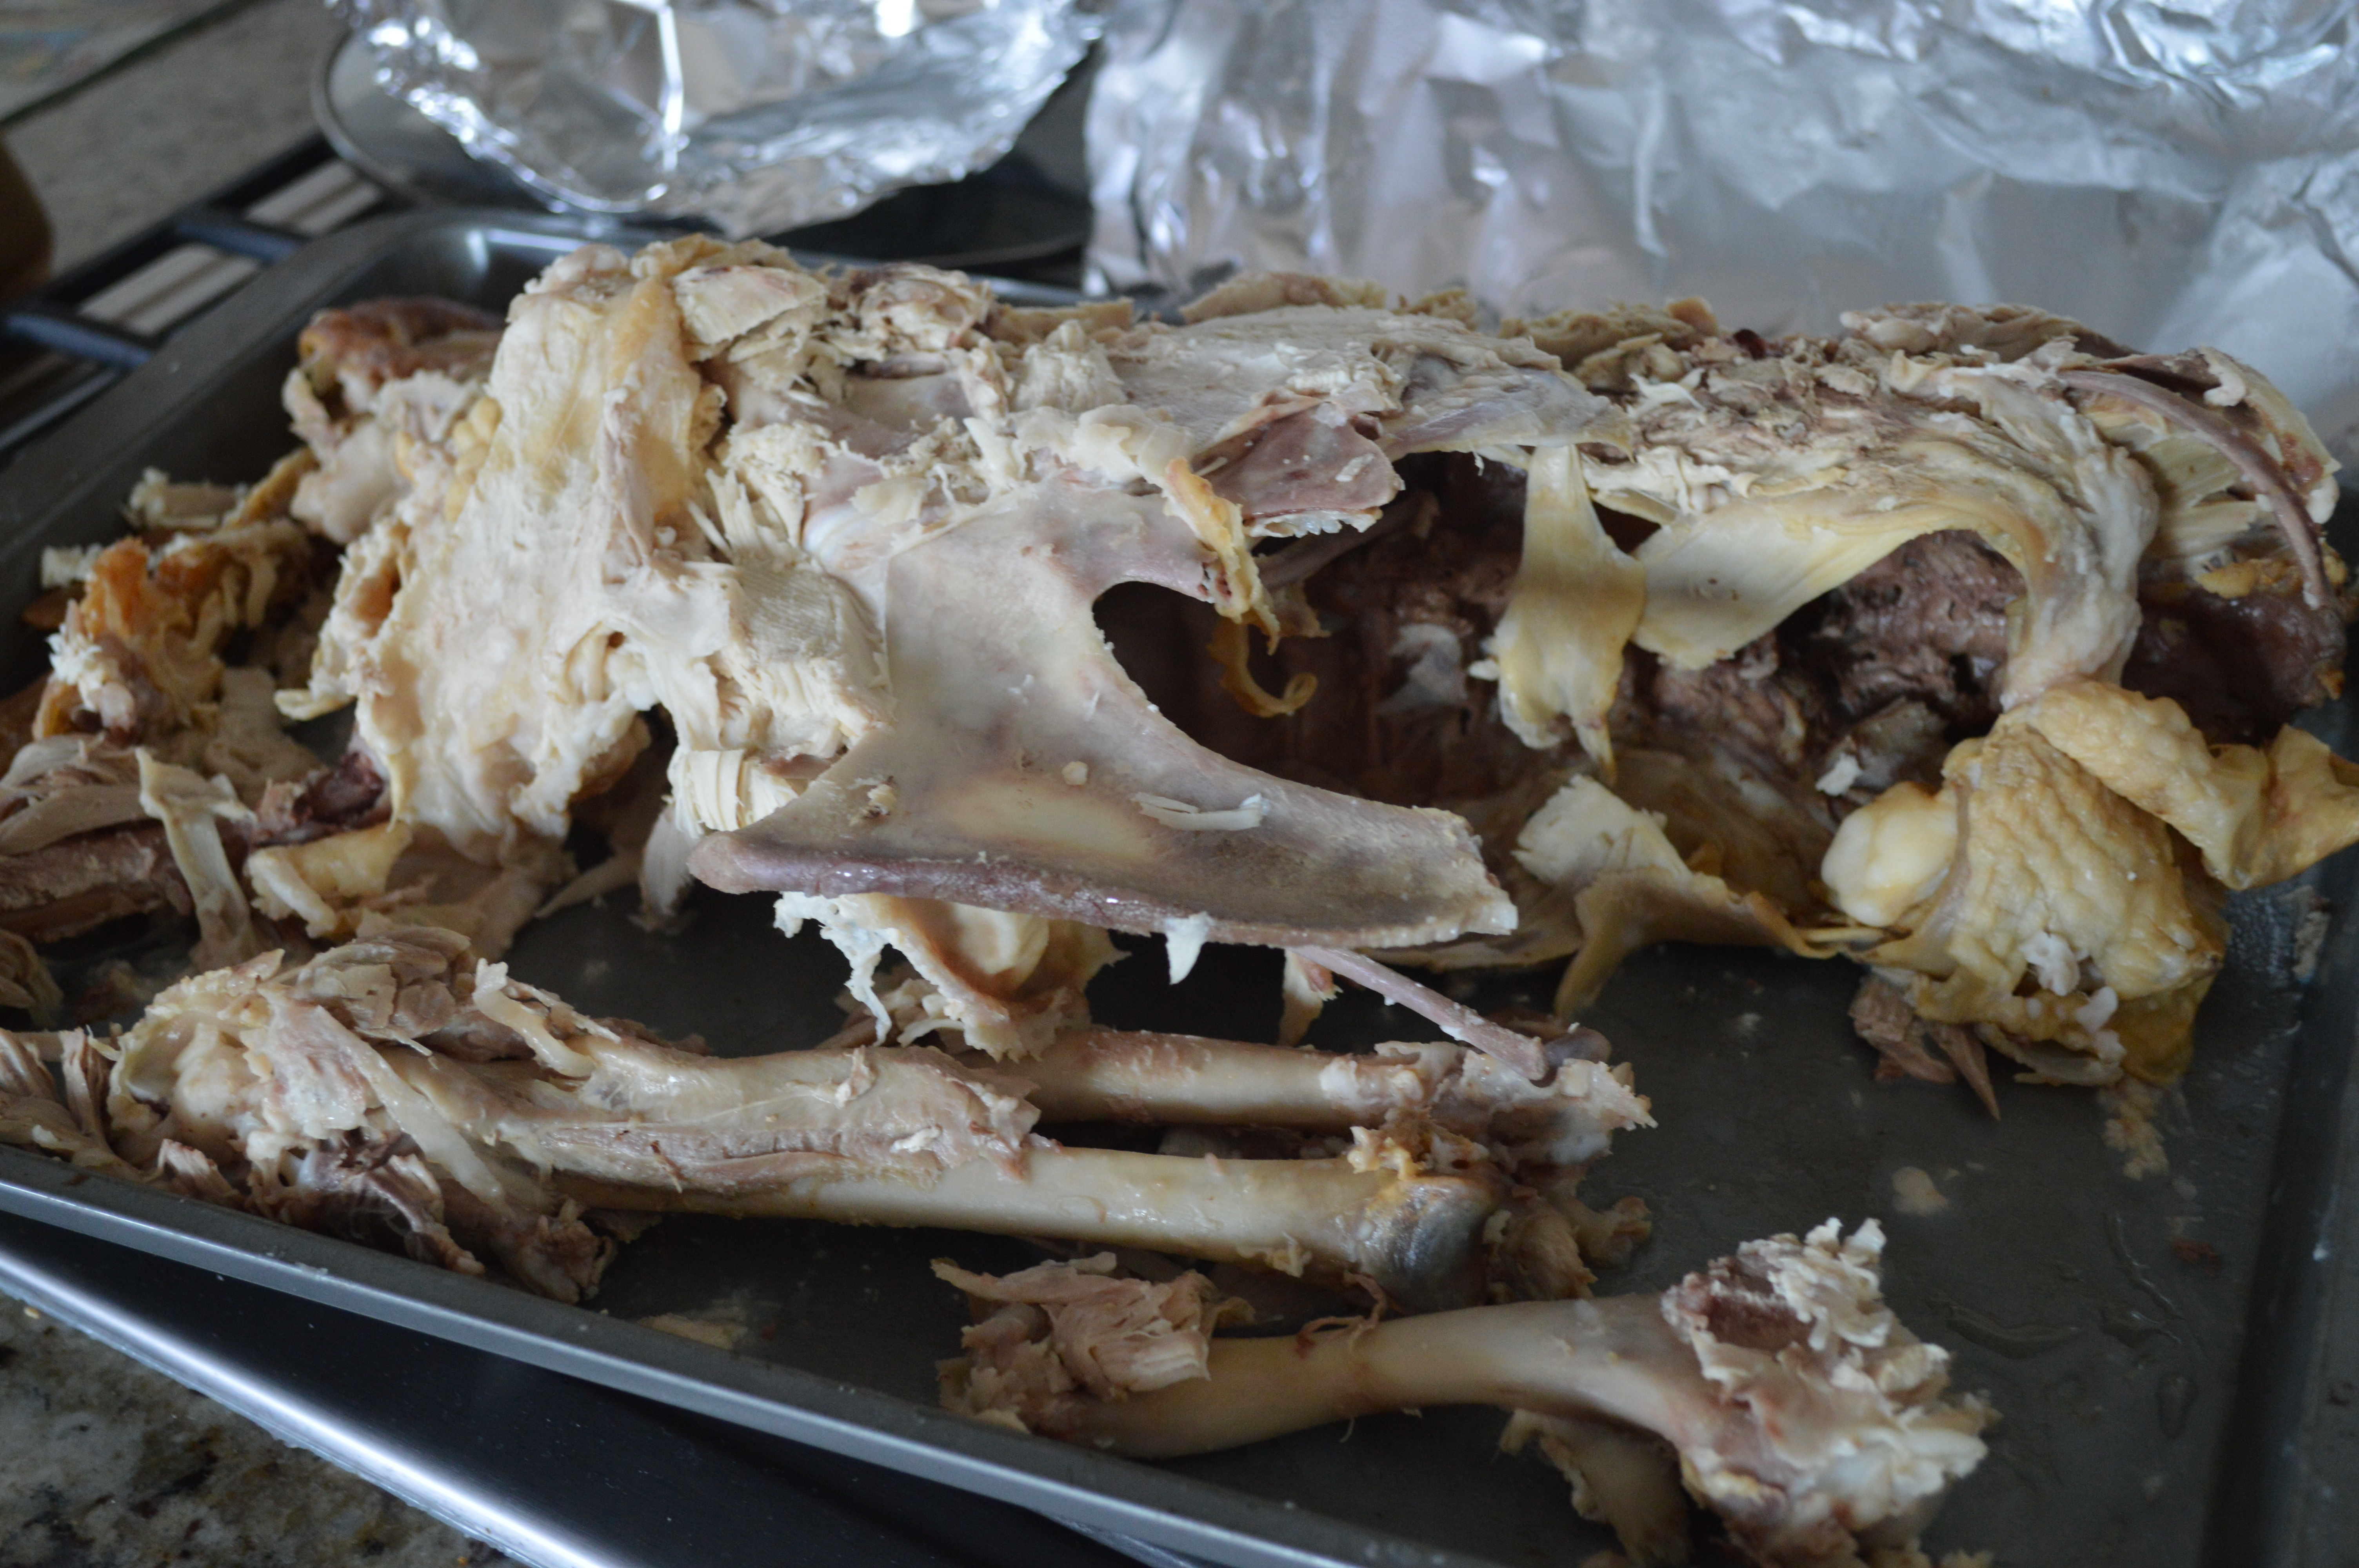
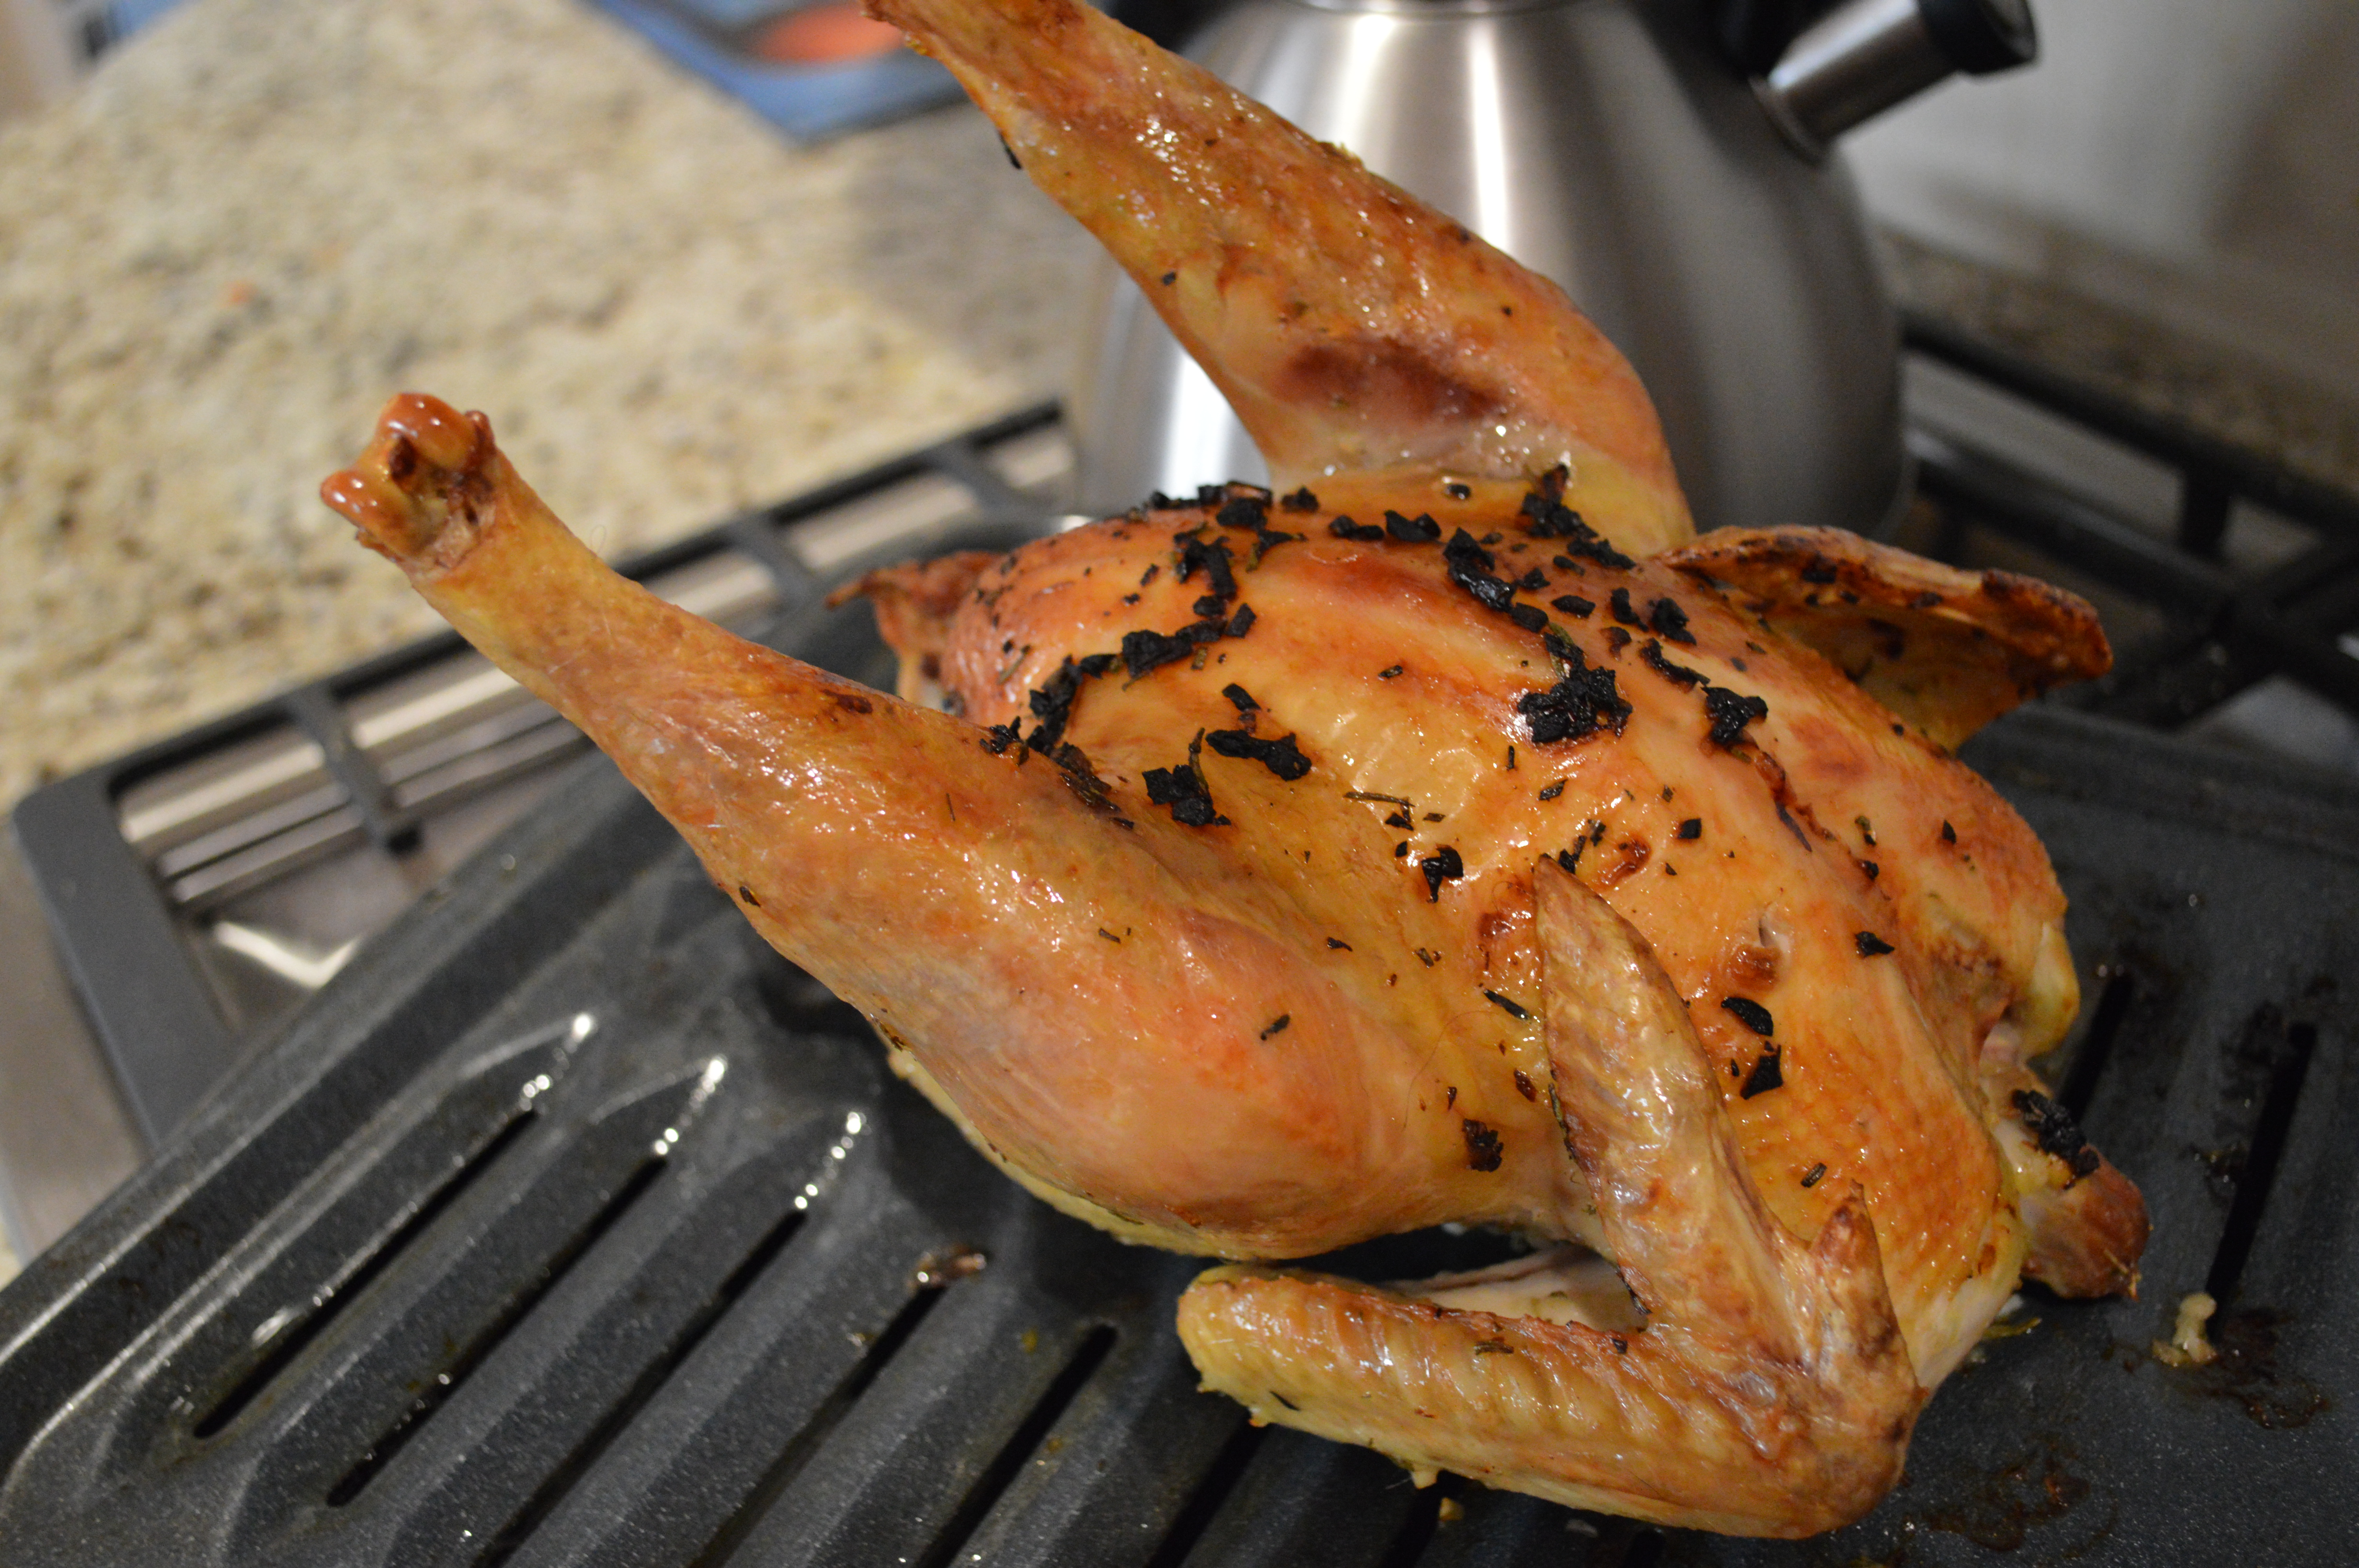
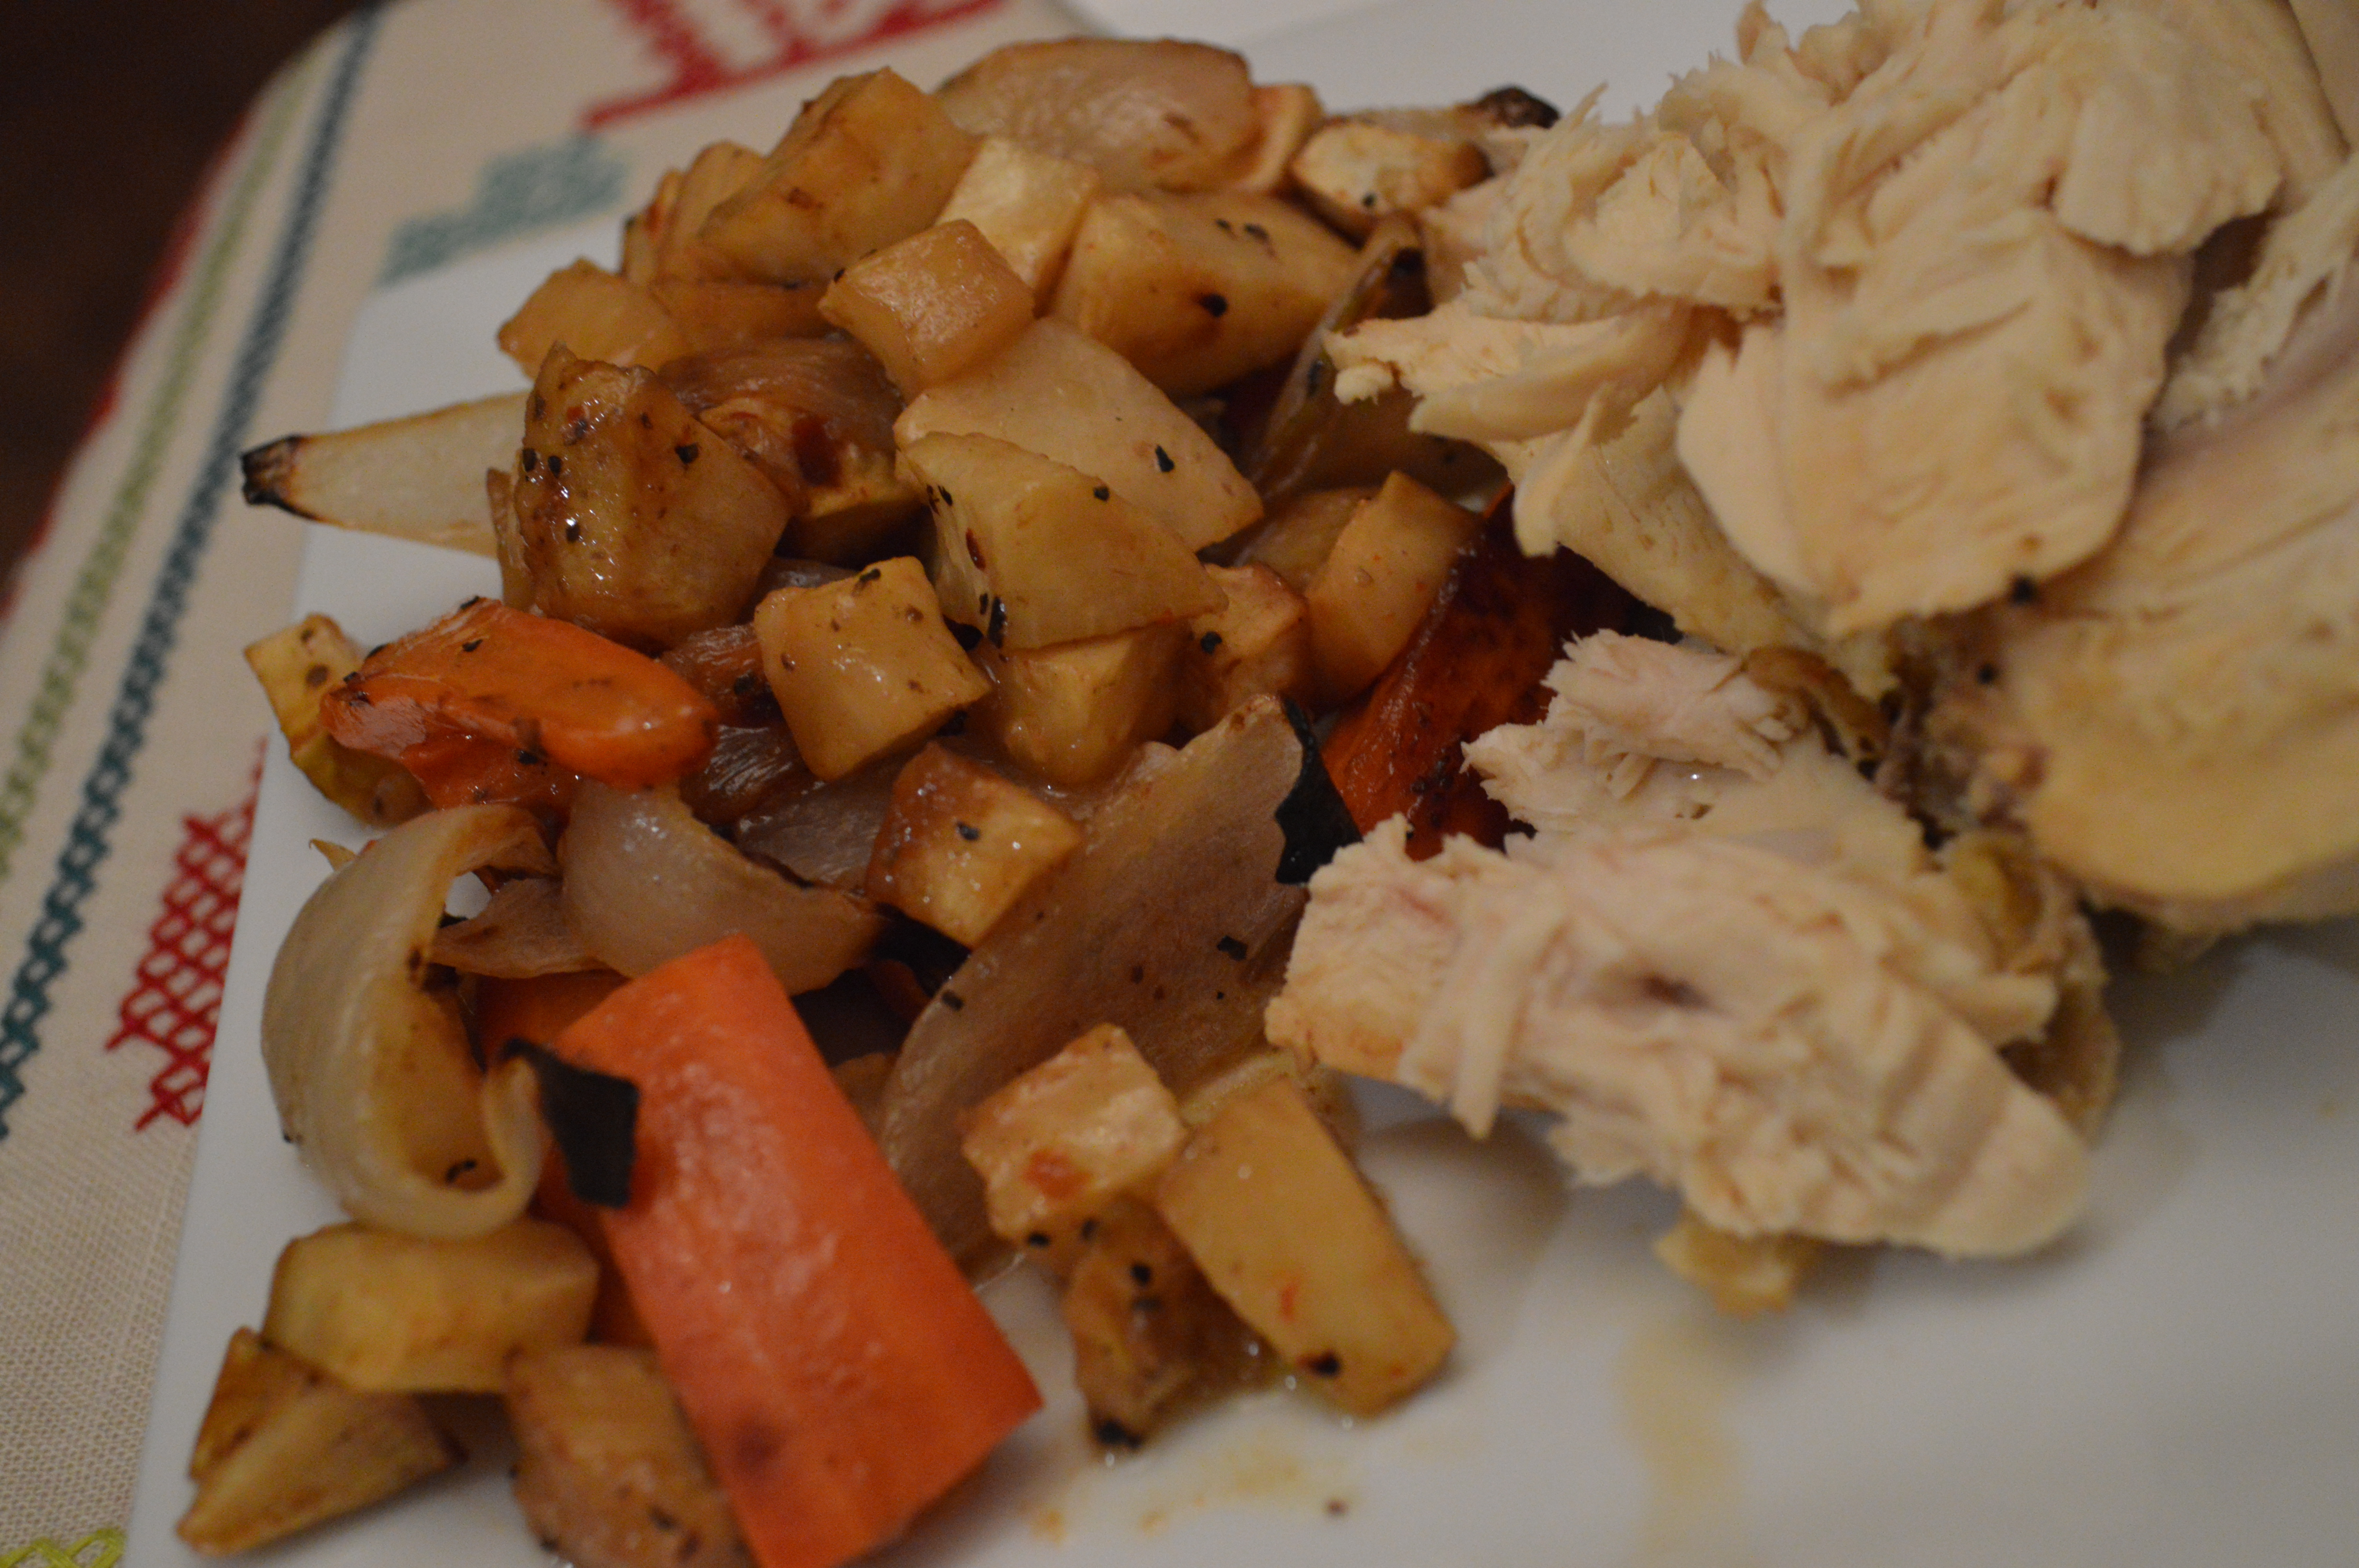
Roasted Whole Chicken and Root Vegetables:
So, the oddball in out root loot was the celery root.

I had never cooked or had one, so we decided if there ever was a good time to give it a try, this was it.
It is a weird looking vegetable. And, really, not all that pretty. But, I read that what it lacks in looks, it makes up in flavor.
I also read online to prep it you need to remove the skin. I used a vegetable peeler and it worked okay. The skin is a bit thicker than anything on a carrot.
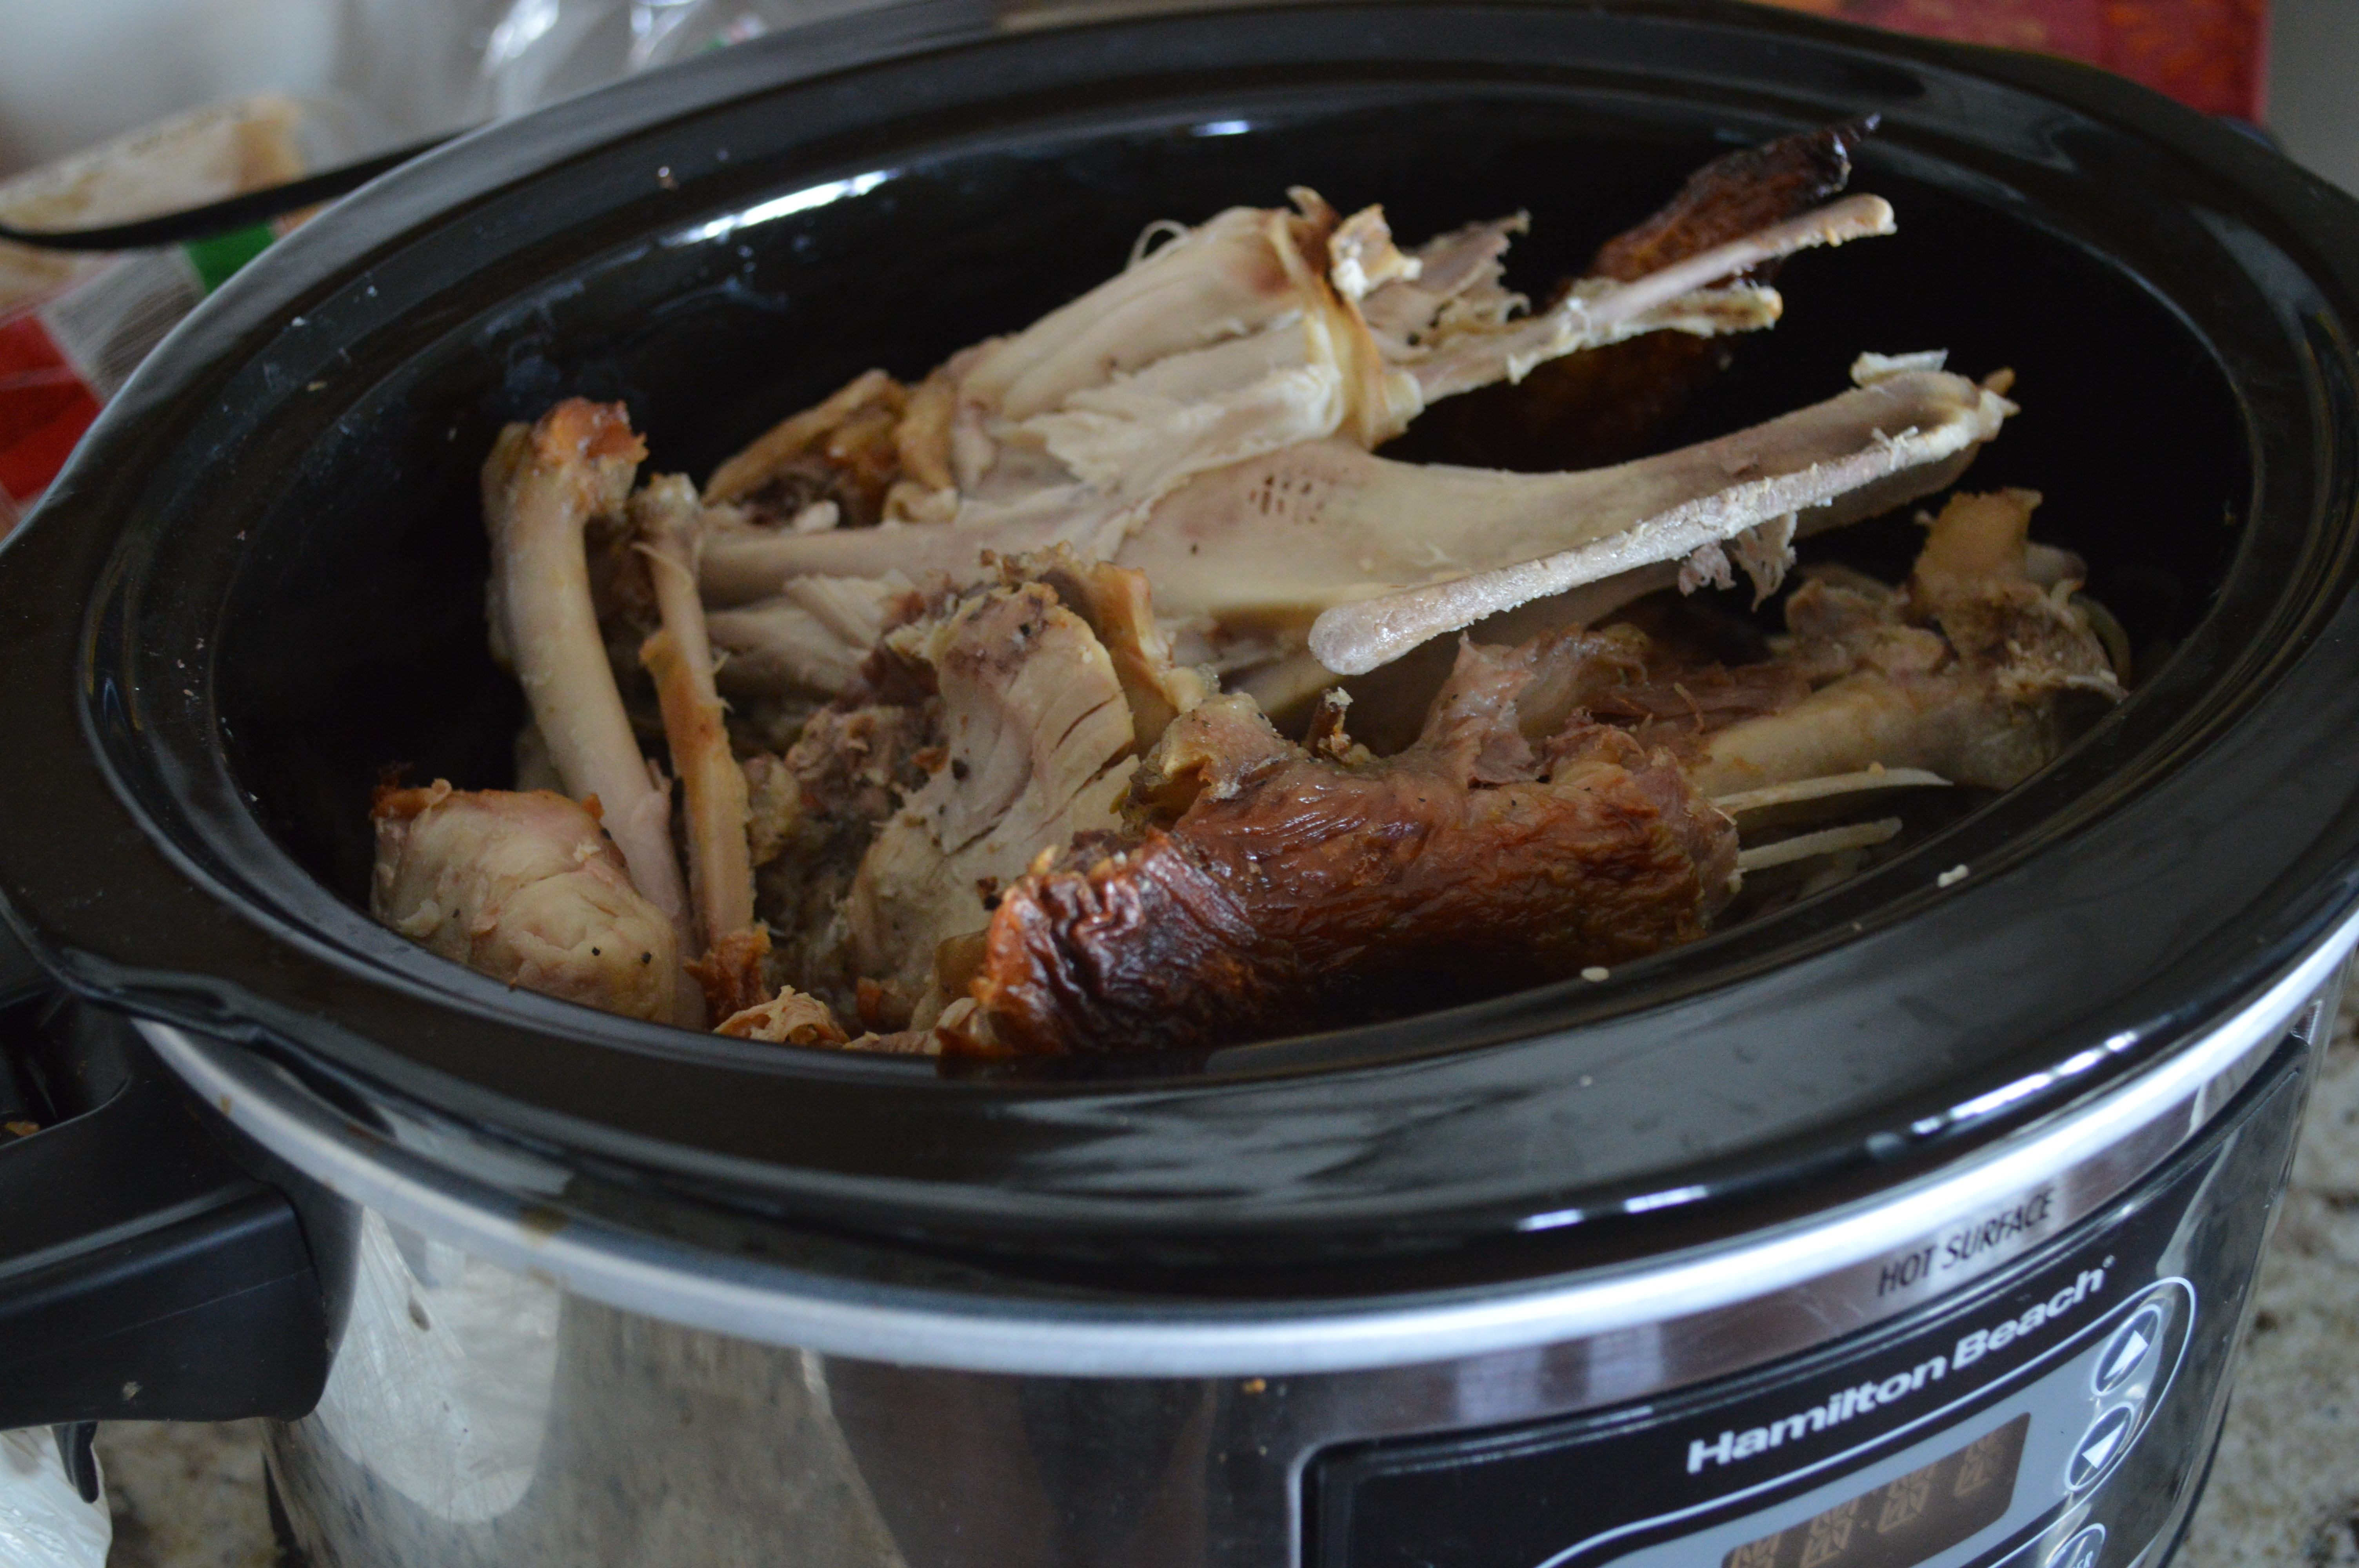
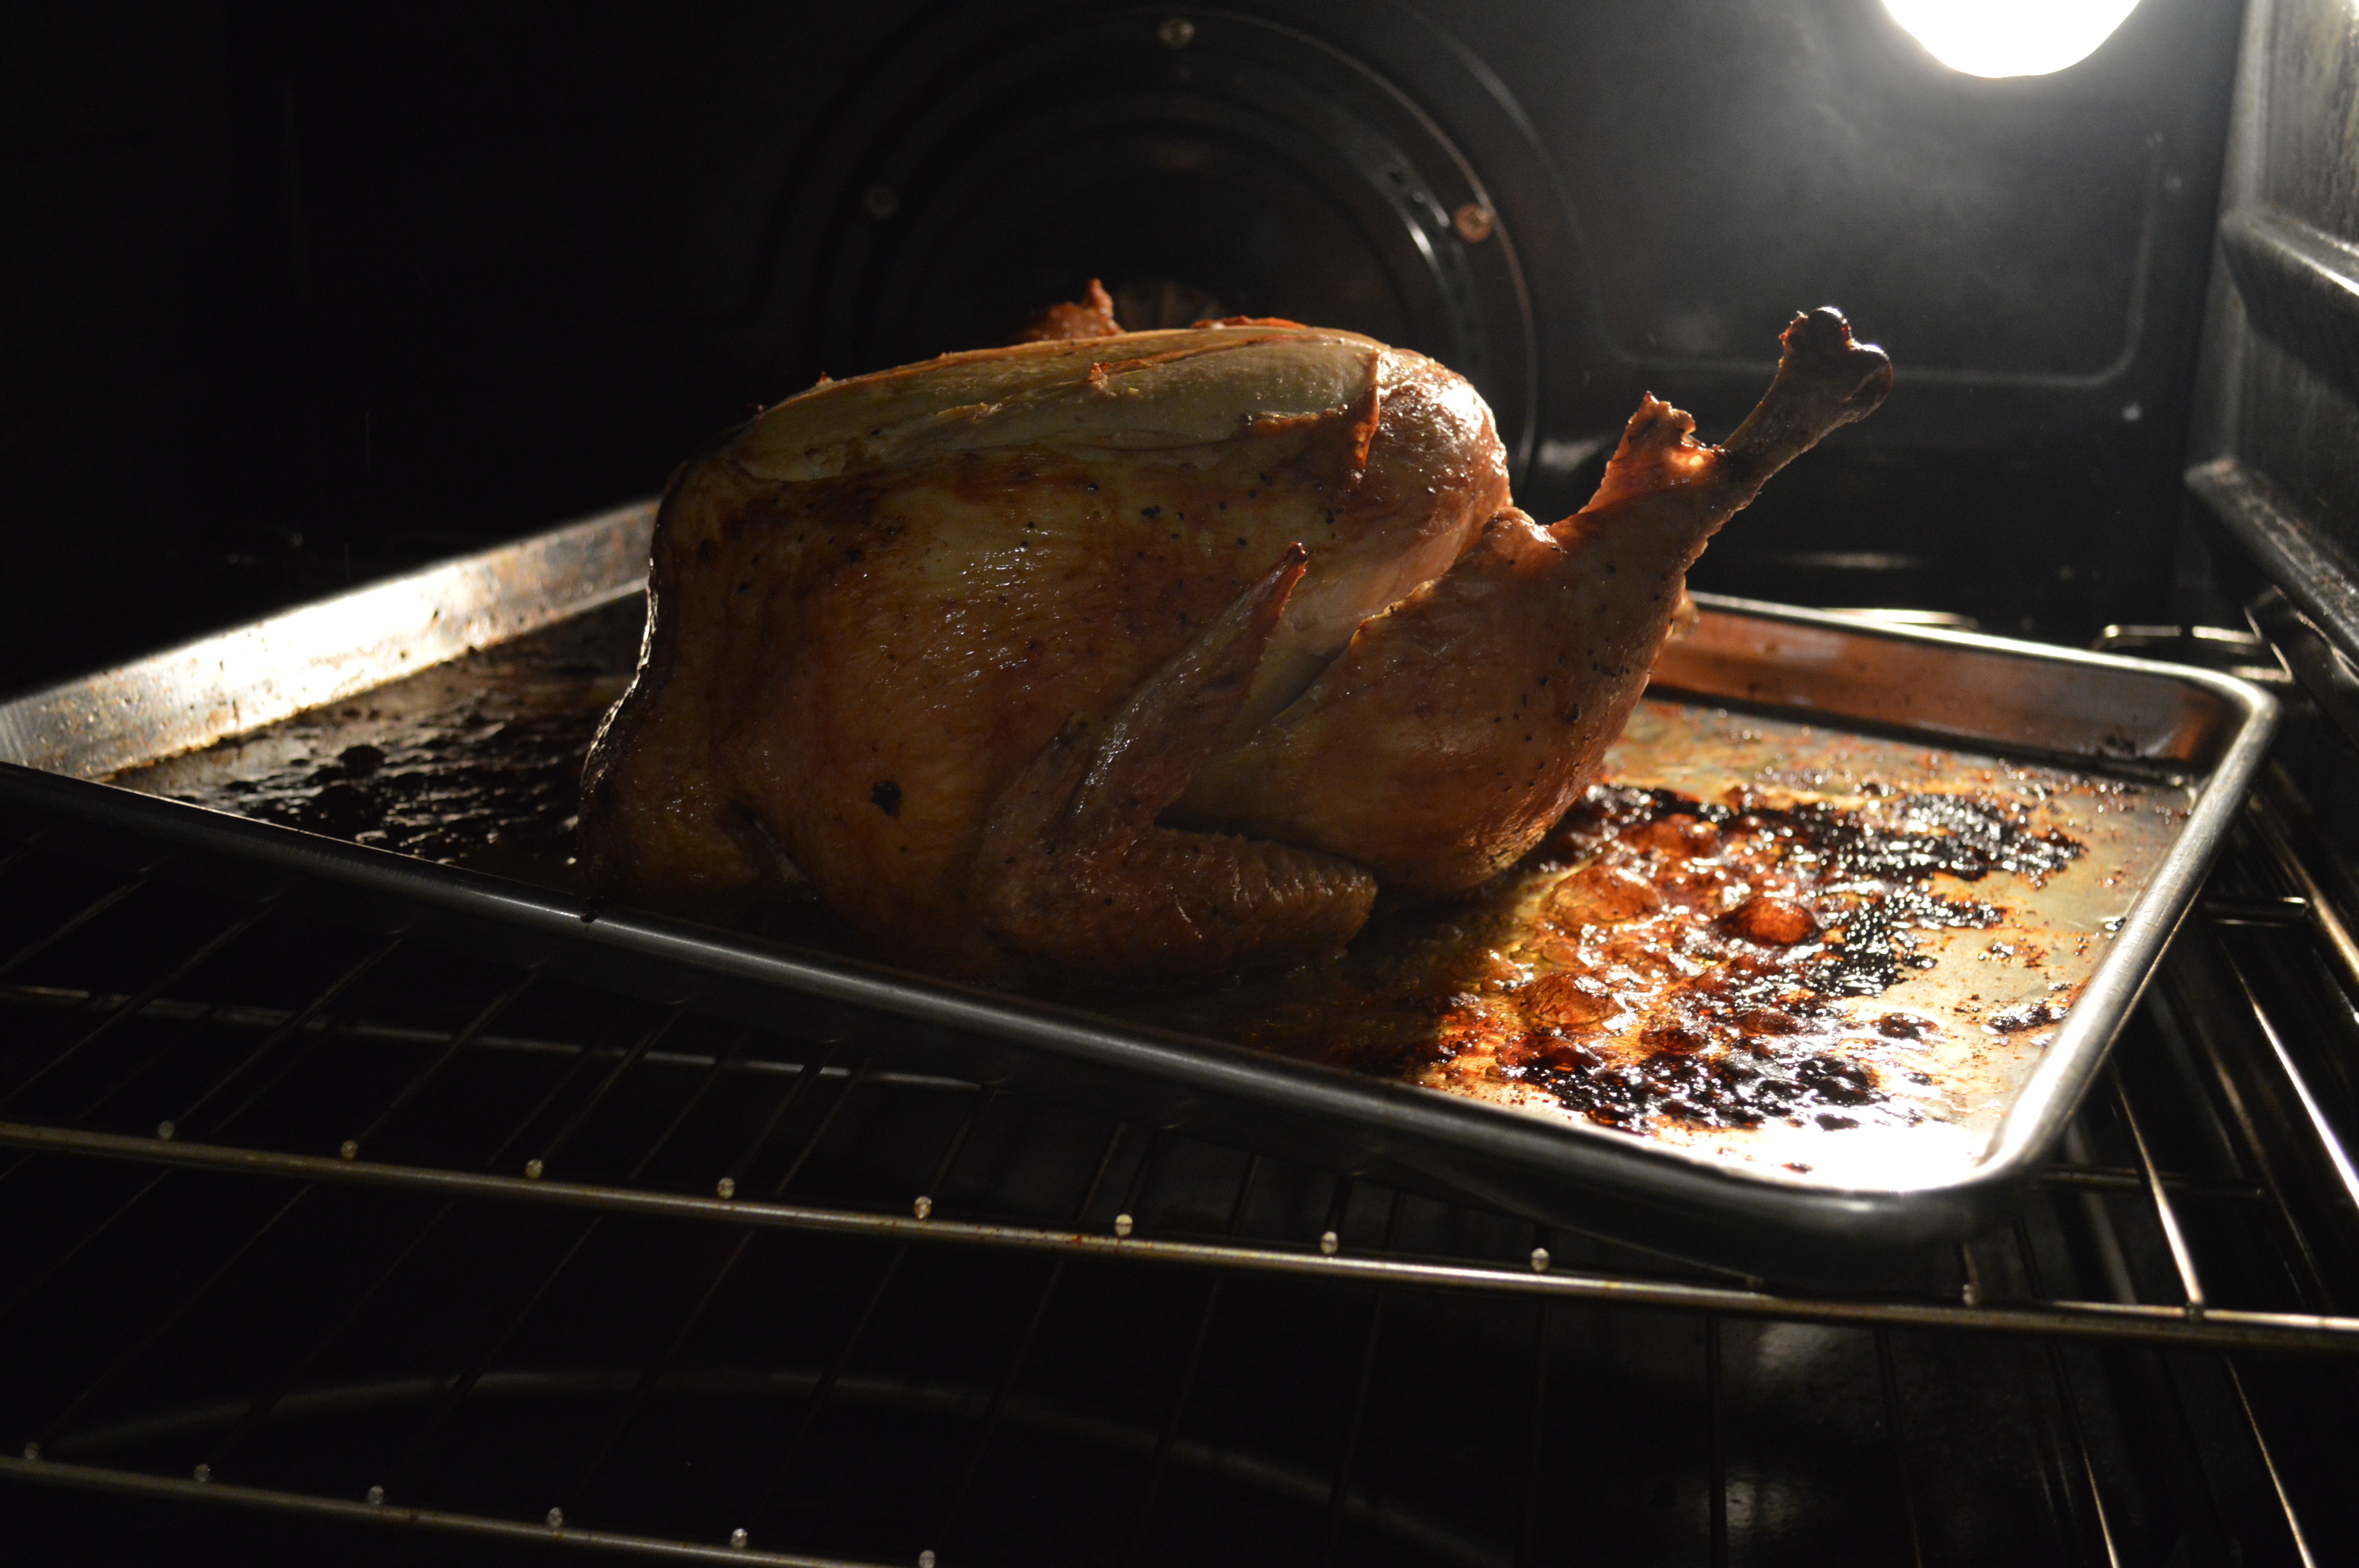
We had just had fifty of our free range chickens processed and we were eager to give them a try. We decided to roast one of the birds so it just made sense to roast some veggies as well. Using a few other of the root vegetables on hand we made a great meal when a couple friends were joining us for dinner.
Ingredients:
1 whole chicken (Ours are about six pounds… Chickens at the store are typically smaller than this.)
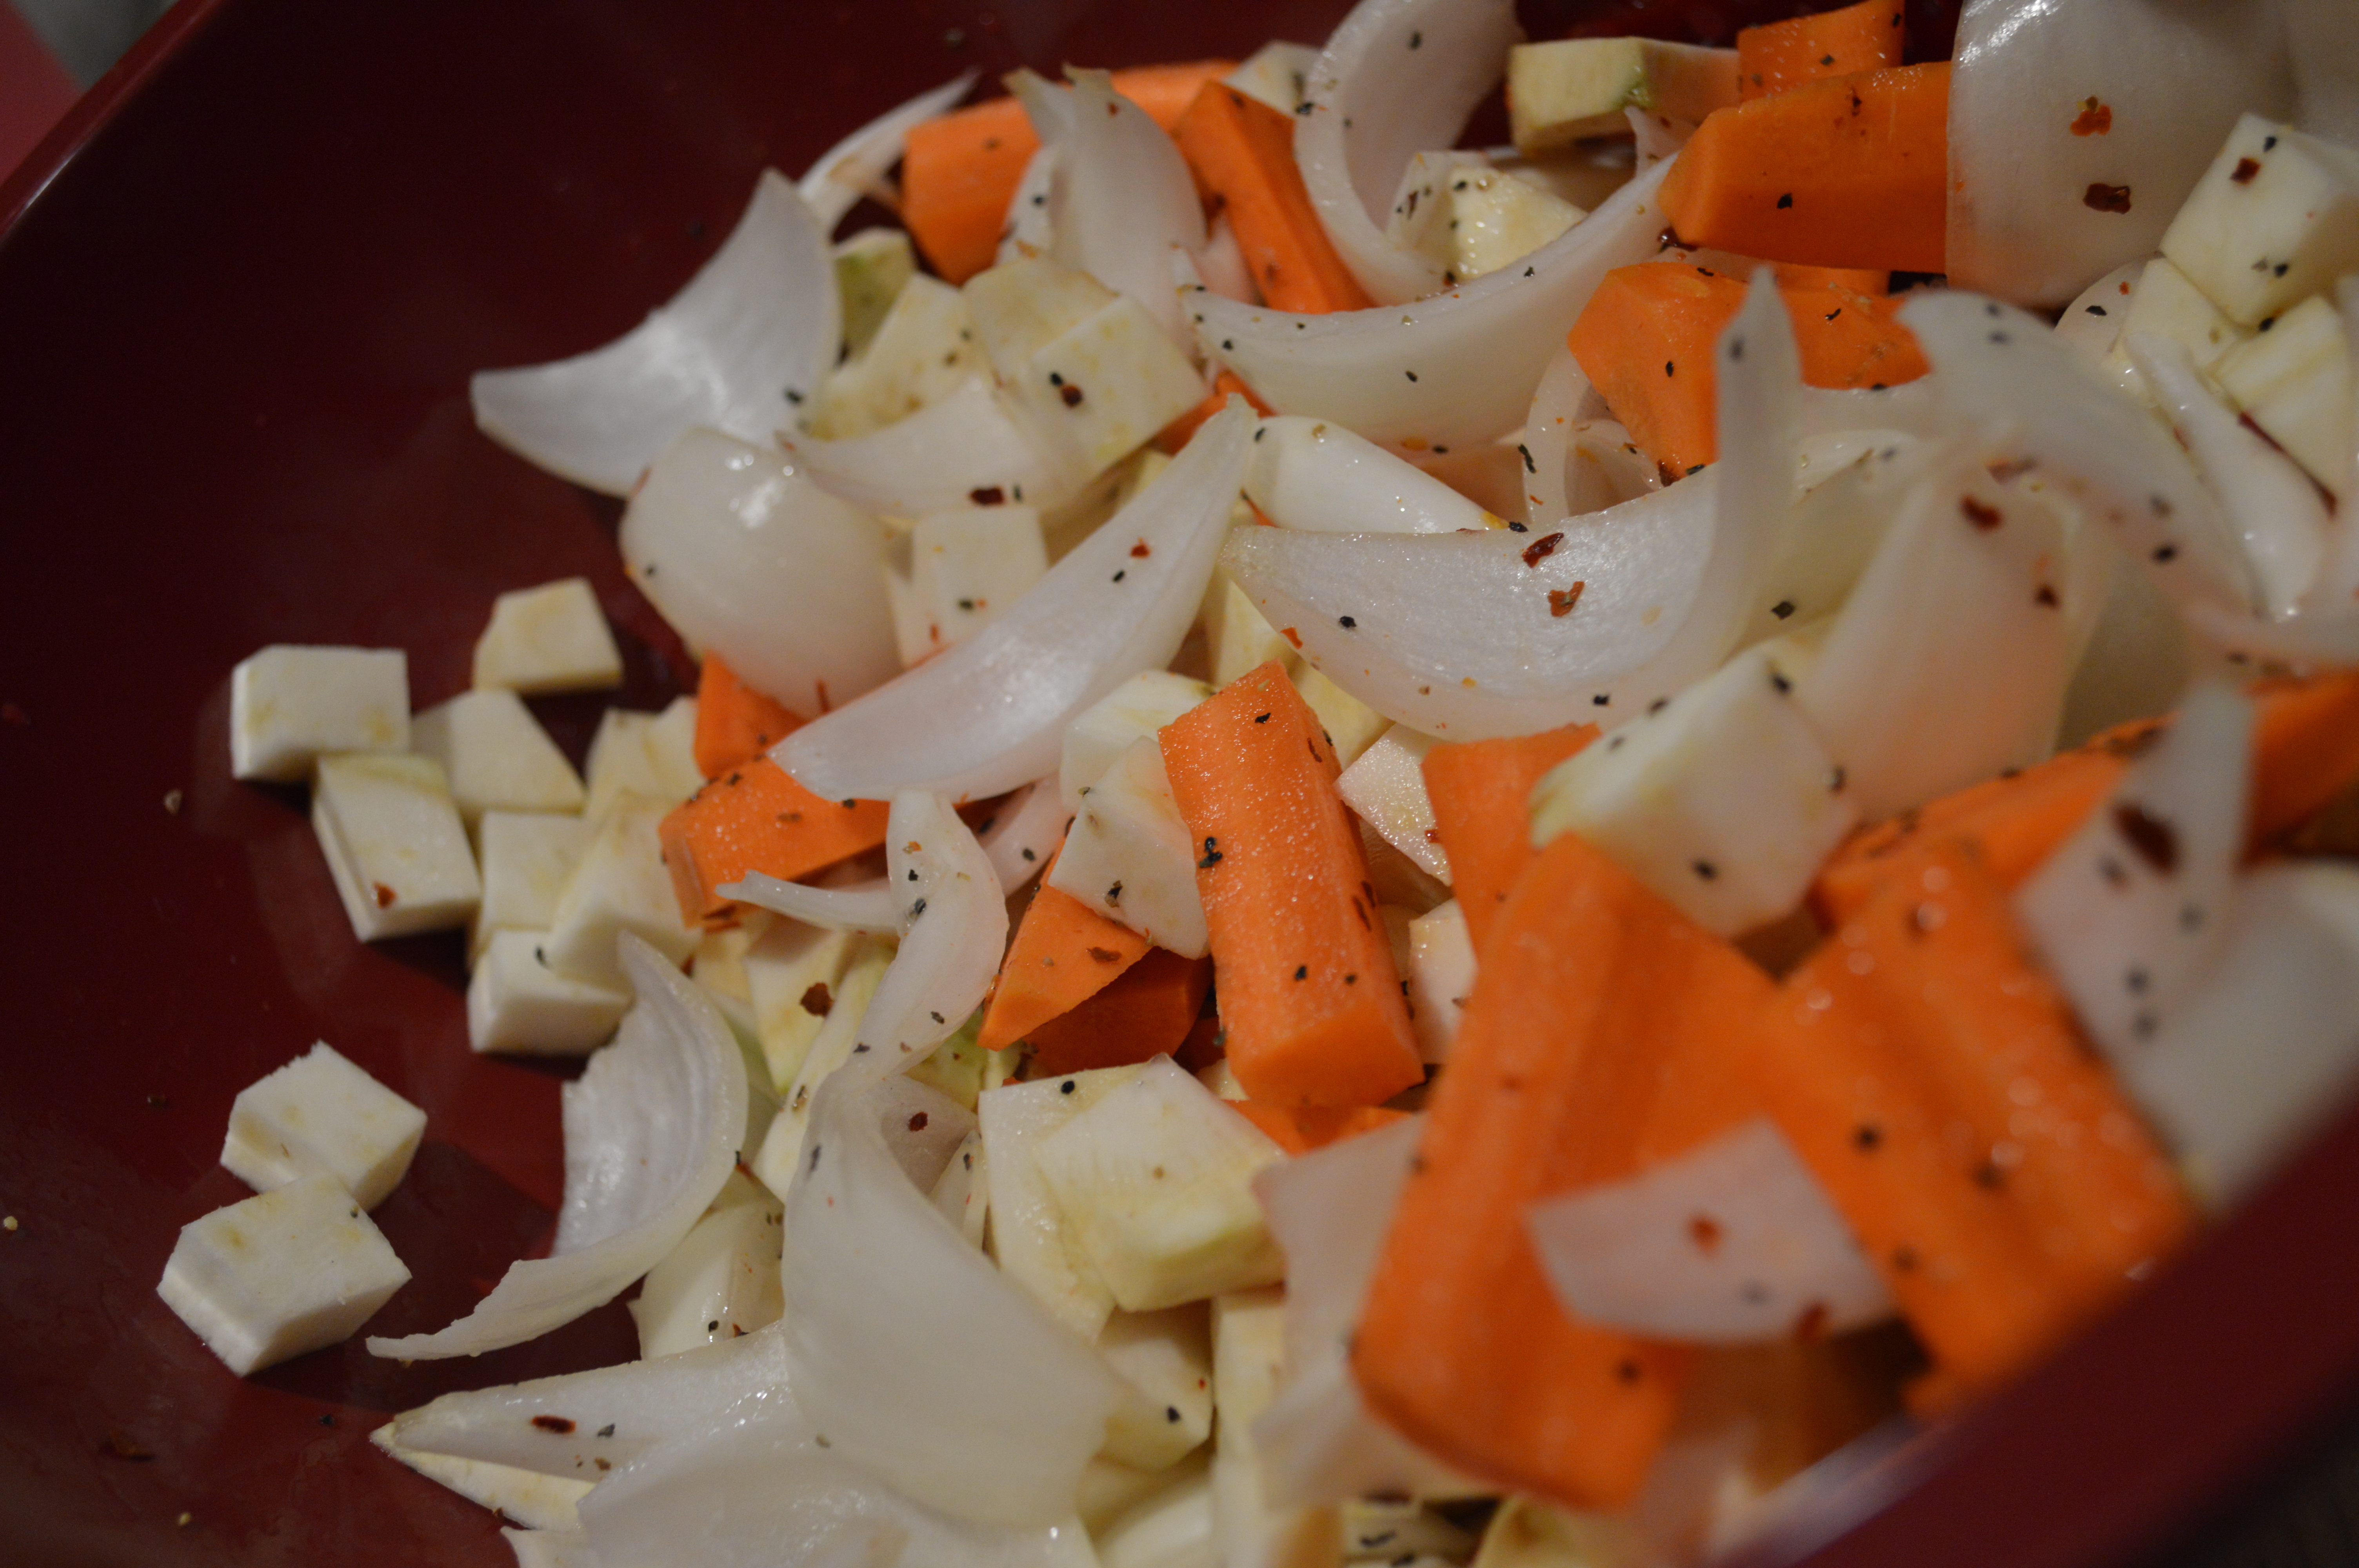
1 Onion cut into 1/2 inch pieces (We used a yellow onion, but I wish I had grabbed a red one instead. It would have added great color.)
5 Carrots cut into 1/2 inch pieces
1 Celery Root, cut into ½ inch pieces
Salt and Pepper
Juice of one lemon
Red Pepper flakes
Preheat oven to 425.
Rub salt and pepper onto chicken. Place on baking sheet and cook for twenty minutes.
While cooking, season vegetables with salt, pepper, red pepper flakes and lemon juice. Toss to coat.
Add vegetables to baking sheet, turning to coat in the chicken drippings.
Continue to roast until vegetables are tender and the chicken is reaches at least 165 degrees internally and the juices run clear. (Should be about forty more minutes.)
Let chicken rest about five to ten minutes before serving.
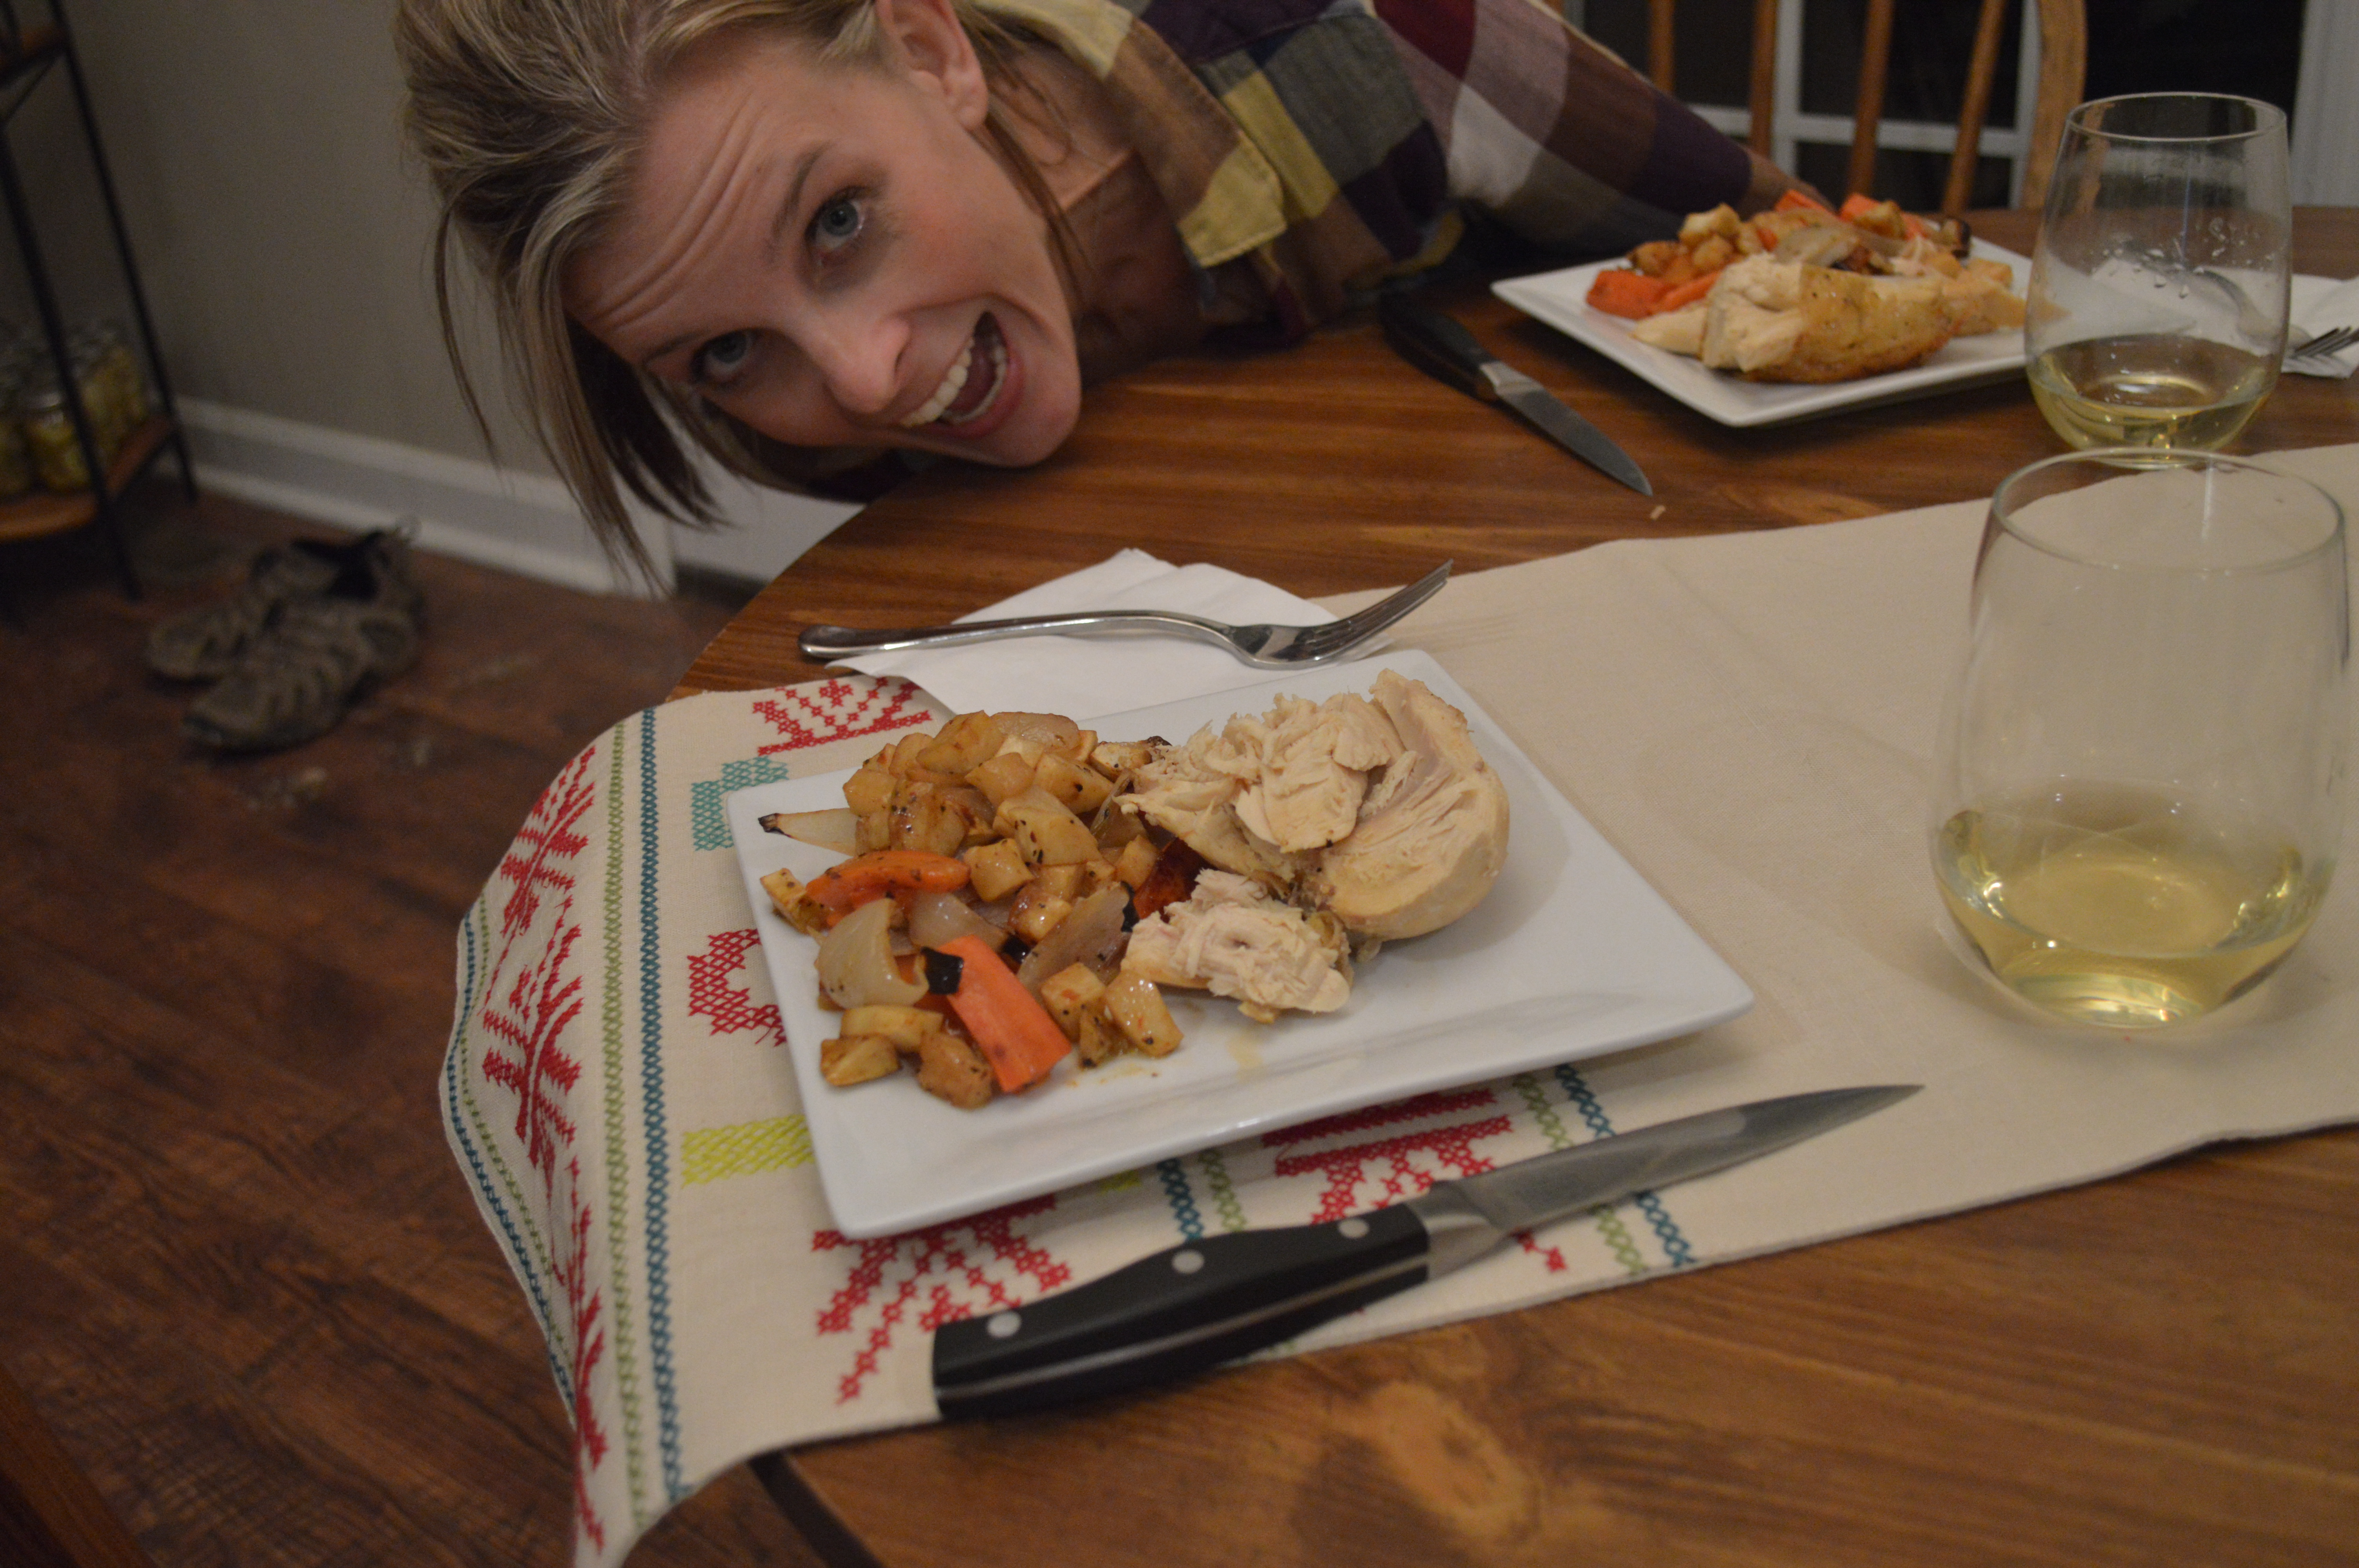
Pairs well with an oakey Chardonnay… and fun friends.
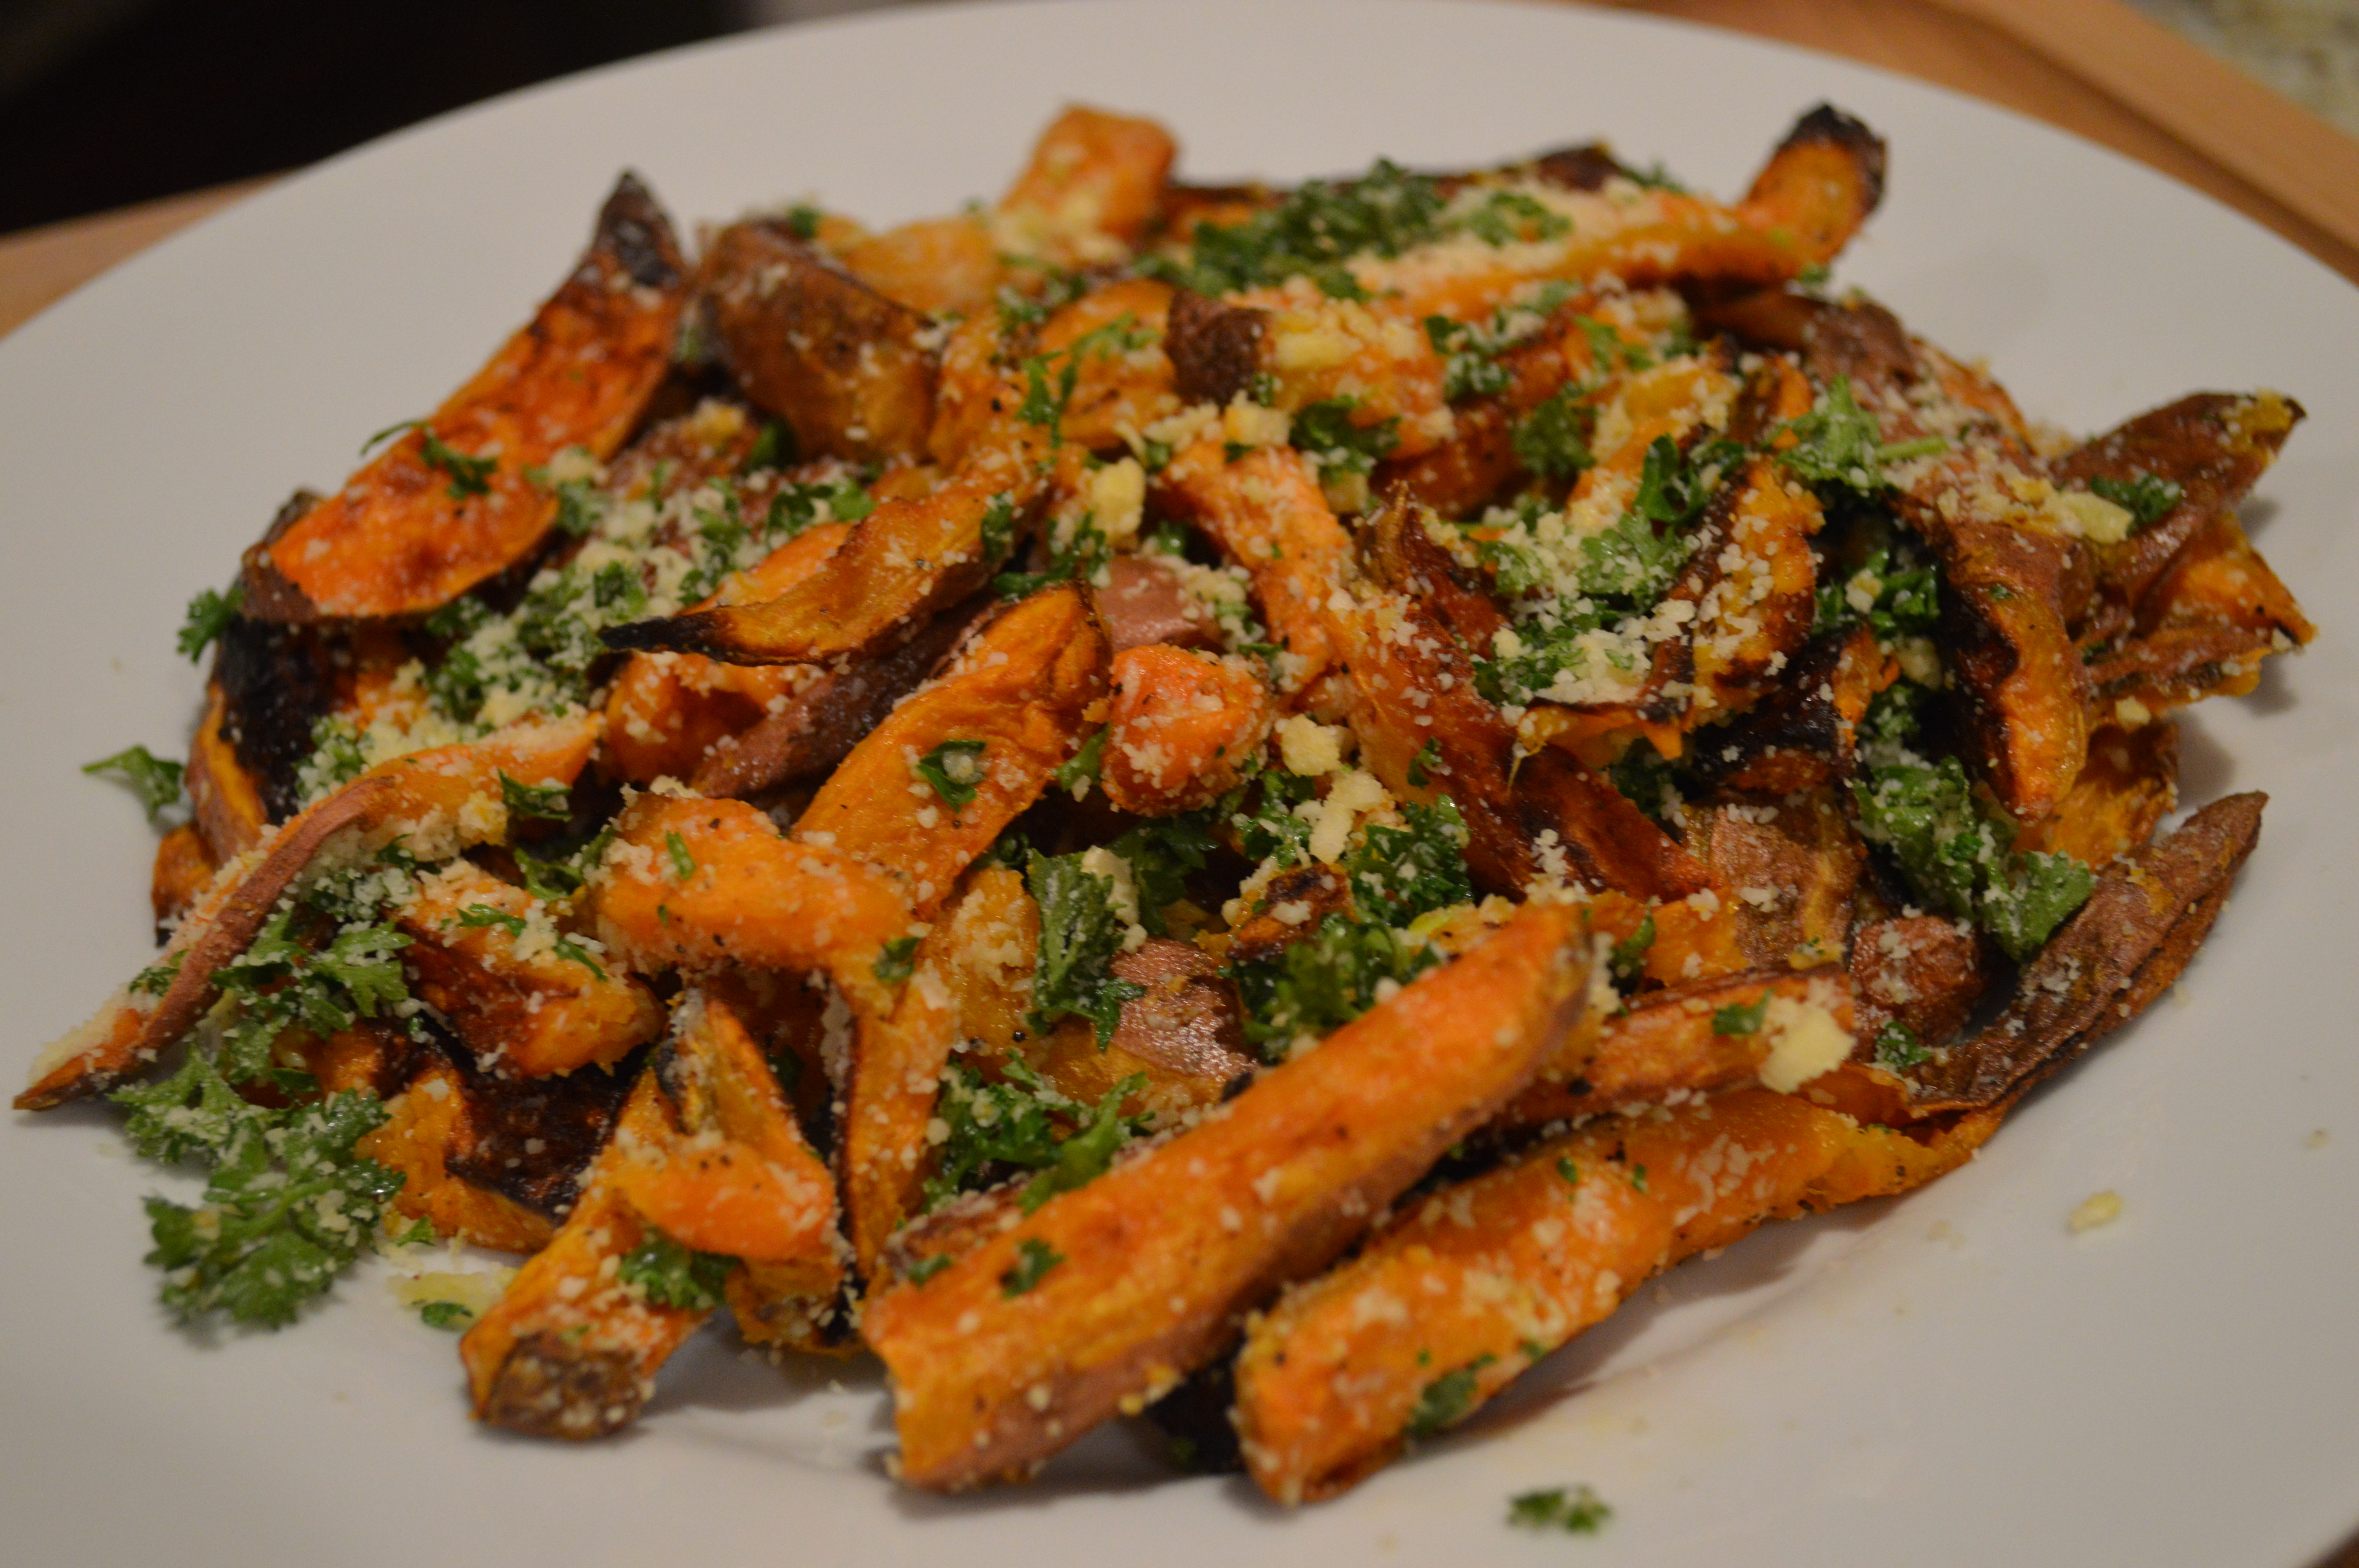
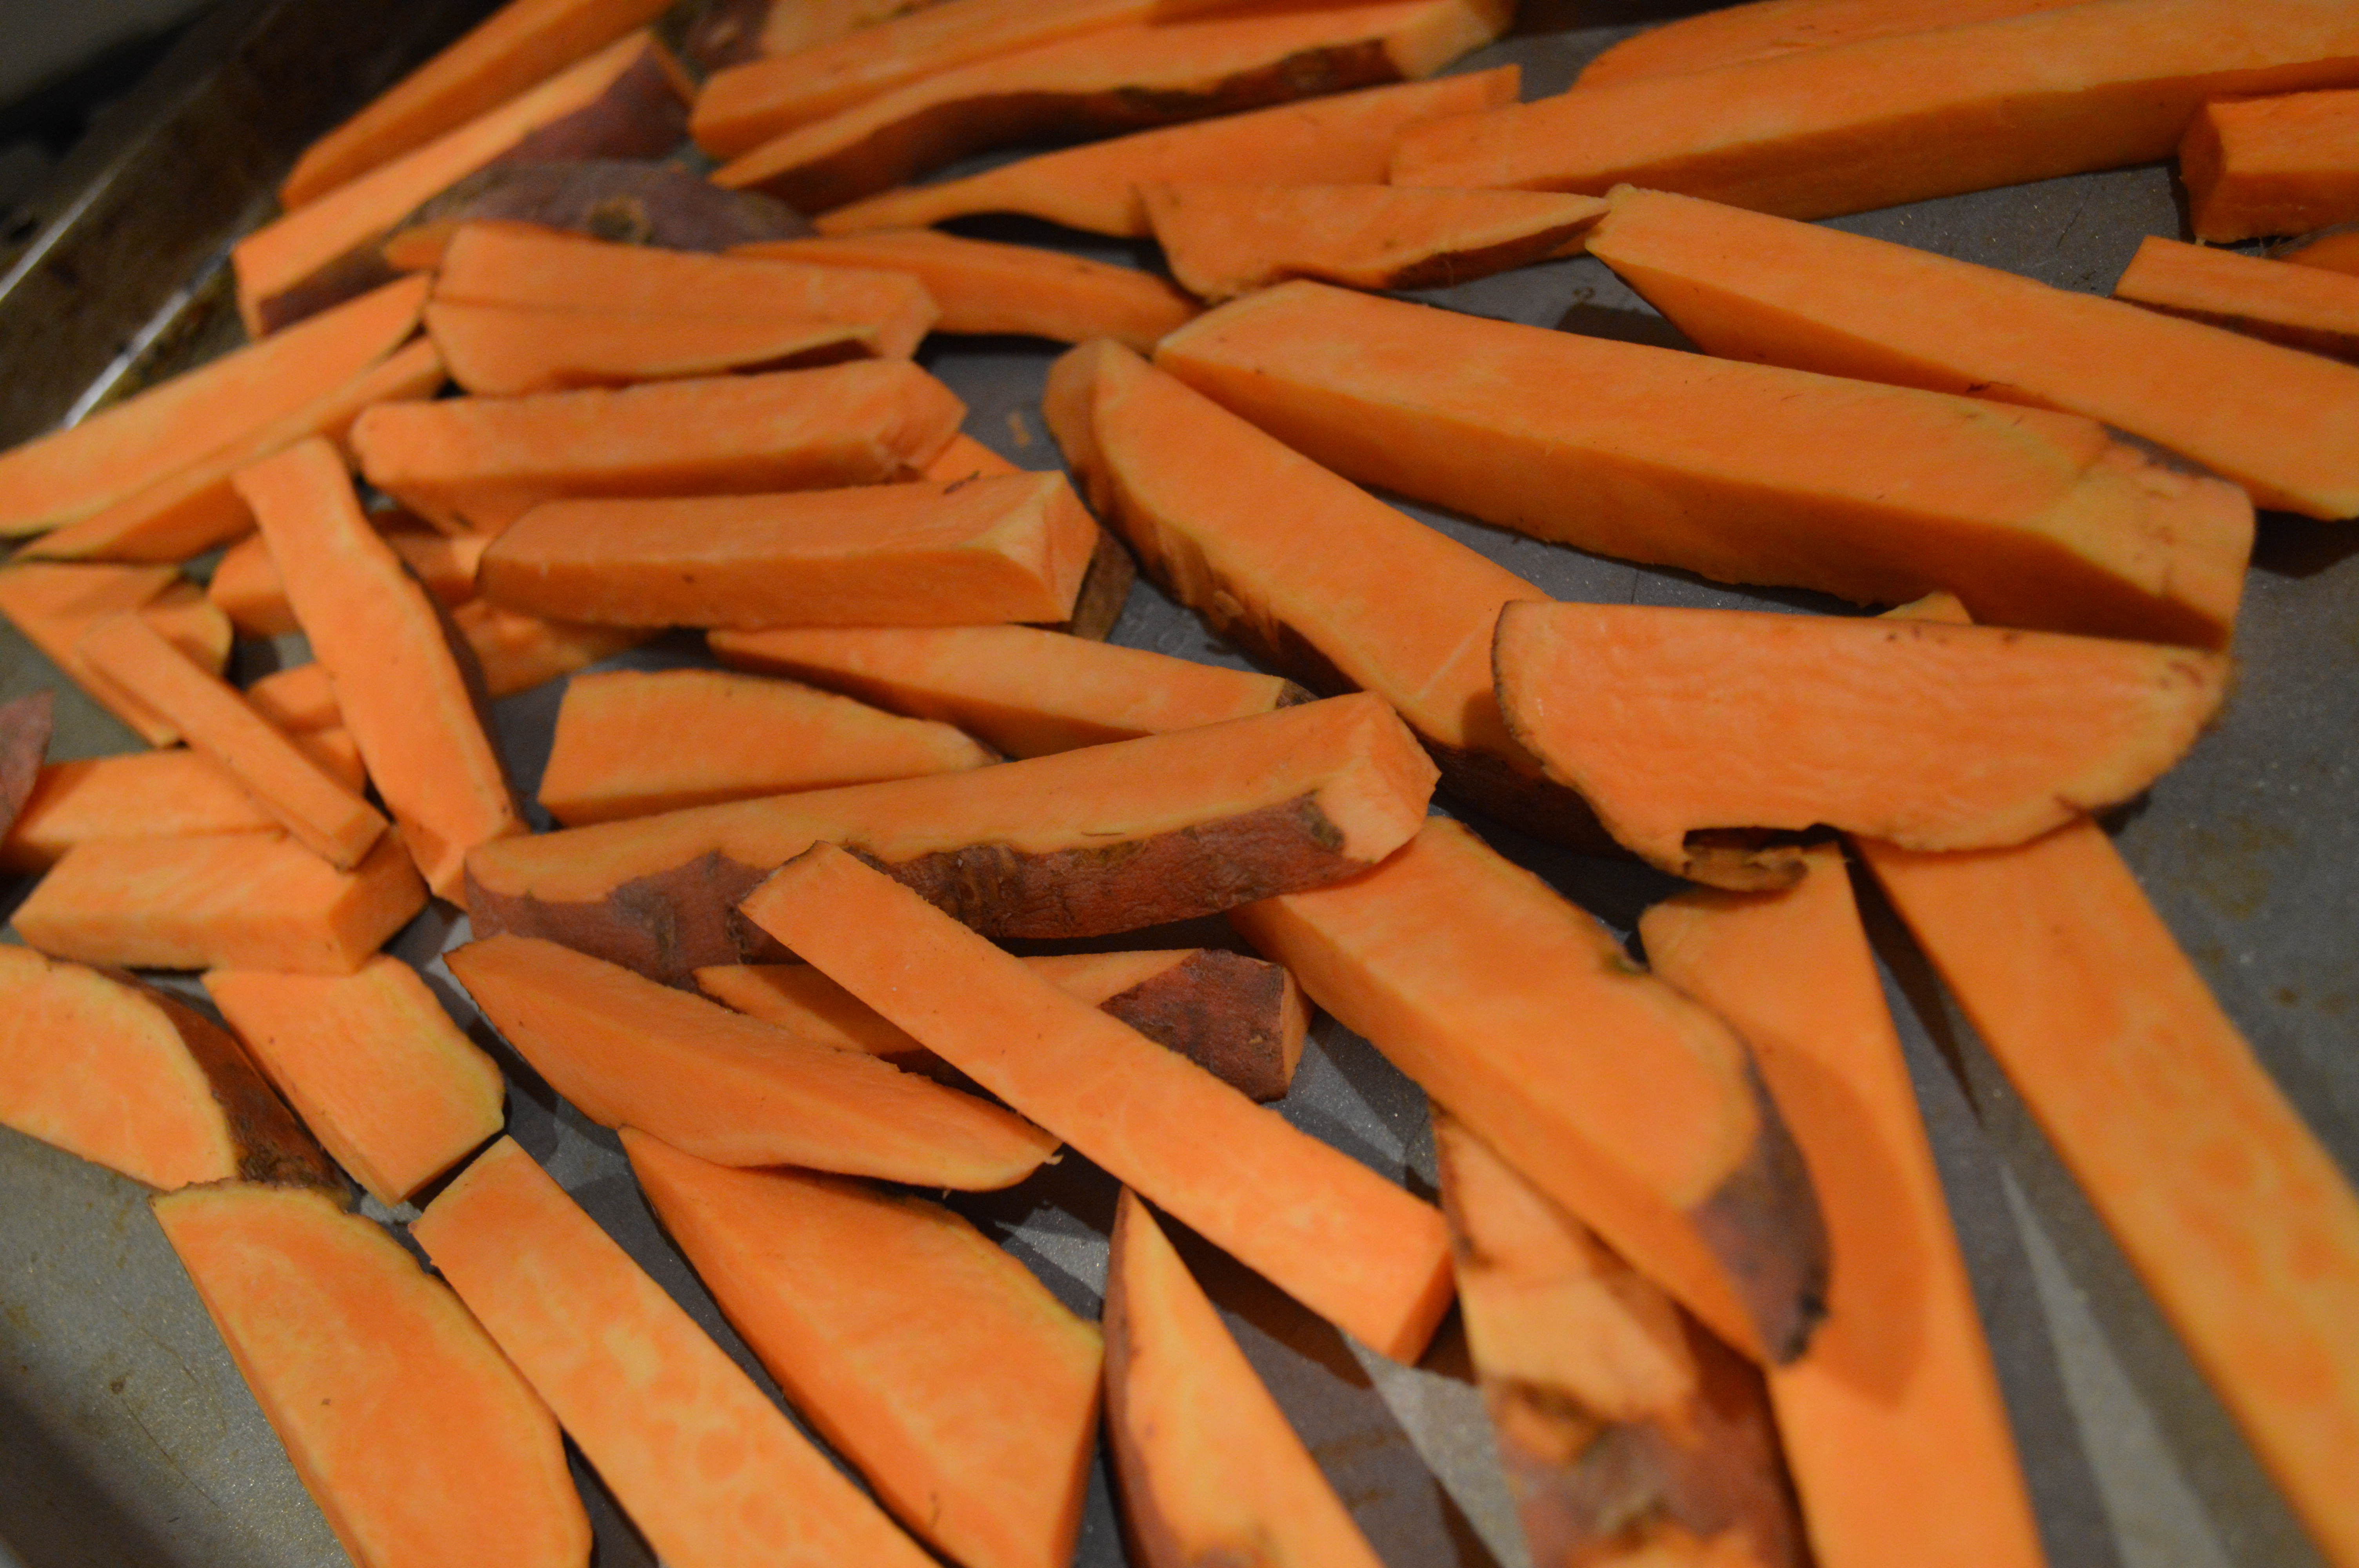
Savory Sweet Potato Fries:
Sweet potatoes seem to be all the rage these days. They are even showing up on menu at fast food restaurants!
But, I can’t knock them. They are full of nutritional benefits. For starters? They are a great source of Vitamin C, which is great this time of year because it helps ward off the cold and flu viruses. And another reason to eat sweet potatoes this time of year is because they are full of Vitamin D. Which, most popularly, we get from sunlight. Which, also happens to be in short supply as we near the Winter Solstice.
So, all those (self diagnosed…) Seasonal Affective Depression Disorder sufferers out there? Sweet Potatoes are for you us.
I think sweet potatoes already are pretty sweet, so I wasn’t looking to jazz mine up with brown sugar like they are traditionally done. So, I went the savory route with these fries based on a recipe from the Williams Sonoma blog and they were spot on.

Ingredients:
About 2 large sweet potatoes cut into batons about ½ inch thick
2 Tablespoons of grape seed oil
Salt and Pepper
3 Tablespoons of grated parmesan cheese
2 tablespoons of parsley, finely chopped
1 clove of garlic, minced
Preheat oven to 450 degrees.
Place sweet potato batons on baking sheet with oil, salt and pepper. Toss to coat. Make sure the potatoes are spread out so that they cook evenly.
Roast for about twenty five to thirty minutes, stirring halfway through. You want the potatoes to be tender and a little browned.
While roasting, combine parmesan, parsley and garlic in a bowl.
Add the warm fries, toss gently to coat. Serve right away.