It’s hard to believe that it really is late August.
School has started and is in full swing.
The sun is down before nine.
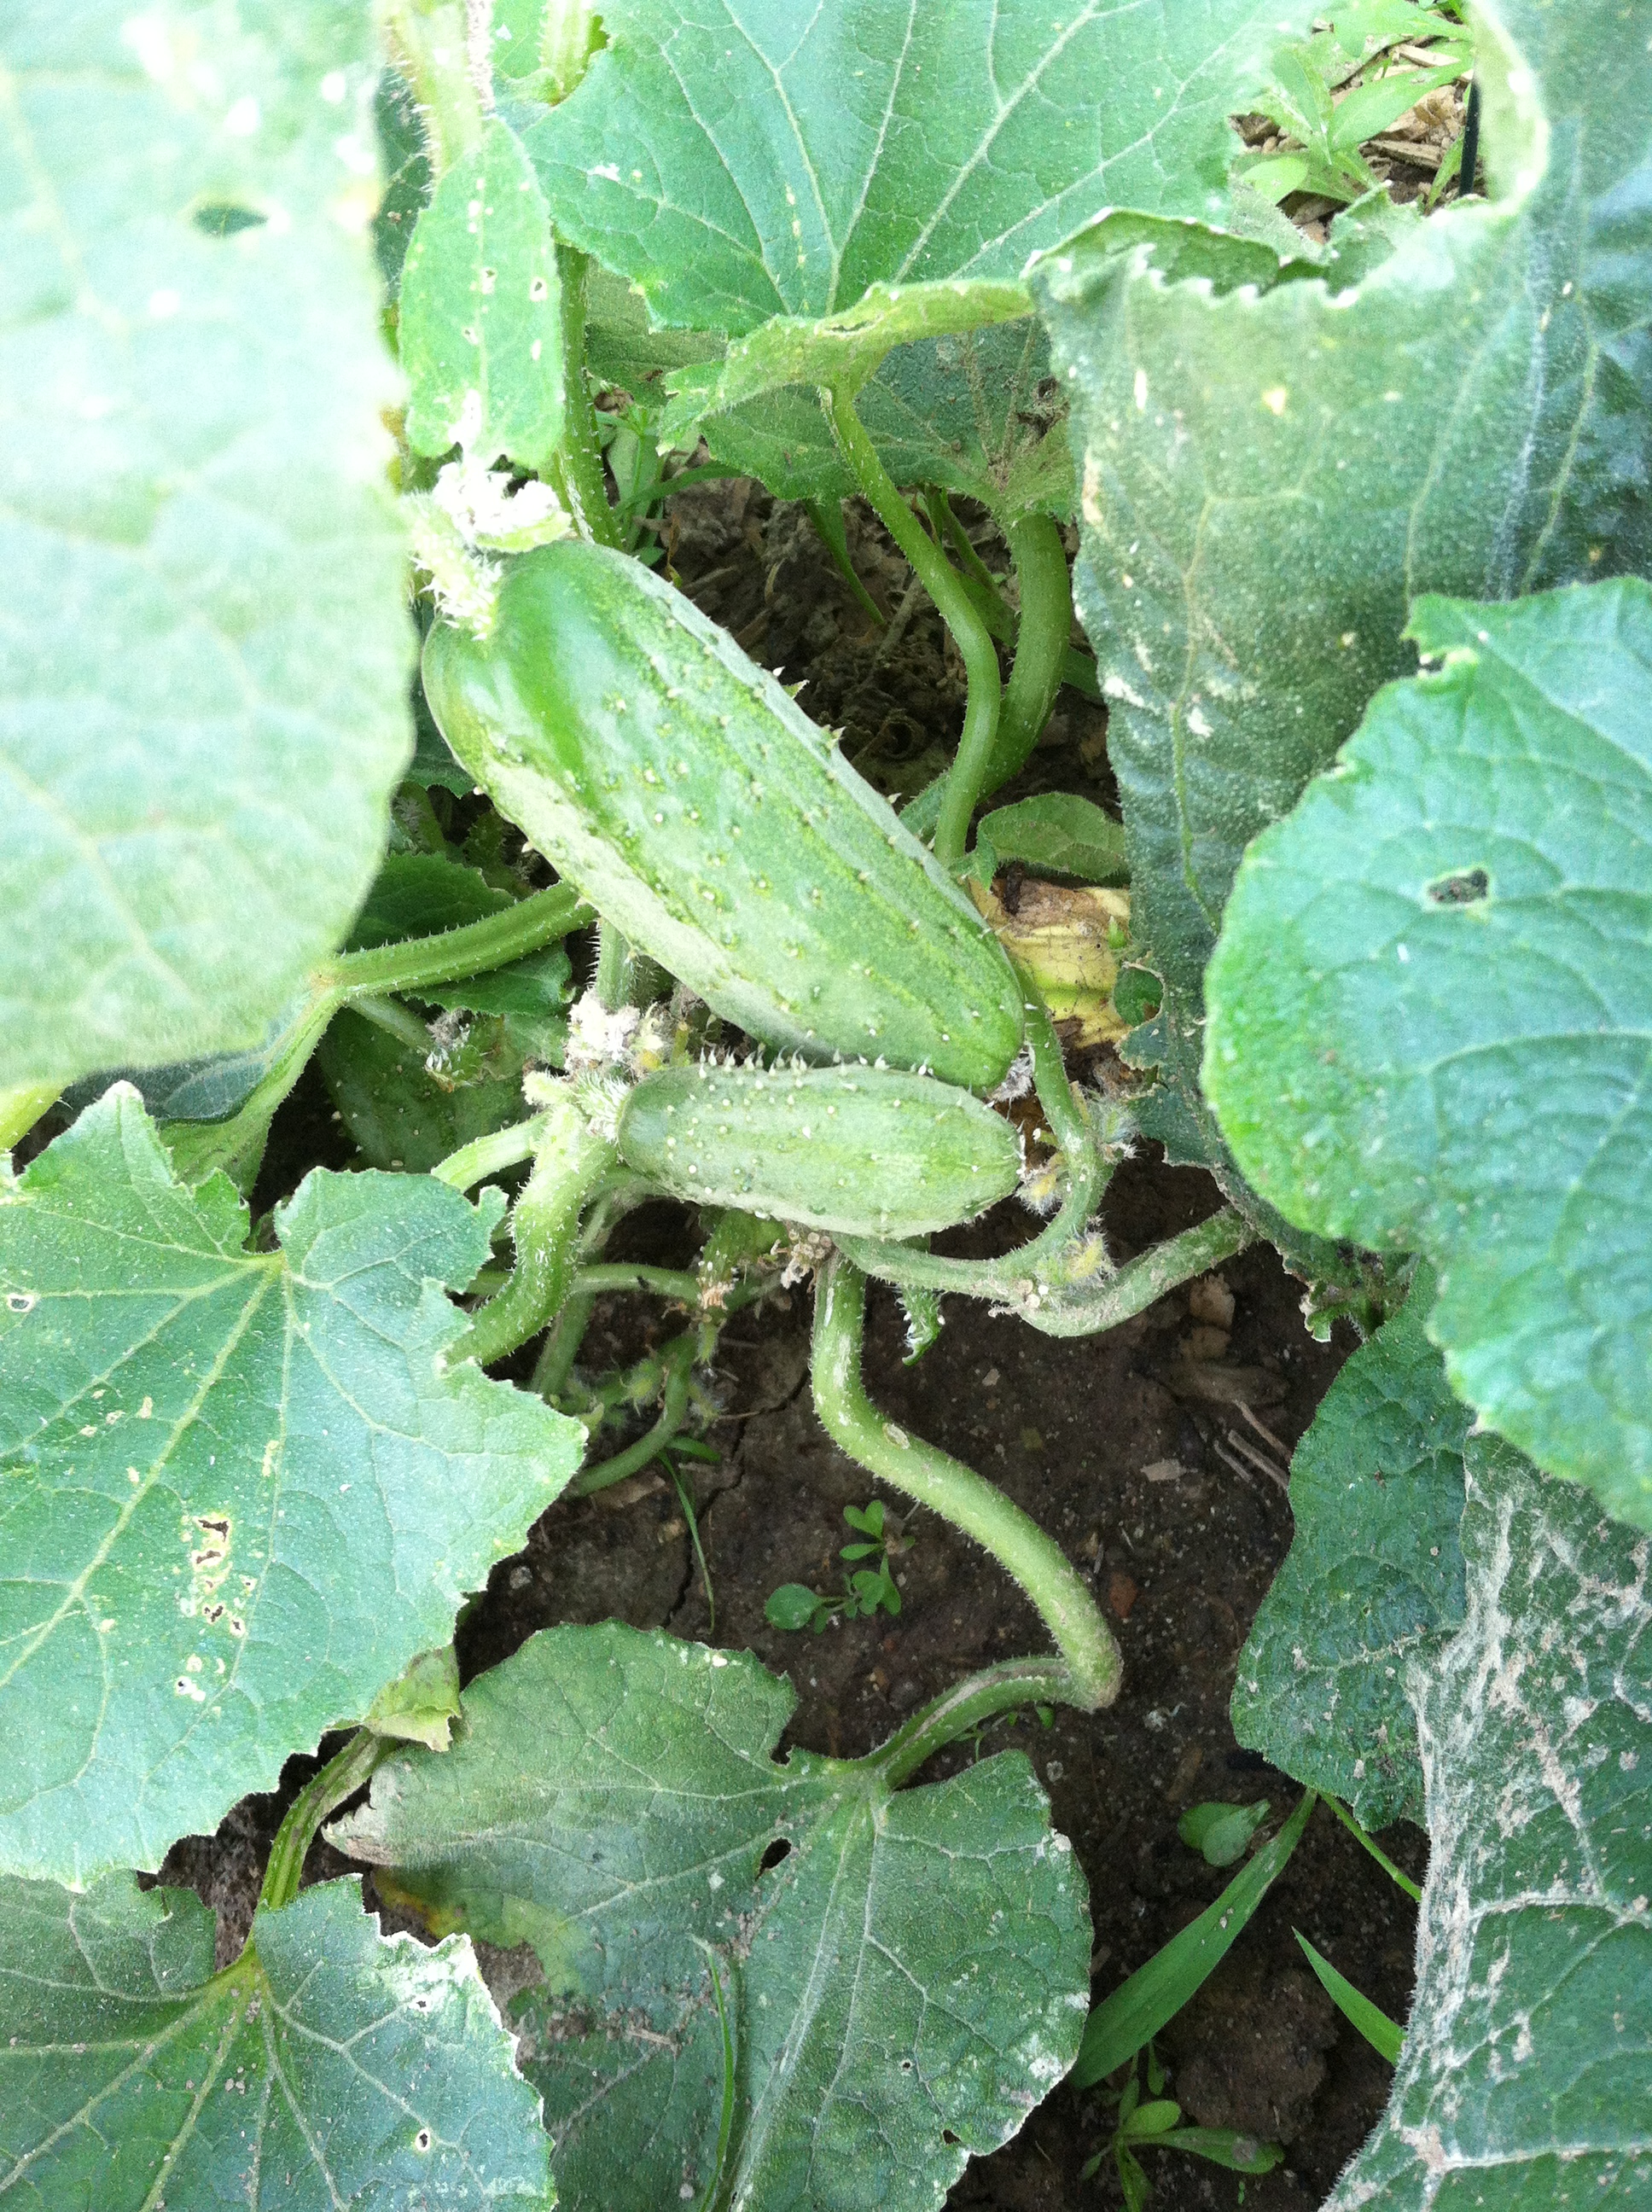
The corn is tall.
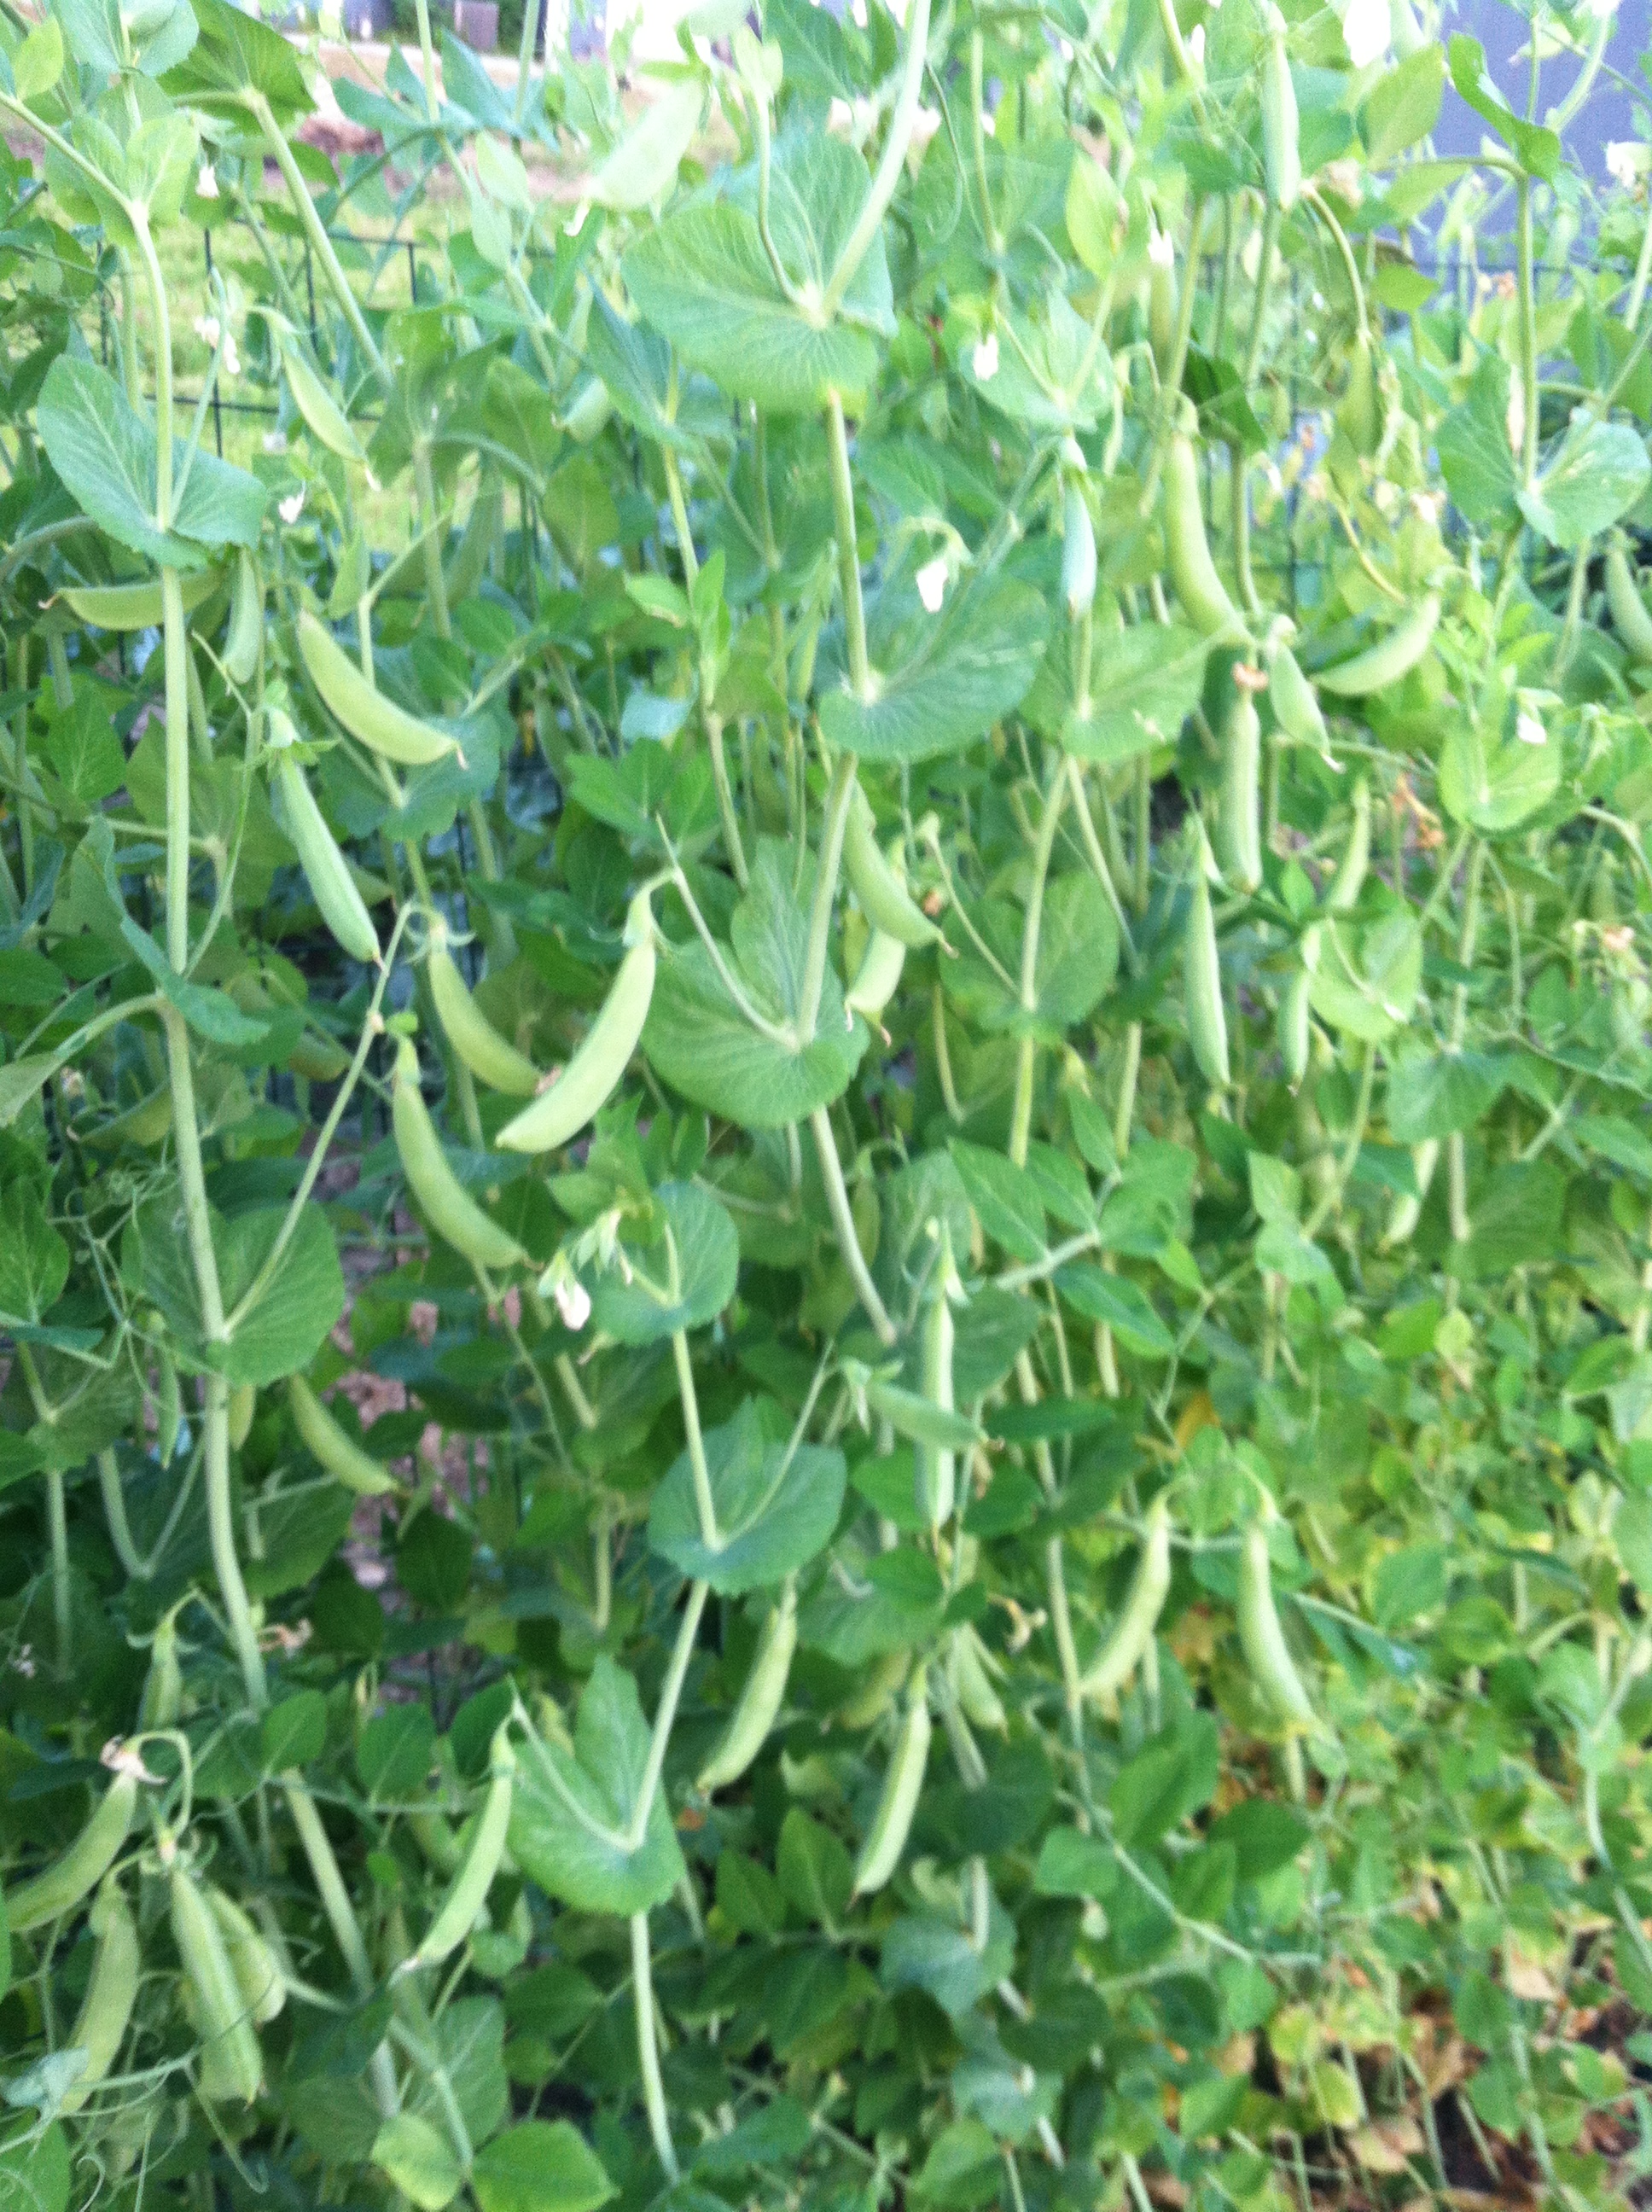
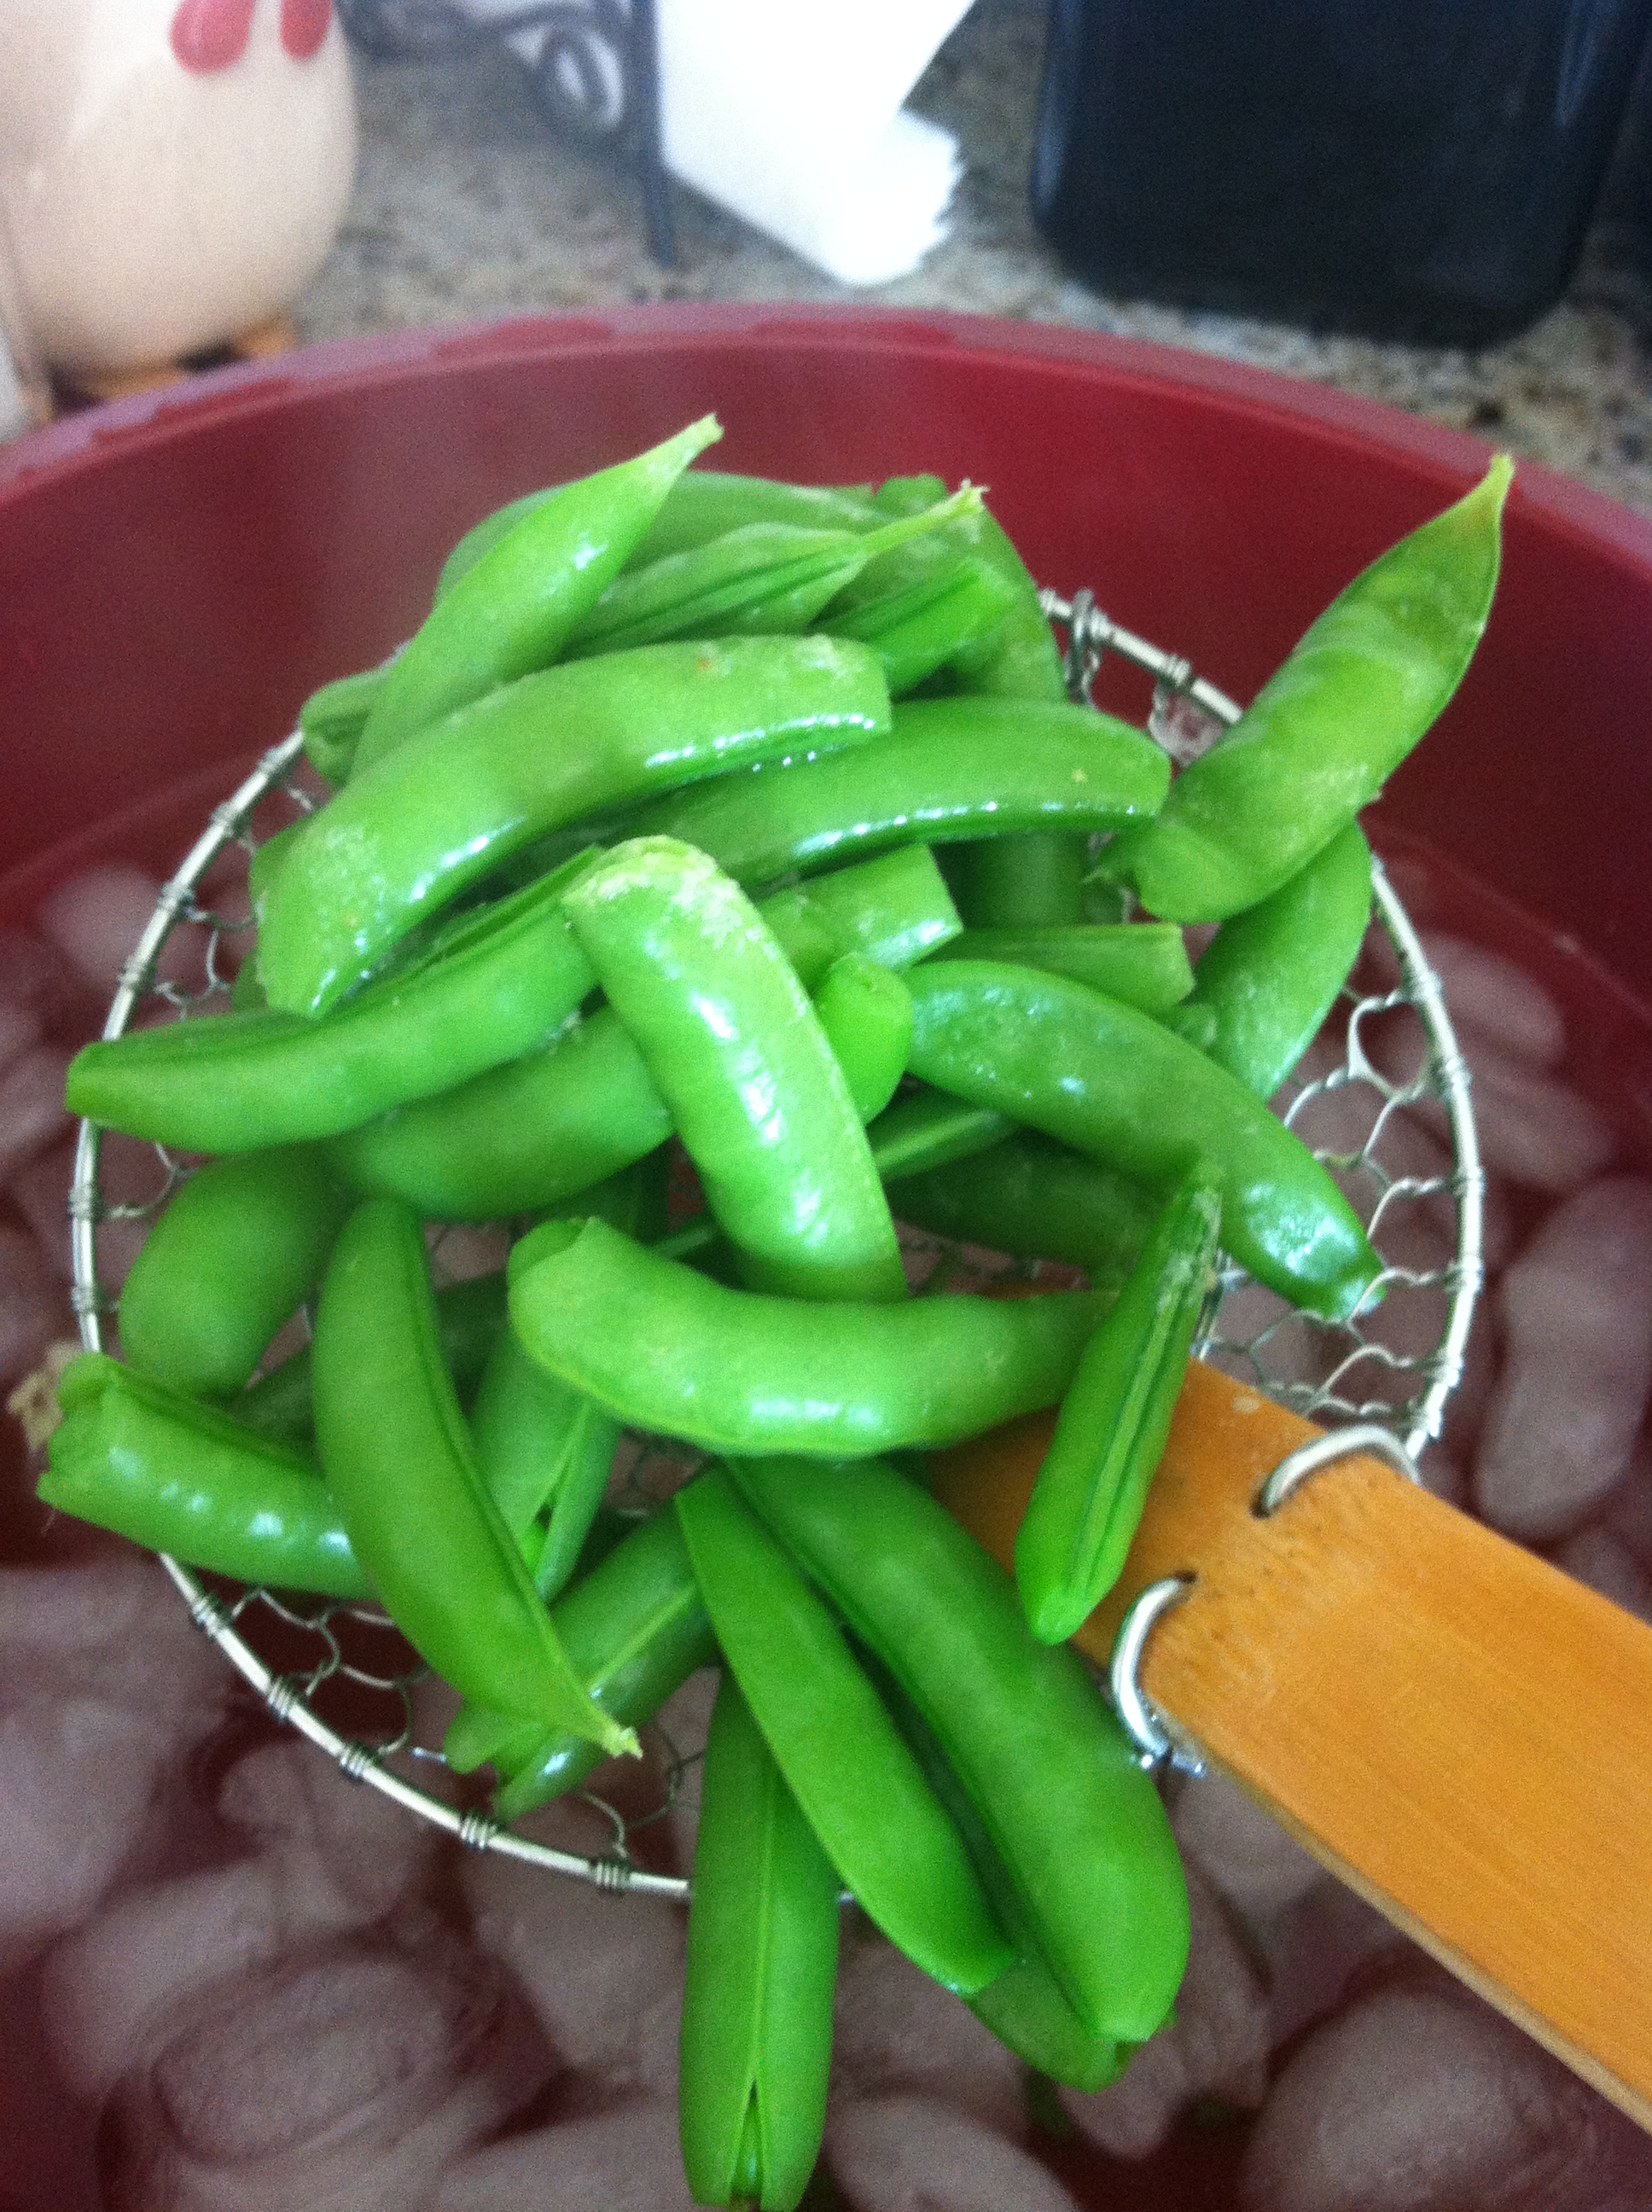
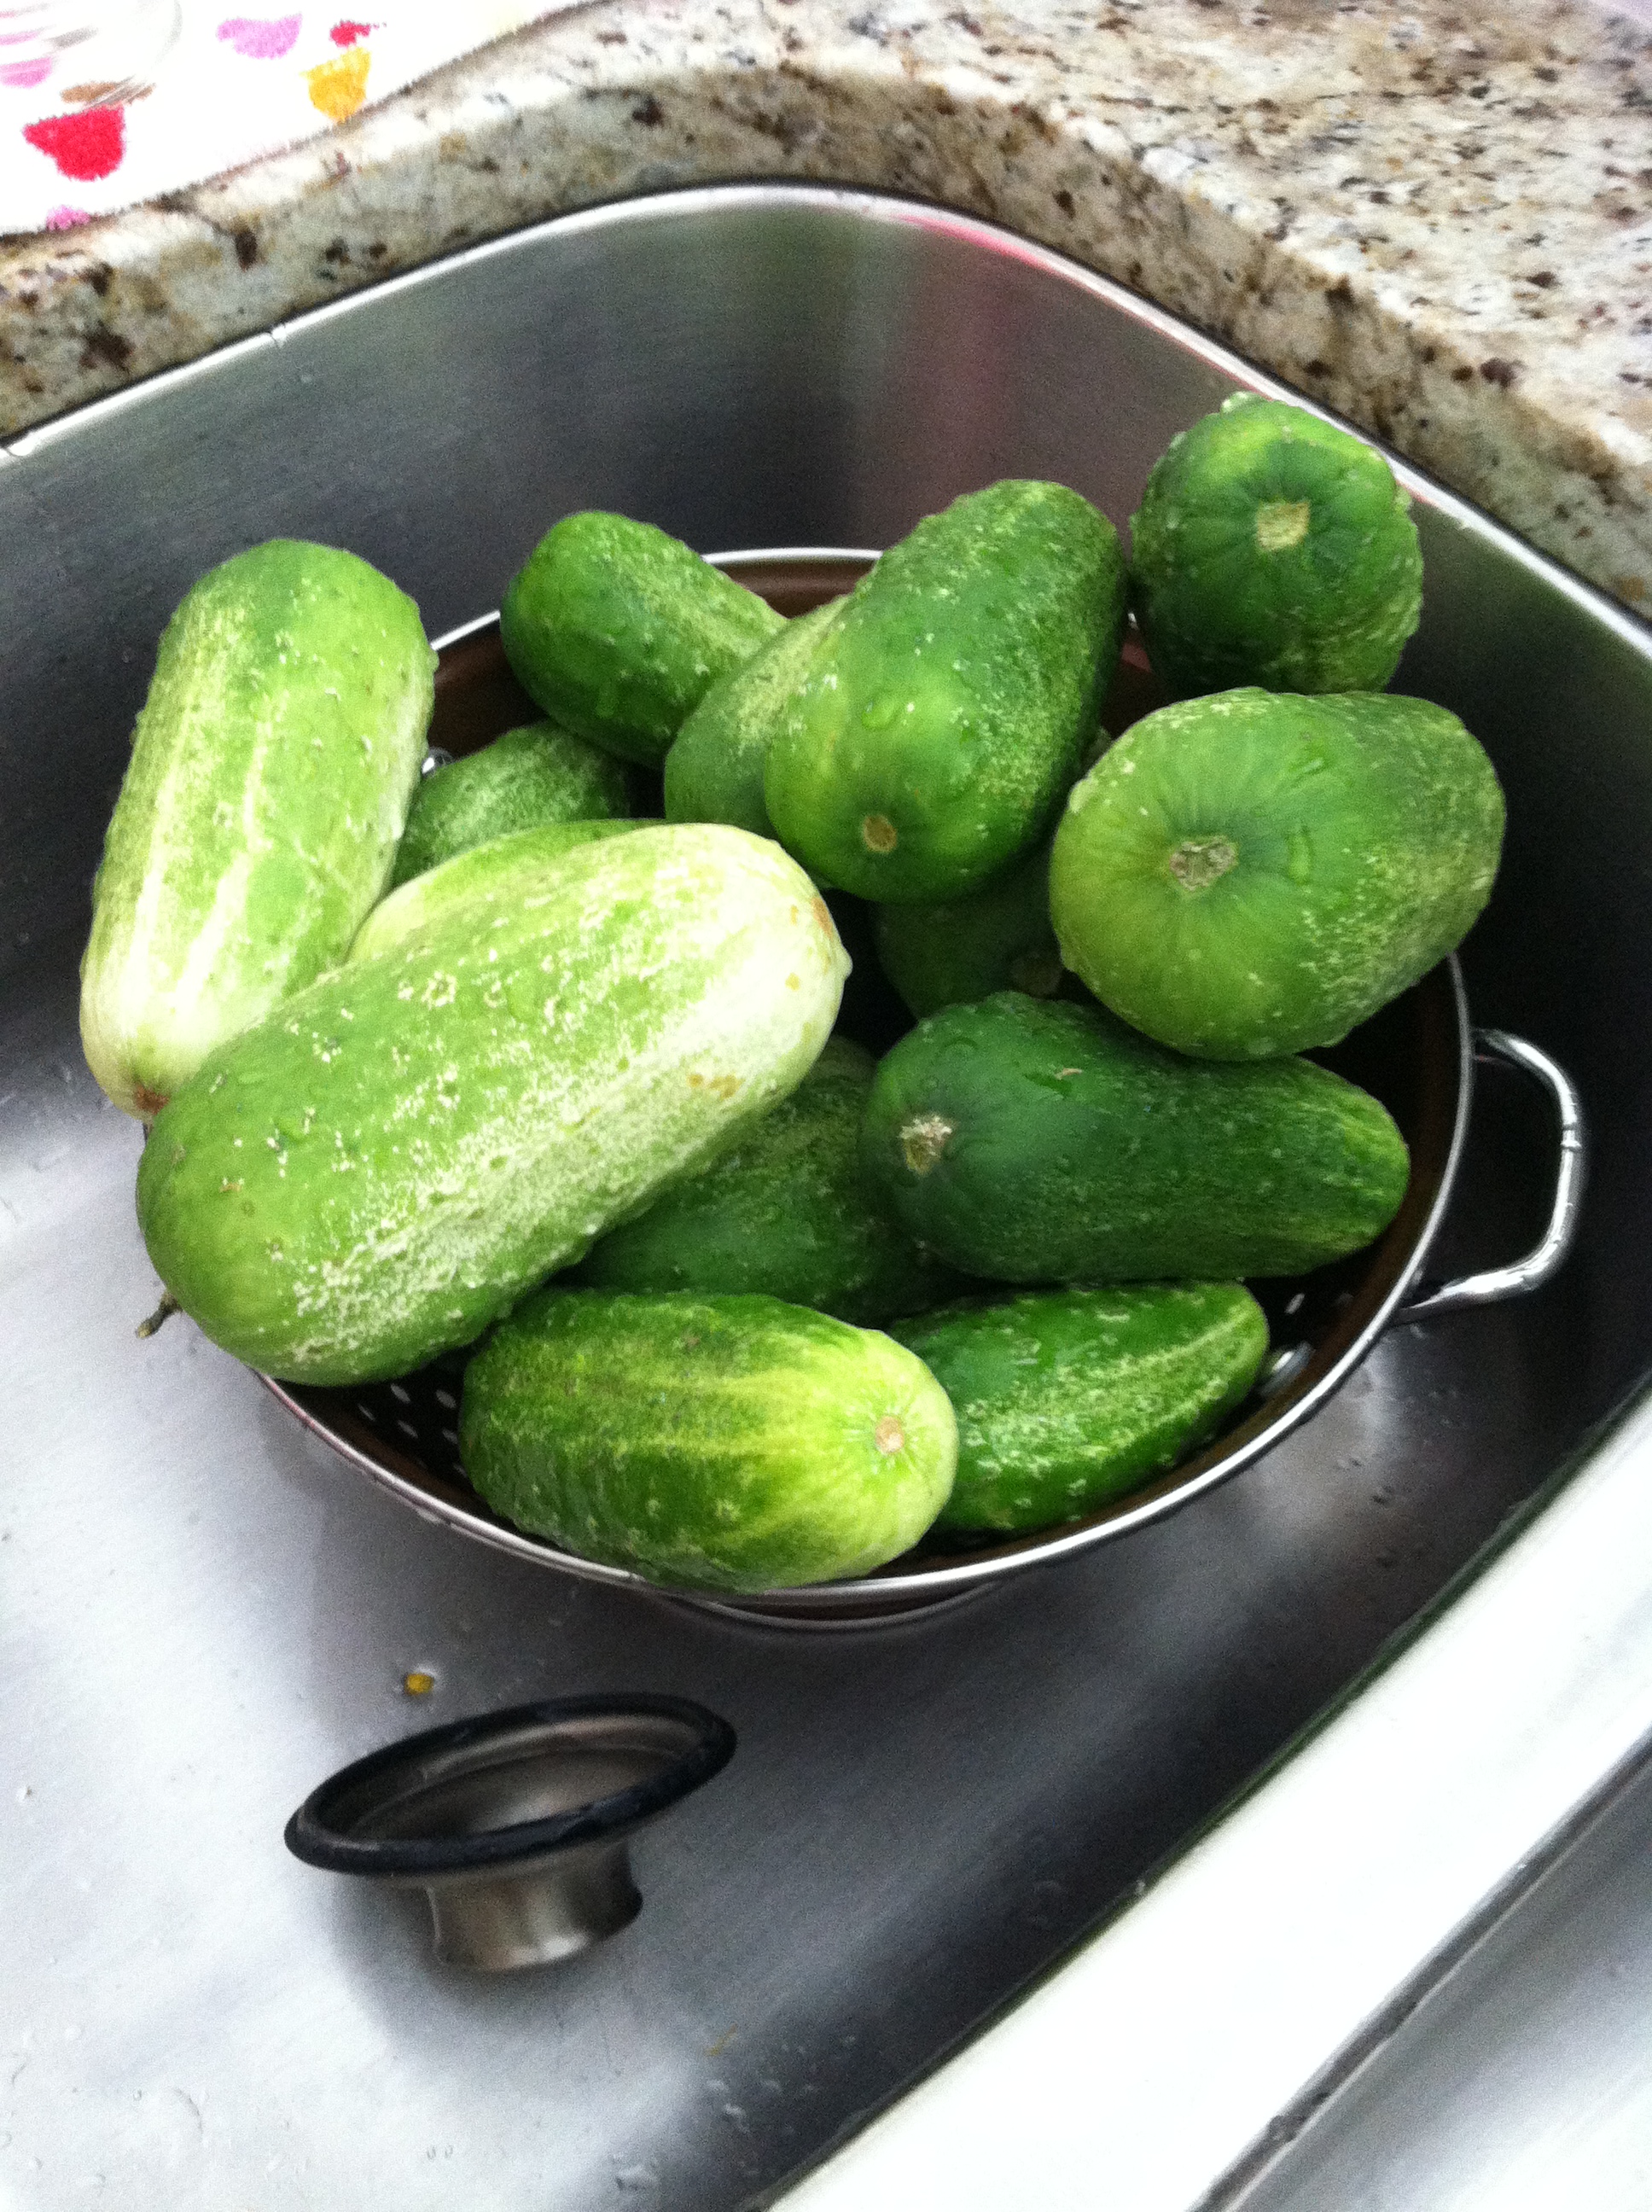
And the garden is full of produce.
Like these peppers.

And tomatoes.
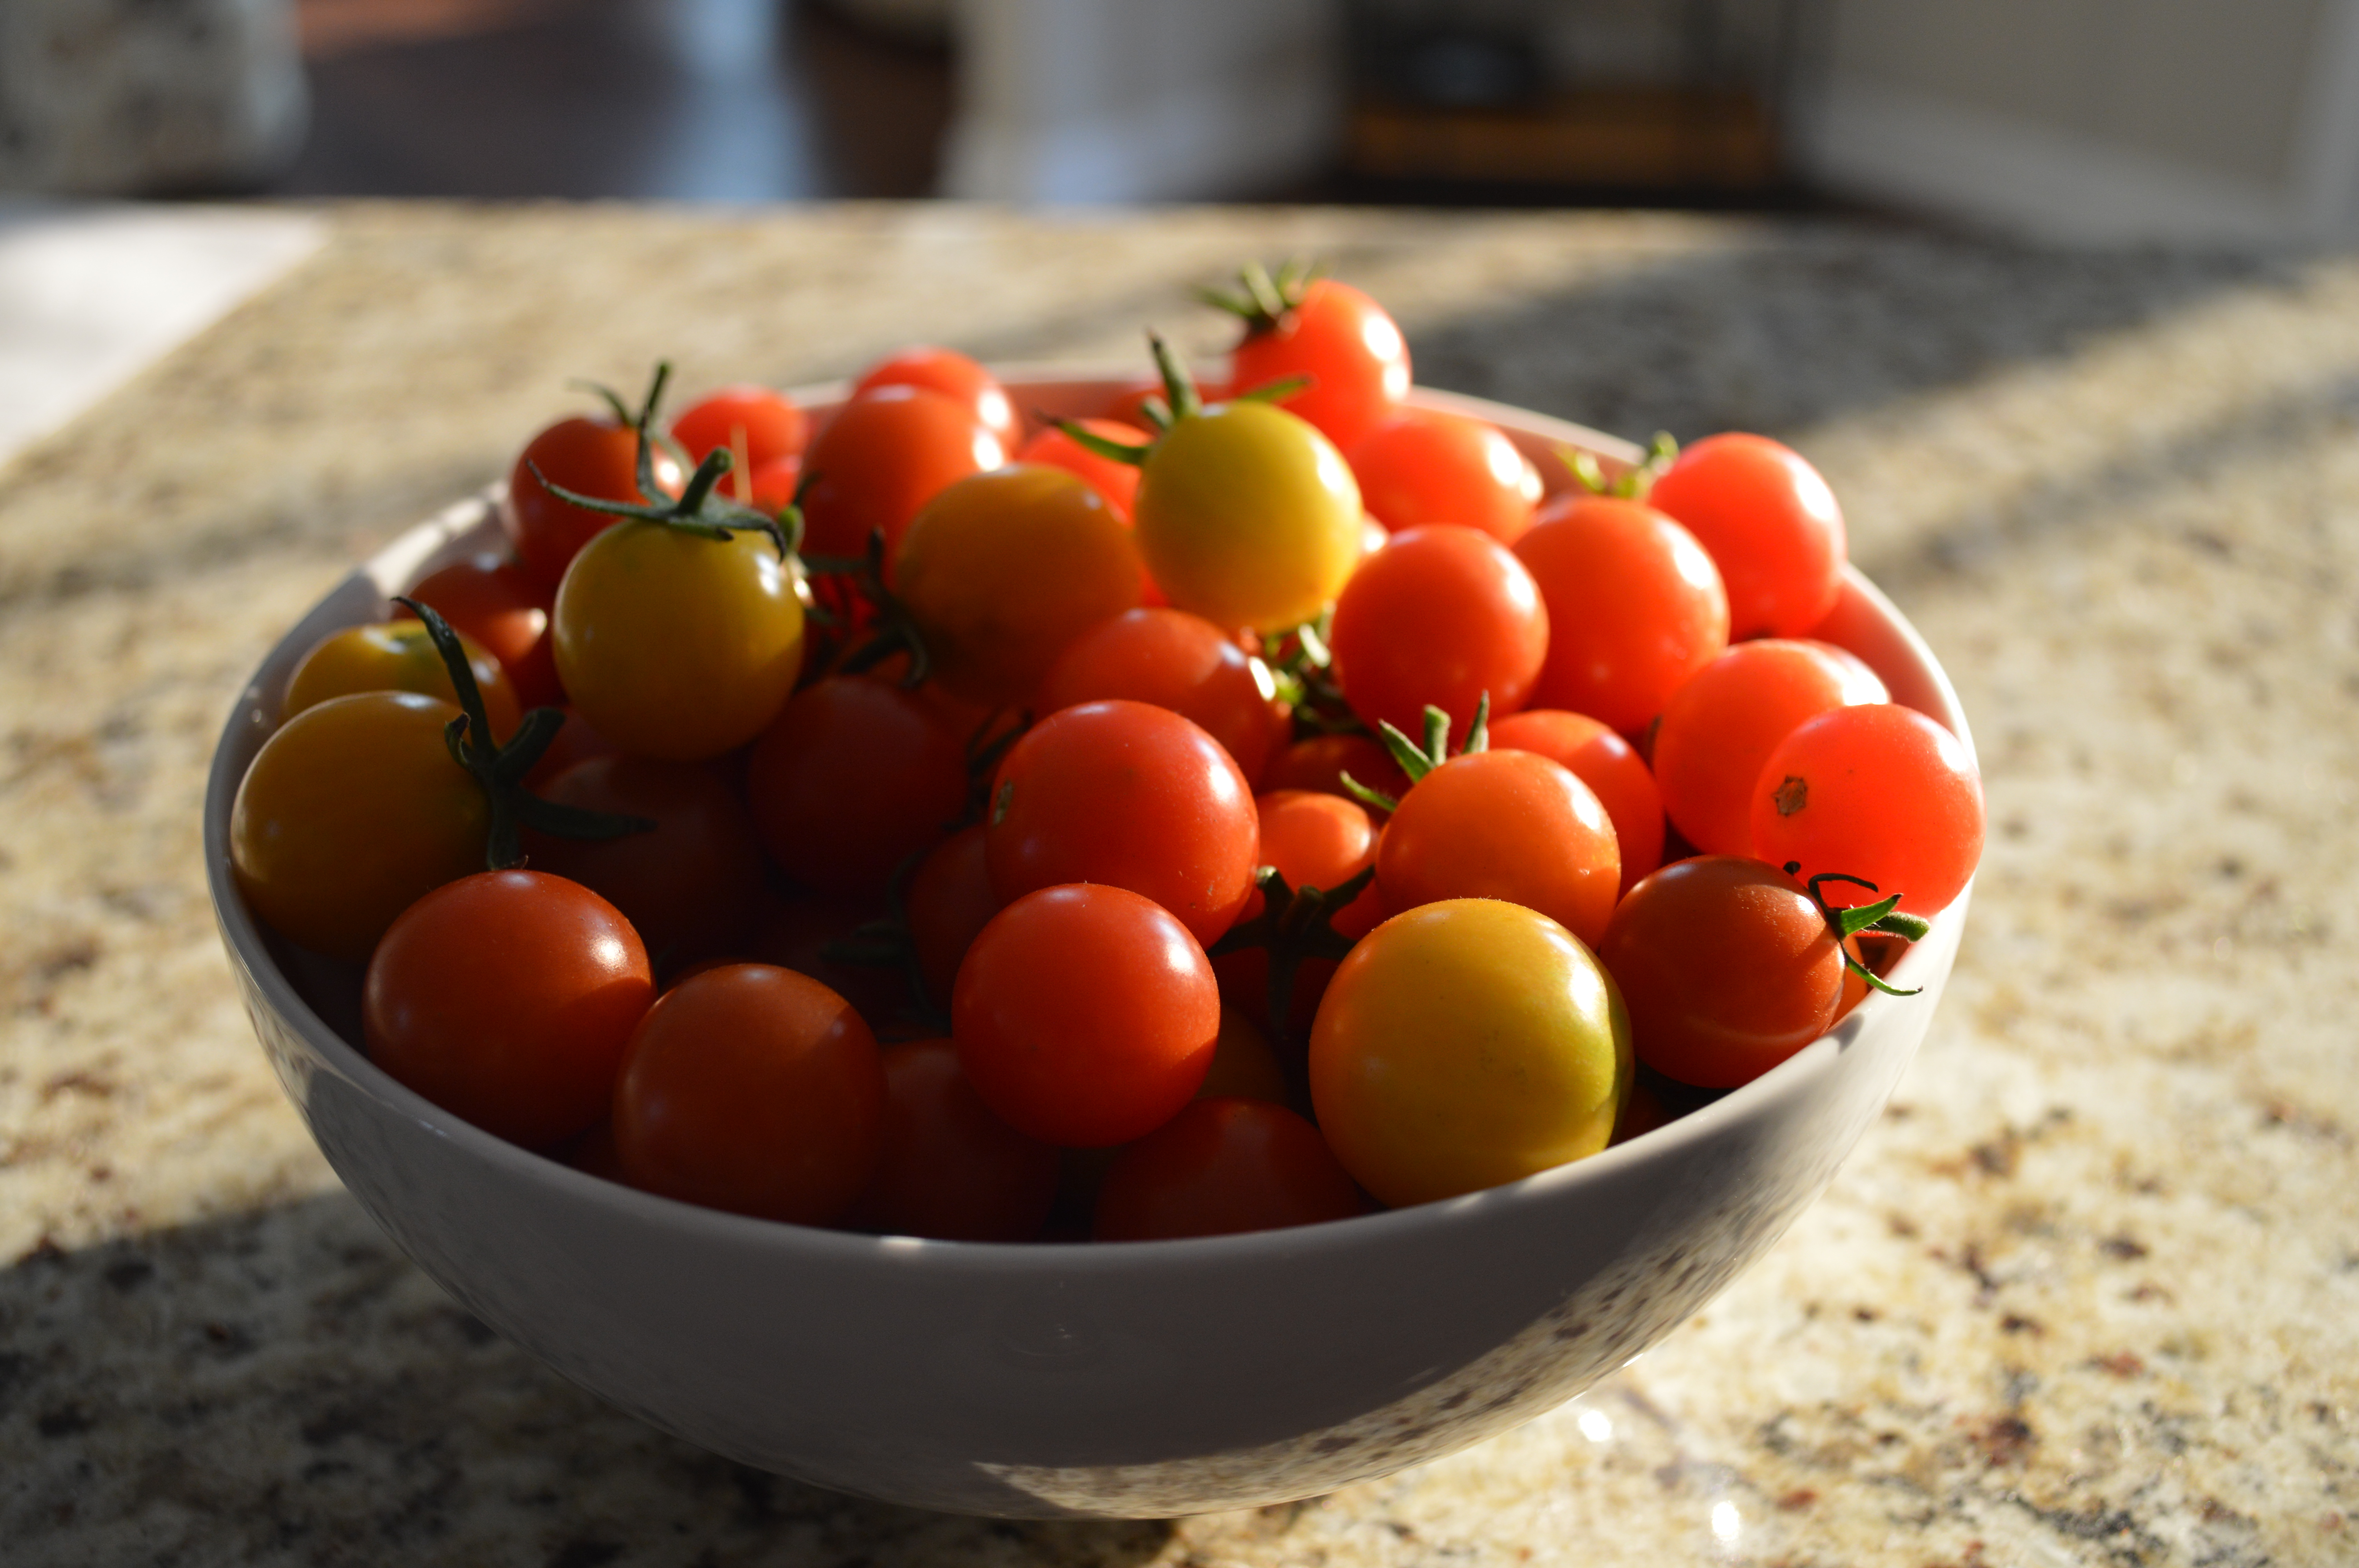
Tomatoes.
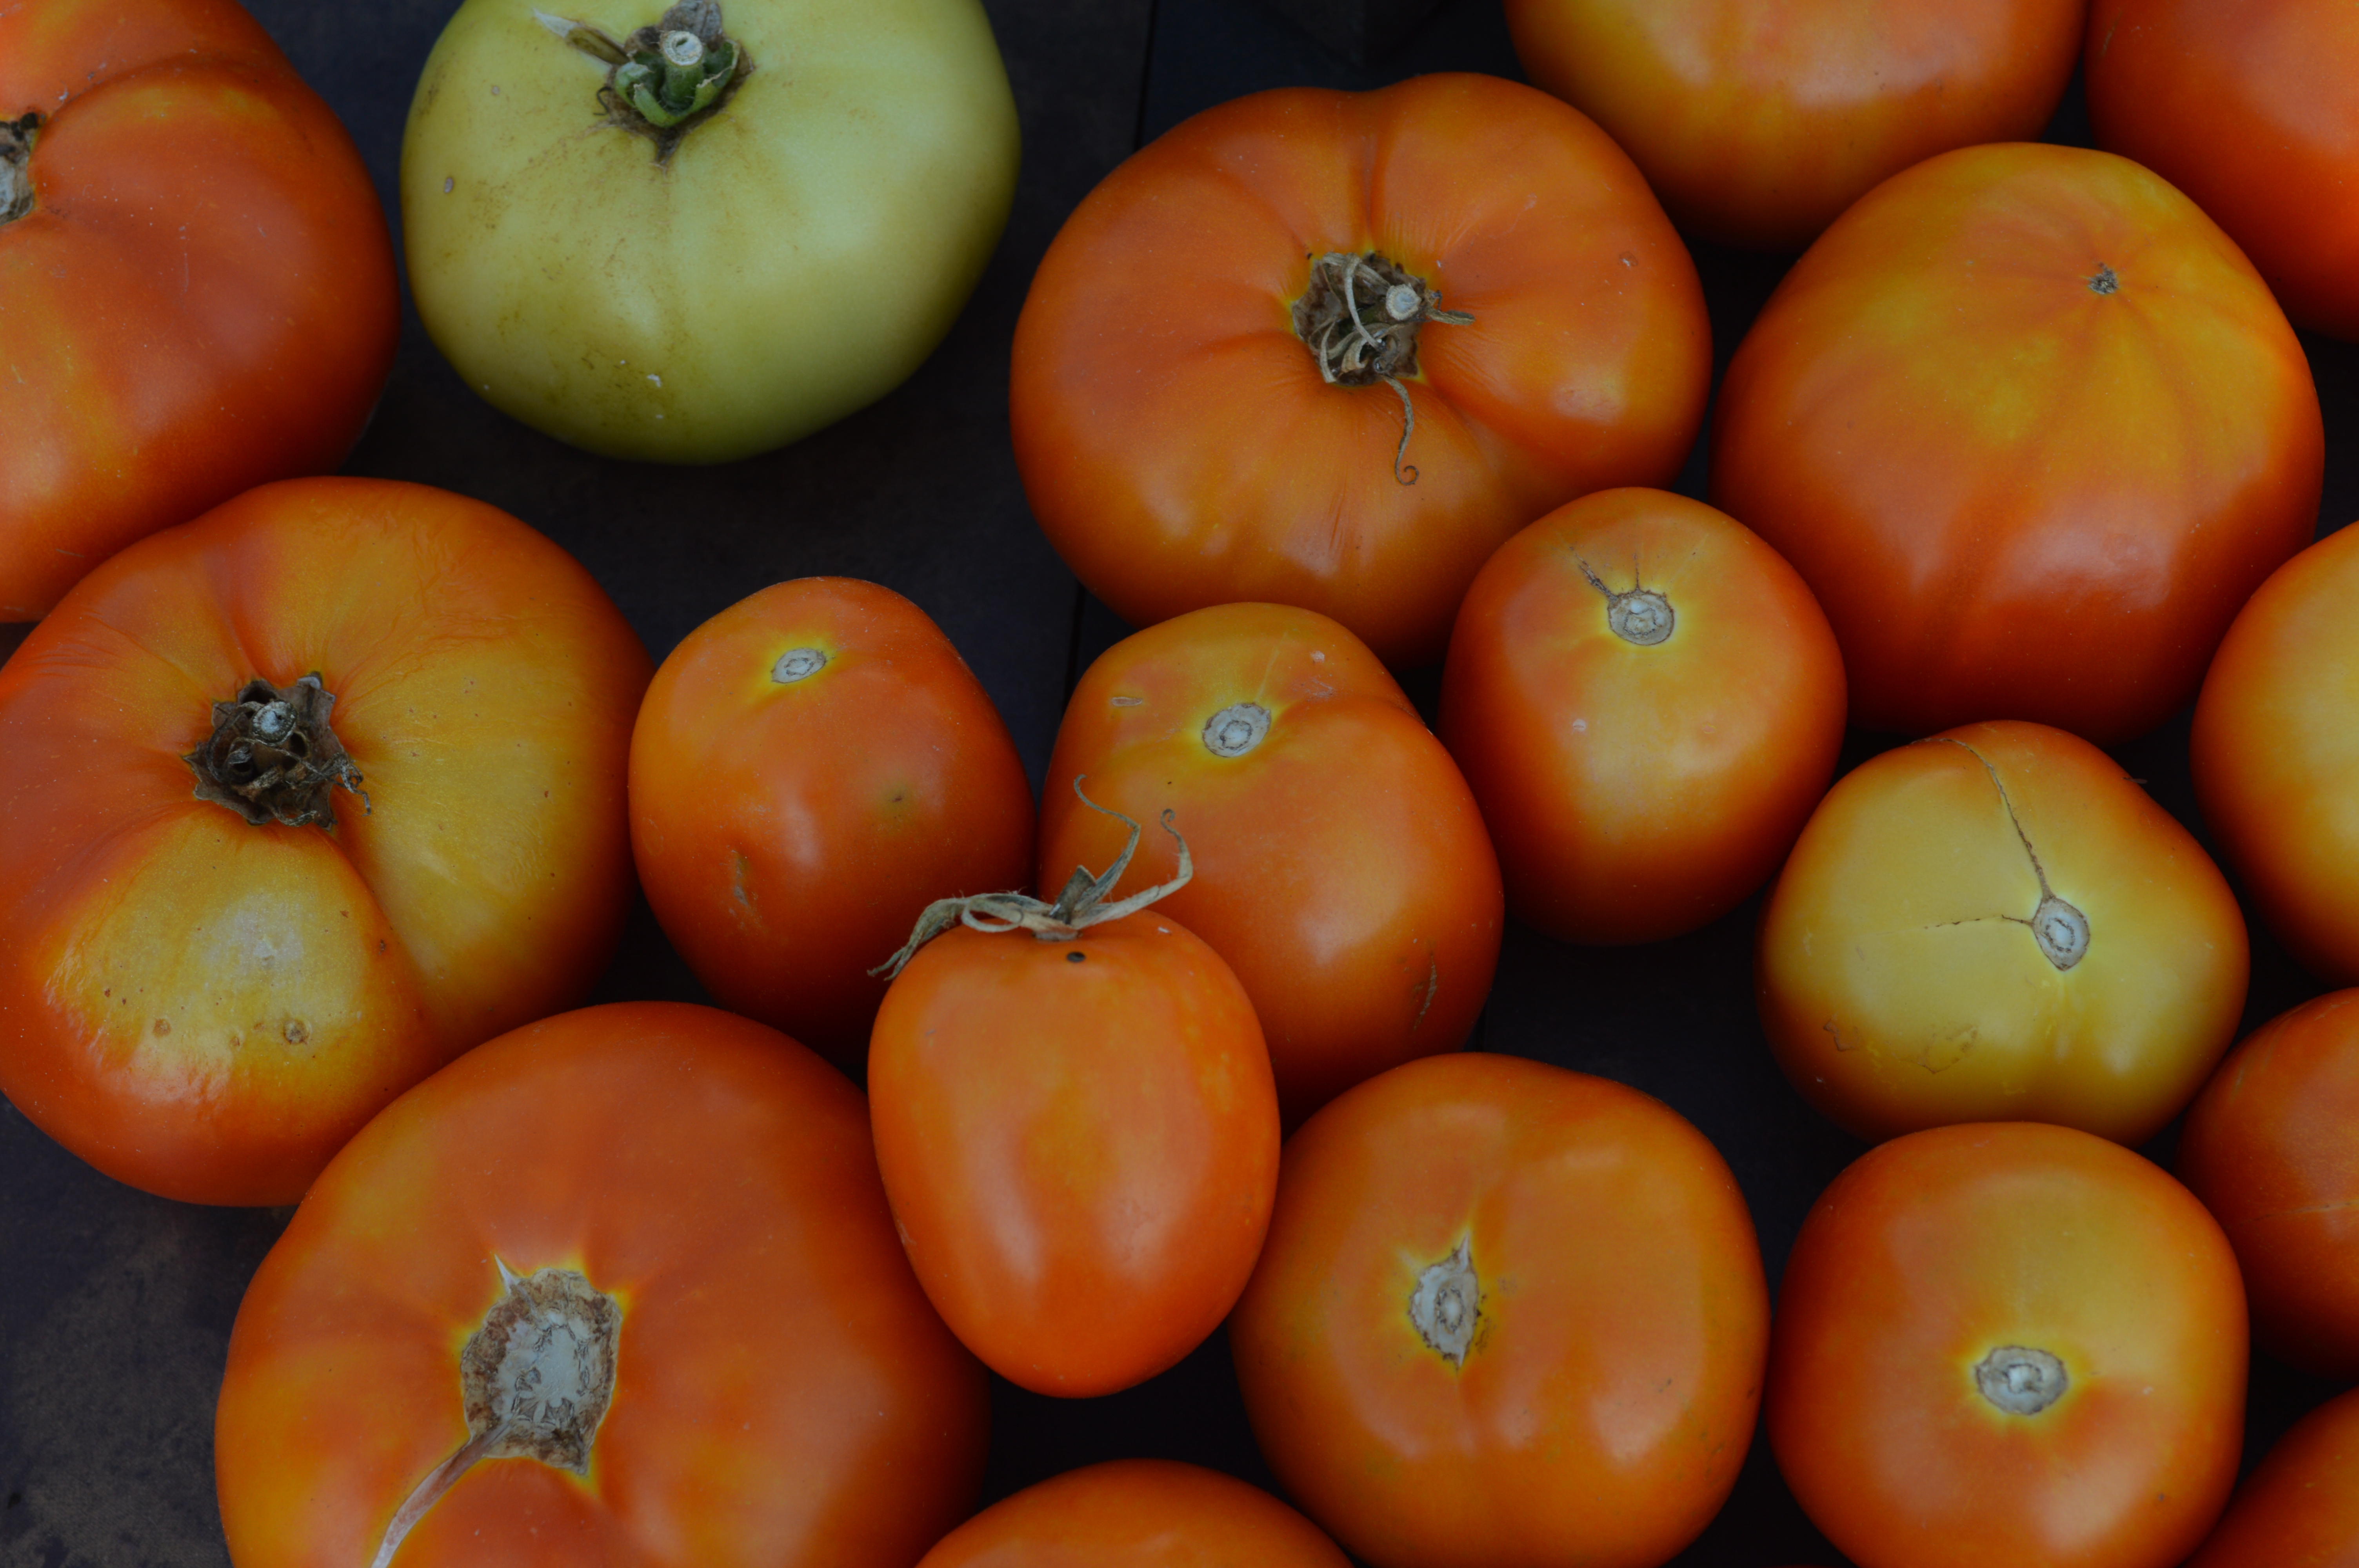
Tomatoes!

With so much naturally raised produce in the kitchen I decided to cook the naturally raised chicken from my Farmer’s Market trip in July for dinner on Monday night.
I had never cooked a whole chicken and used the website 100 Days of Real Food as a stepping stone. I visit this site often as it is a great resource for cutting out over processed food from your diet. The author takes a realistic and relatable approach as she has (precious) kids and she doesn’t want to “worry” about food, but rather be confident in her family’s food choices.
On the website there is a post about roasting a whole chicken: http://www.100daysofrealfood.com/2013/05/14/recipe-how-to-roast-whole-chicken-safely-defrost-meat/
Perfect.
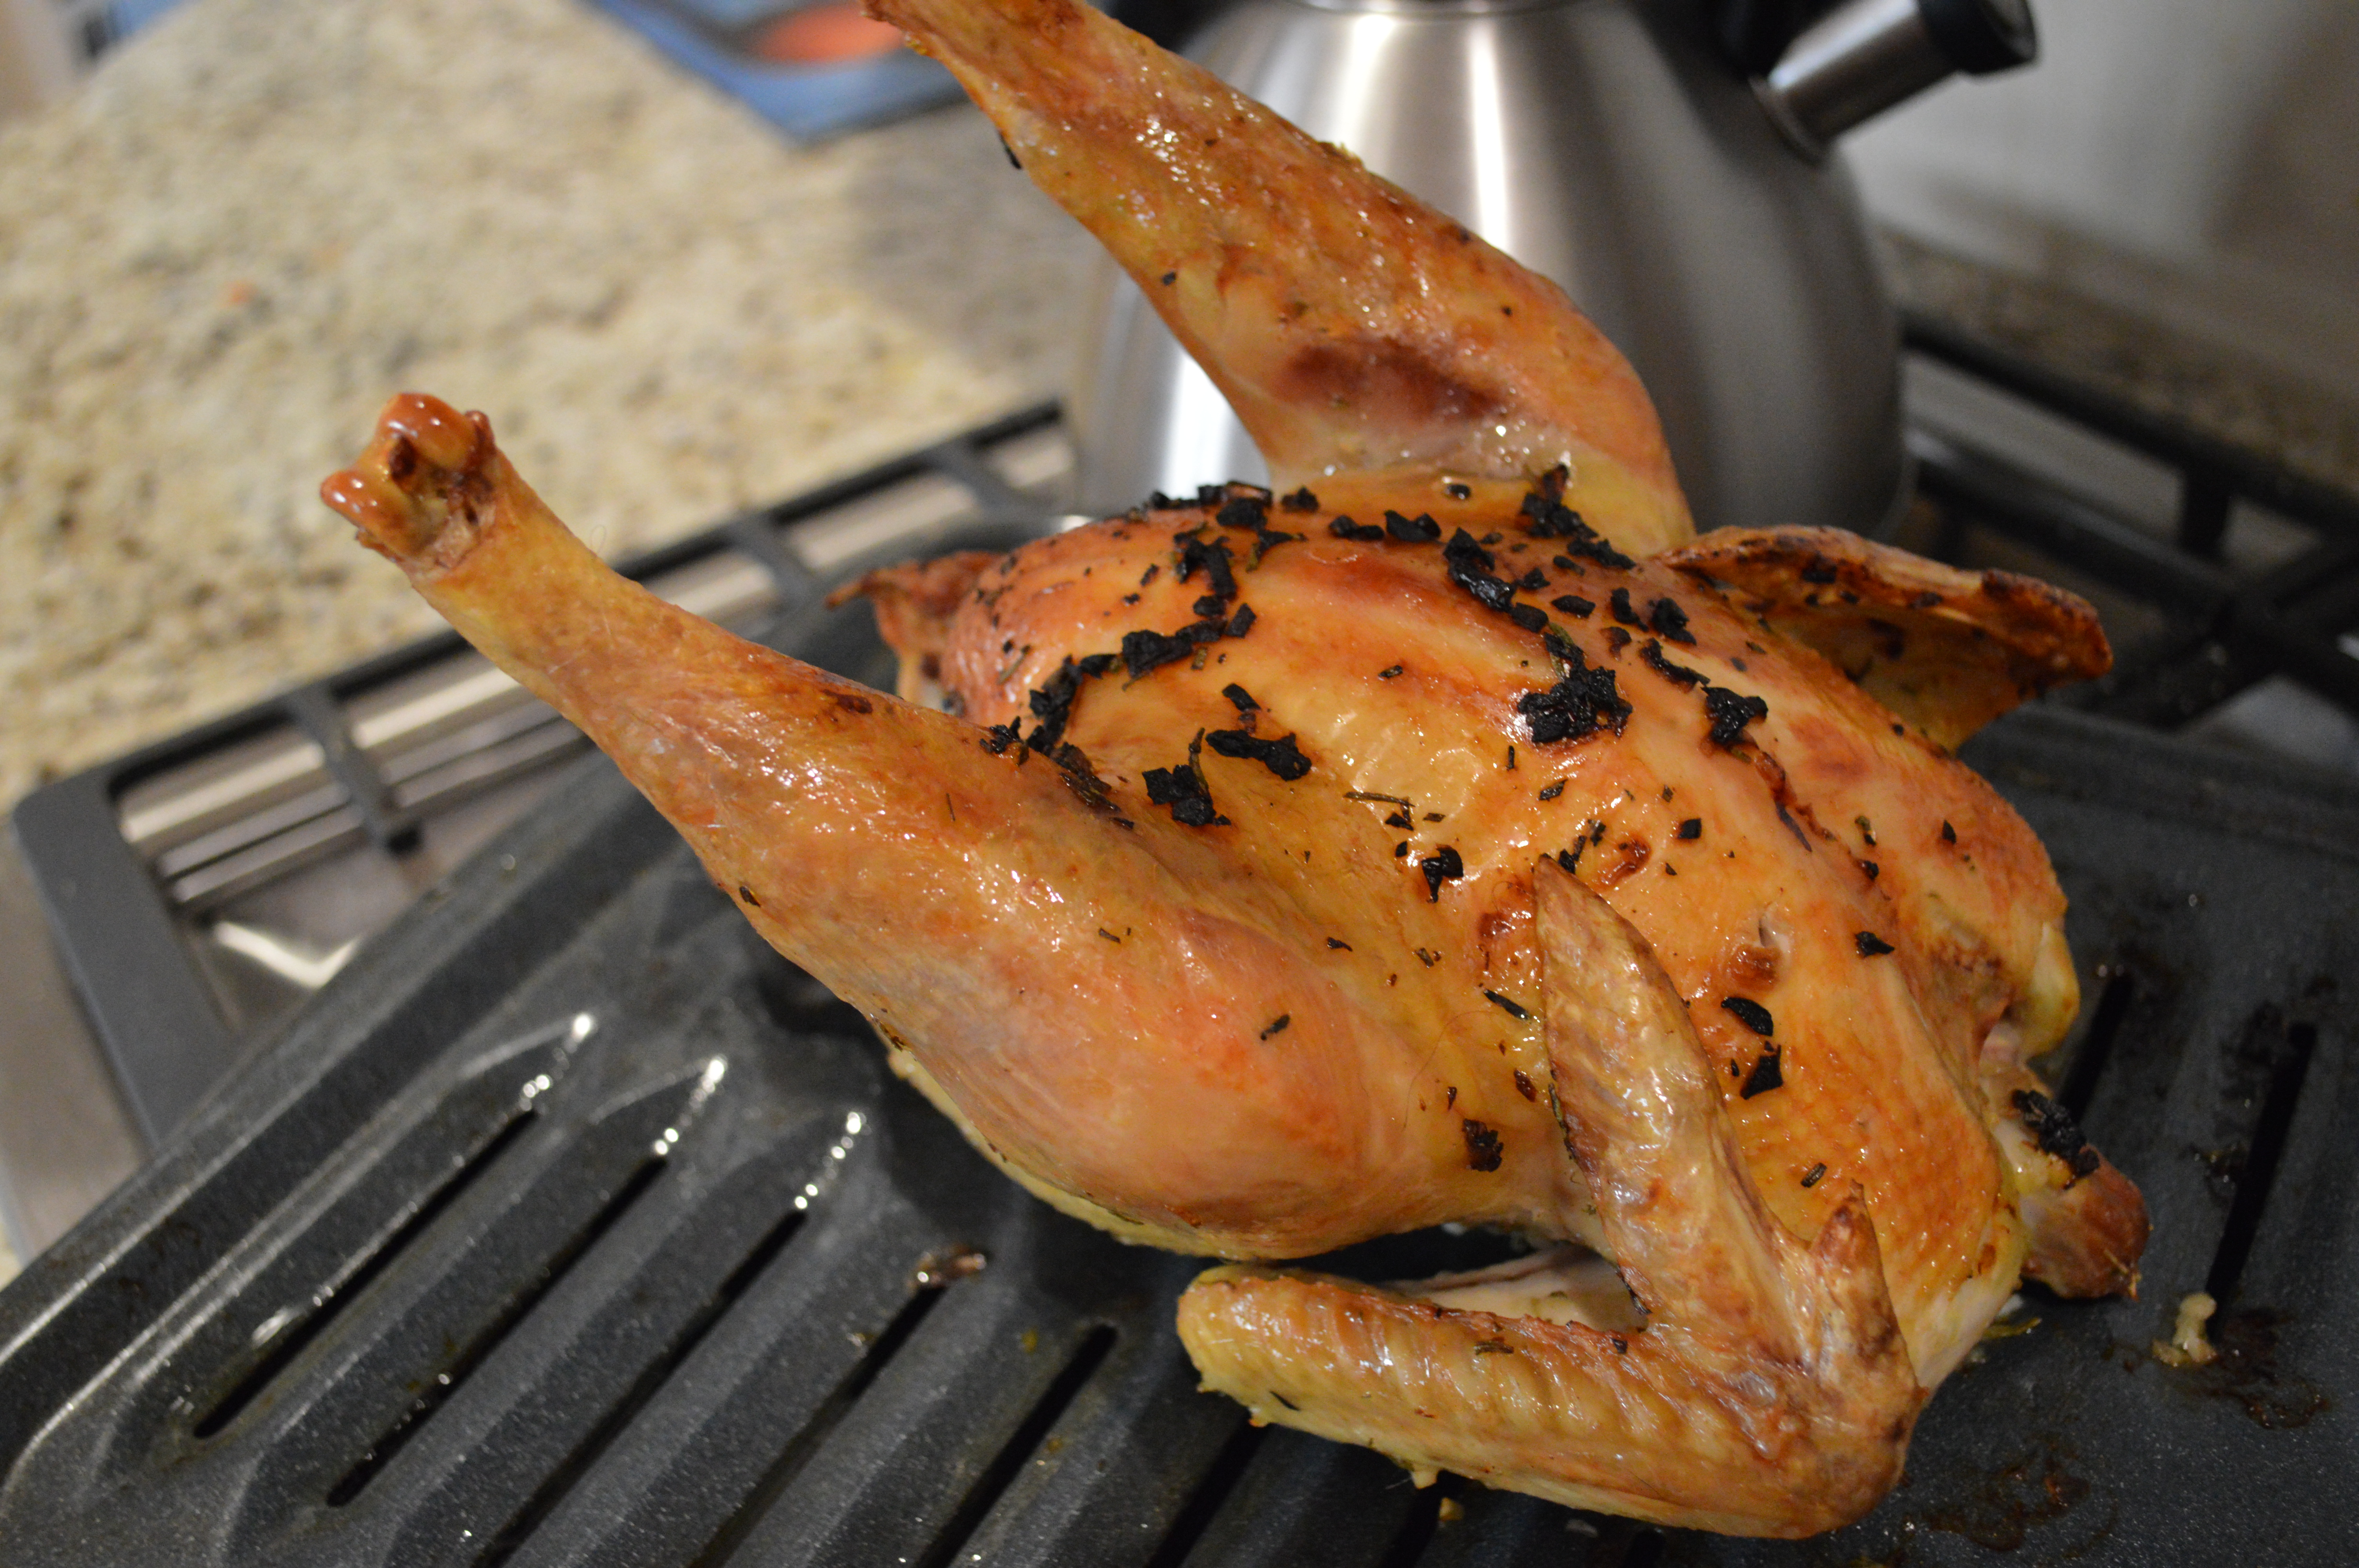
A chicken seasoned with lemons, garlic and rosemary.
Even more perfect. Some of my favorite flavors and I already had local rosemary and garlic in the house.
The post begins with how to properly defrost a chicken. She mentions that even though she has lived to tell about defrosting meat on the counter, the USDA recommends that meat should be defrosted slowly in the refrigerator.
… Something that made this ServSafe certified, hospitality professional proud.
Once defrosted, I mixed the herbs, seasonings, and oils together in a small bowl.
The next order of business was to remove the “giblets or bag of ‘parts’ that may be stored inside the chicken.”
The chicken man at the market had mentioned the “giblet bag” was in there. I remember thinking when I made the purchase, “Oh wow. That’s nice. He bagged those up and put them back in. I bet there are people who want to keep those.”
I looked in my defrosted chicken’s butt. I didn’t see any evidence of a ziplock baggie or saran wrap like I was expecting.
Weird.
I opened the rear end more. A sleek brown, jelly-ish mass was in plain sight.
I had just read the chapter in “The Omnivore’s Dilemma” where Michael Pollan processes free range chickens on Joel Salatin’s Virginia farm. Pollan wrote about removing the chicken’s insides after the bird bleeds out.
I knew what I was looking at… it was the bird’s liver.
There was no actual “bag.”
I had been lied to…? Maybe he just forgot to bag up this one…?
Or, it’s an expression. Slang, if you will.
… For chicken organs.
I also remembered from my read that removing these organs needs to be done carefully. Pollan warned that a ruptured gall bladder can be a big mess.
“What the heck am I supposed to do?” I thought, desperately wishing Adam was home. He could handle this.
I looked at the clock. Adam wouldn’t be home for about an hour. And the bird would take that long in the oven. I couldn’t wait.
So, I did what every girl who didn’t know what 4-H was until she was eighteen would do: I Googled it.
The first page I saw said to “Gently reach in and simply remove the giblets.”
Seriously? That’s all you got, Google?!
After many other failed searches and confusing youtube videos, I decided to suck it up.
“Like a band aid,” I told myself, sticking my hand in the bird’s rear end. I wrapped my fingers around the bundle in the cavity of the chicken, wincing, eye’s shut and gave it a pull.
“Ohhhhmyyyygodddd,” I squealed out loud as my hand emerged.
Browns, pinks, yellows and blues made up the still slightly frozen mass. (Thank God. Had that been any squishier we would have had issues.)
Just be glad I didn’t take a picture.
Once I recovered (and threw the giblets away), I brushed the bird with the herbed oil marinade, stuffed the lemon peels in the chest cavity, and placed him in the oven for about an hour.

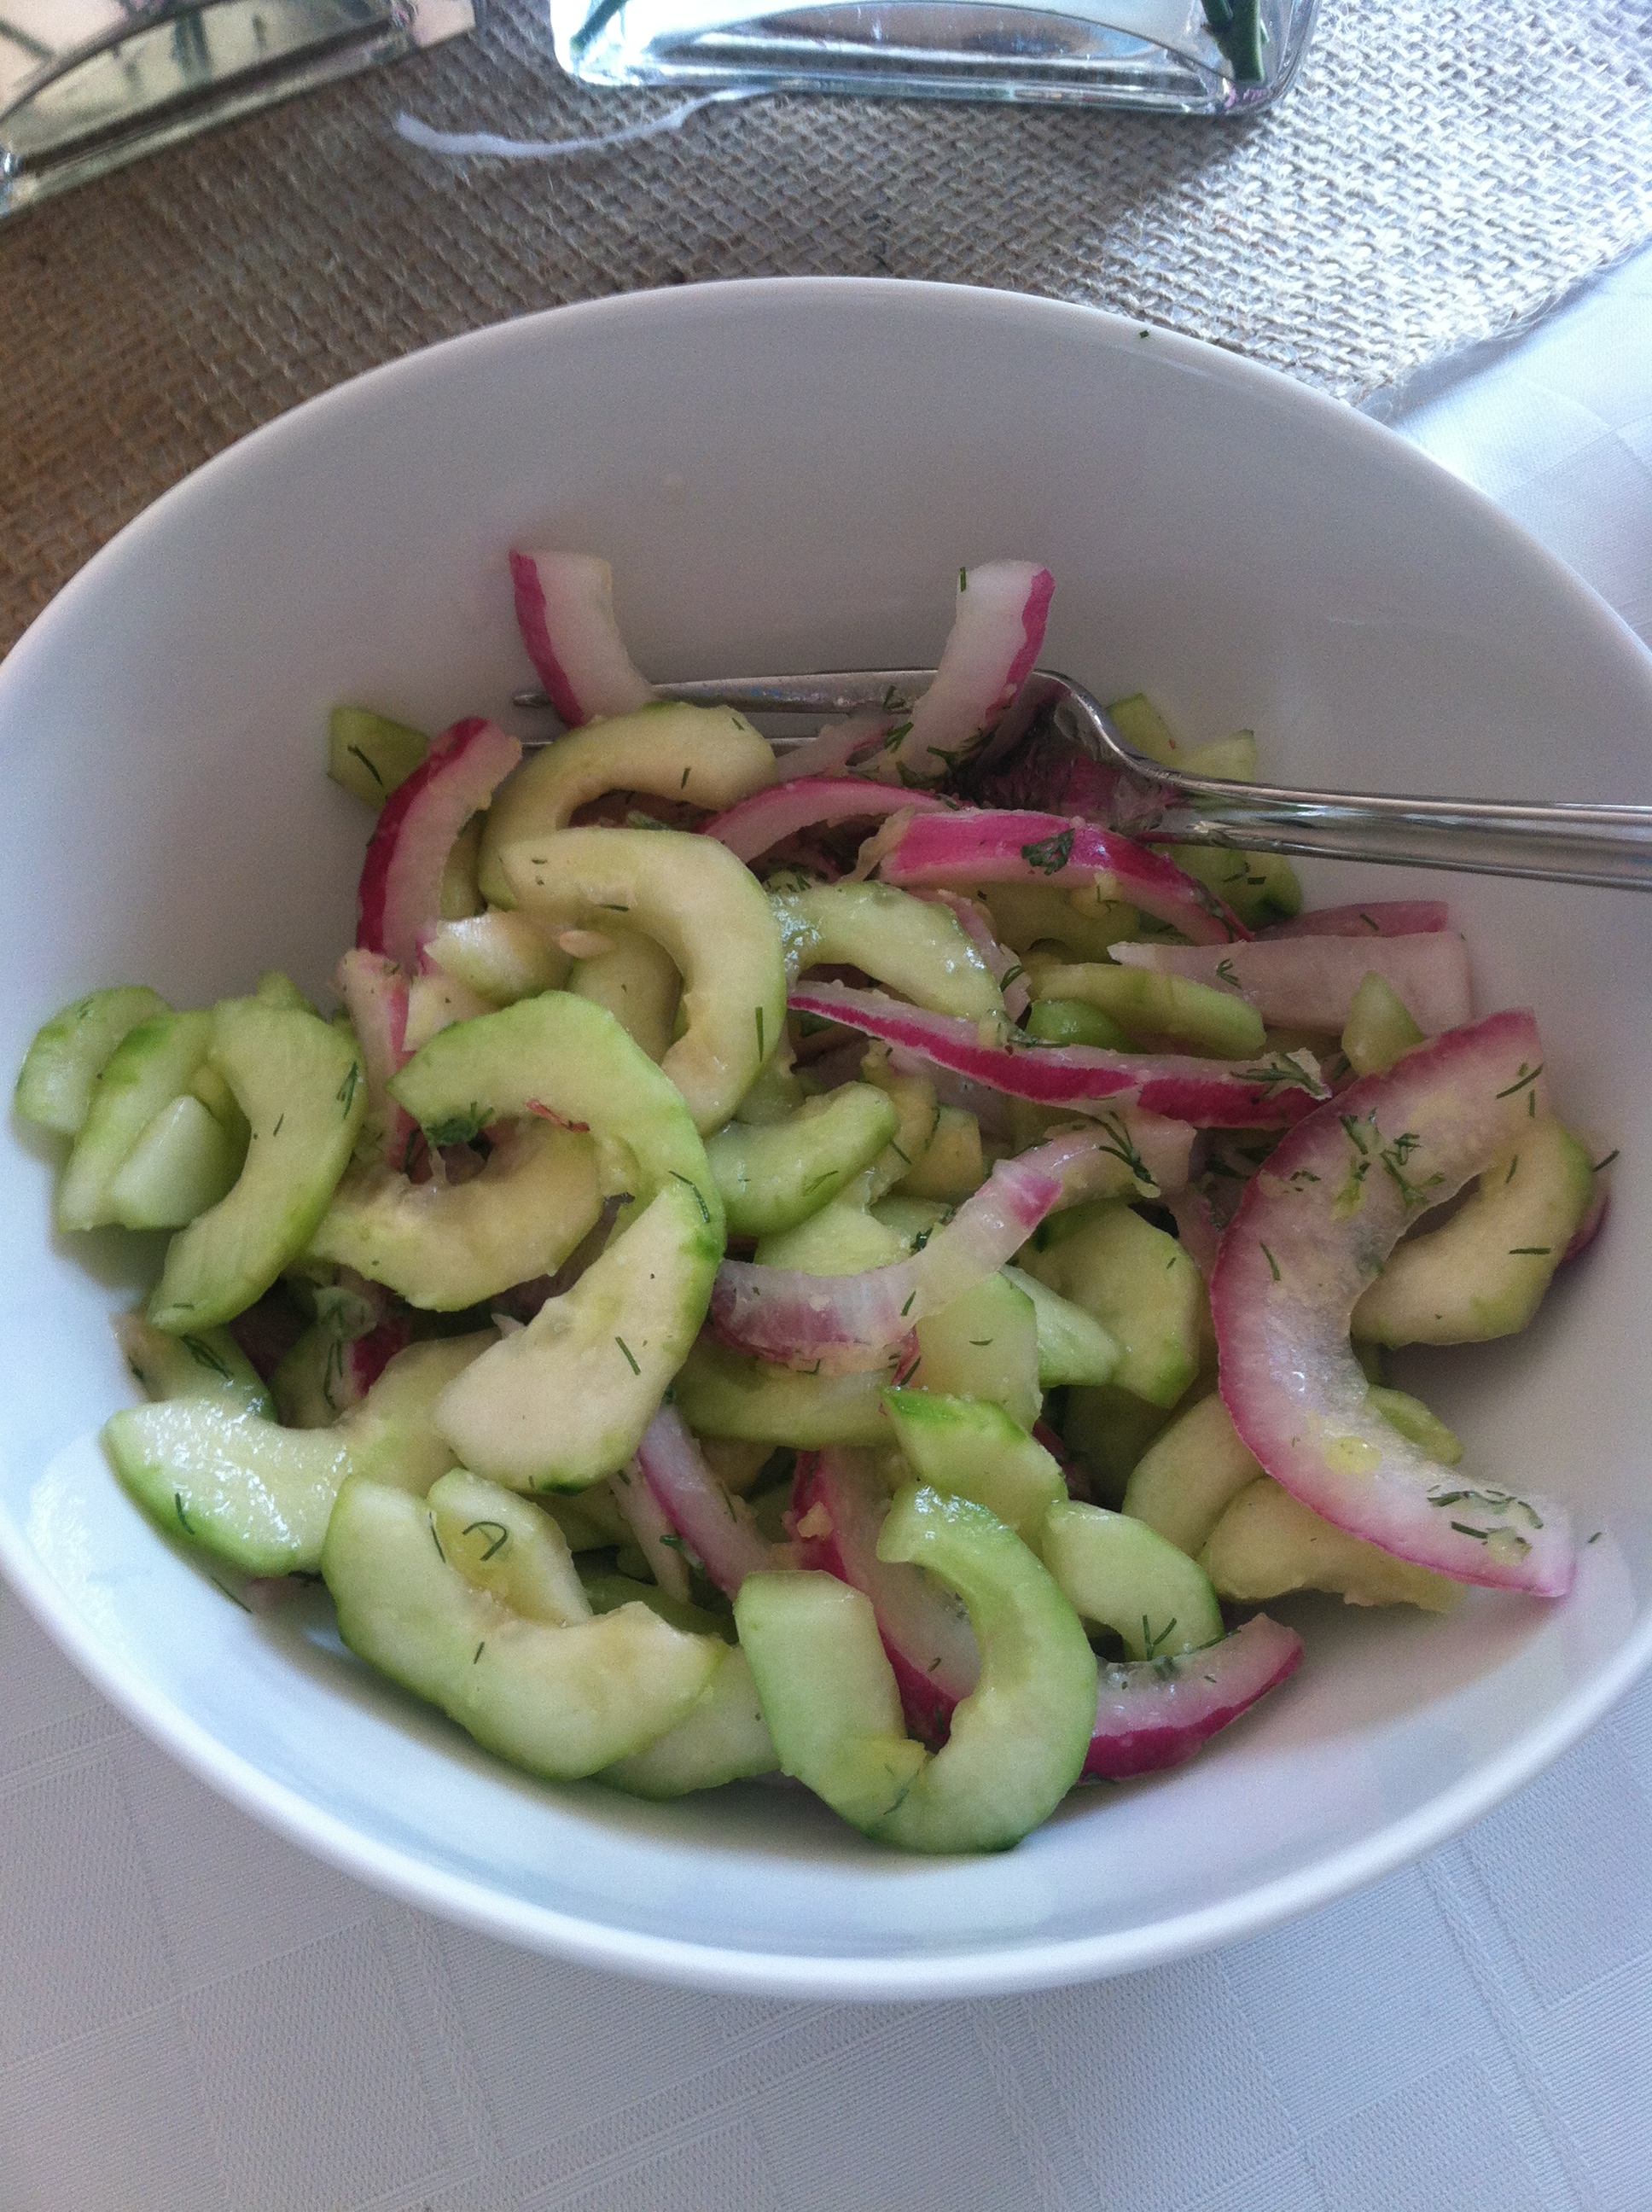
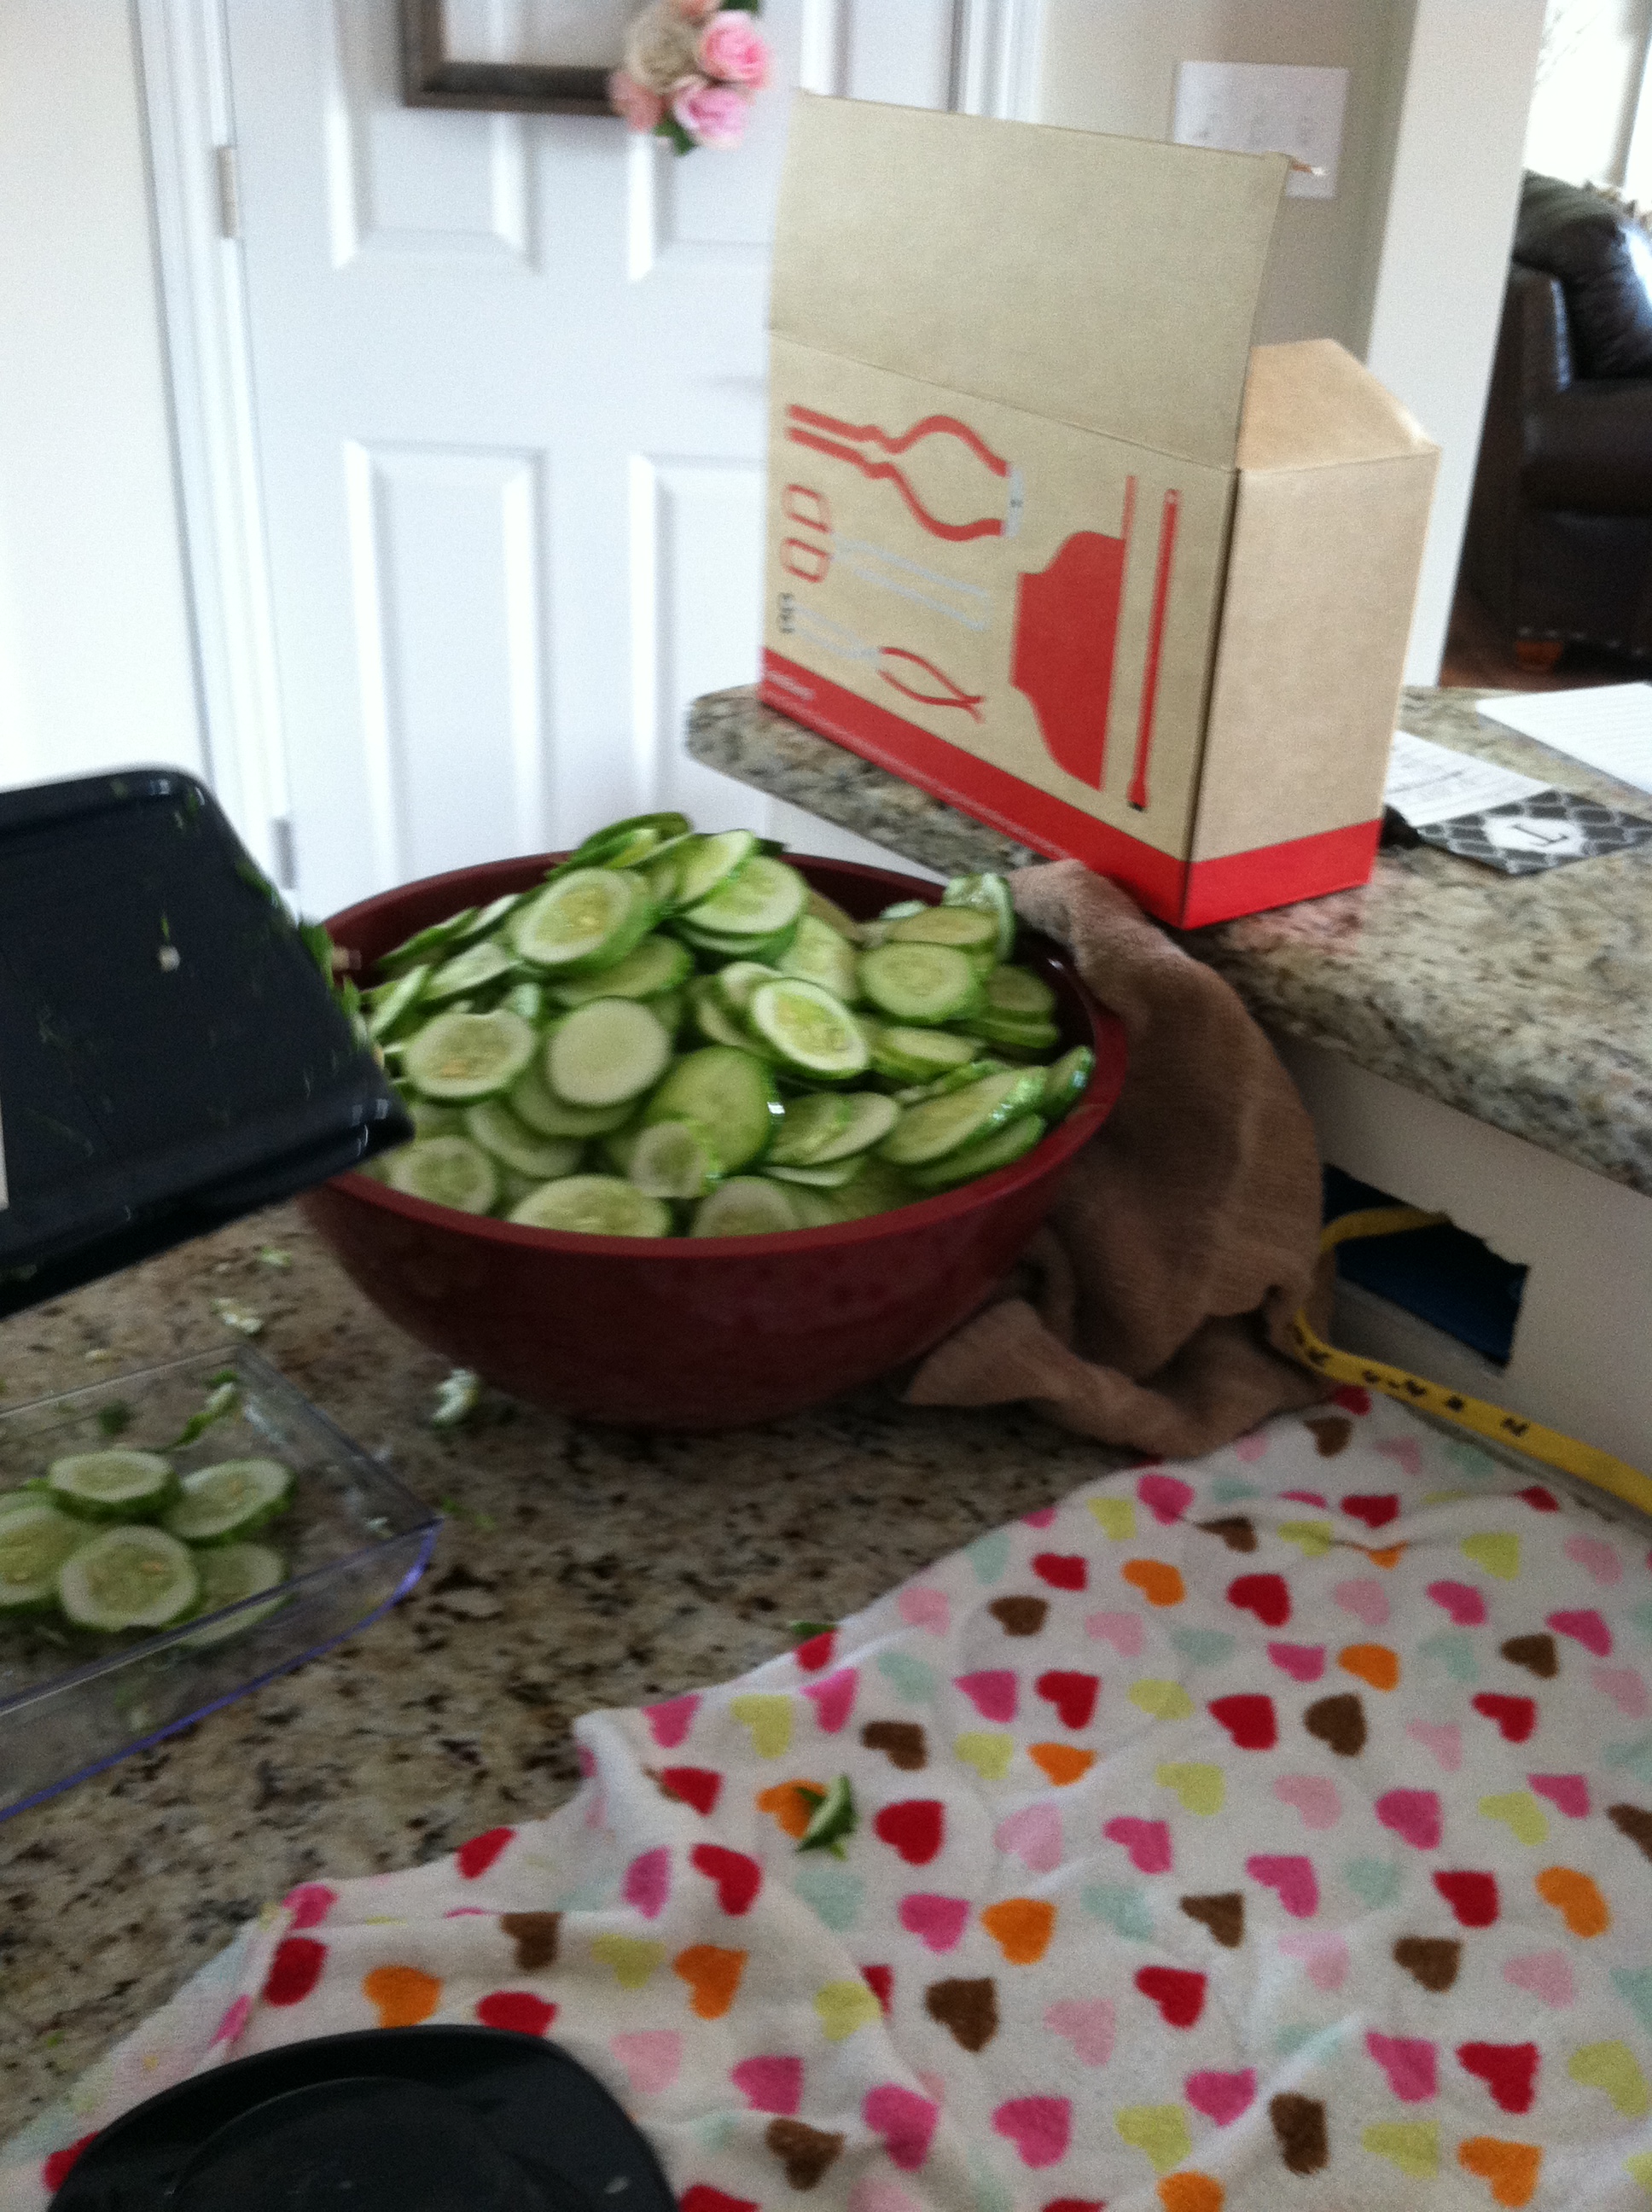
Right around the time Adam got home from work the chicken had reached 170 degrees. I let it rest on the stove top while I chopped up some tomatoes and cucumbers to serve as a side with a splash of red wine vinegar. Light and easy.
The aroma of the rosemary, garlic, and lemon married well with the chicken, filled the kitchen and demolished any traumatizing mental images of giblets.
By the time I plated everything I couldn’t wait to give it a try.
It seems crazy, but the natural, free range bird did taste different than the chicken breasts from the grocery store that I am used to. It was moist, flavorful, and felt as though I could really taste the chicken.

I am looking forward to having more natural birds from our own backyard this winter.
… And having someone else do the processing.