This past fall, Adam and I raised fifty free range chickens for their meat, in addition to the egg laying hens.
If you knew me any time before 2011, go ahead and say it.
I know your thinking it.
Trust me. I thought it plenty of times too.
What. The. Hell.
What the hell am I doing with over fifty chickens in my backyard?
The only “chicken” in my backyard growing up was when we would play it in the pool.
Things that were in the backyard of my youth? A Jack Nicholas golf course and a large swing set… that was painted one of three colors permitted by the Home Owners Association.
I never looked into it, but chickens probably didn’t make that “permitted” list.
… Just a guess.
As insane as it does seem, it’s my reality. And, now with a freezer full of great, pasture raised chickens it all makes sense and it’s all worth it.
Don’t worry, friends… I have not totally converted. We took the birds somewhere else to get processed. They took care of everything, so our birds look just like a whole chicken I would get at the grocery store. Phew.
Adam and I have been experimenting with all sorts of recipes with these birds. This week, using one bird, we made two great and very different meals.
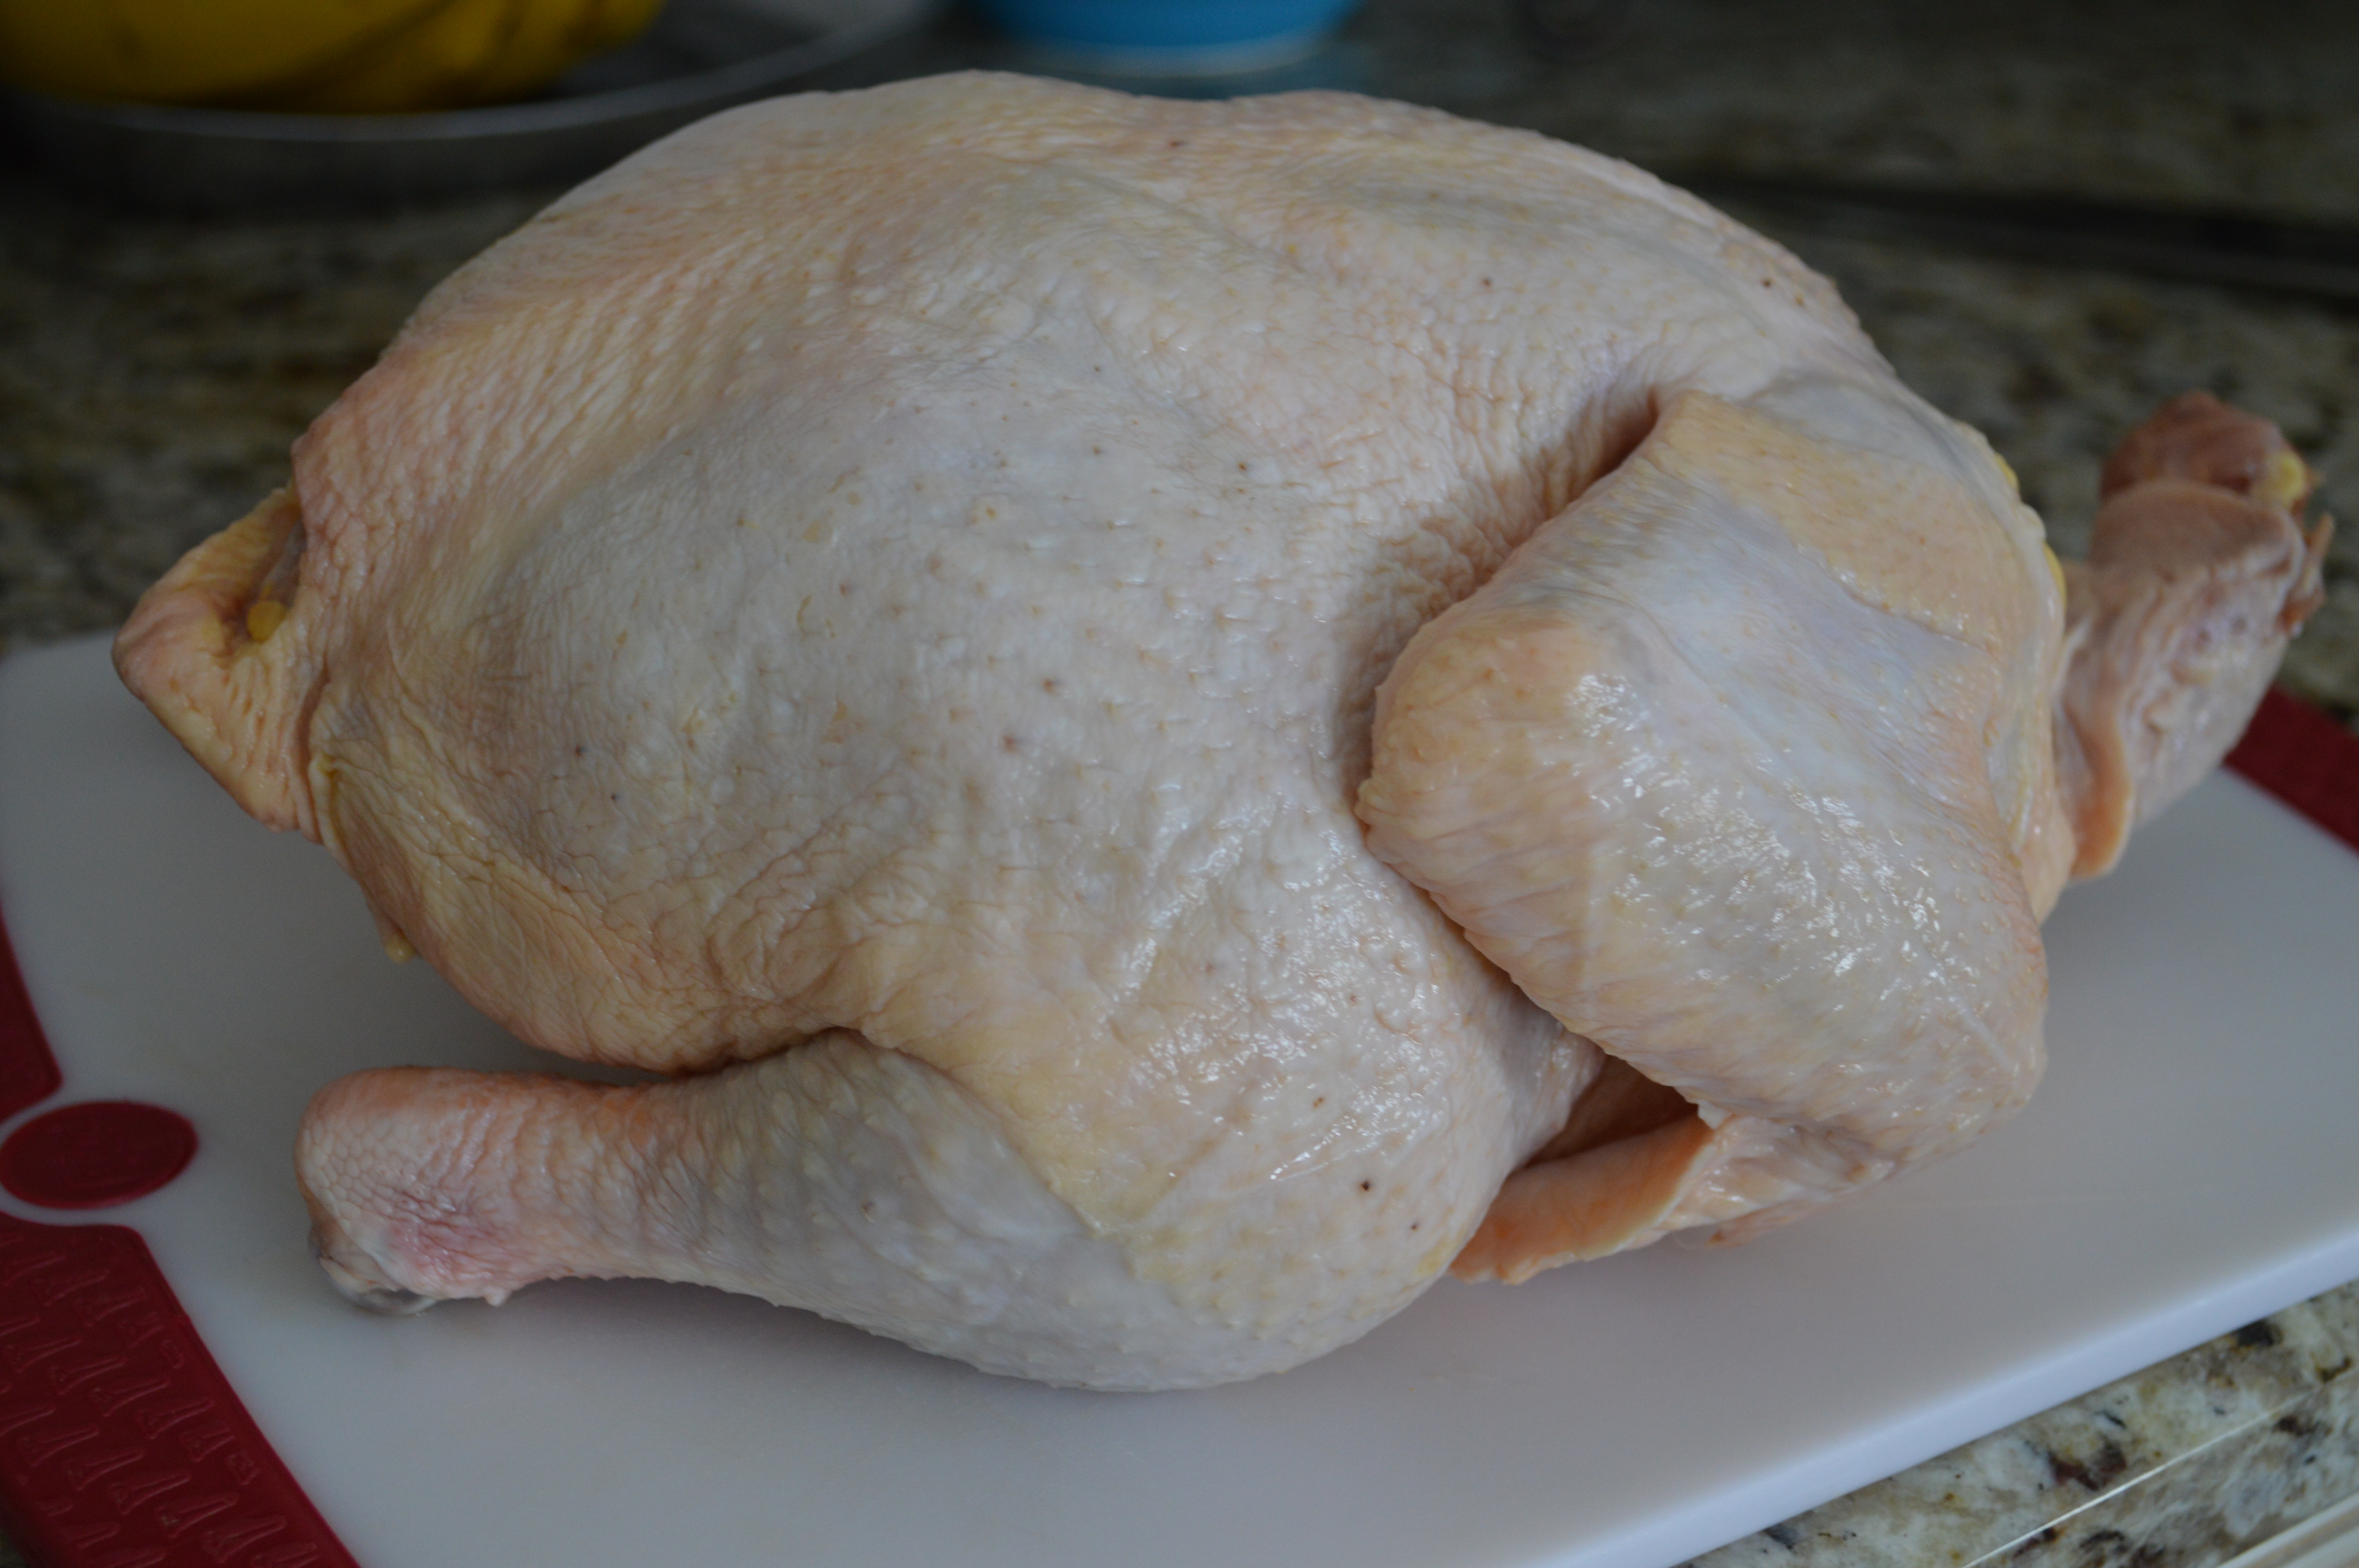
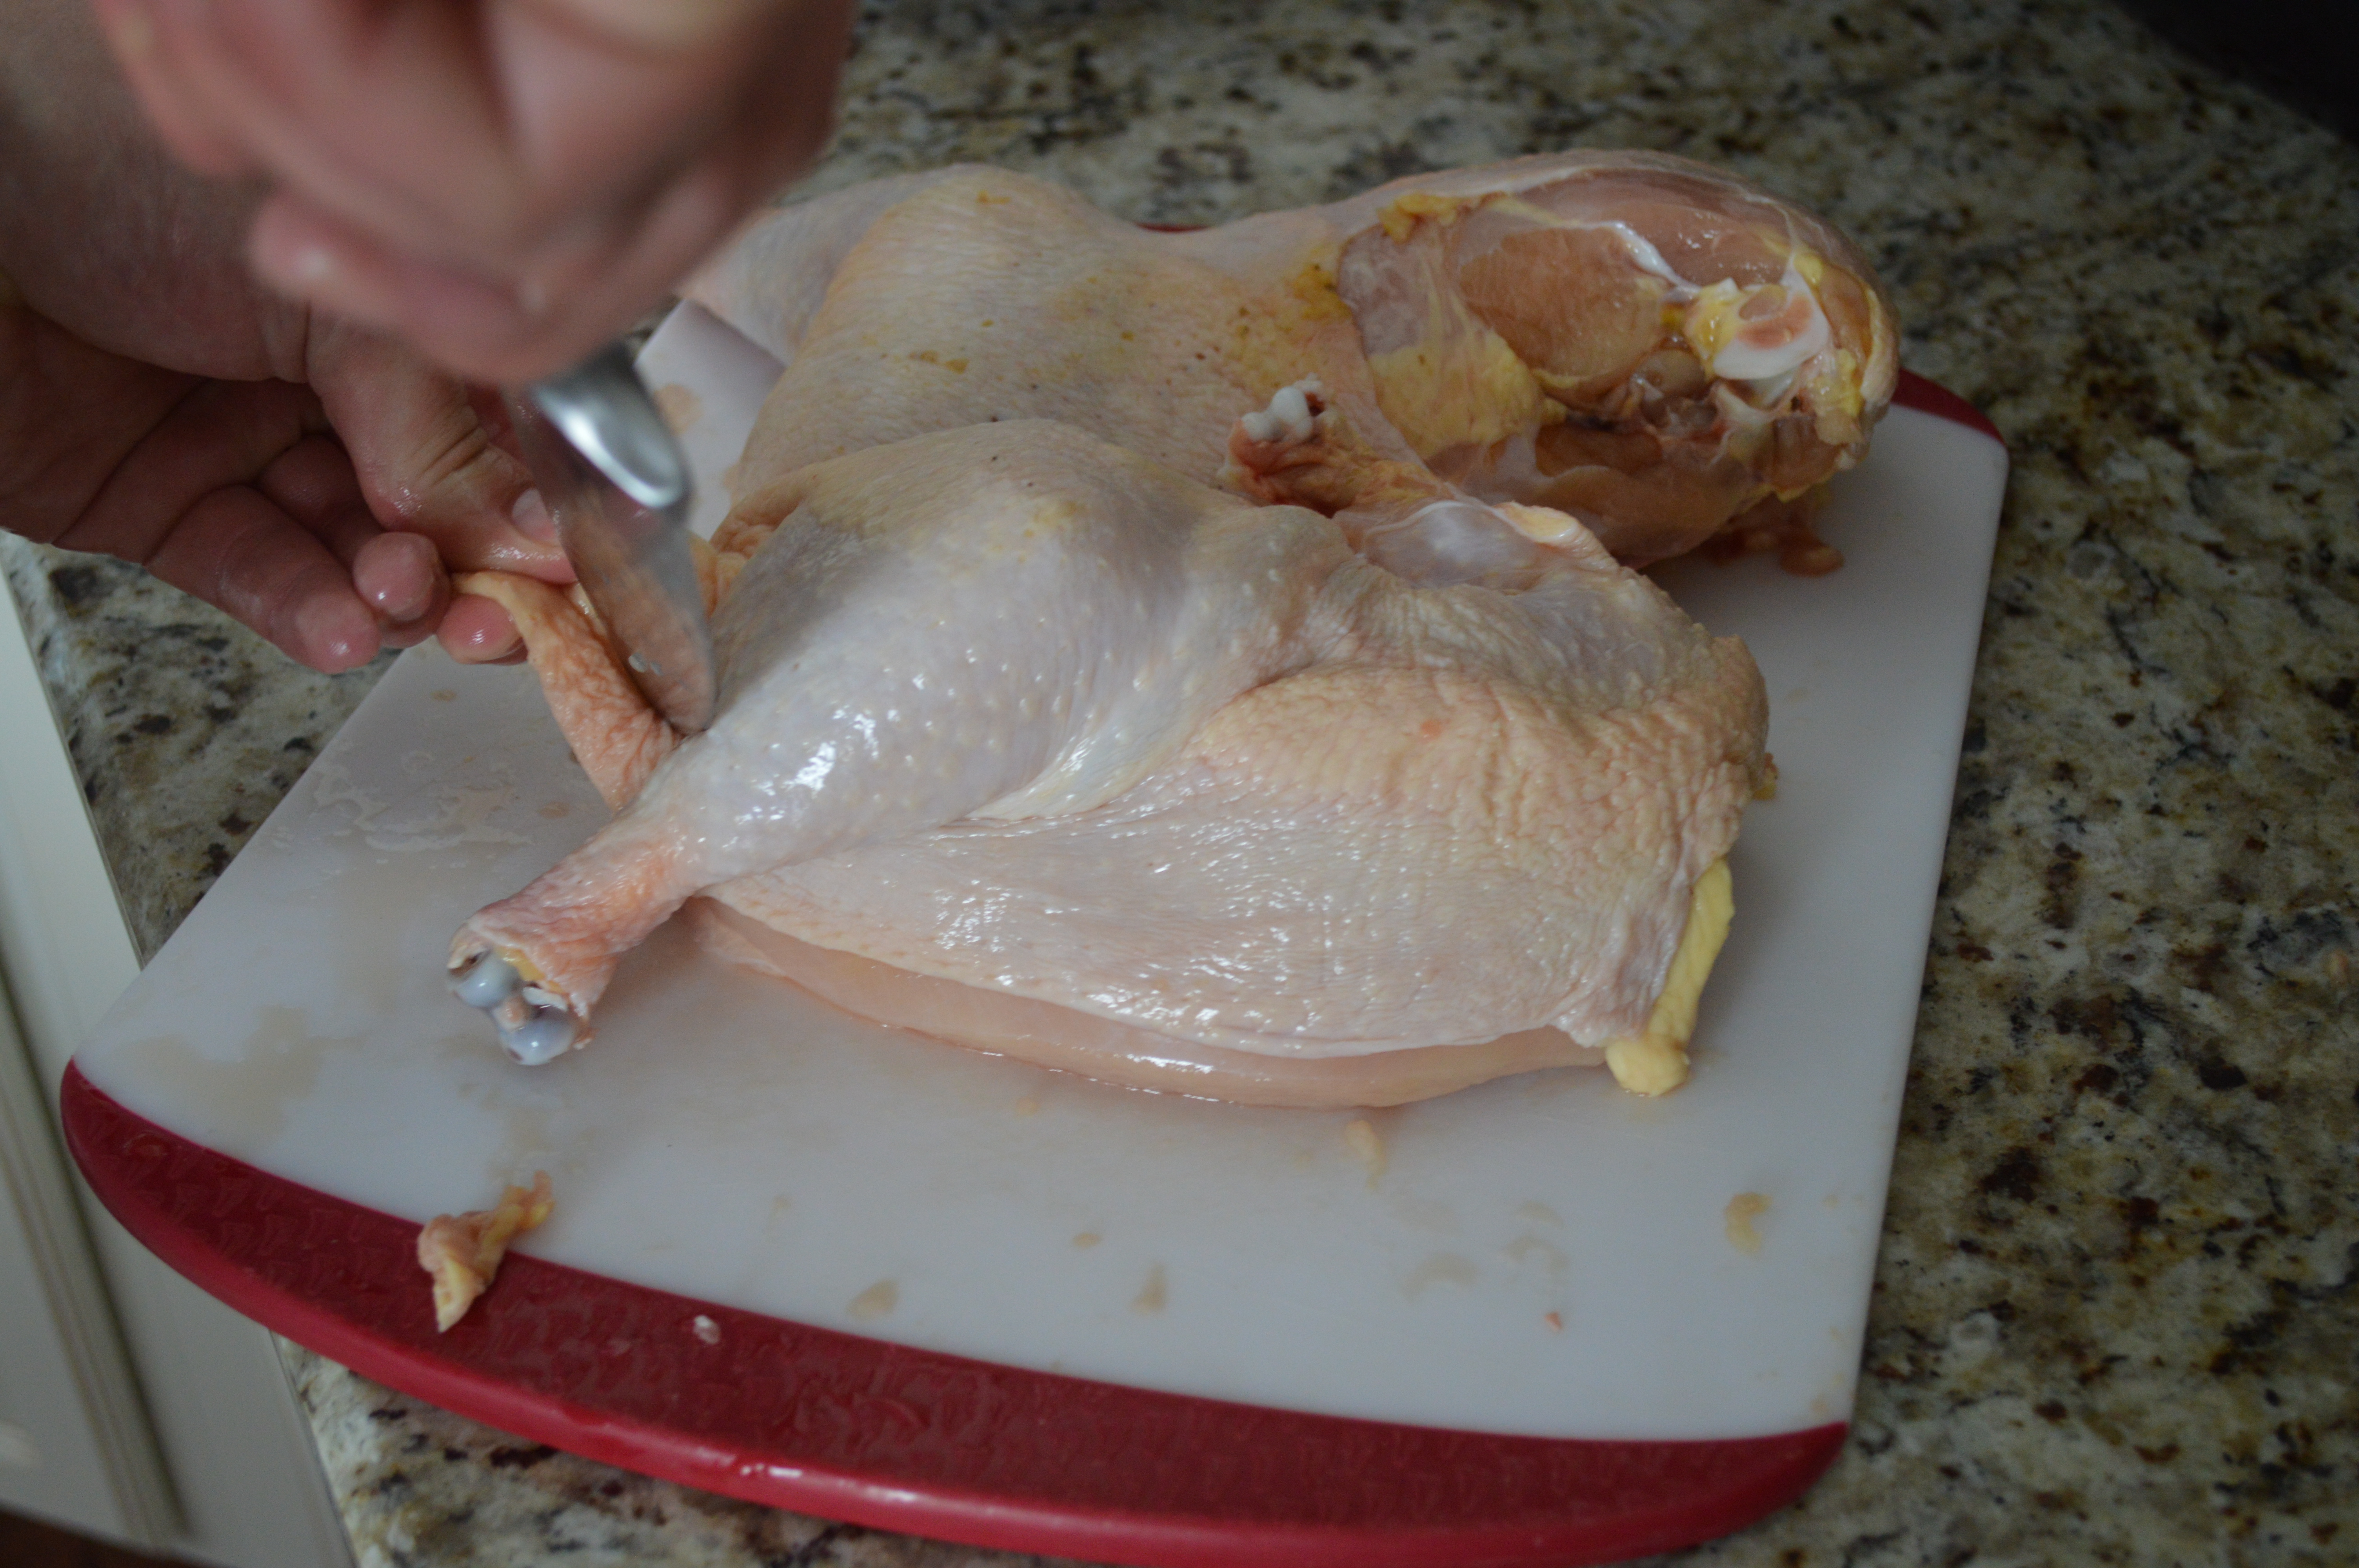
Because it’s only the two of us, we don’t need a whole bird for a meal so halving the chicken is a great way to insure there aren’t any left over’s. Here are the steps for dividing a whole chicken in half:
Note: I now understand why magazines, like Real Simple, walk readers through tips like these with illustrations. Photos of raw meat just don’t look that pretty. But, today, I am scraping vanity because I do think it helps seeing how it really works.
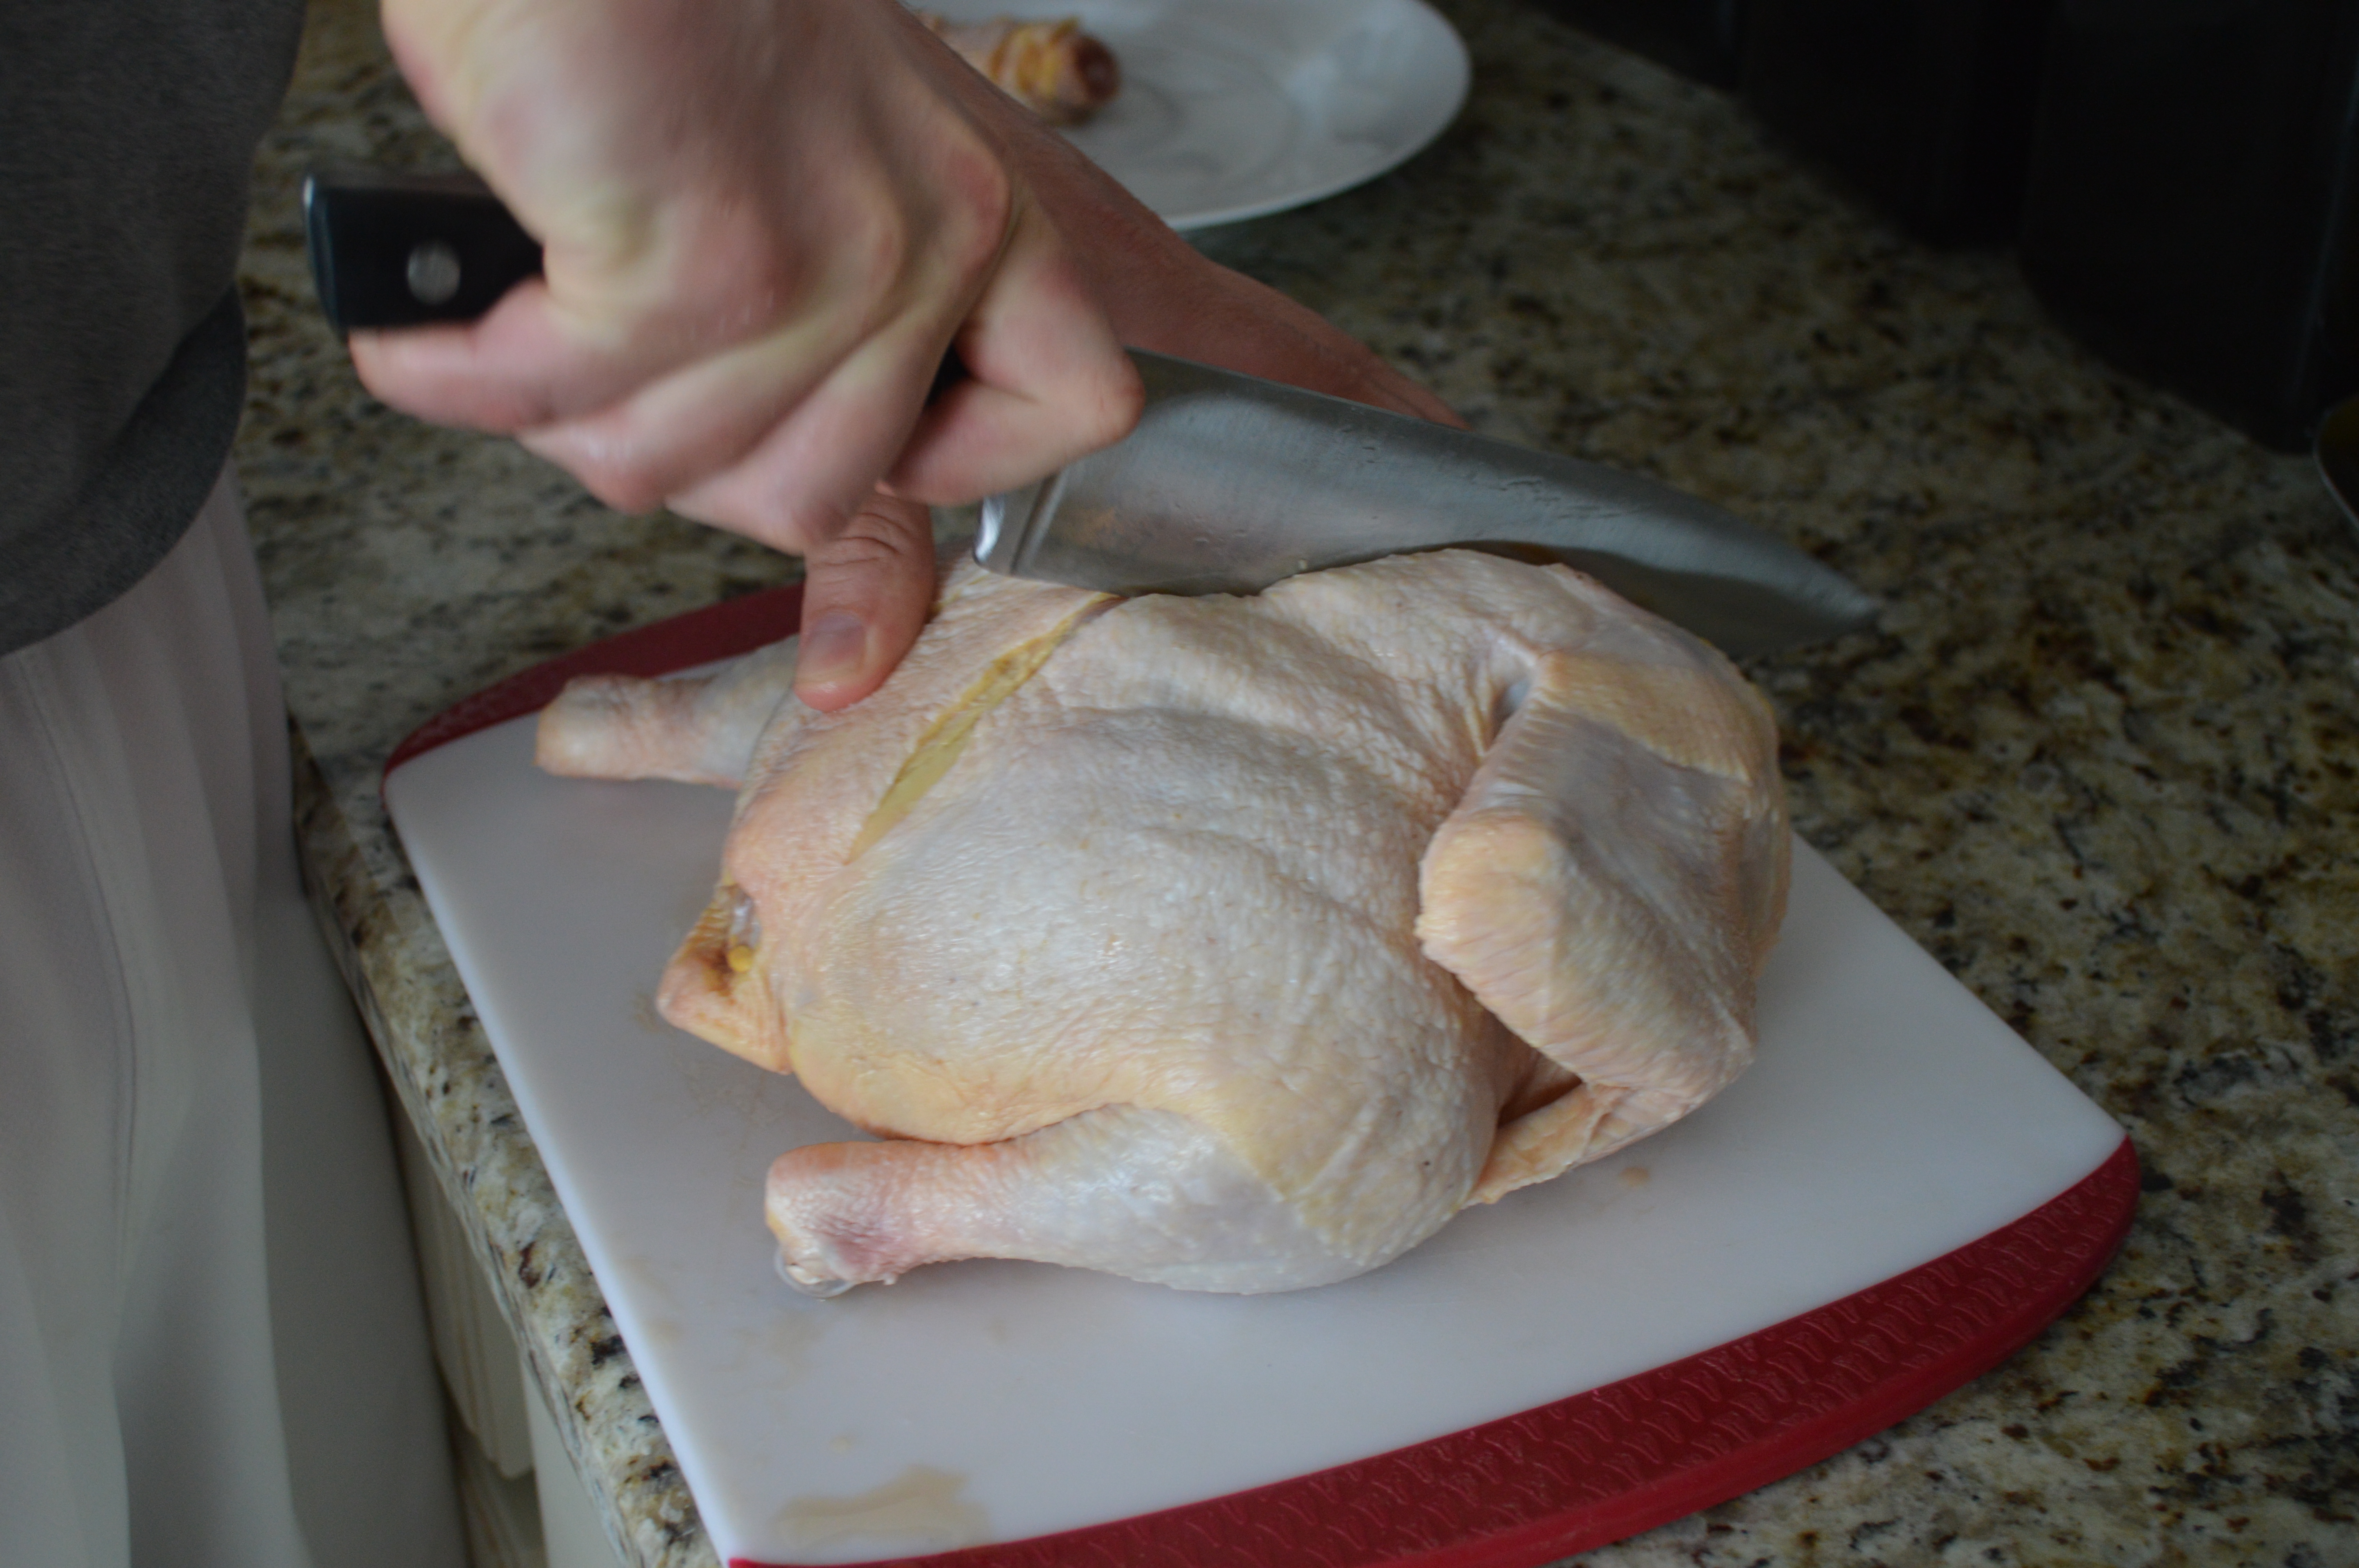
Put the chicken breast on a cutting board breast side down with the neck pointing away from you.
First, starting from the front of the chicken, insert the knife and work it from the neck to the tail of the bird, cutting right along one side of the backbone. It is important to cut as close to the bone as you can.
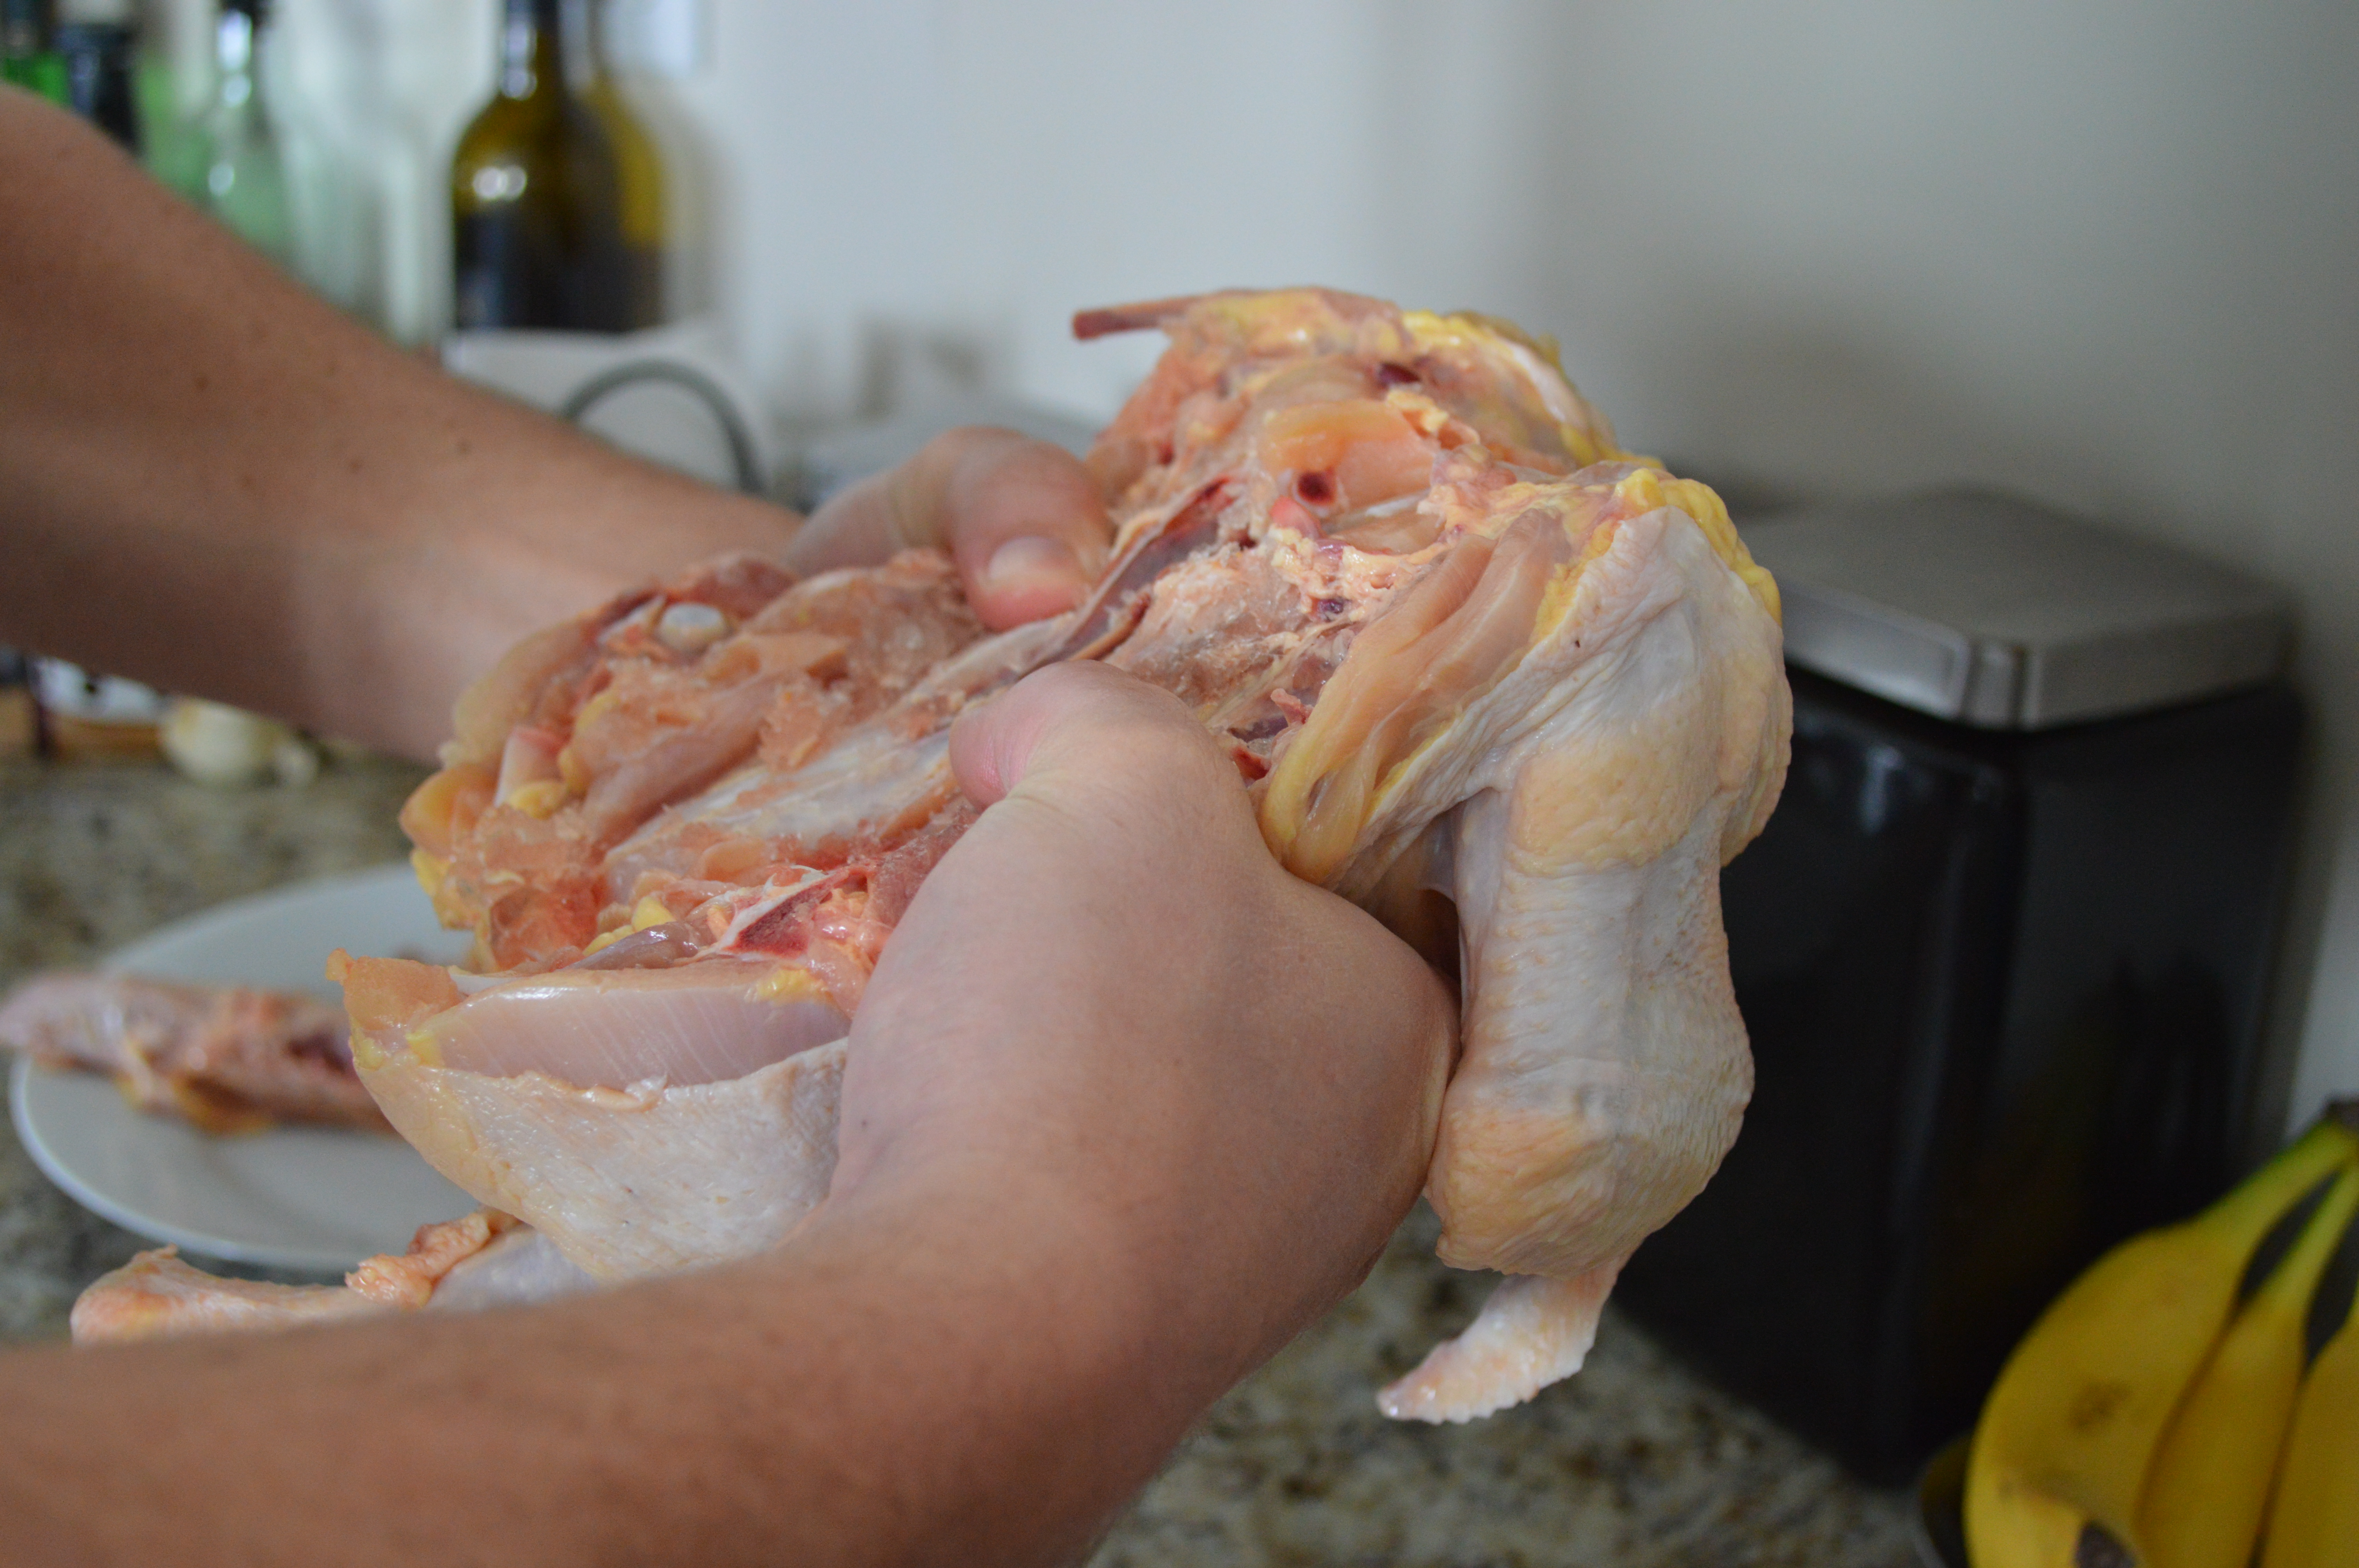
Make the same cut on the other side of the back bone and remove the spine.

Keep the chicken breast side down and make a small slice in the skin and cartilige by the neck. Fold the chicken back and forth in order to snap the breastbone.
Remove the “Keel” bone. This is the bone located inbetween the rib bones.
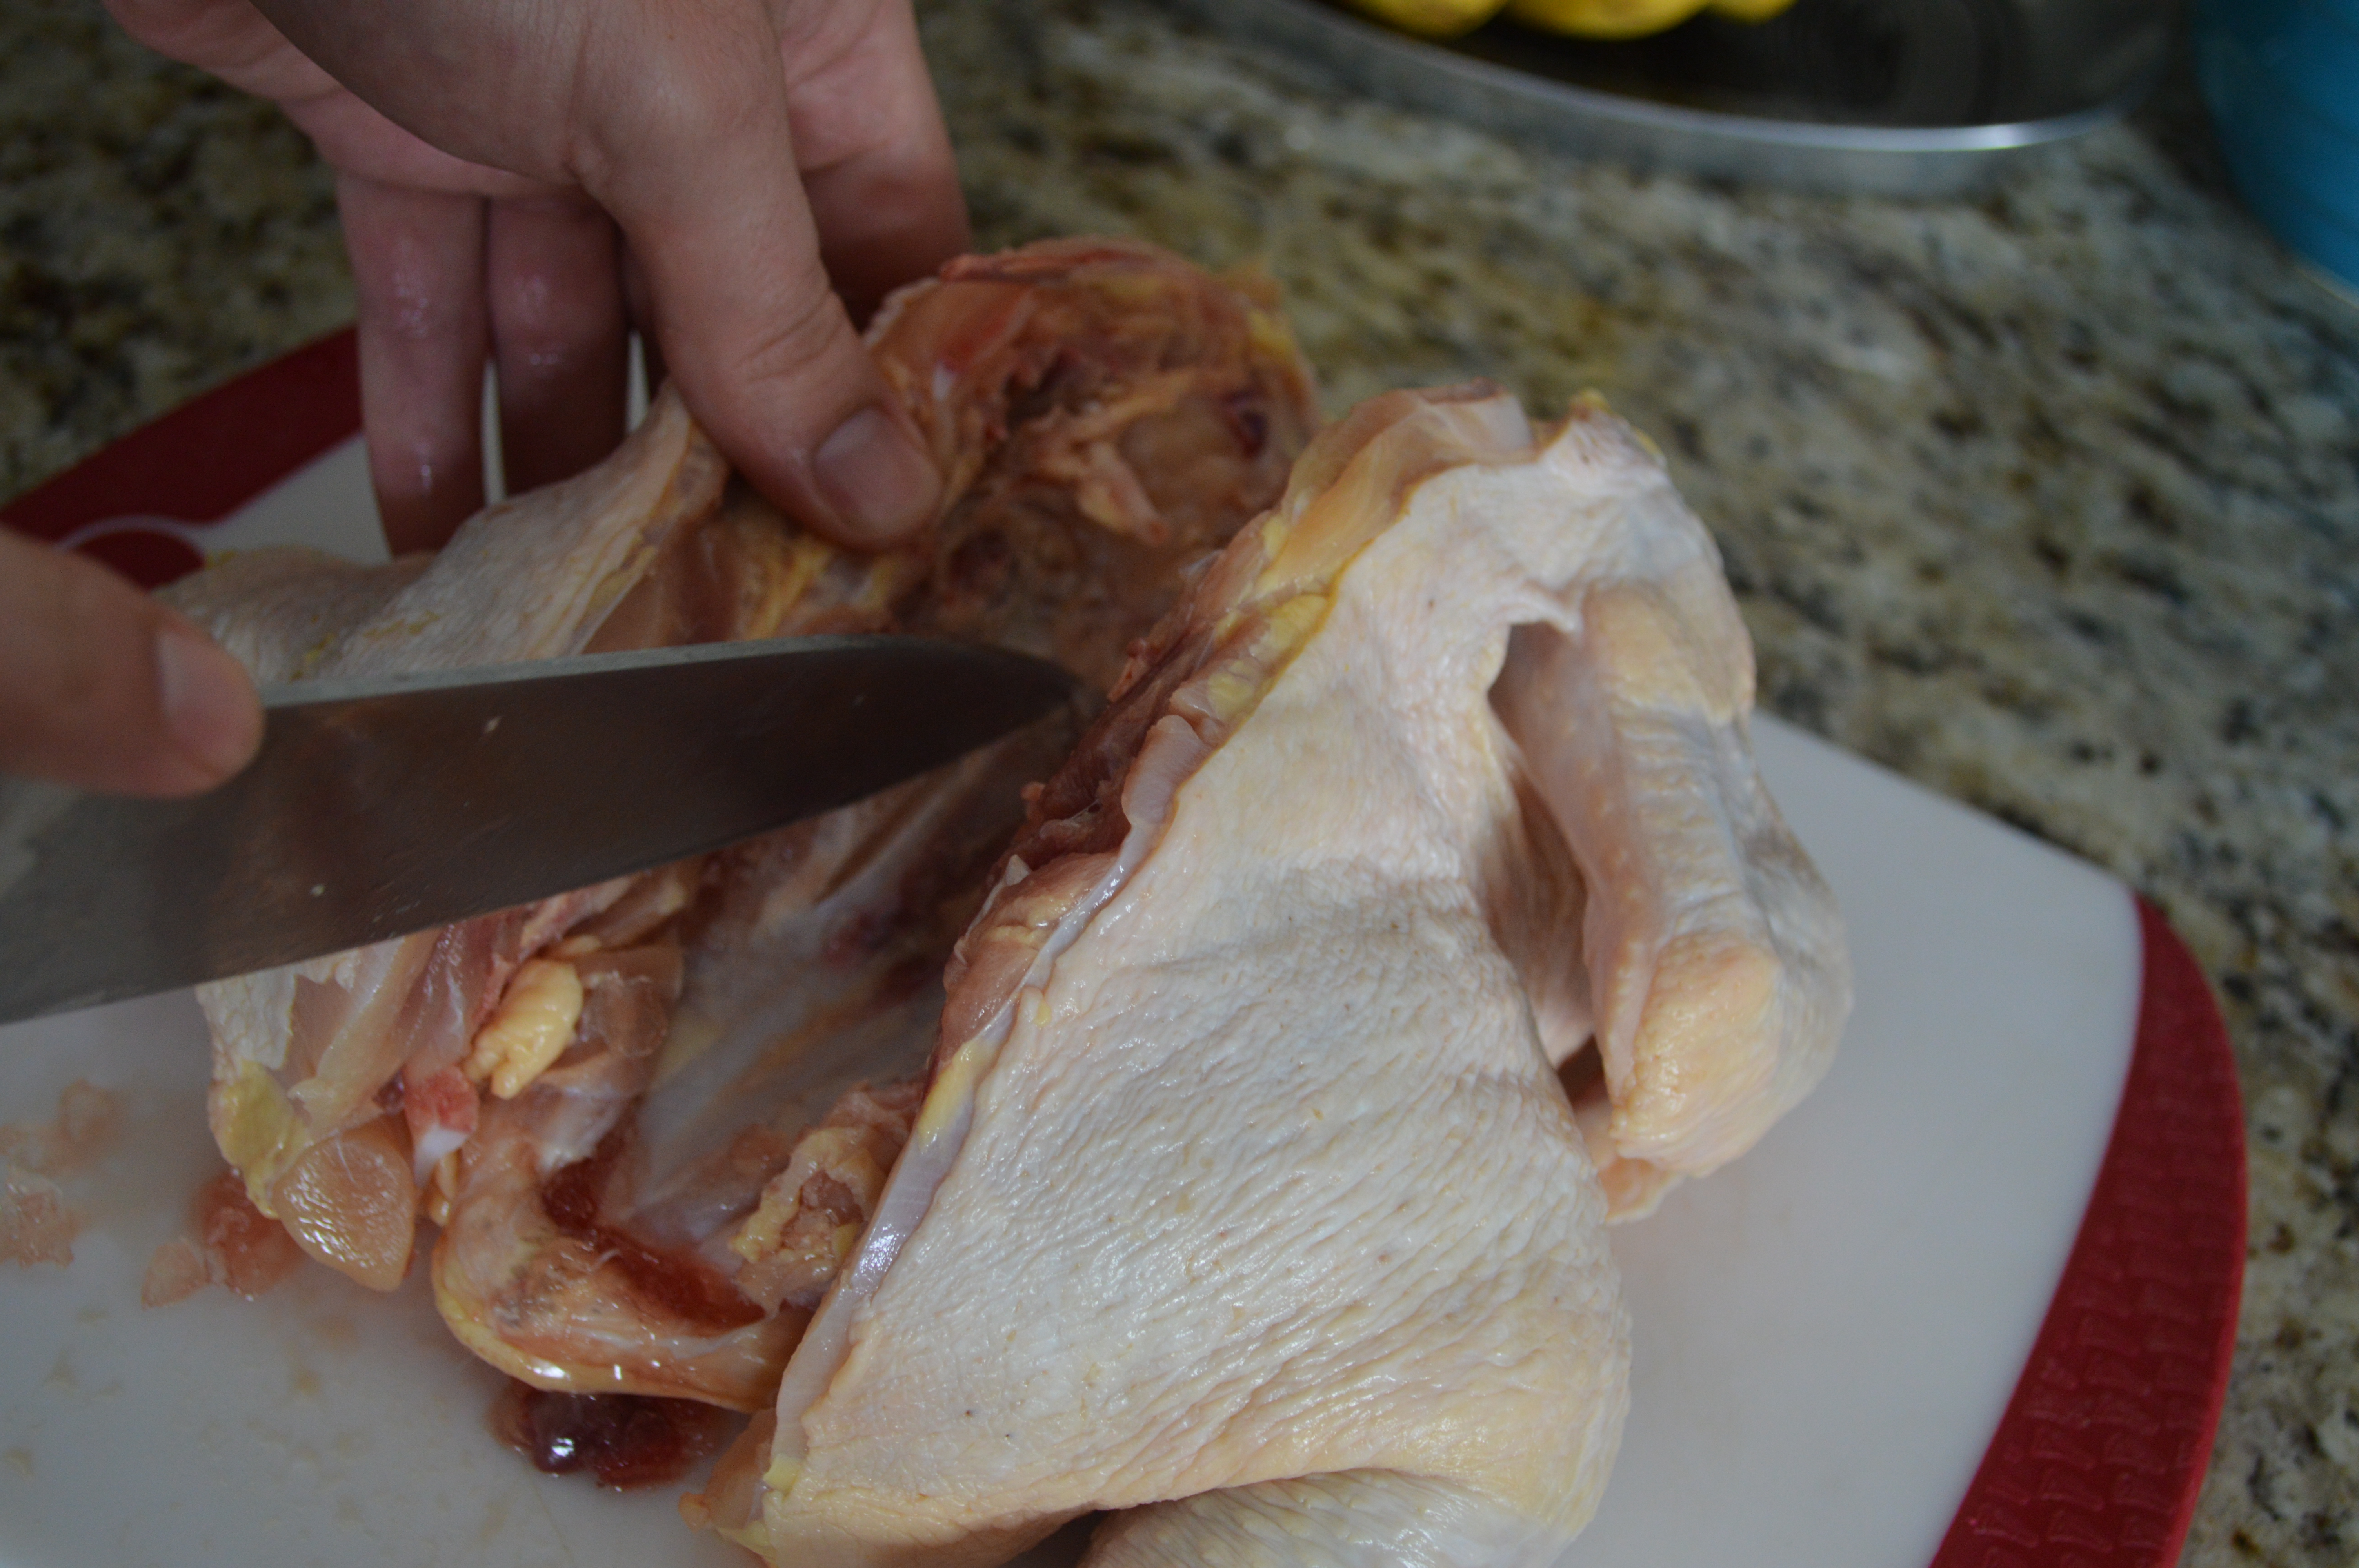
Cut off any cartilige on the breastbone. Once removed, cut the bird in two down the middle of the breast.
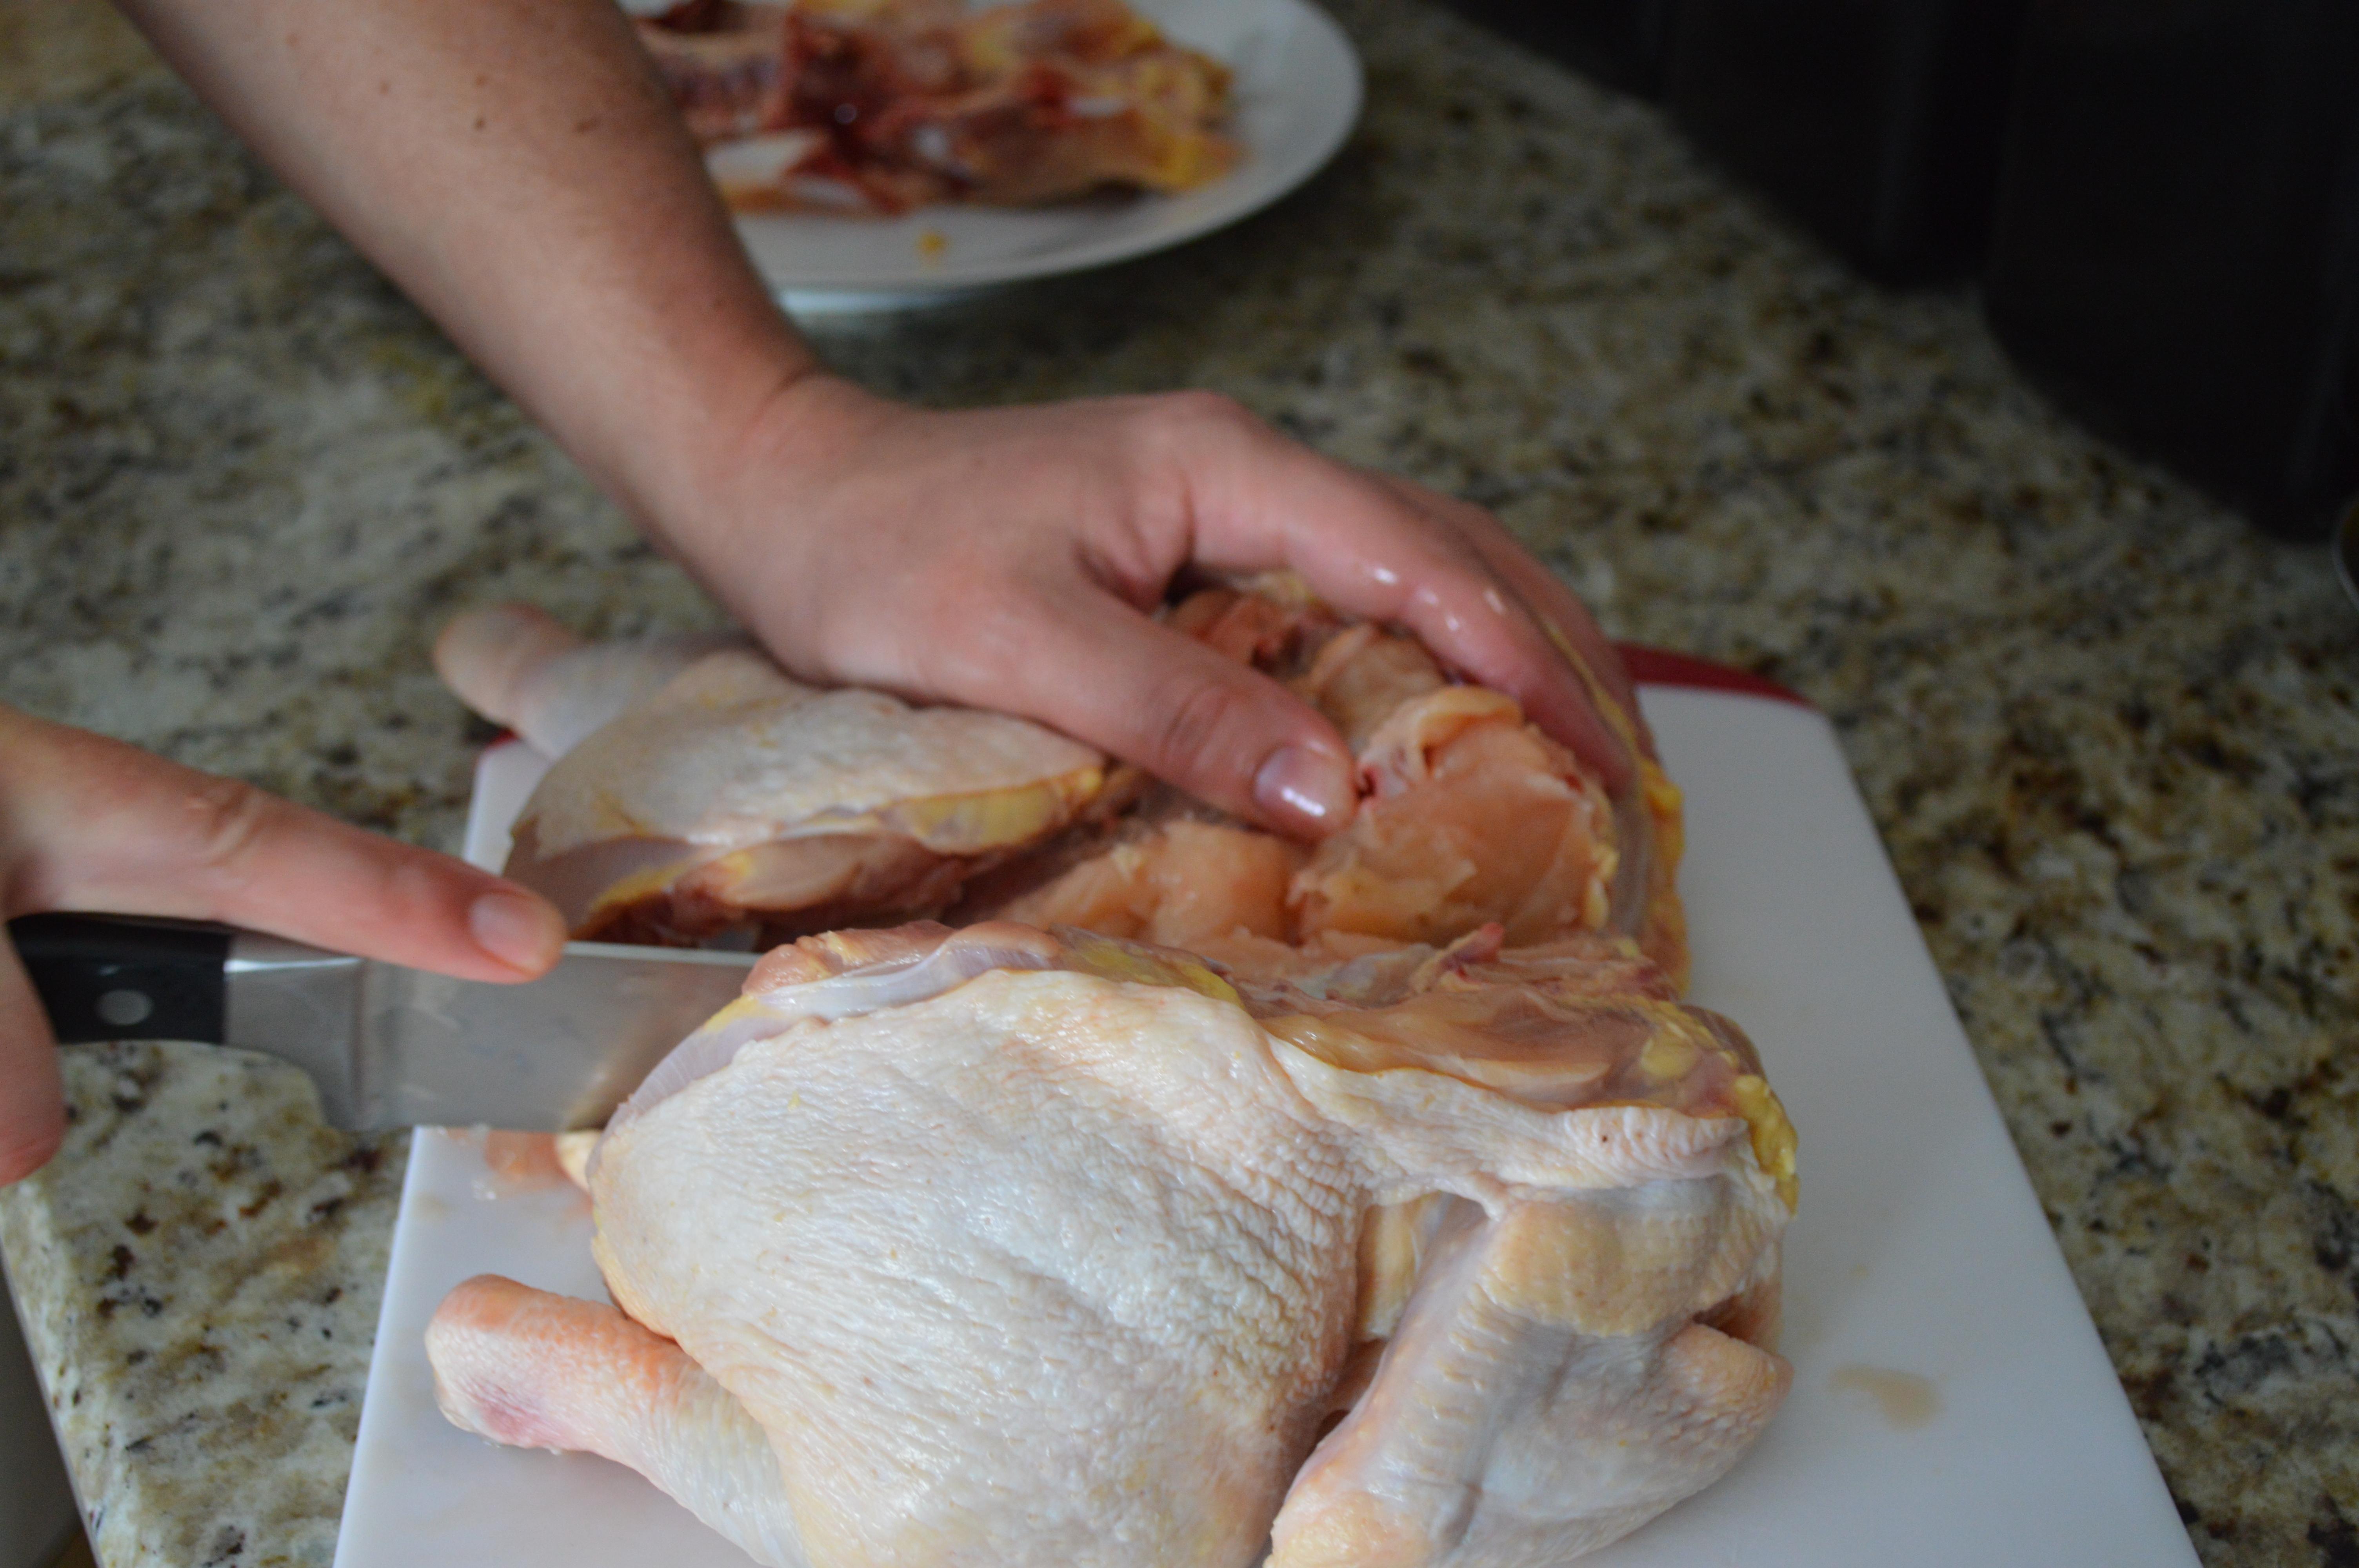
Make a small slice in the skin to tuck in the leg.

Ta-Da… Done!
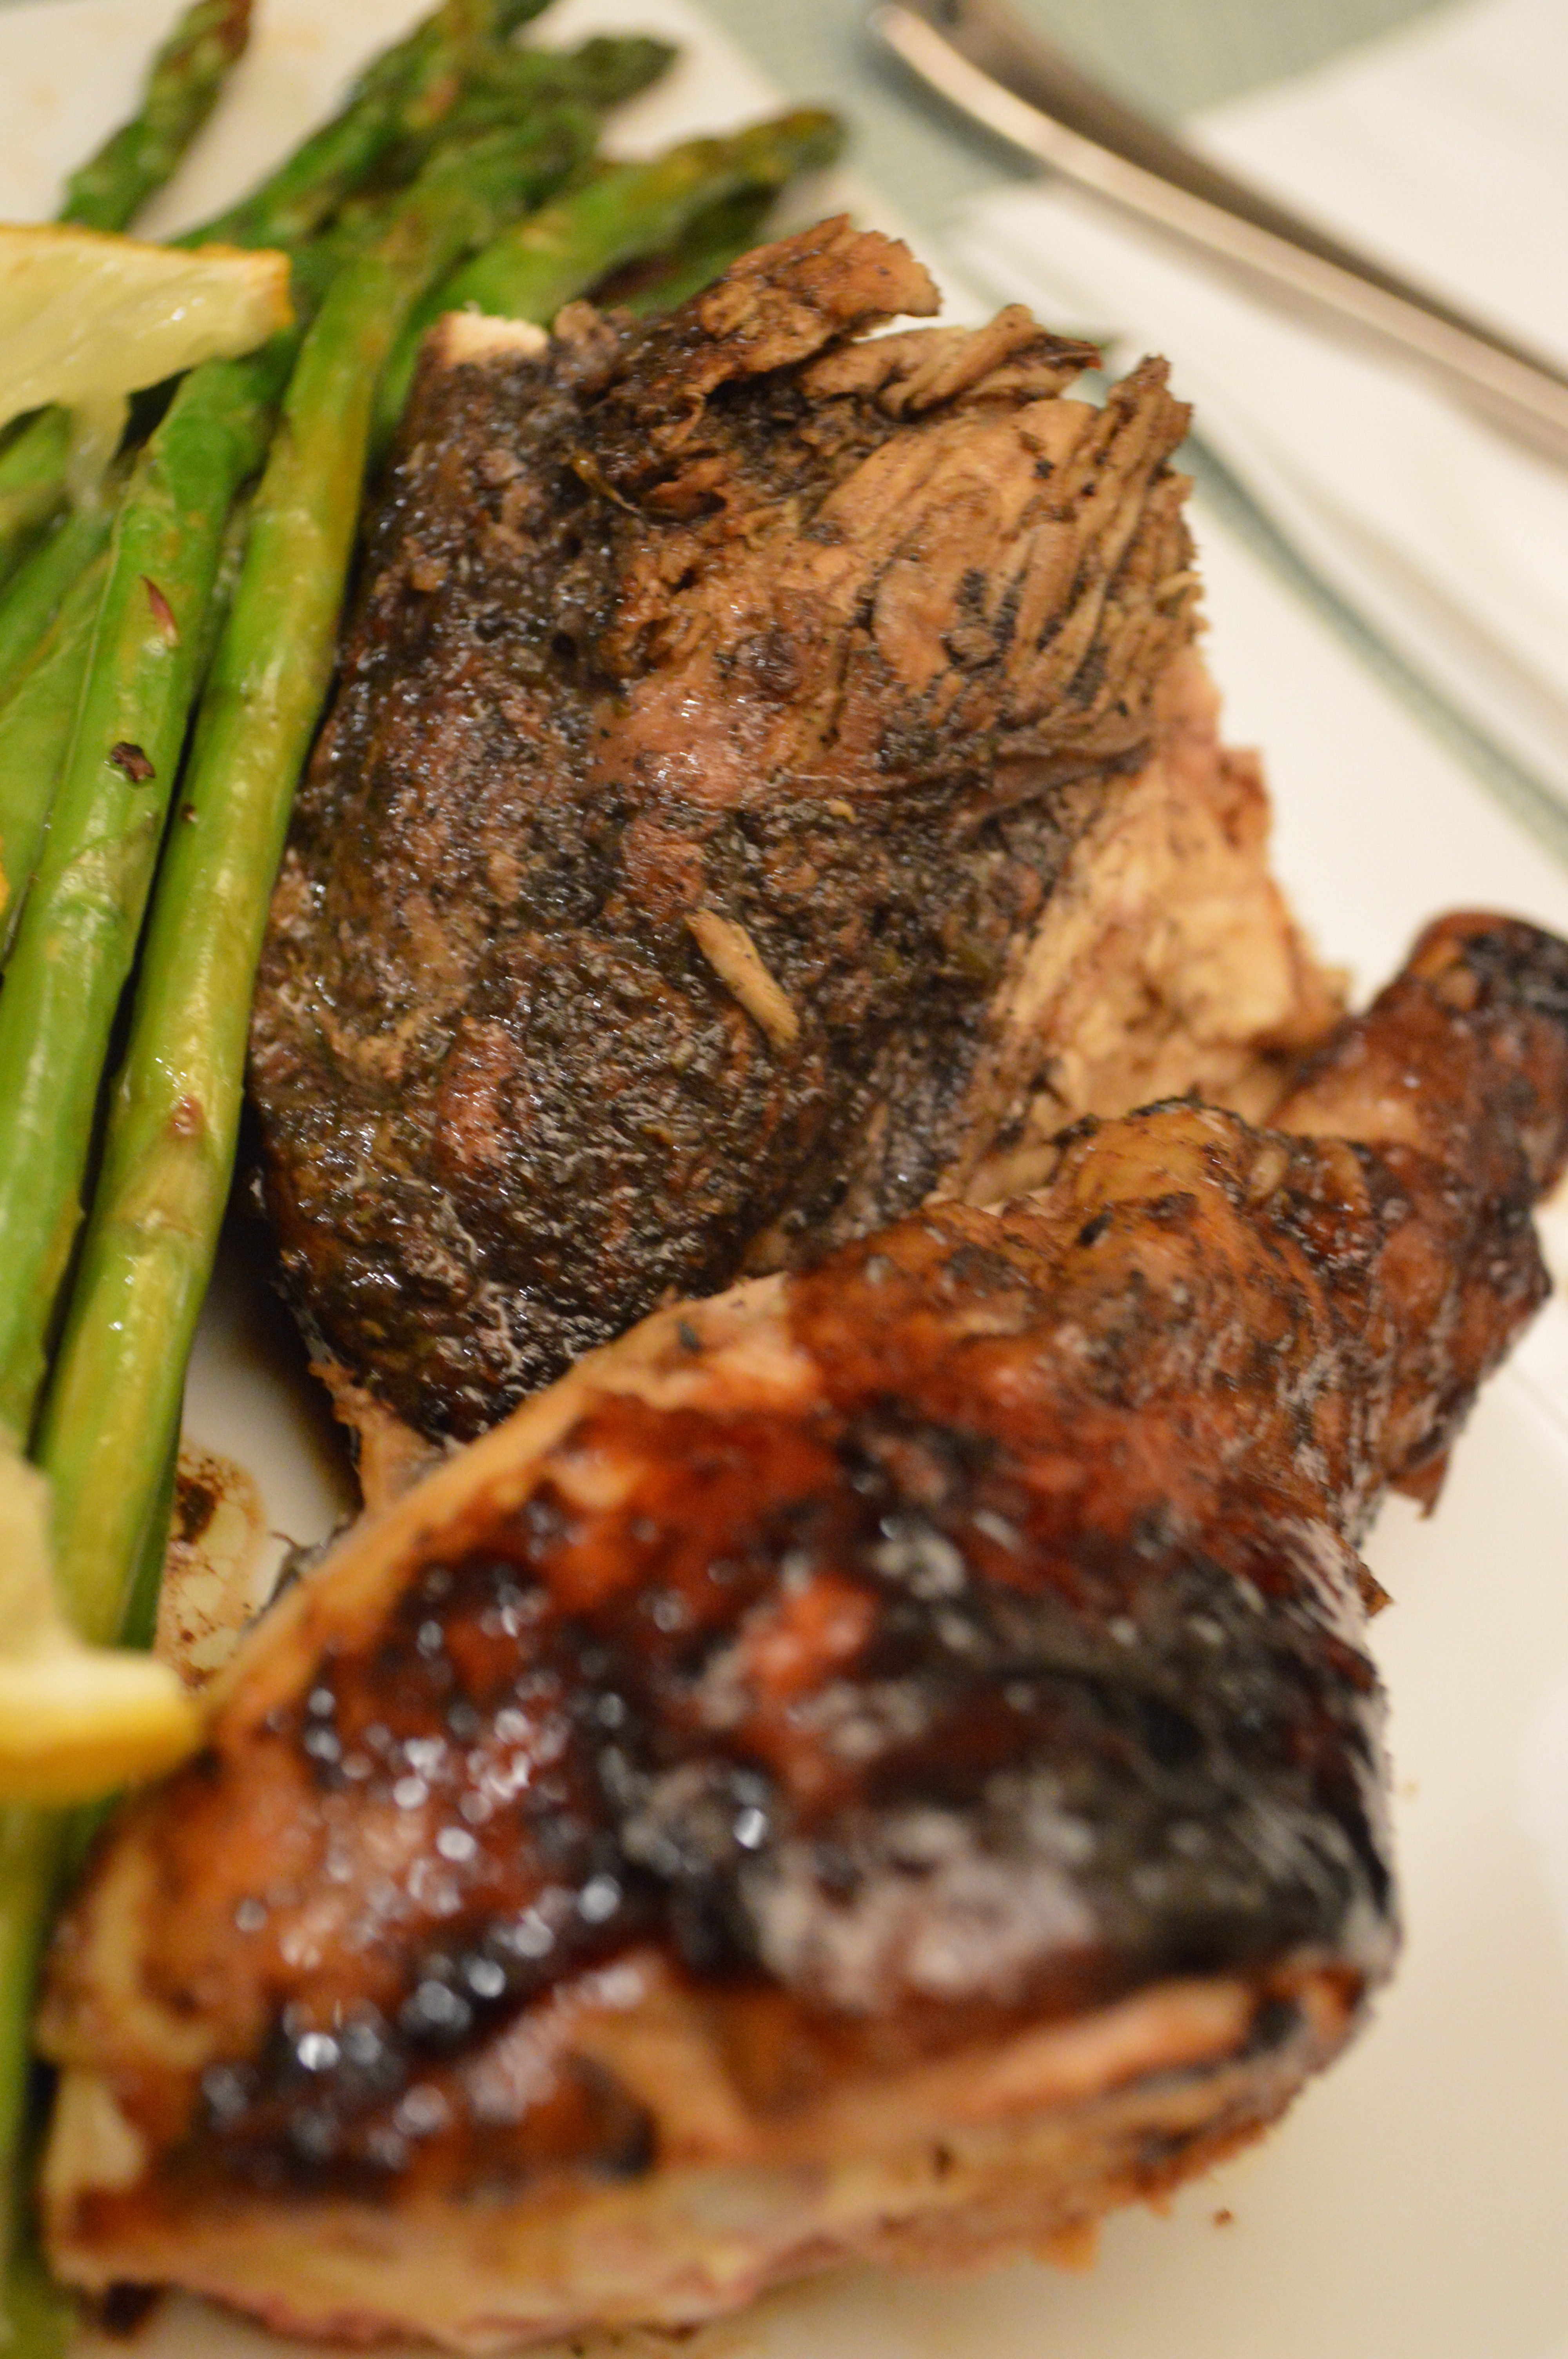
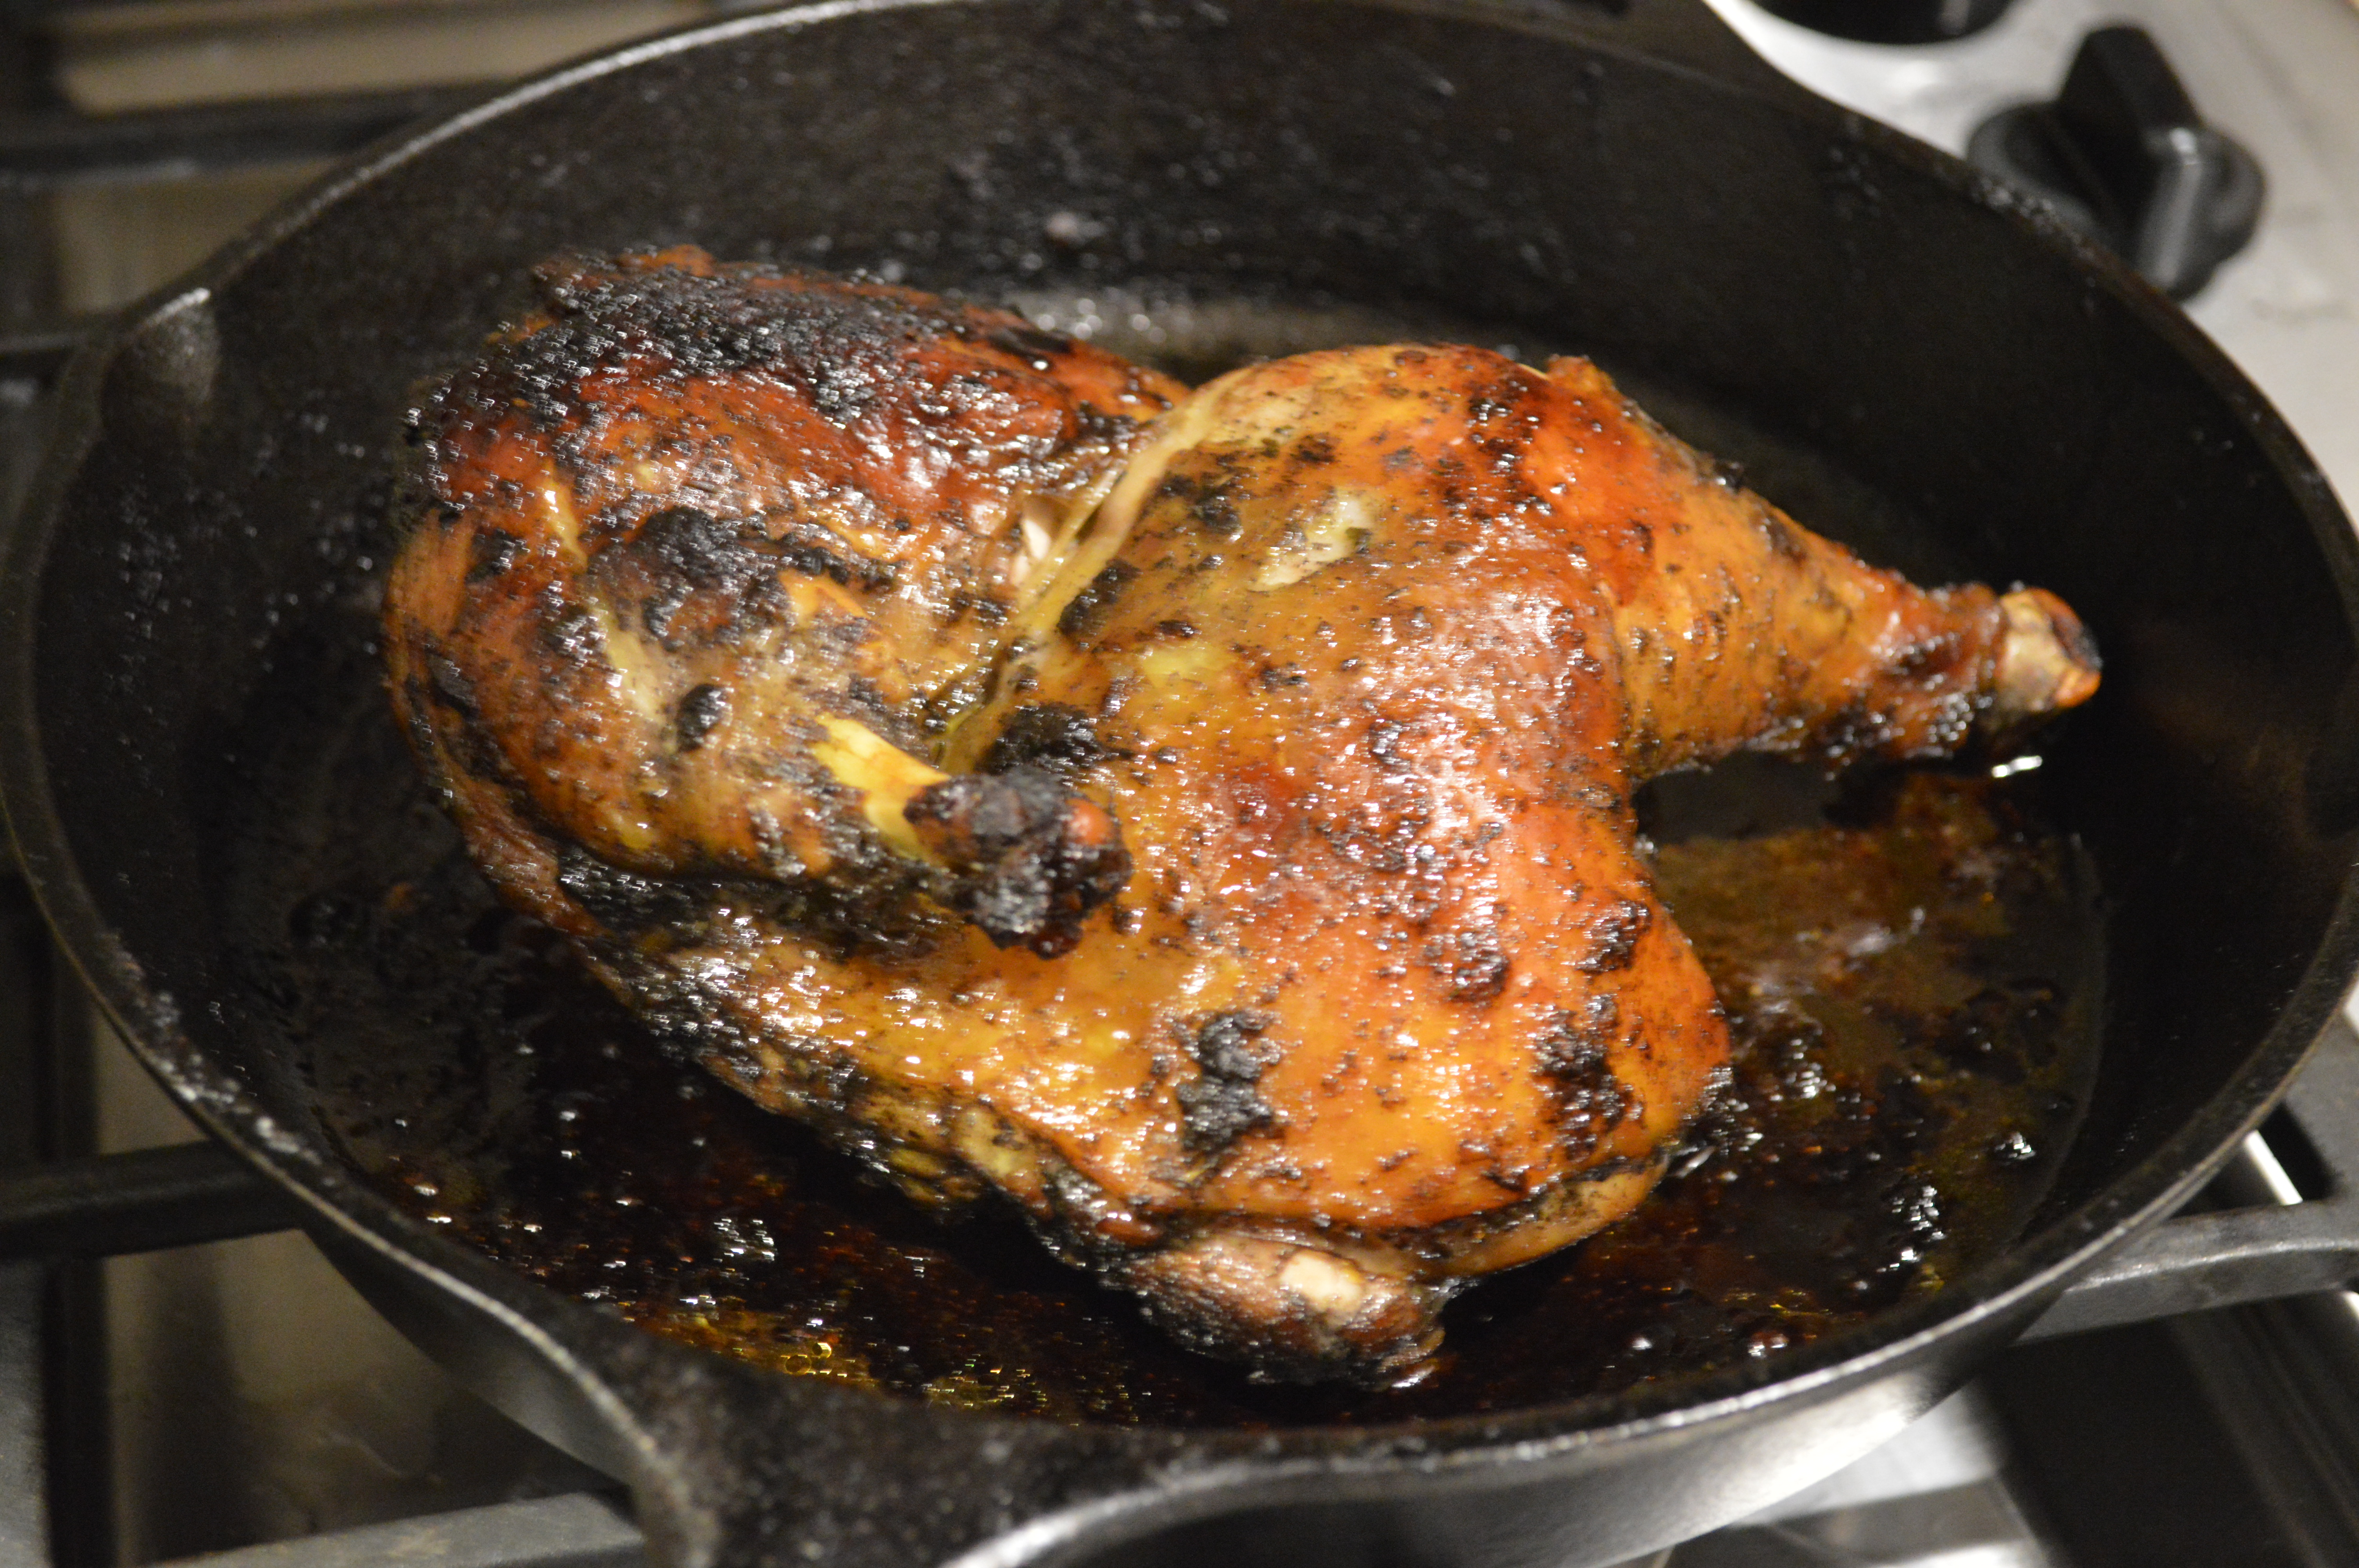
With the first chicken half, we made Jerk Chicken.
We were in Jamaica the last week of Janaury and were welcomed back to the midwest by major snow storms and bitter cold. So, a couple nights ago, I picked up a six pack of Red Stripes and decided to make the quintessential Jamaican entrée.

Soaking up the sun!
My goal was to pretend like we were on the island, but once I put the chicken in the skillet, I didn’t have to pretend. My whole kitchen smelled like Jamaica. Yah, mon!
1 habanero pepper, stem cut off
1 bunch scallions, but into pieces
2 cloves garlic smashed and peeled
1 ½ teaspoons dried thyme
2 tablespoons packed dark brown sugar
1 tablespoon allspice
2 tablespoons soy sauce
Juice of one lime
2 tablespoons of vegetbale oil
3 ½-4 pounds chicken pieces
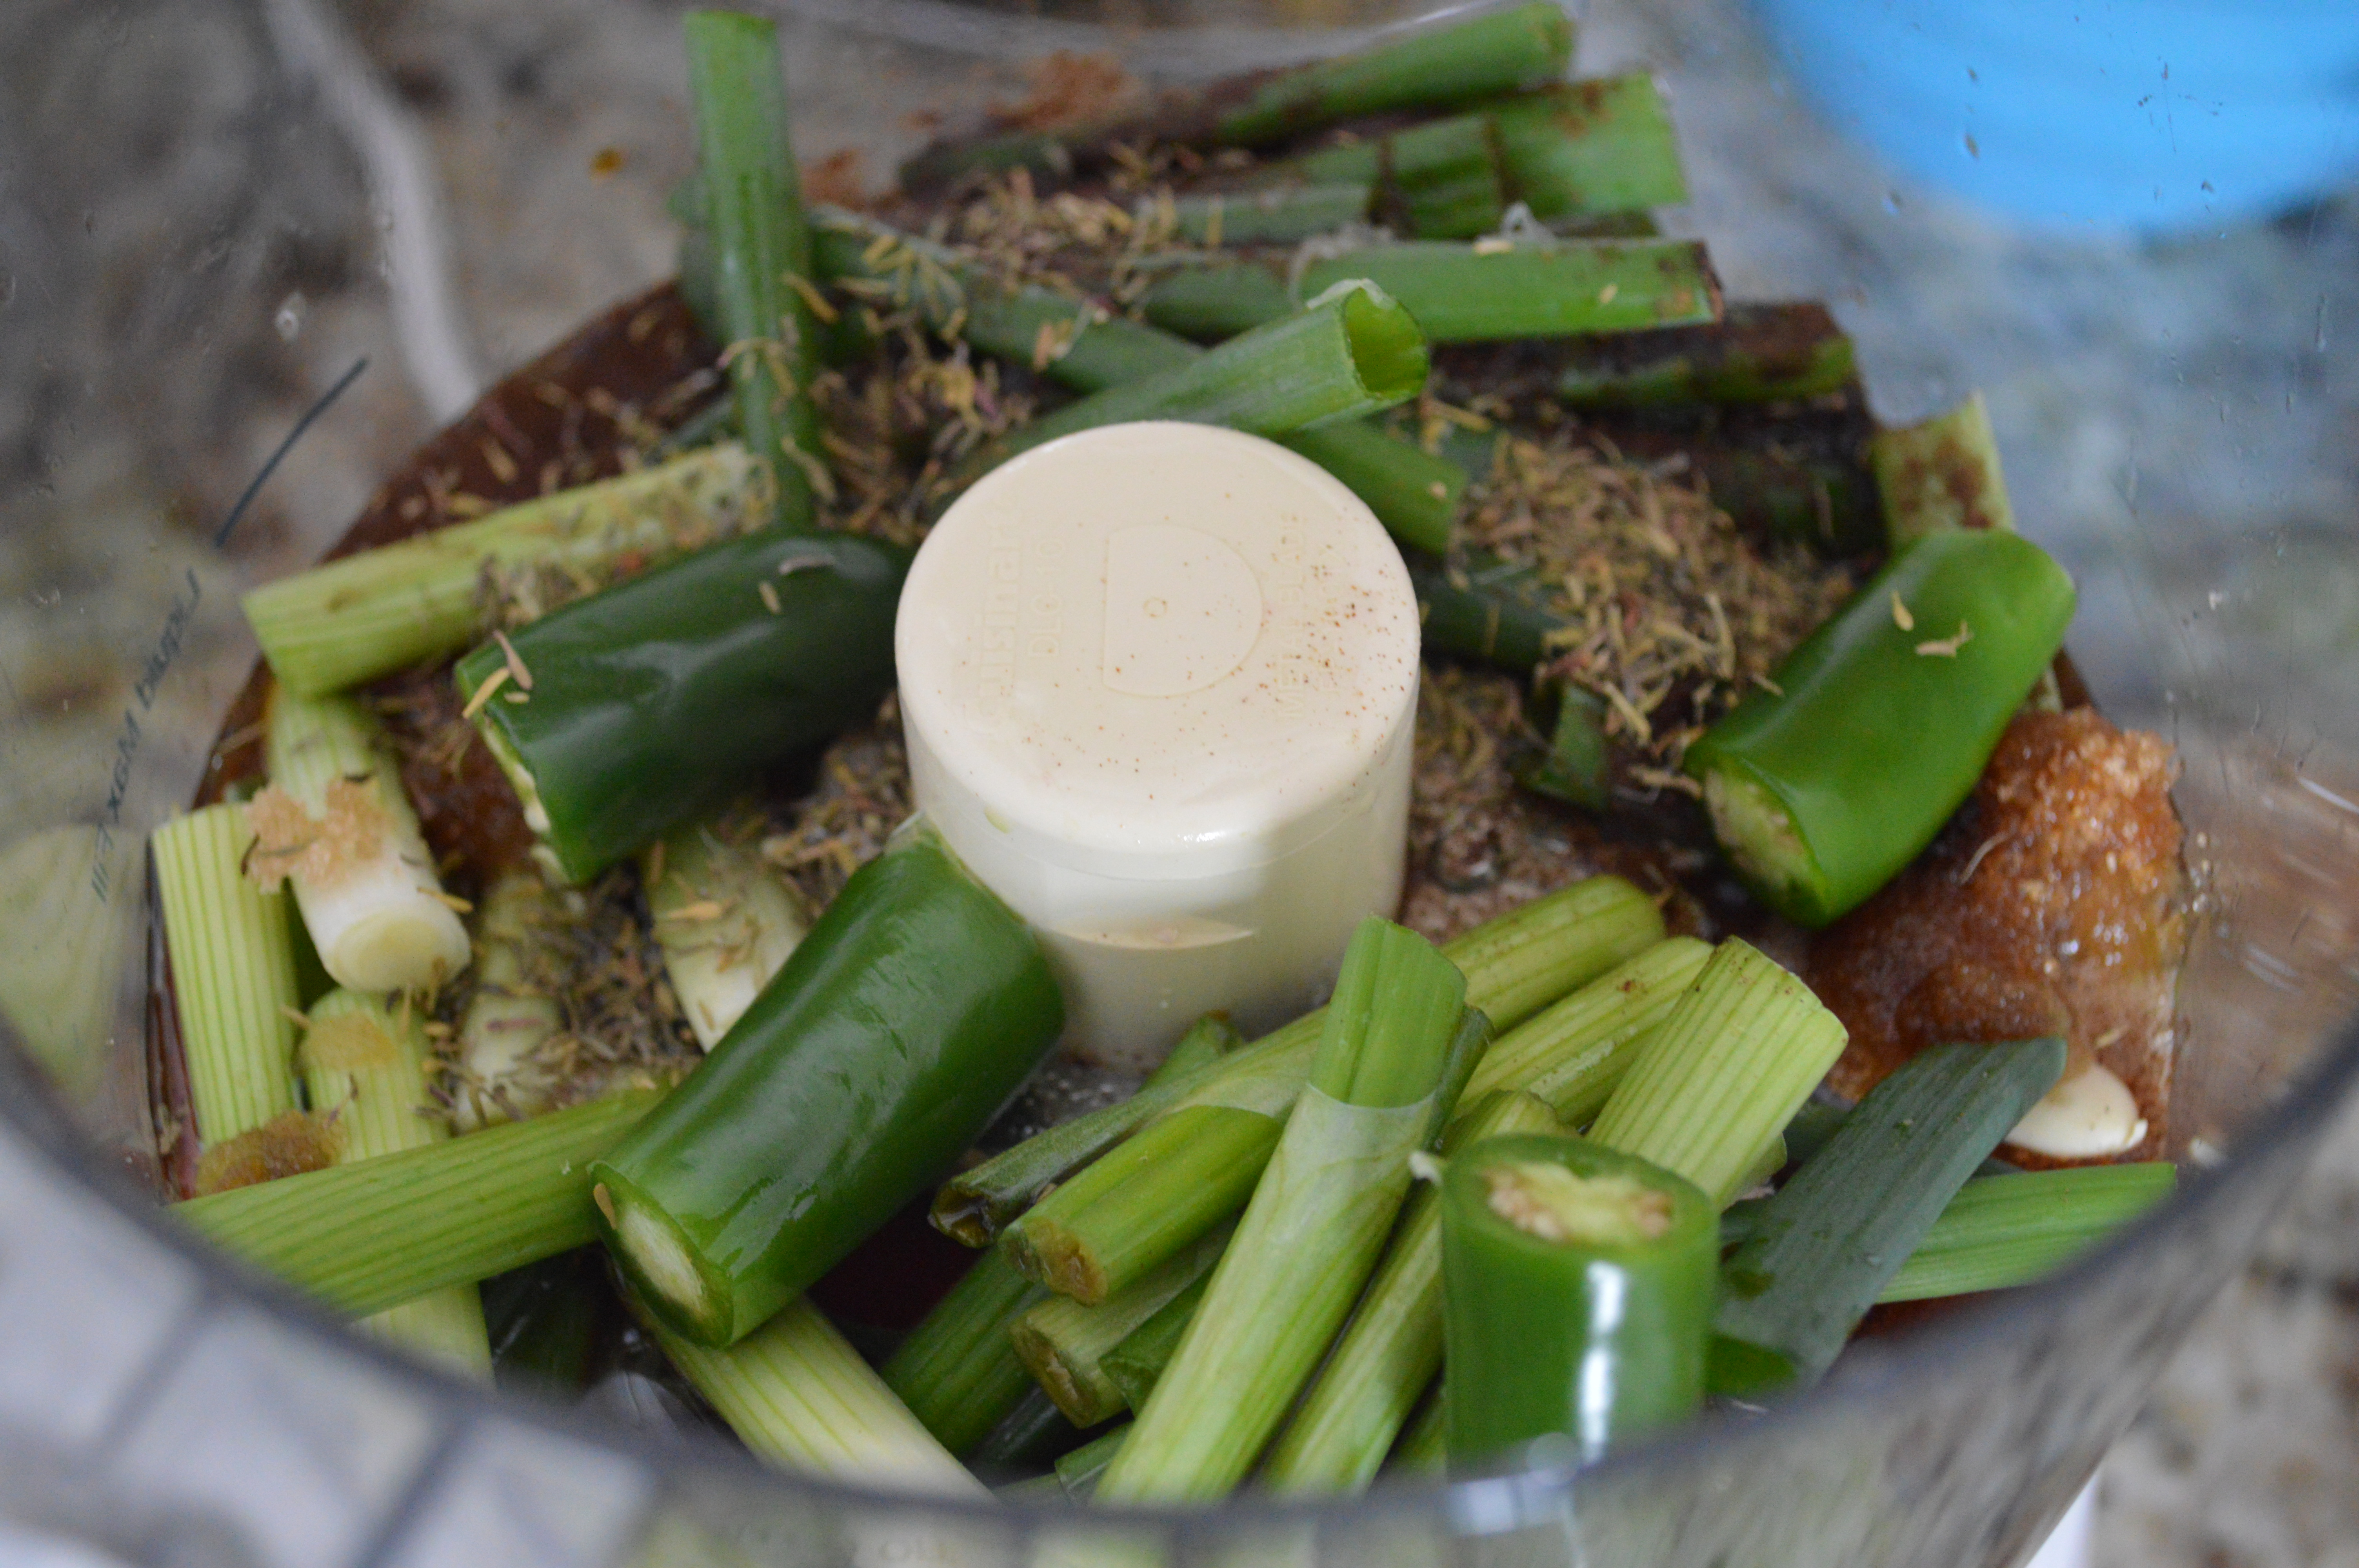
In a food processor, puree peppers, scallions, garlic, thyme, brown sugar, allspice, soy sauce, lime juice and oil.
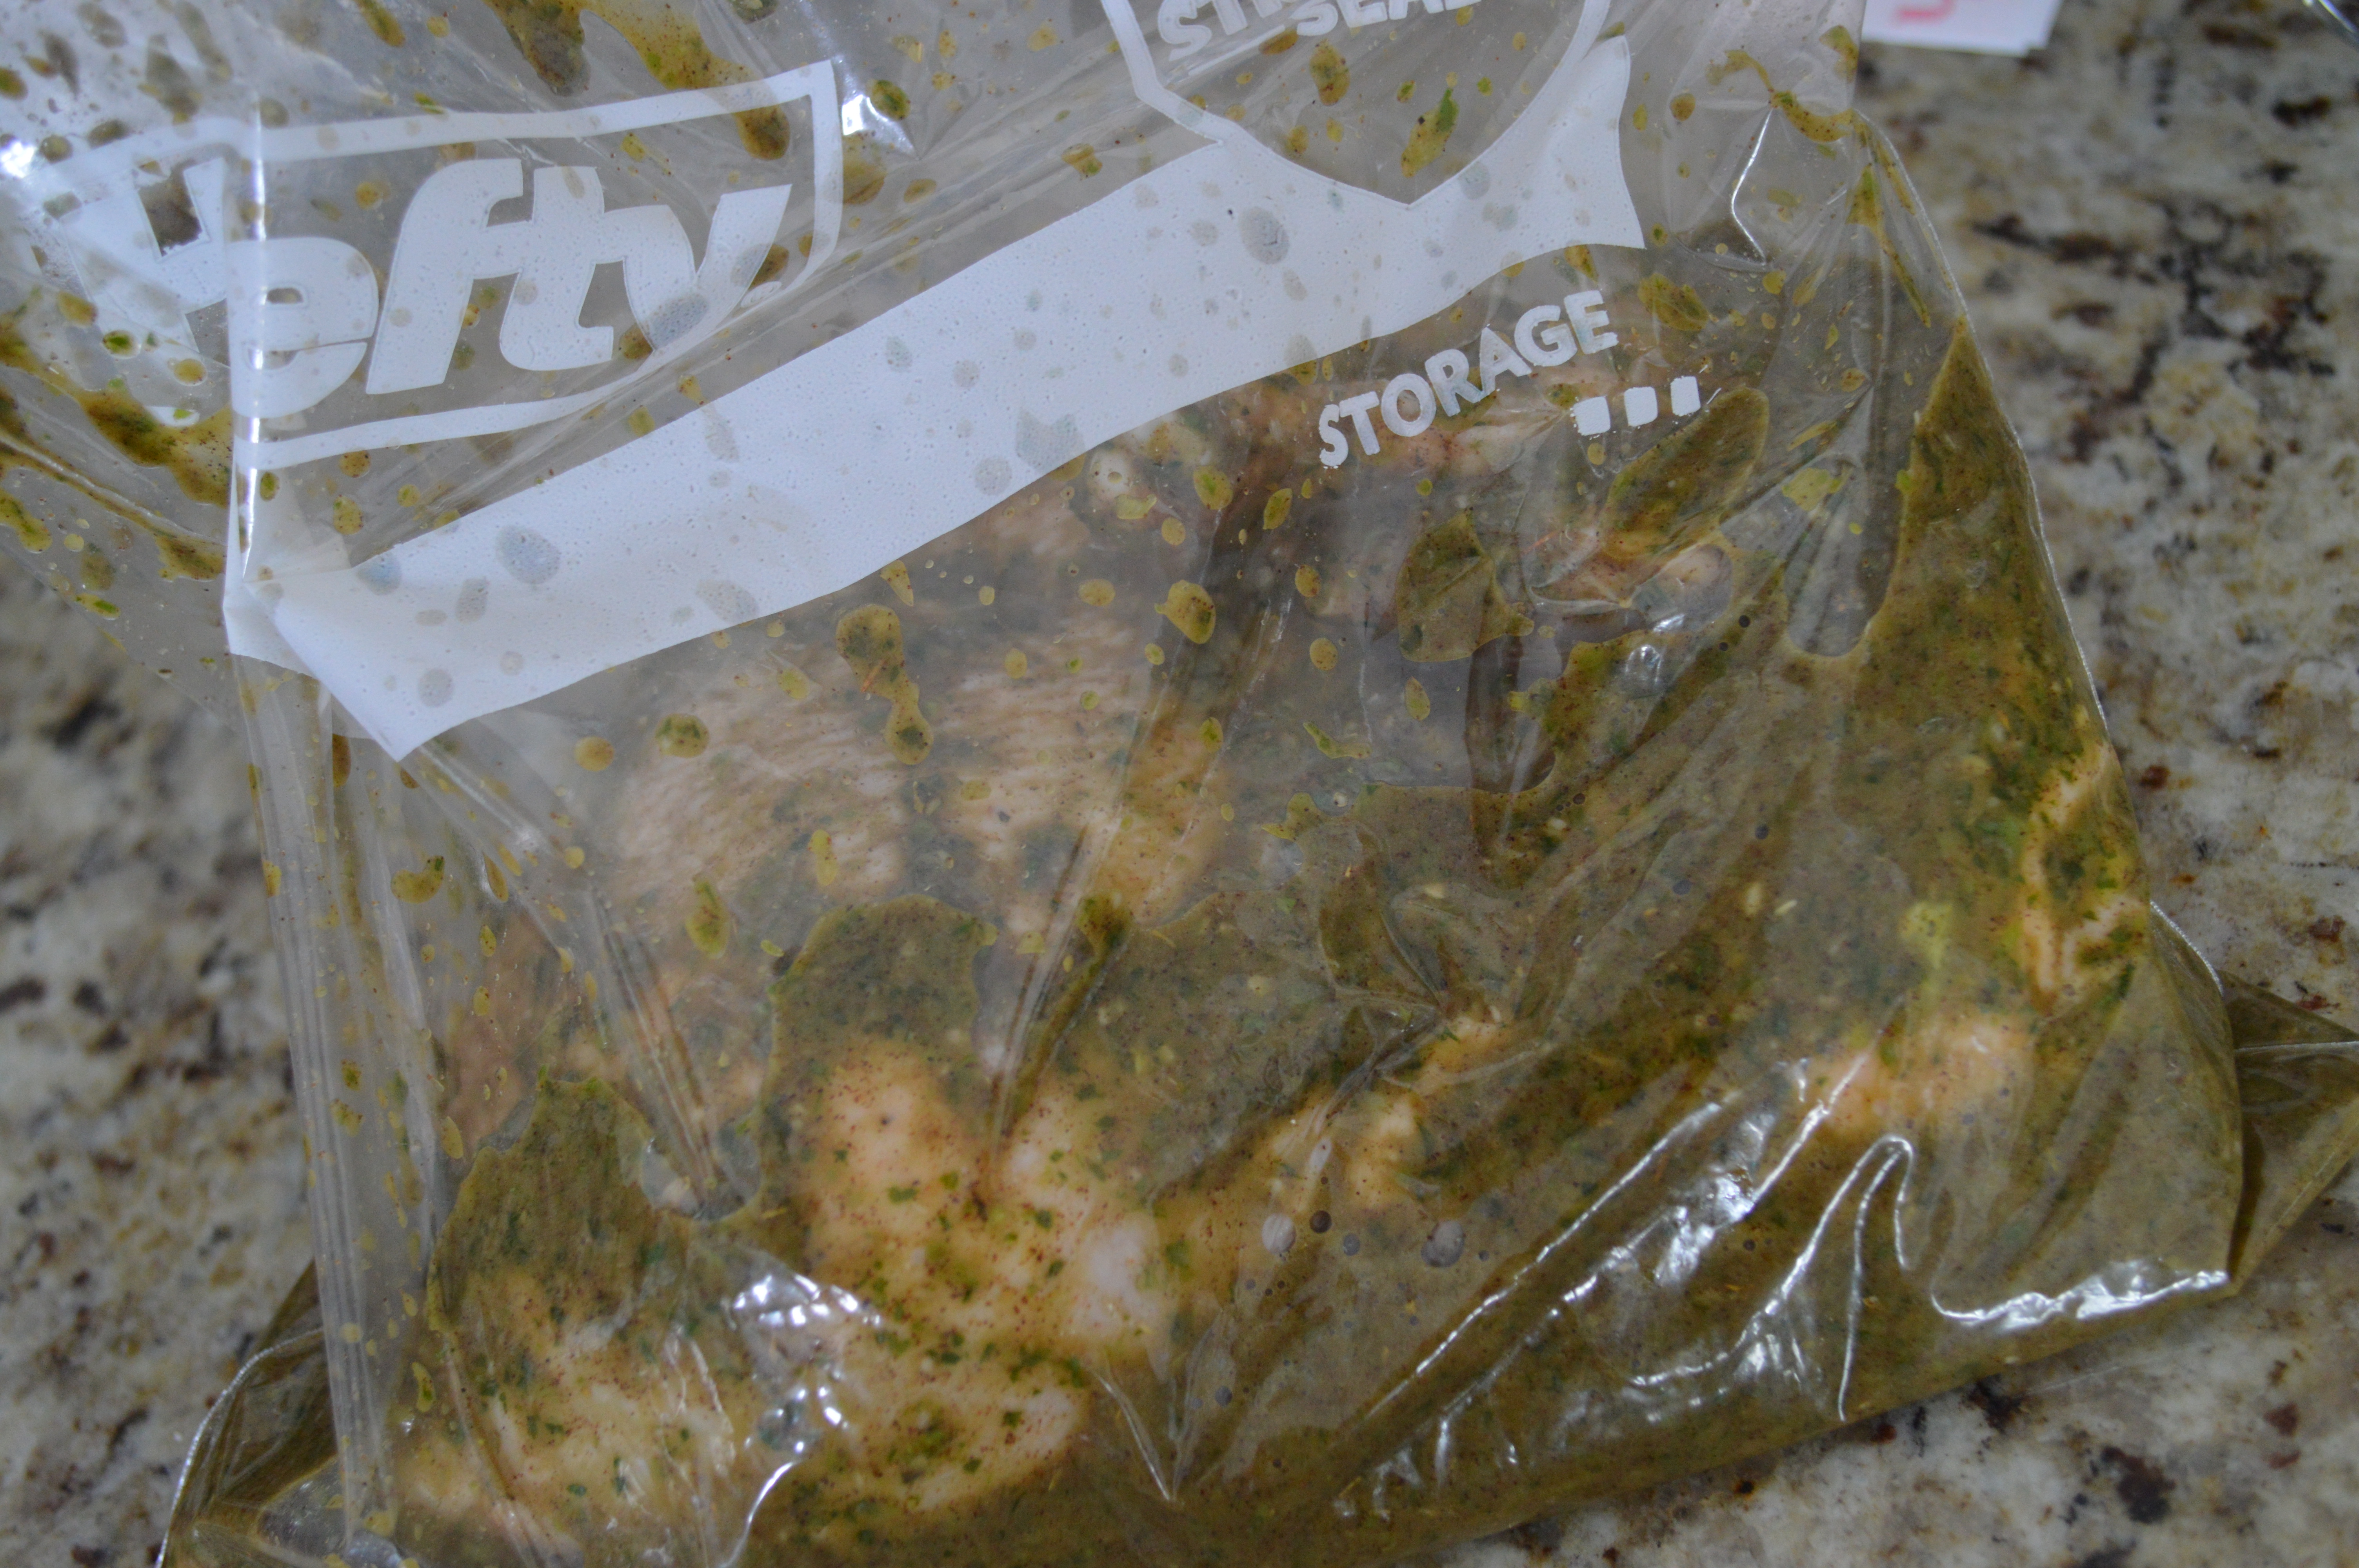
Put mixture into a large zip lock bag with the chicken pieces.
Let marinate in the refridgerator for at least one hour or up to twenty four hours.
Grill until cooked through or sear on the stove in a skillet that can go in the oven and move into the oven for thiry minutes, until the chicken is cooked through. Use oil or spray to prevent sticking before cooking.
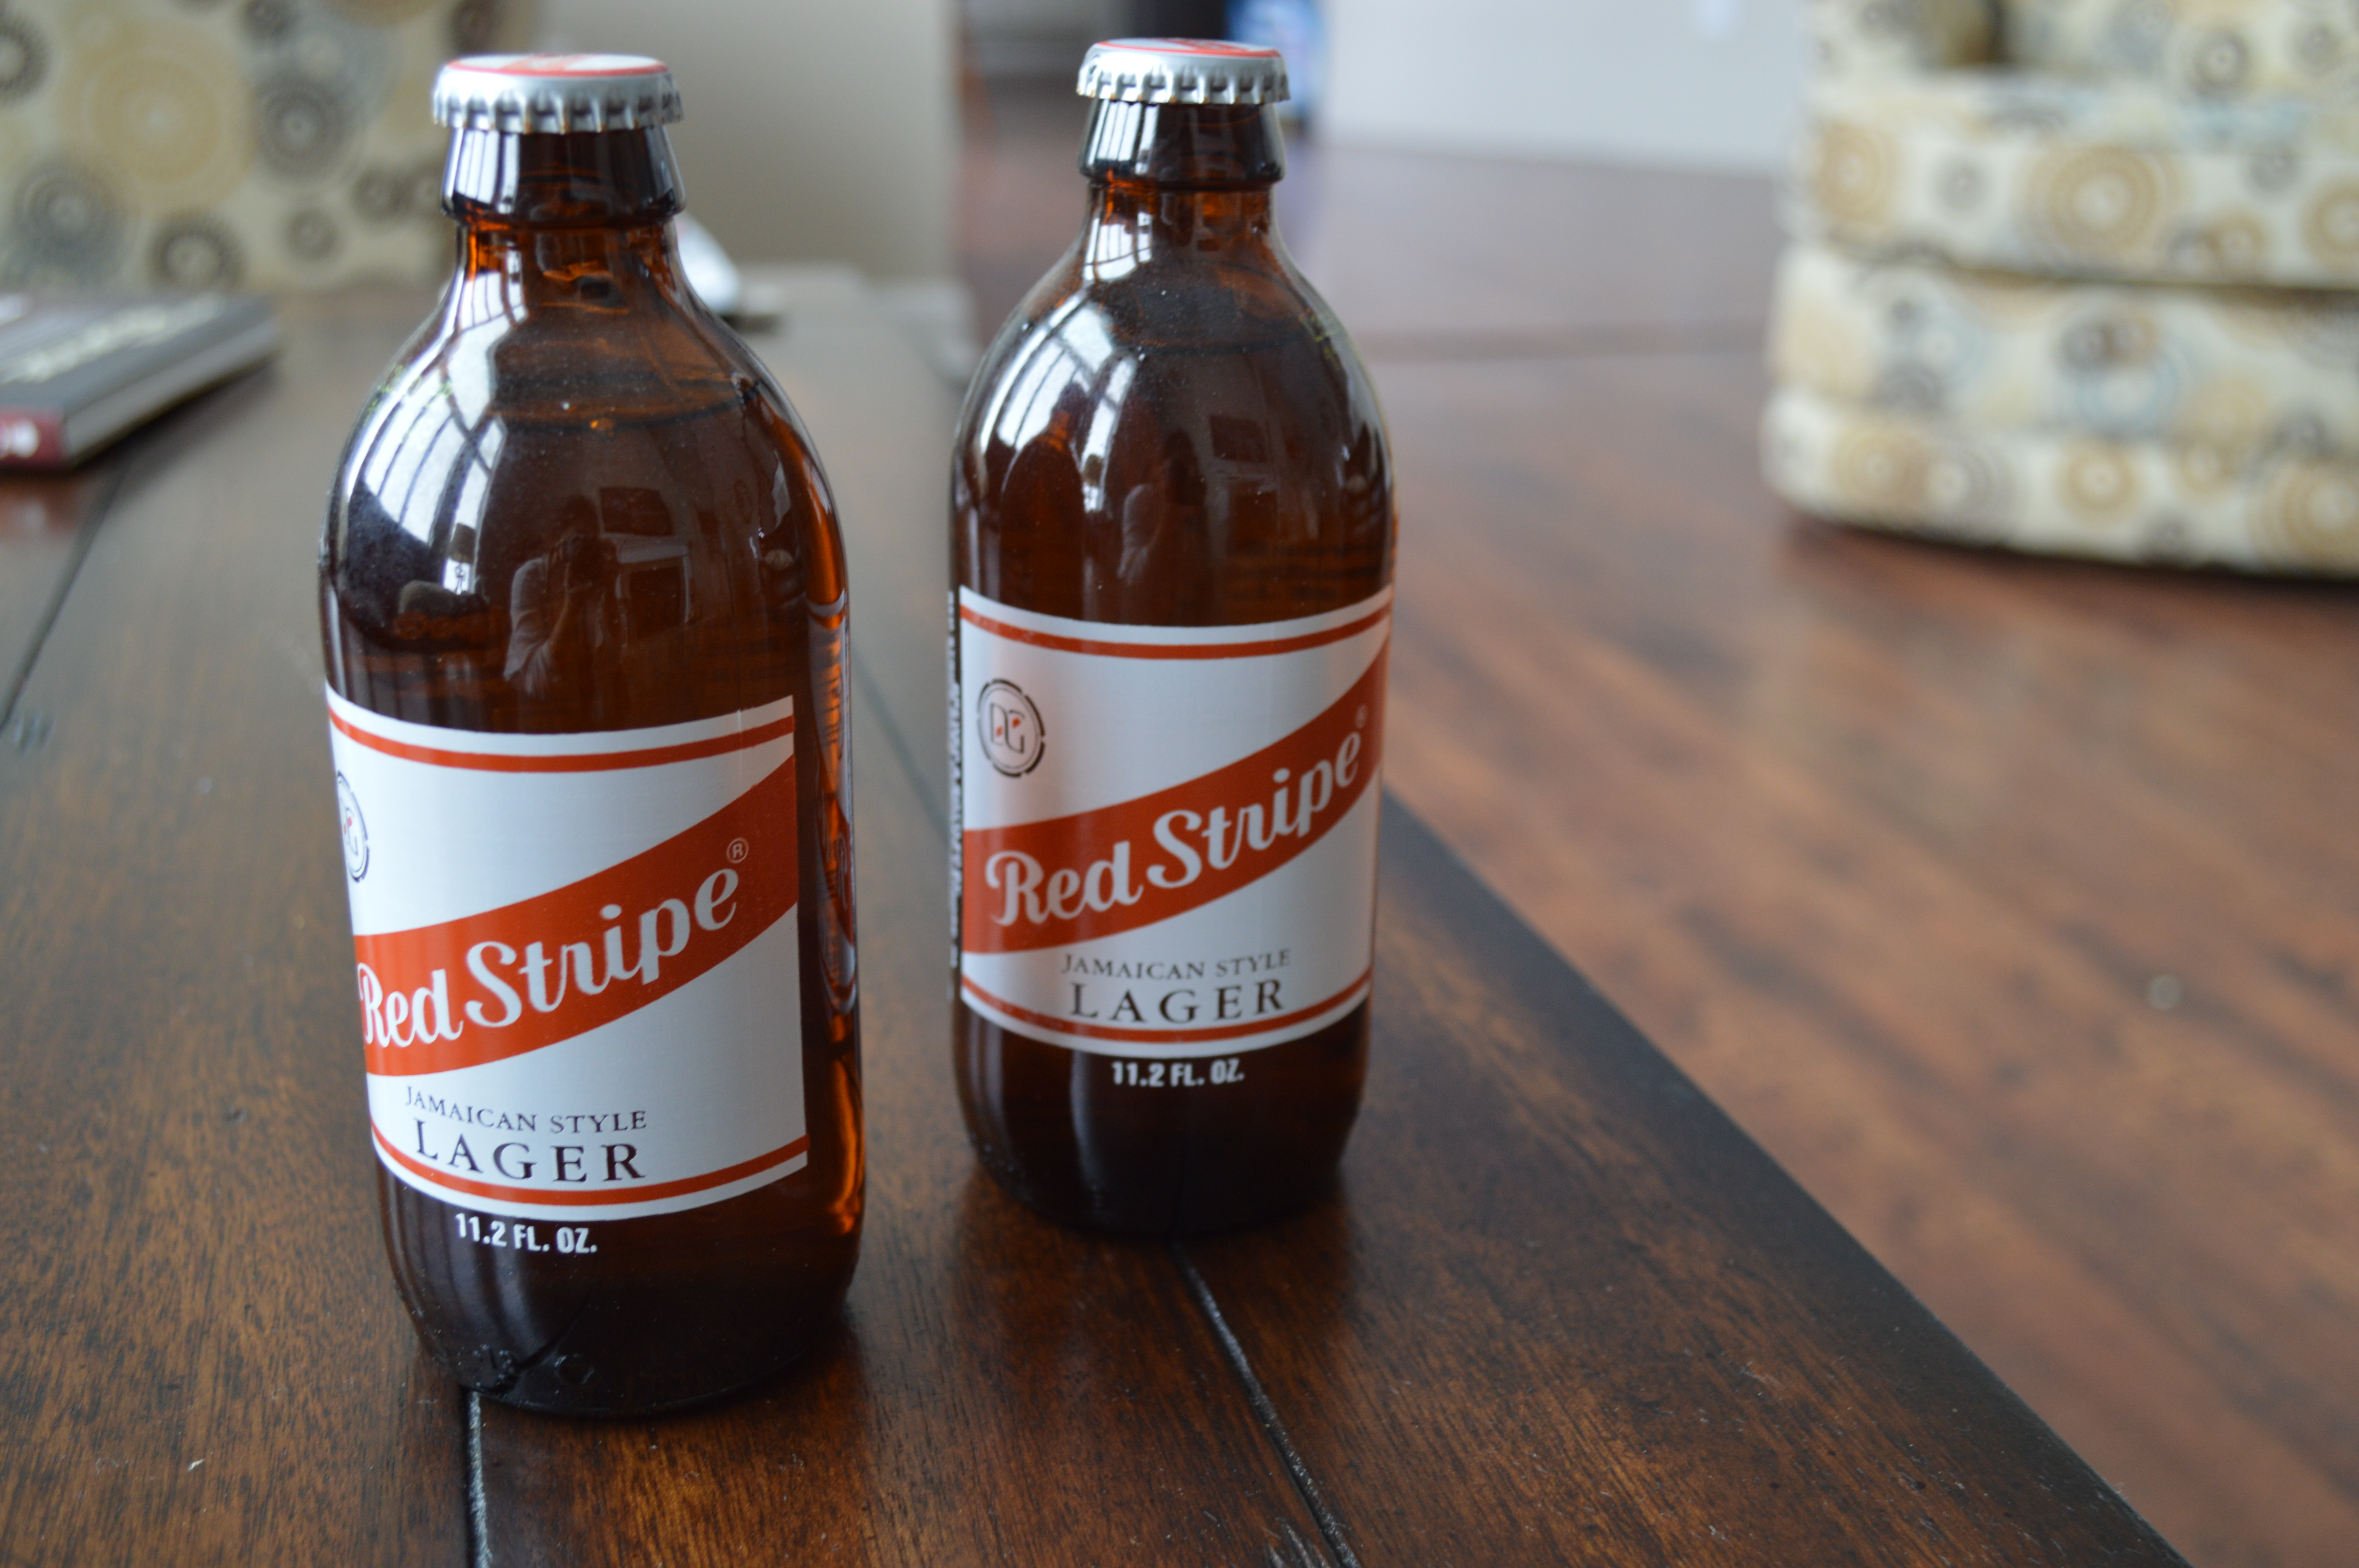
If your going to have Jerk Chicken, you’ve gotta have some Red Stripe’s to wash it down!
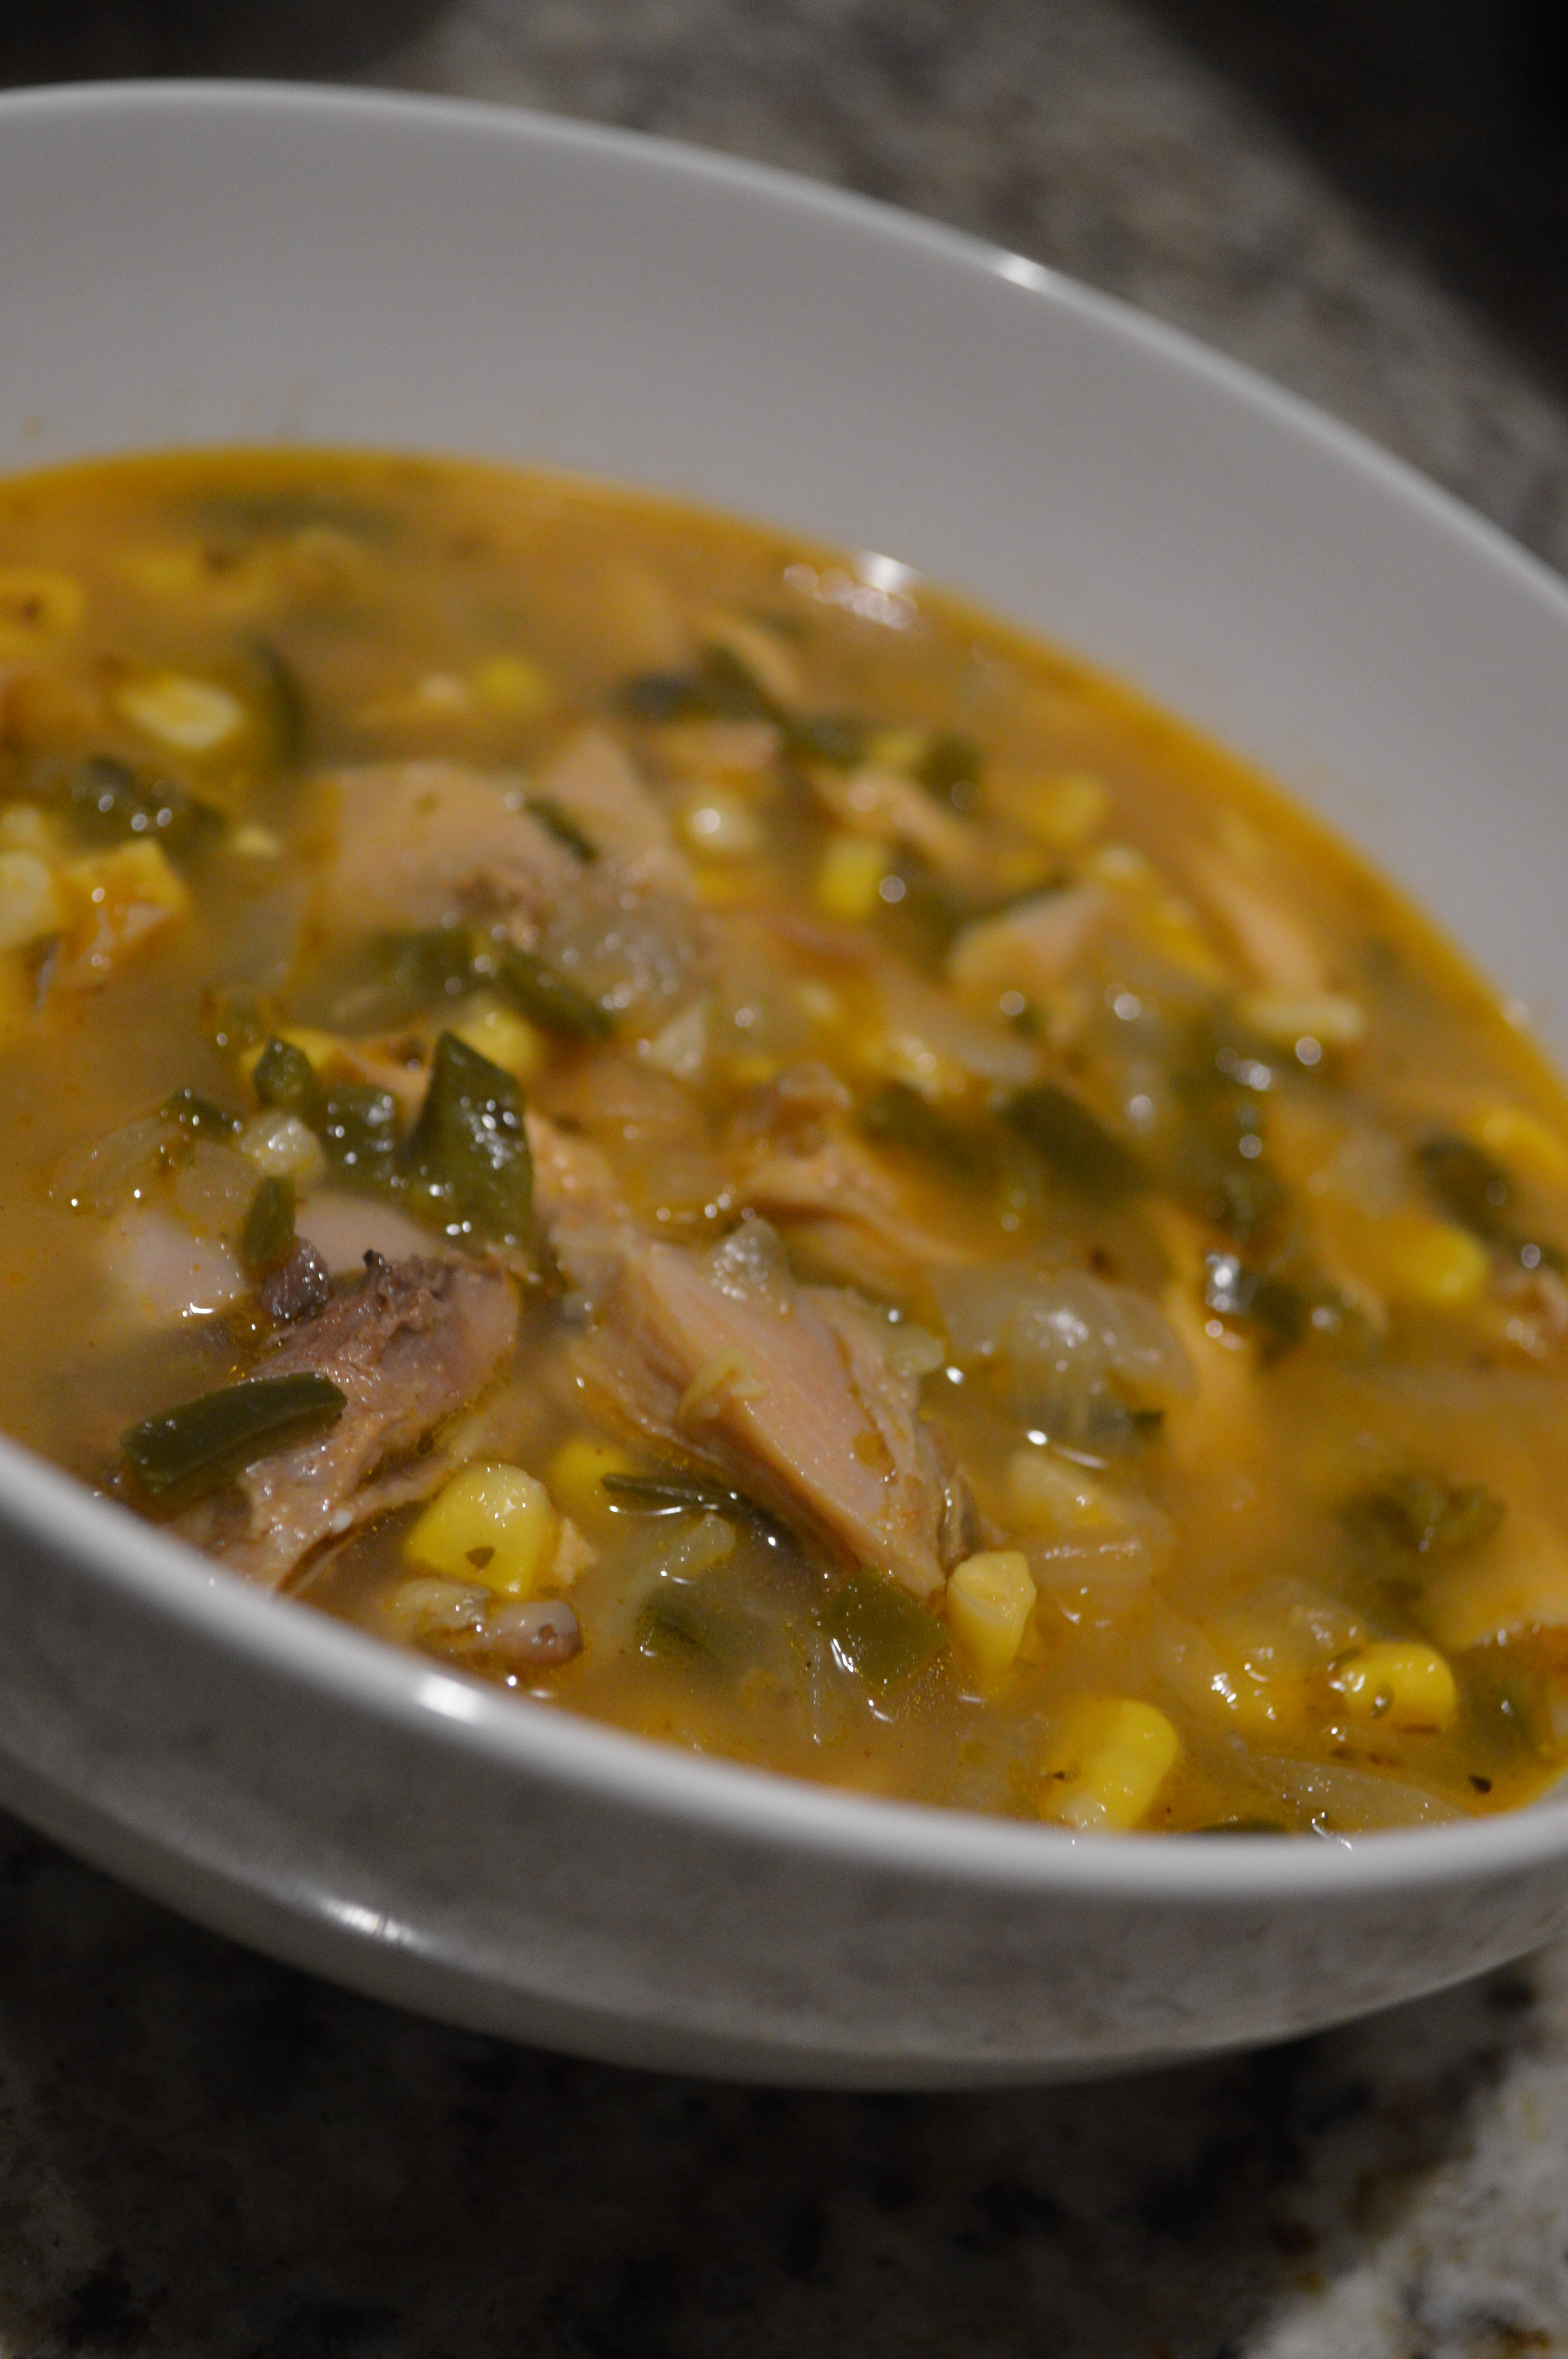
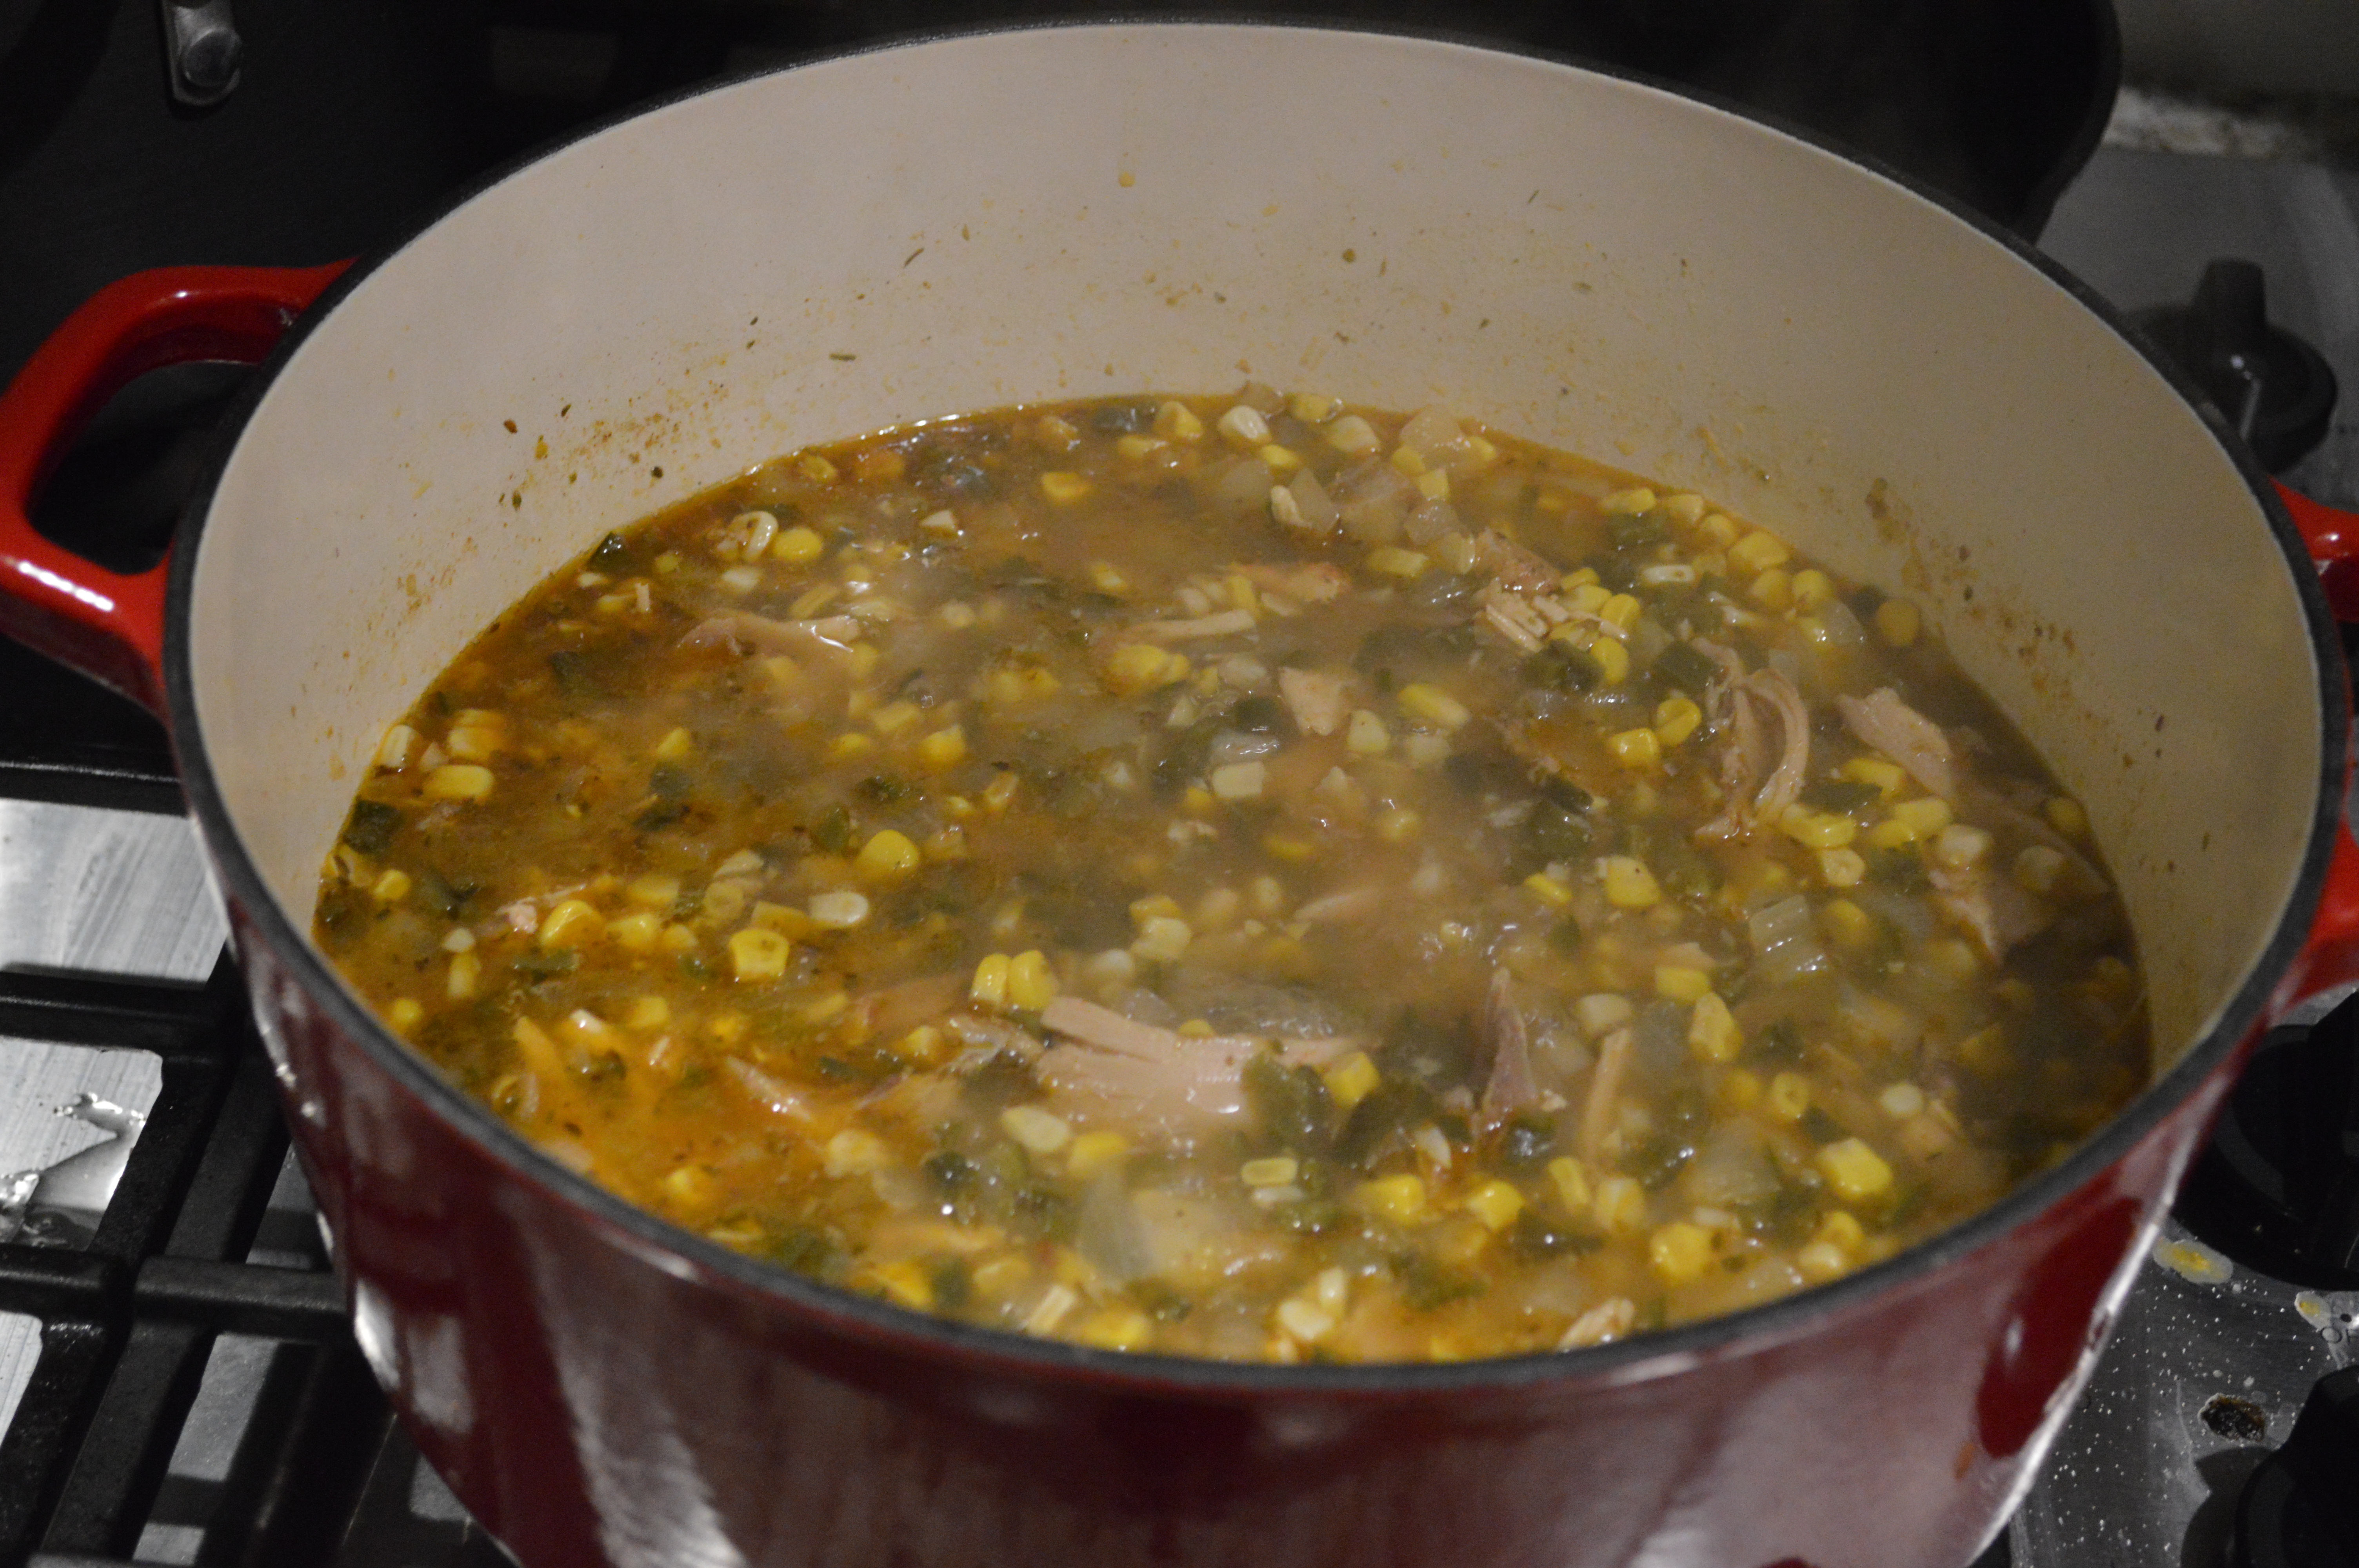
And with the other half of the bird I made a soup using some of our frozen garden vegetables. This super simple, spicy soup was easy to make and, excluding the spices, came straight from the backyard!
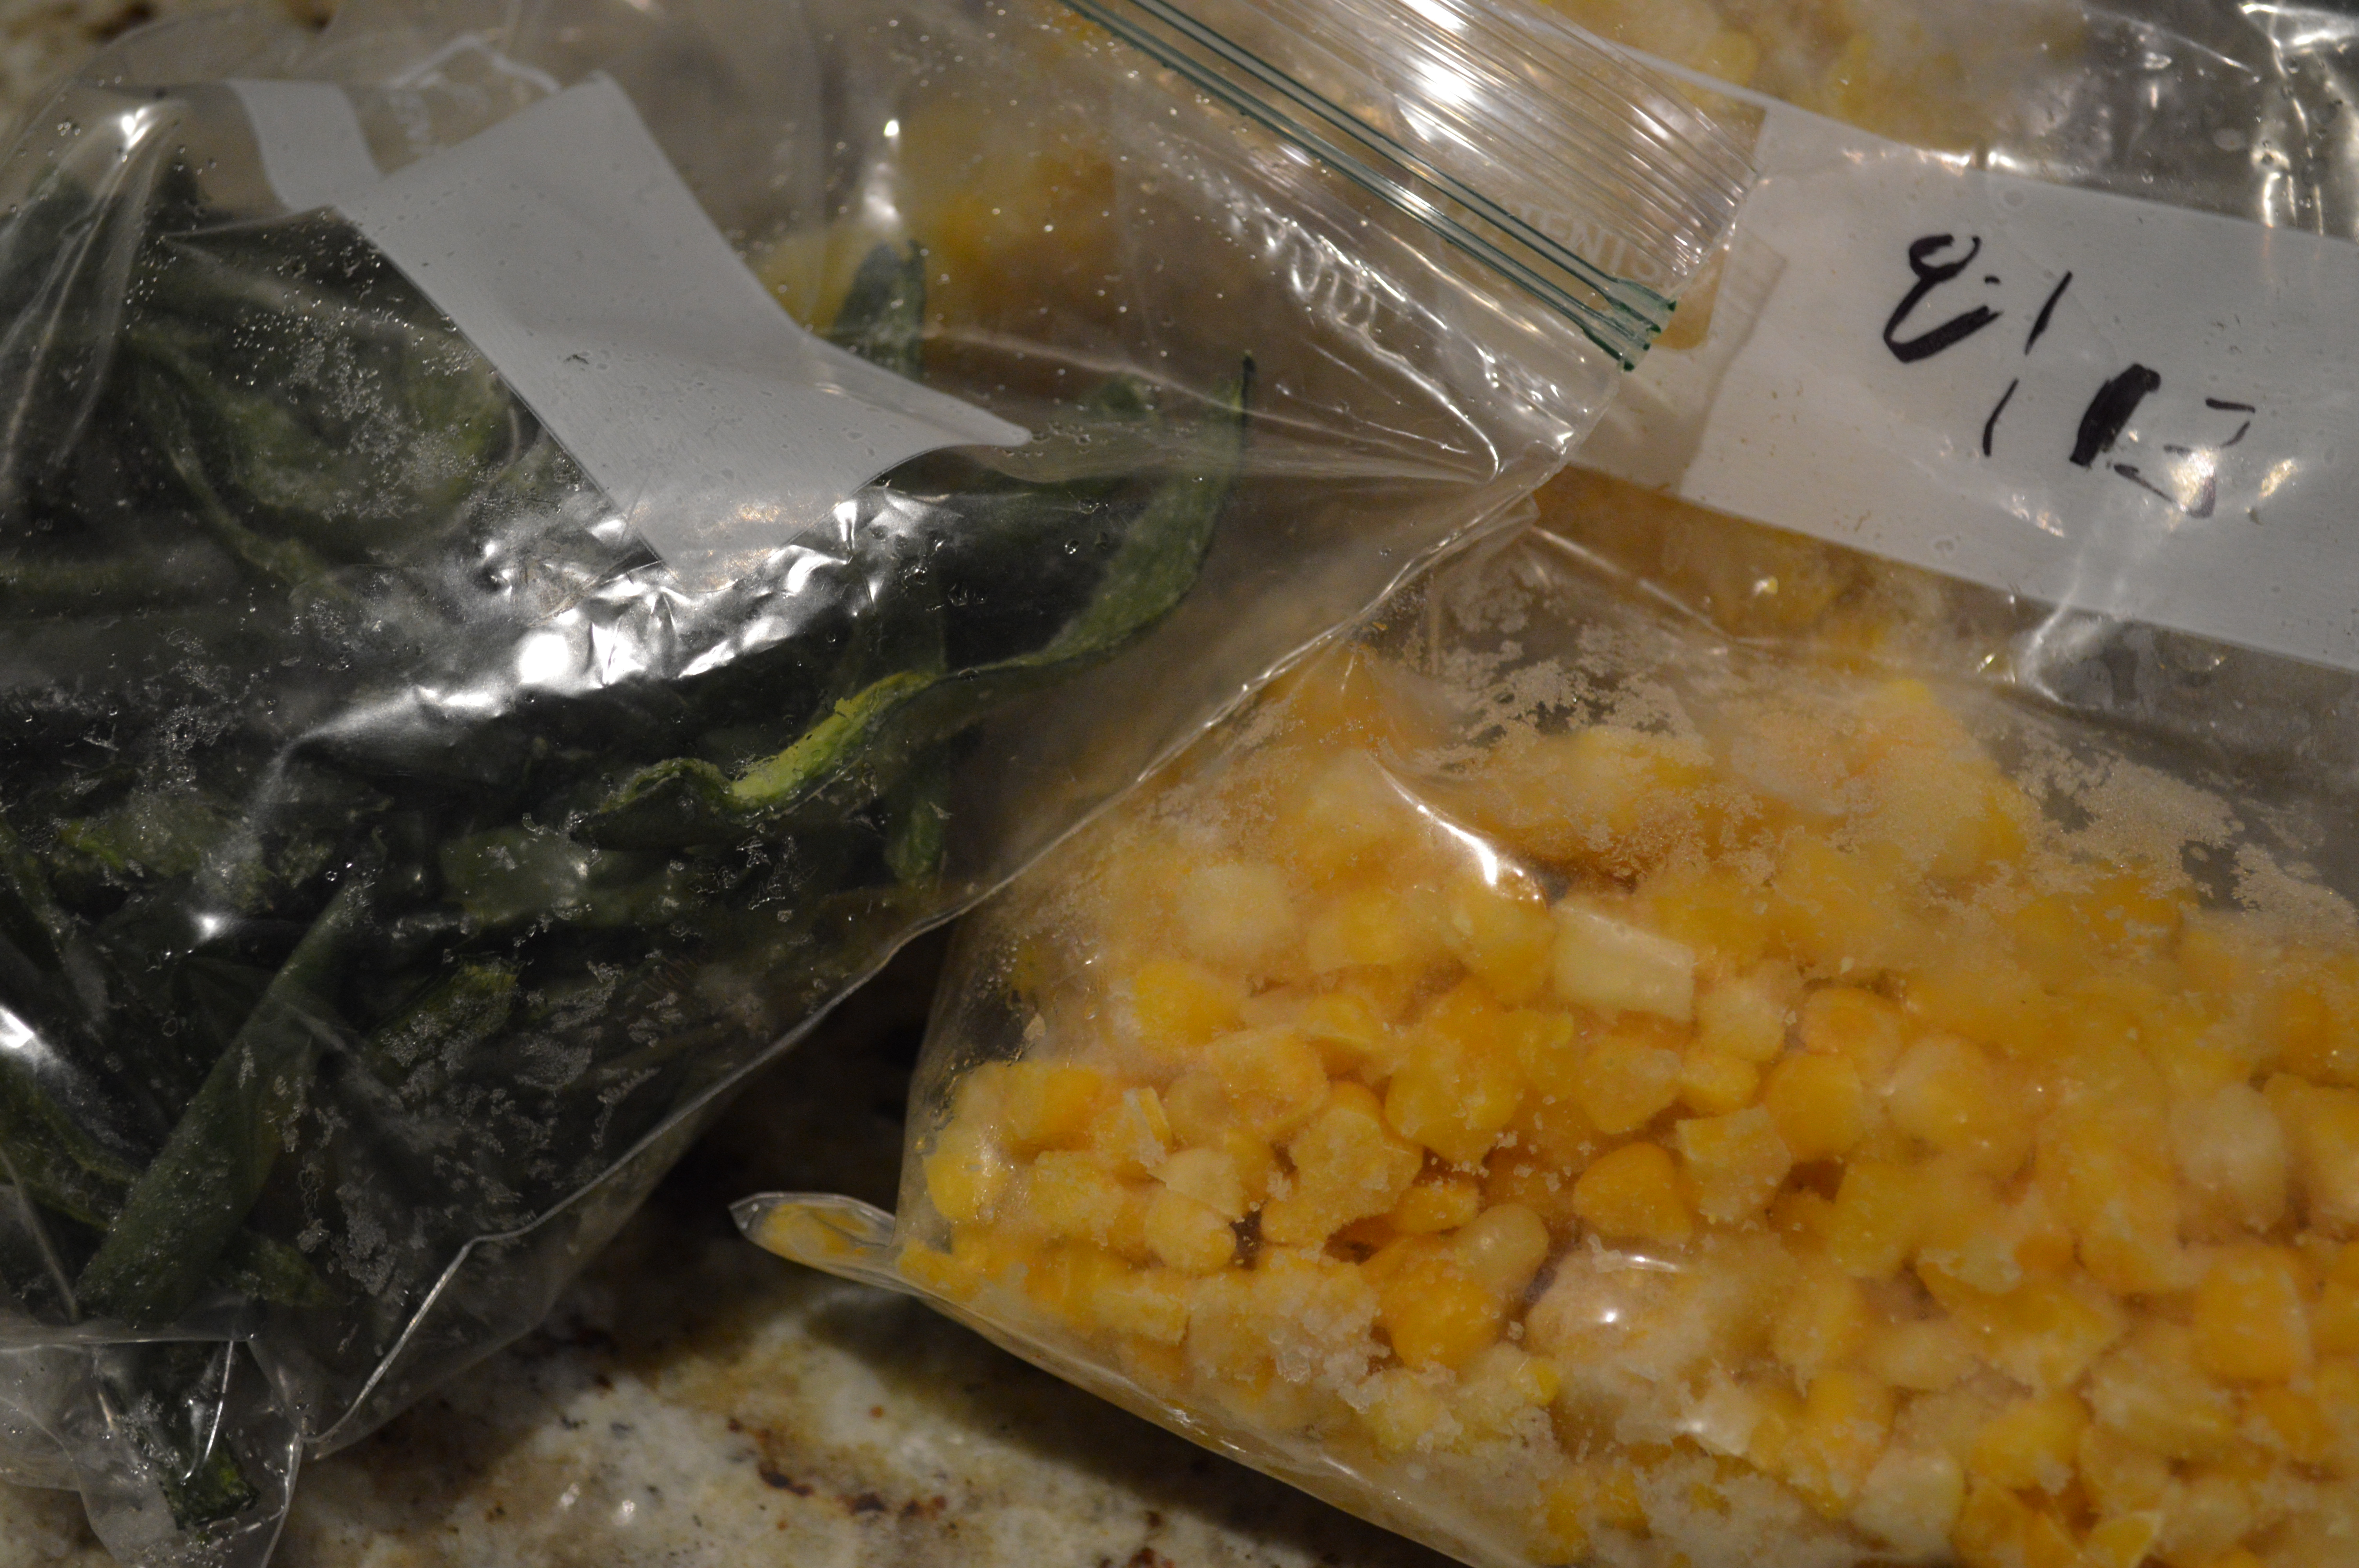
Frozen garden poblano peppers and sweet corn
2 cups diced poblano peppers
2 tablespoons olive oil
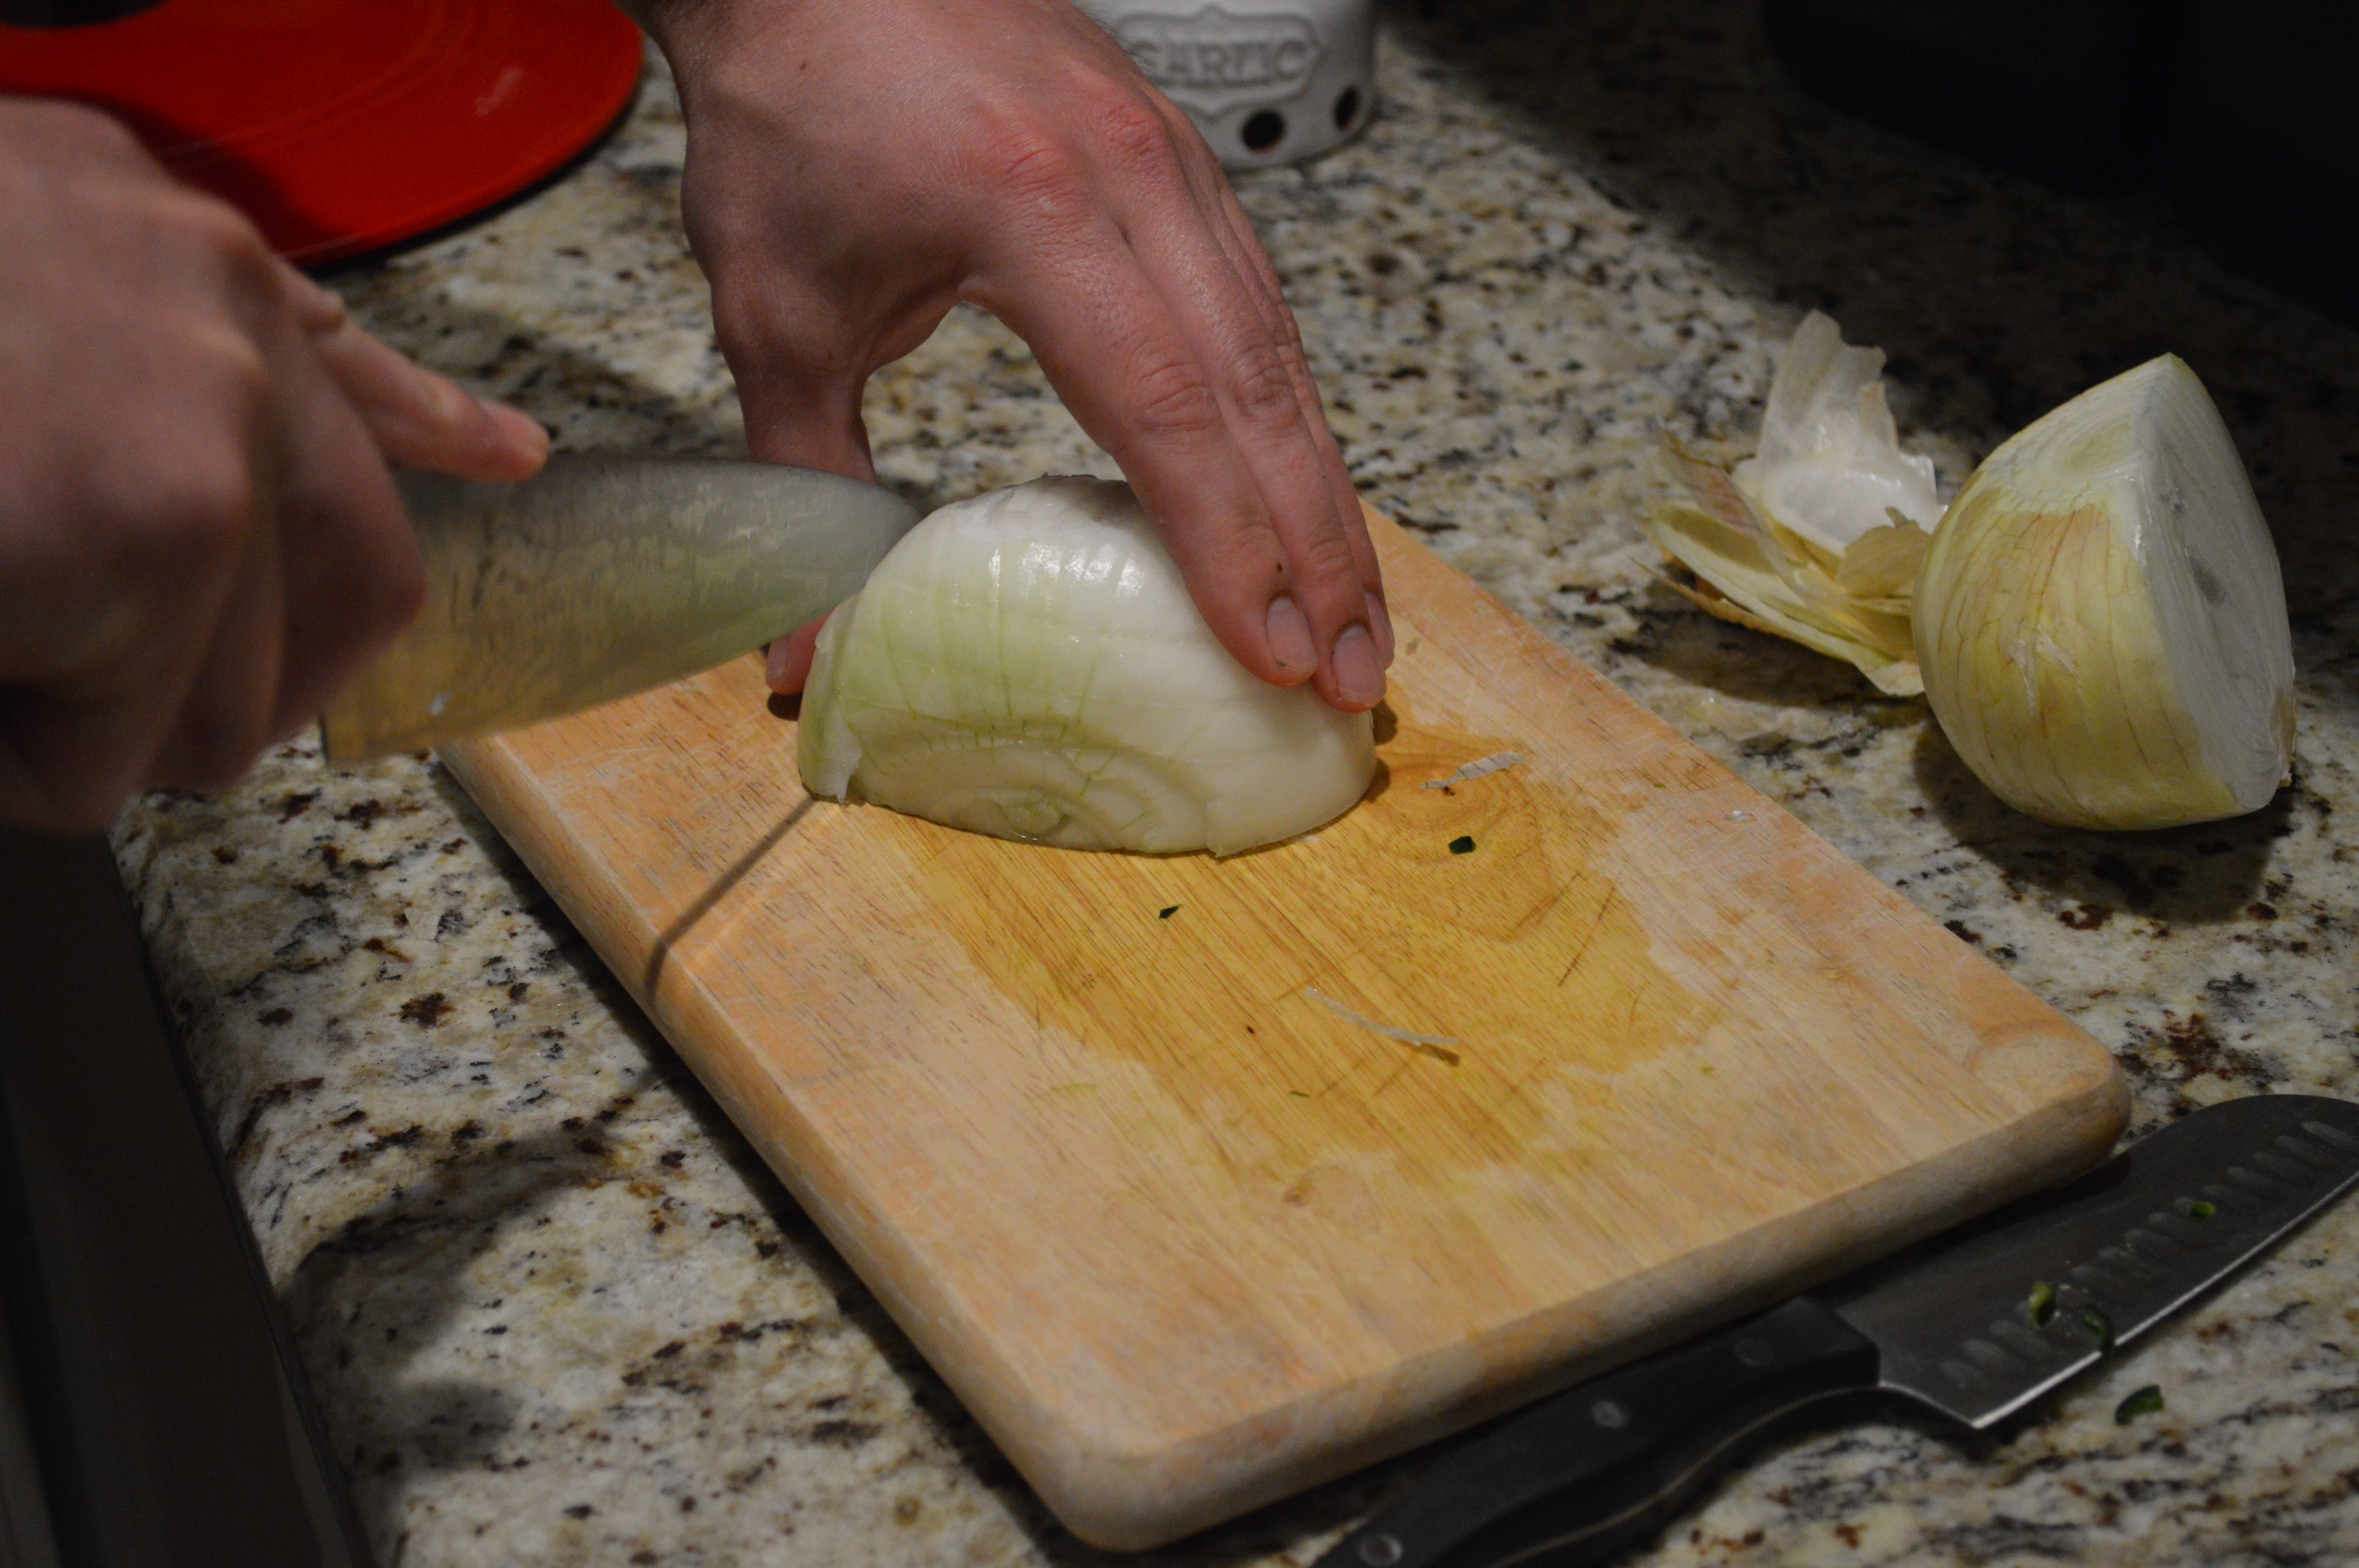
1 diced large onion
2 teaspoons salt
2 teaspoons cumin
2 teaspoons chili powder
1 teaspoon dried oregano
4 minced cloves of garlic
32 ounces chicken broth
5 cups cooked and shredded chicken (Adam cooked the chicken the day before and seasoned it with a handful of spices from the pantry. Salt and pepper works great. You also could use a rotisserie chicken.)
4 cups of fresh or frozen corn
Black pepper to taste
Crumbled Queso Fresco or Moterary Jack Cheese for topping (If desired)
In a large pot, saute olive oil and onions over medium heat about 5-8 minutes. Add the spices and garlic and saute for a minute.
Add chicken broth, shredded chicken, corn and poblanos and bring mixture to a boil. Reduce the heat to a simmer and let cook for thirty minutes.
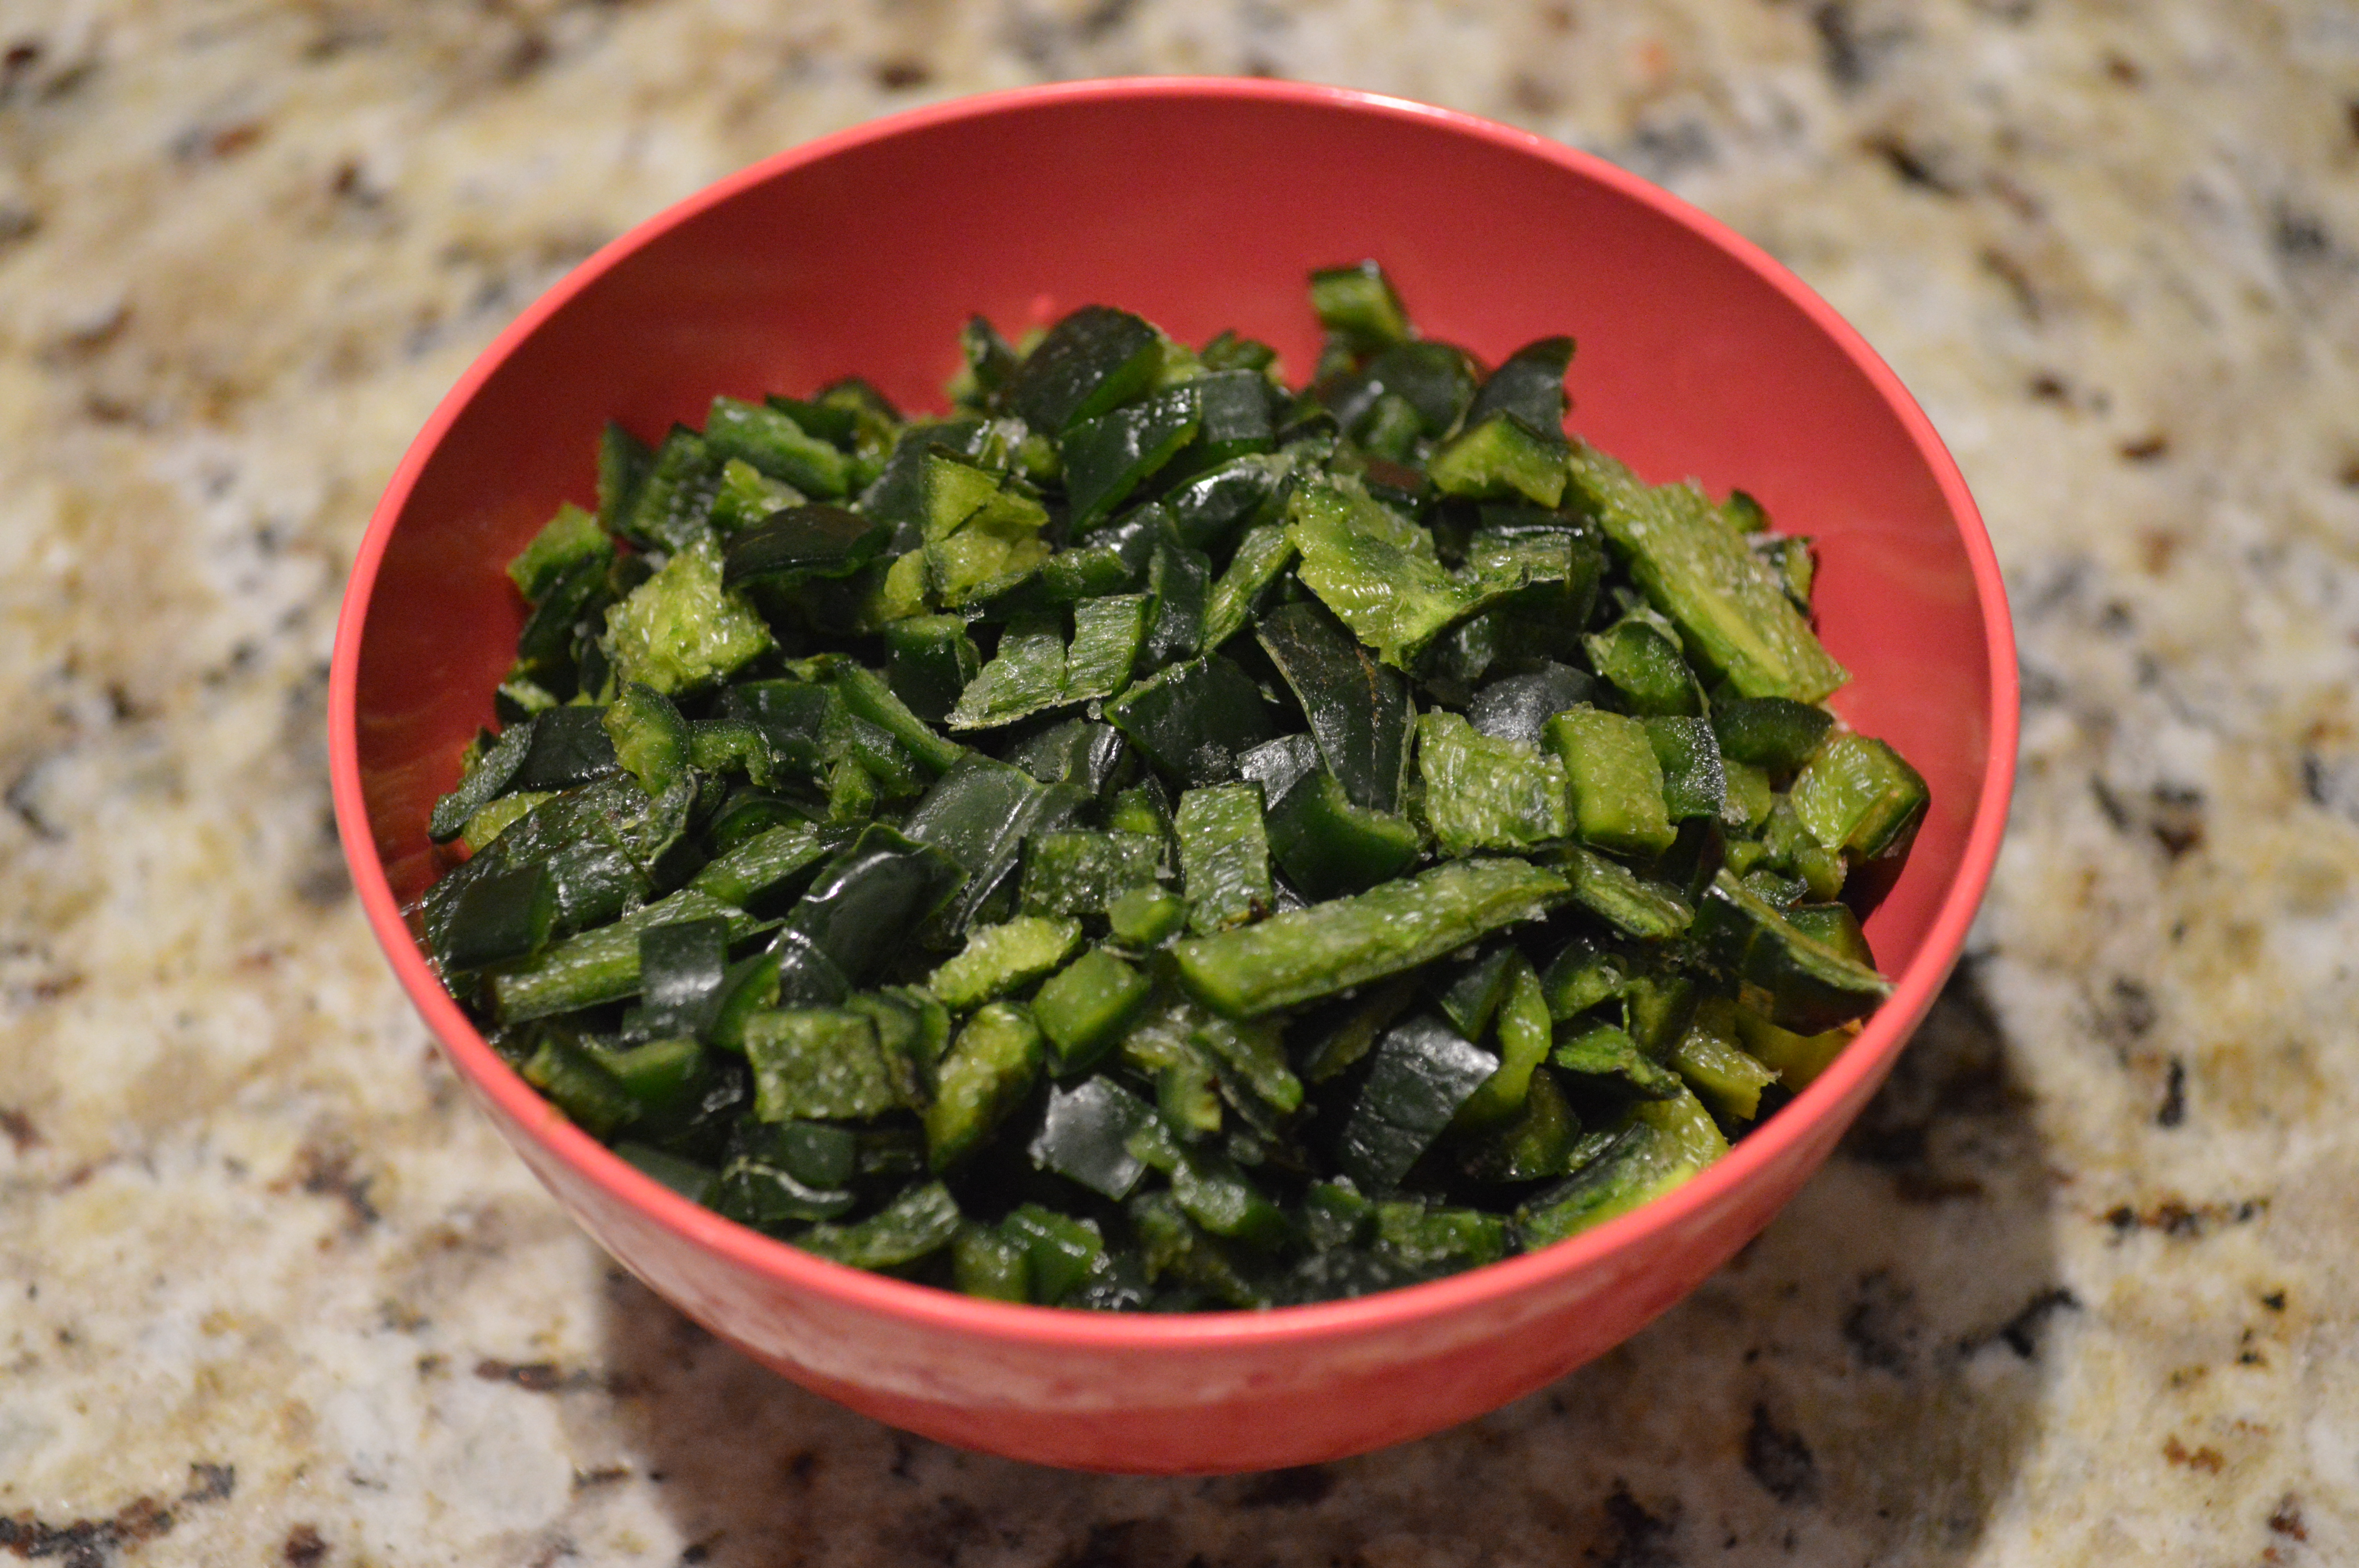
Diced Poblanos

Shredded Chicken.
Serve right away. (… But, the left over’s make a great lunch!)