Bloom.

Navigation
  • About

Lots of Babies and Butternut Squash

October 20, 2015 by theblogbloom.com 5 Comments

Last weekend I shared that Adam and I are expecting a baby, which is super exciting.  But, even more exciting is that Adam’s brother’s wife and Adam’s sister are also expecting babies in early 2016.  Emily is having a son and Amanda is expecting triplets!

It’s going to be so fun.

Actually, it’s already been a lot of fun.

It’s neat to share this time with everyone, compare notes, and just laugh about how wild and loud our lives are going to become.  We have all spent the last couple weekends together celebrating the upcoming arrivals of Amanda and Emily’s babies at their baby showers.

Emily’s sisters hosted a great shower this past weekend that had a precious “Little Pumpkin” theme.  It was really fitting not just because of the time of year, but because her bump is so perfect and cute; it seriously looks like she has a pumpkin under her shirt.

And then, Adam’s oldest sister, Aimee, hosted a luncheon shower for Amanda at her home the first weekend of October while Emily and I helped with some of the food.

When trying to determine what to serve for lunch at Amanda shower, Aimee and I talked about a handful of recipes that we have liked at other family events.  We narrowed it down to a light, super-fresh avocado chicken salad and a very autumnal salad.  Both taste great, are easy to do for crowds, and I had actually made both in September for another shower and a dinner with friends.

As I began to prep for the shower and sat down to make my grocery lists, I had to laugh: Both recipes we planned on preparing were introduced to the three of us by Amanda.

In fact, a lot of my favorite recipes have been introduced to me by Amanda.

Amanda is a great cook and is always trying new things.  She is particularly good at baking and really shines as a hostess.  Her husband, Mike, even gets into the action serving as the family mixologist at the Holiday’s whipping up fun and festive drinks… Although, this year, he may be out of a job with all these pregnant gals!

Last fall, Adam came home from work with one of Amanda’s recipes for a butternut squash soup.

Adam is a major soup fan; but, I had always been on the fence about butternut squash.  I couldn’t really tell you what it was about butternut squash… maybe it was the sweetness or the texture?  Maybe the color? Honestly, it was probably the name.  But, I had never purchased one as an adult and, in the past, I have even dissed butternut squash right here on Bloom.

But, thanks to Adam’s persistence and Amanda’s history of great recipes, I gave the soup a try.

DSC_2458

And… LOVED IT.

The combination of apples, butternut squash and spice marry well and create a flavor that is so perfectly, “Harvest.”   I also enjoyed the addition of the spicy pepper and cool sour cream as a garnish as it adds even more depth of flavor but also dimension to the texture of the smooth soup.

DSC_2452

I loved this soup so much it changed my whole perspective on butternut squash and I am now proud to say that I am a BIG butternut squash fan.  (Although, maybe we could get somebody to still work on the name…?)

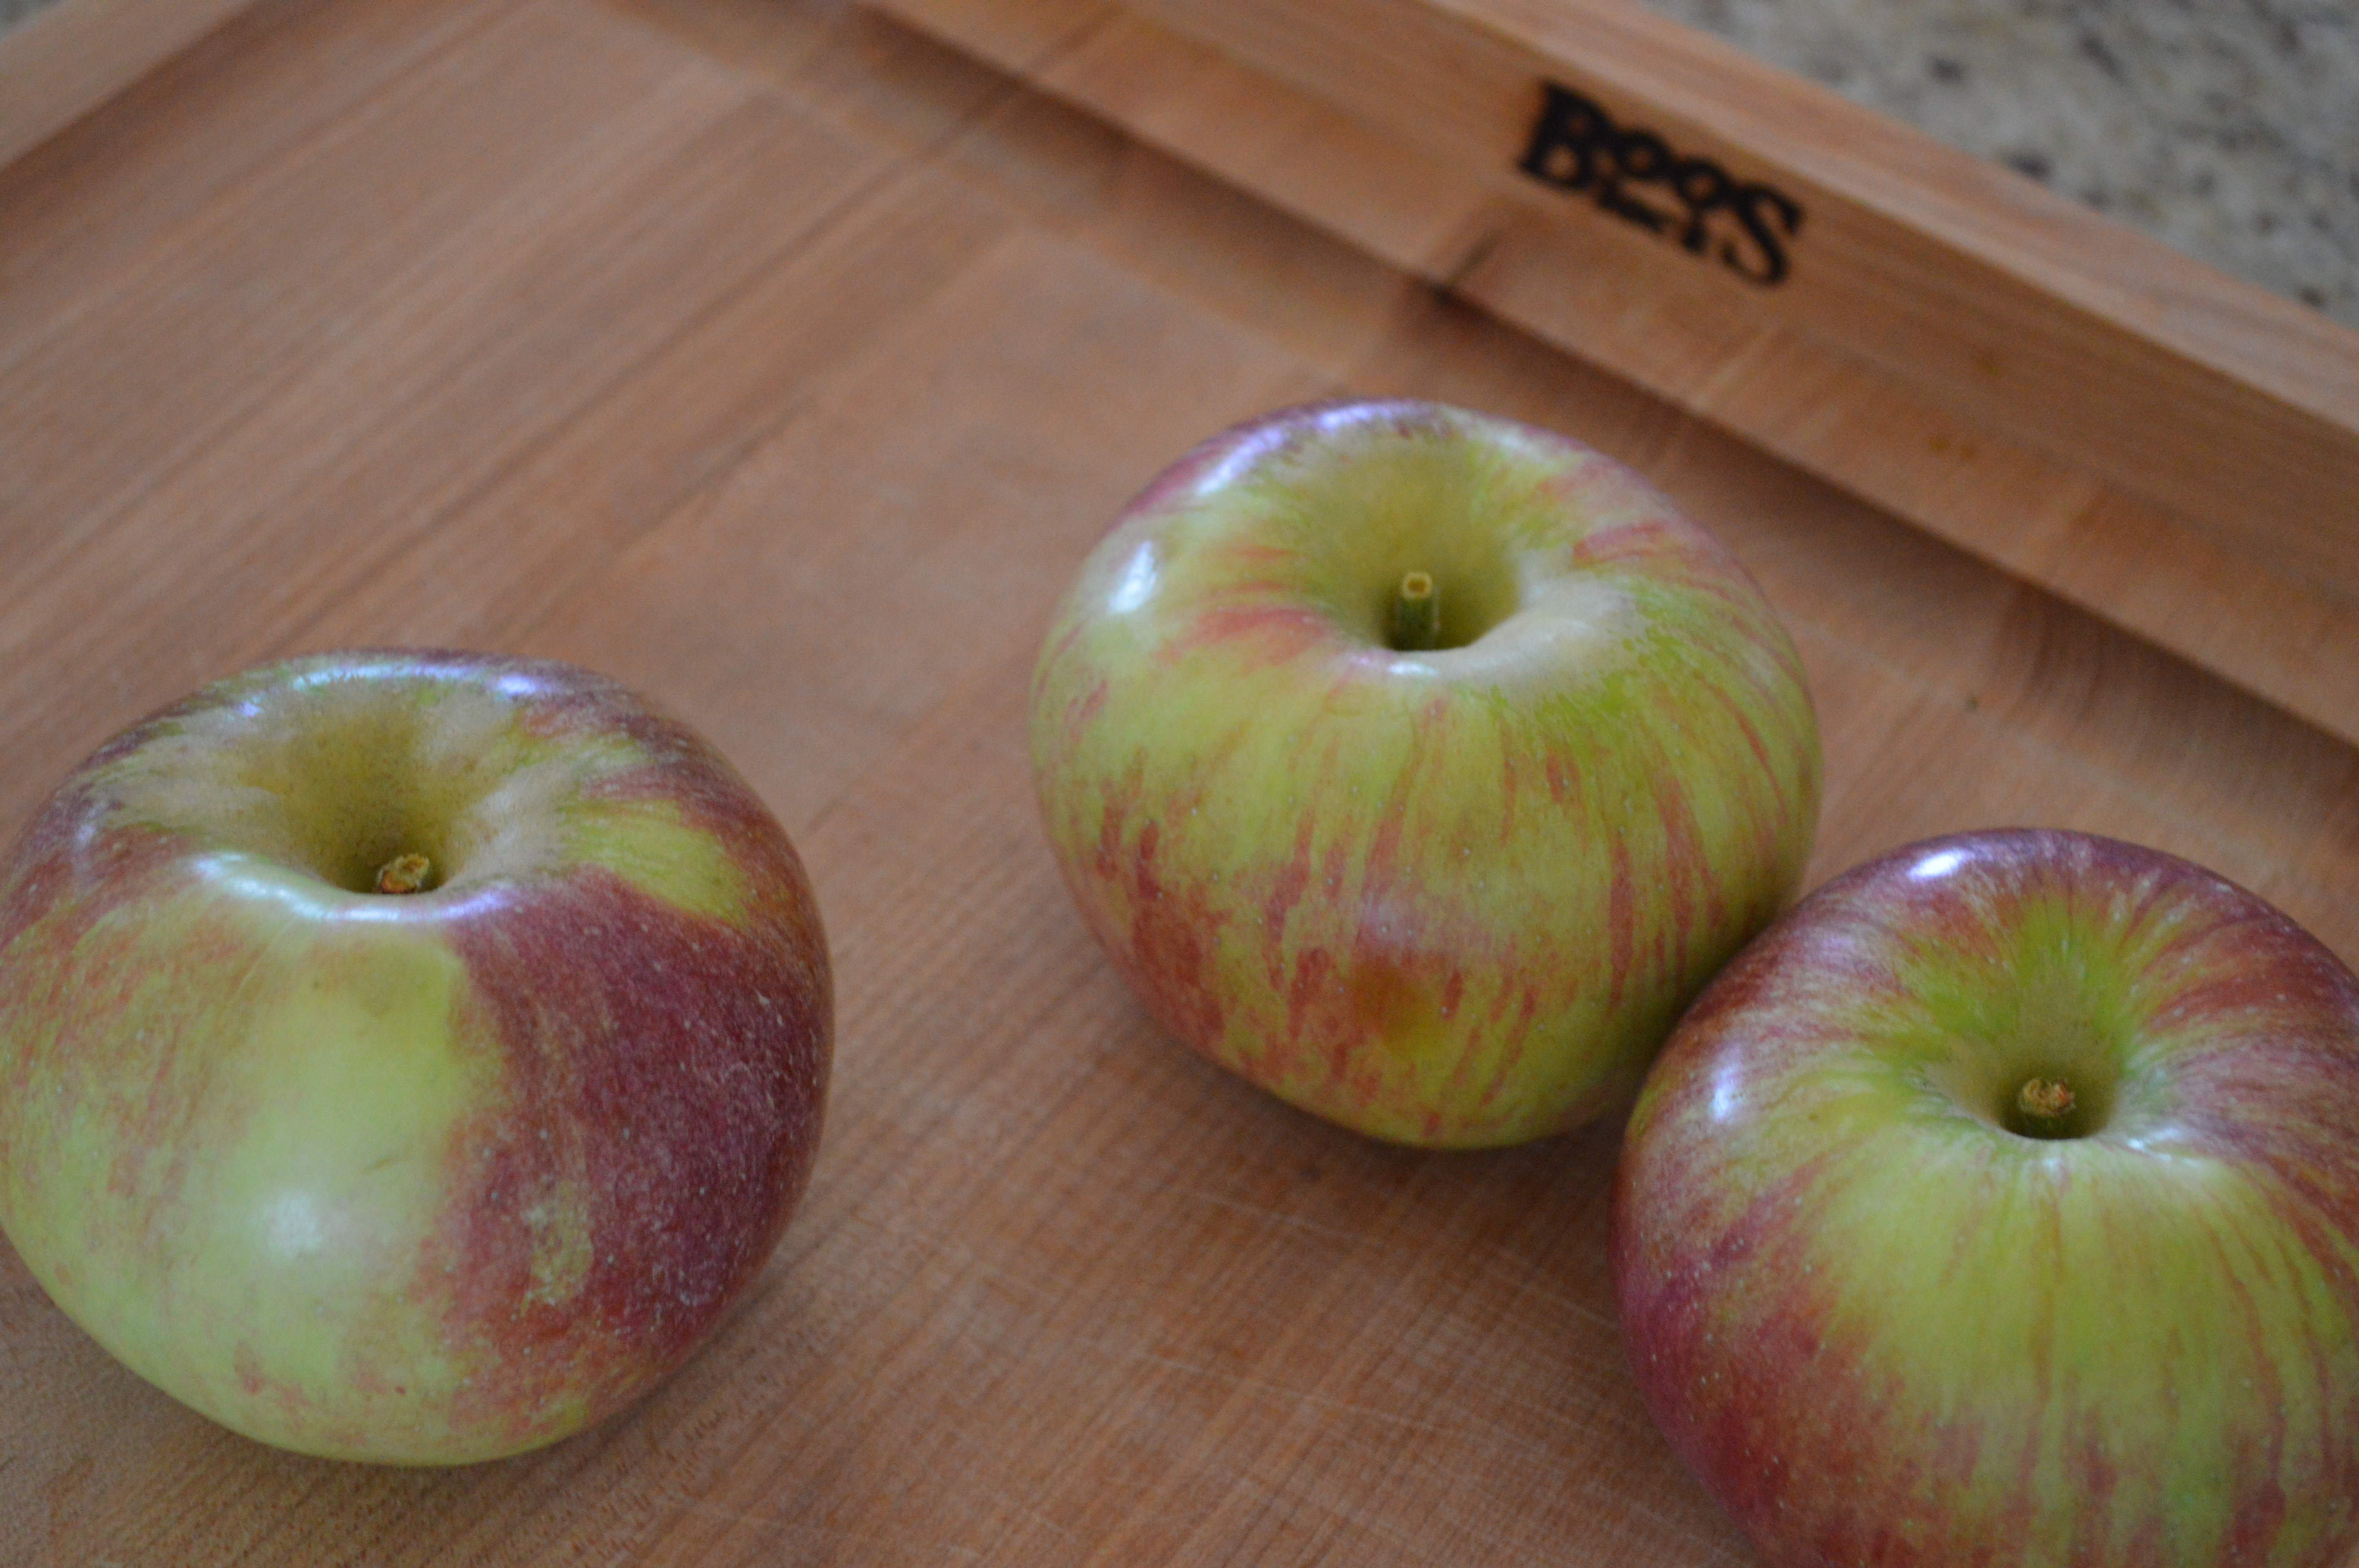
I even made it a point to make room for butternut squash in this year’s garden.

A budding butternut squash from August.

A budding butternut squash from August.

Room is one of the main things that butternut squash will need in a backyard garden because the plant’s vines can run longer than fifteen feet.  

But, for the most part, good sun, well fertilized soil, protection from pests and moderate moisture is a good recipe for butternut squash plants.  Be advised that the growing season is long; somewhere between 110-120 days.  We started our butternut squash seedlings inside to ensure fruit maturation by fall.

This fall, our vines are full of great looking butternut squash and I can’t believe I resisted them for so long. They will be in the garden for years to come… Thanks to my favorite recipe curator, Amanda.

Spiced Apple-Butternut Squash Soup
2015-10-20 14:01:58
Write a review
Save Recipe
Print
Ingredients
  1. 1 tablespoon unsalted butter
  2. 1 medium onion, diced
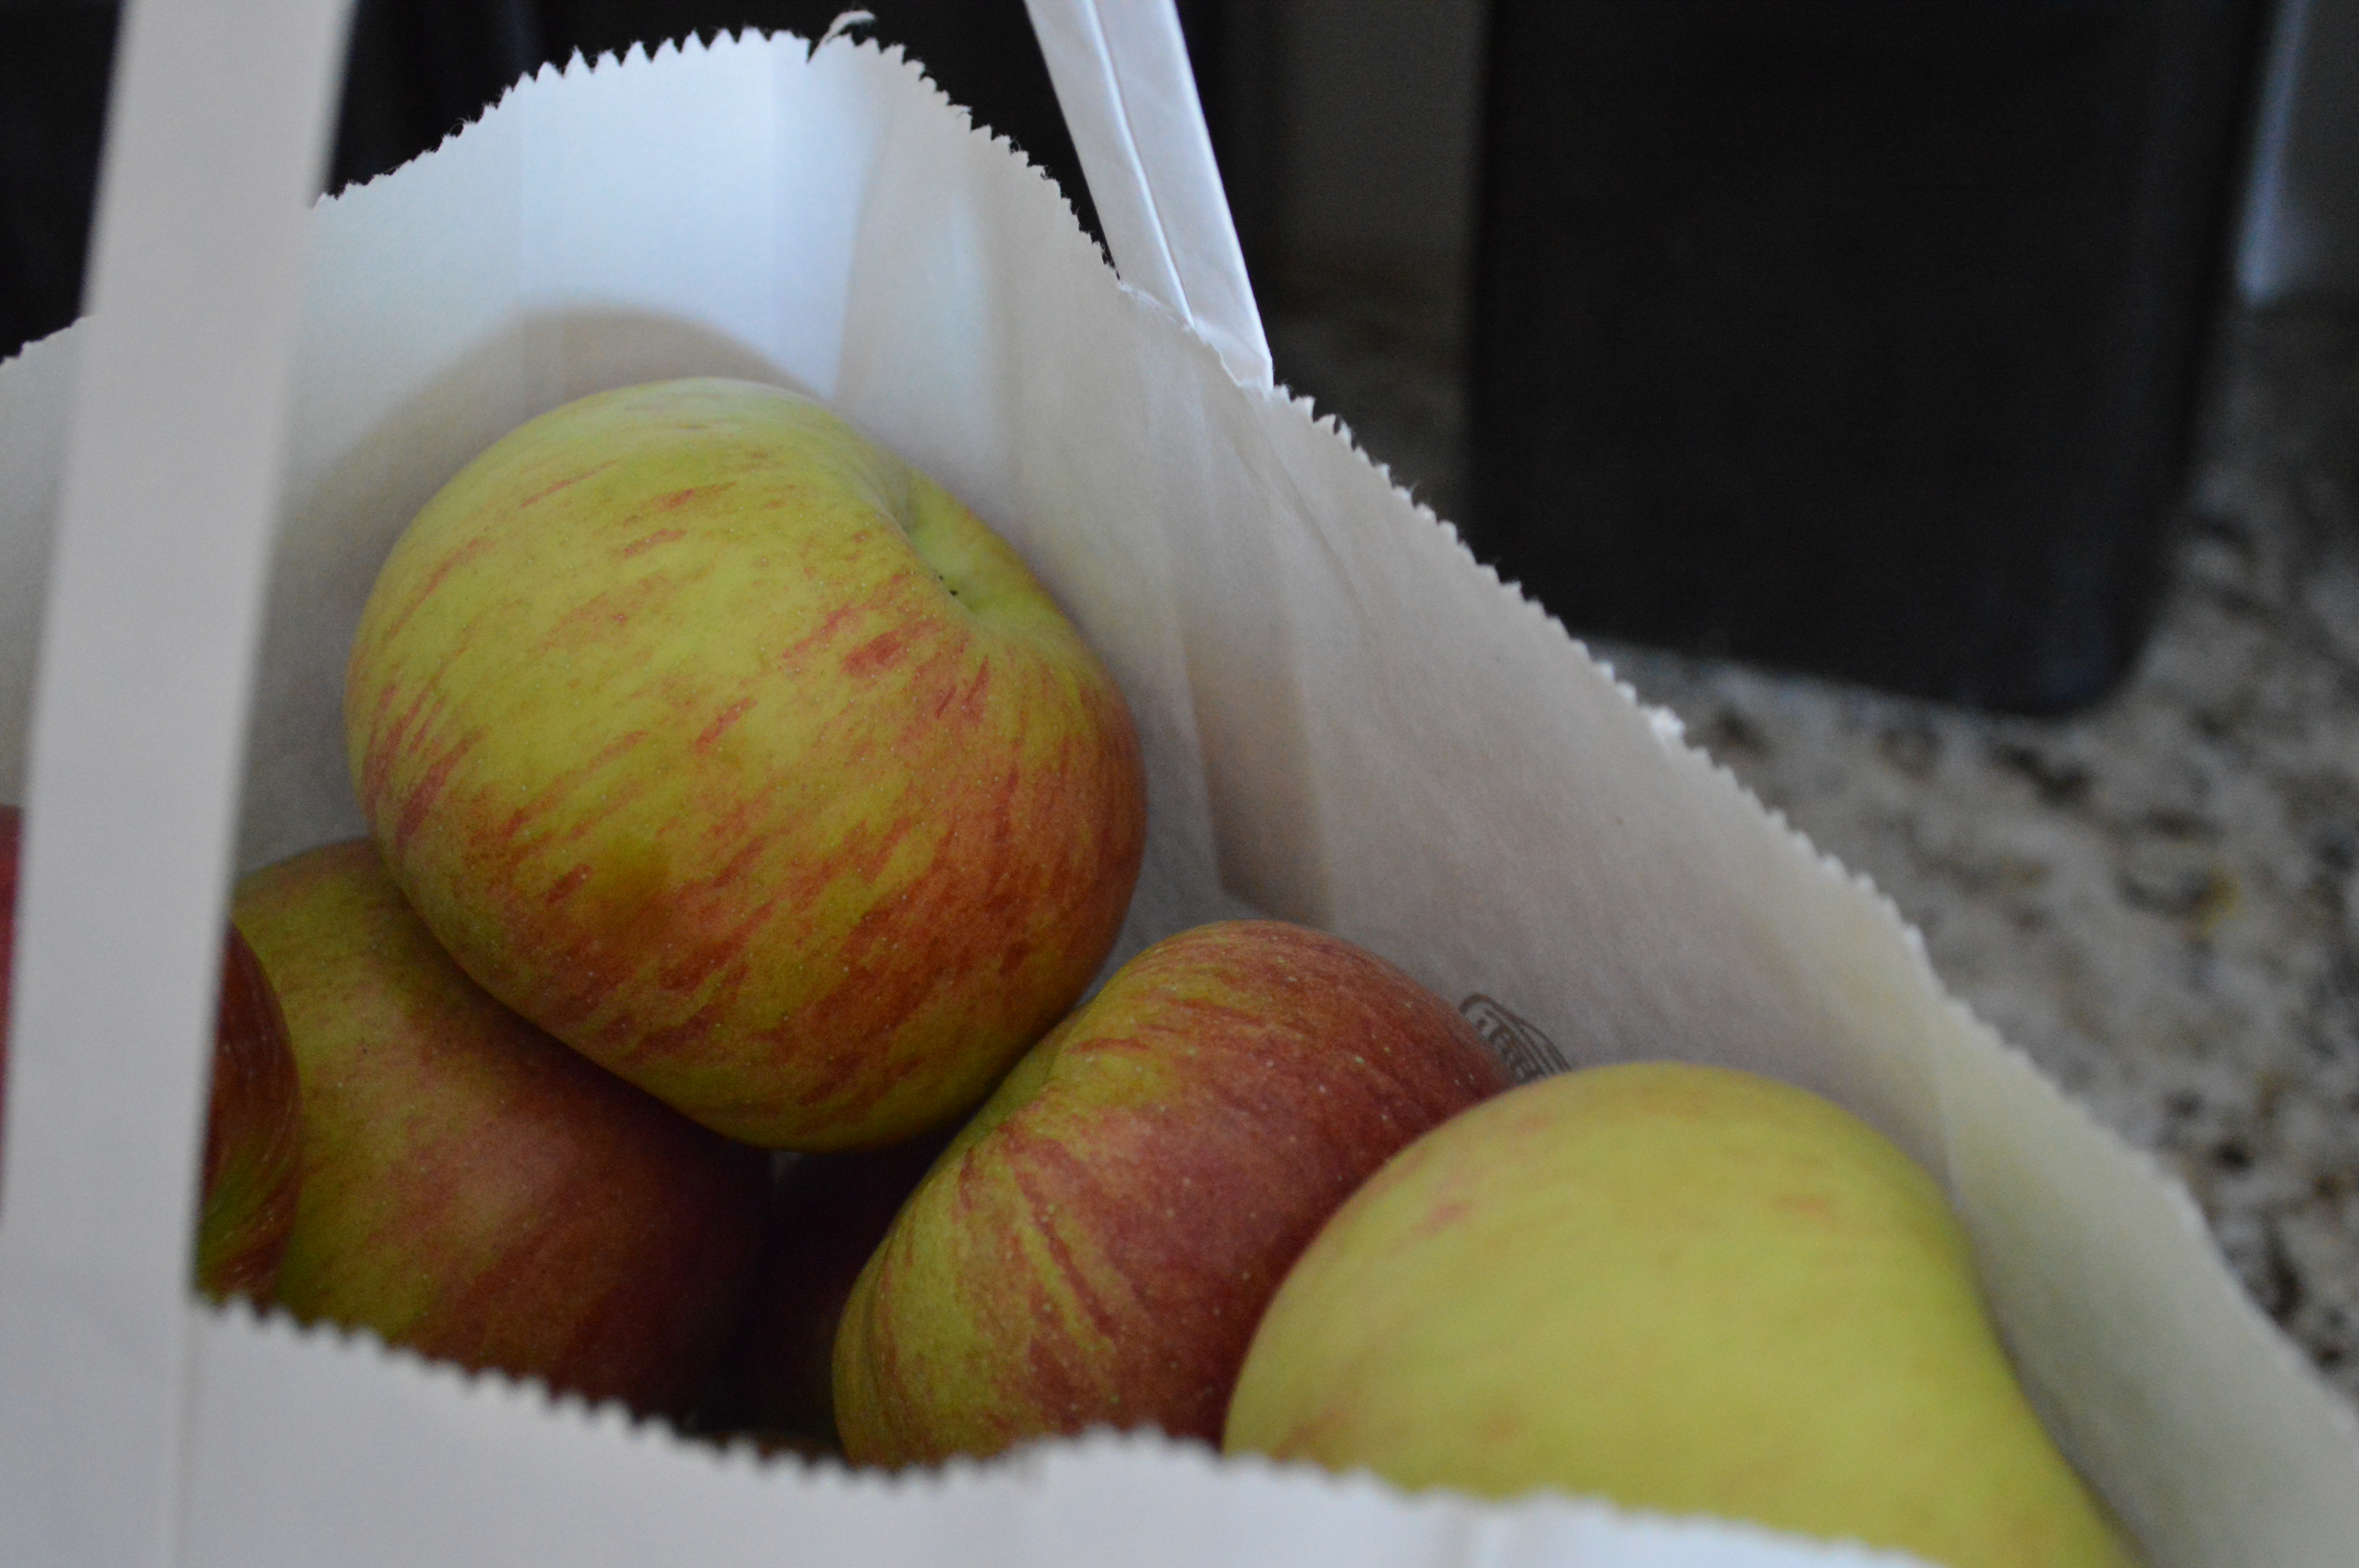
  3. 1 medium butternut squash, peeled, seeded and chopped into chunks
  4. 4 apples, peeled, core and chopped
  5. 2 teaspoons salt
  6. 1 1/2 teaspoon ground cumin
  7. 1/2 teaspoon ground corriander
  8. 1/2 teaspoon ground ginger
  9. 1/2 teaspoon cayenne pepper
  10. 1/4 teaspoon black pepper
  11. 2 cups chicken stock, preferably homemade
  12. 2 1/2 cups water
  13. 1 hot chili pepper (Jalapeño, poblano), finely diced or thinly sliced for garnish
  14. Sour Cream, for garnish
Instructions
  1. In a large sauce pan, melt butter and add onion, cooking until tender.
  2. Add squash and cook, stirring occasionally until soft. (About ten minutes)
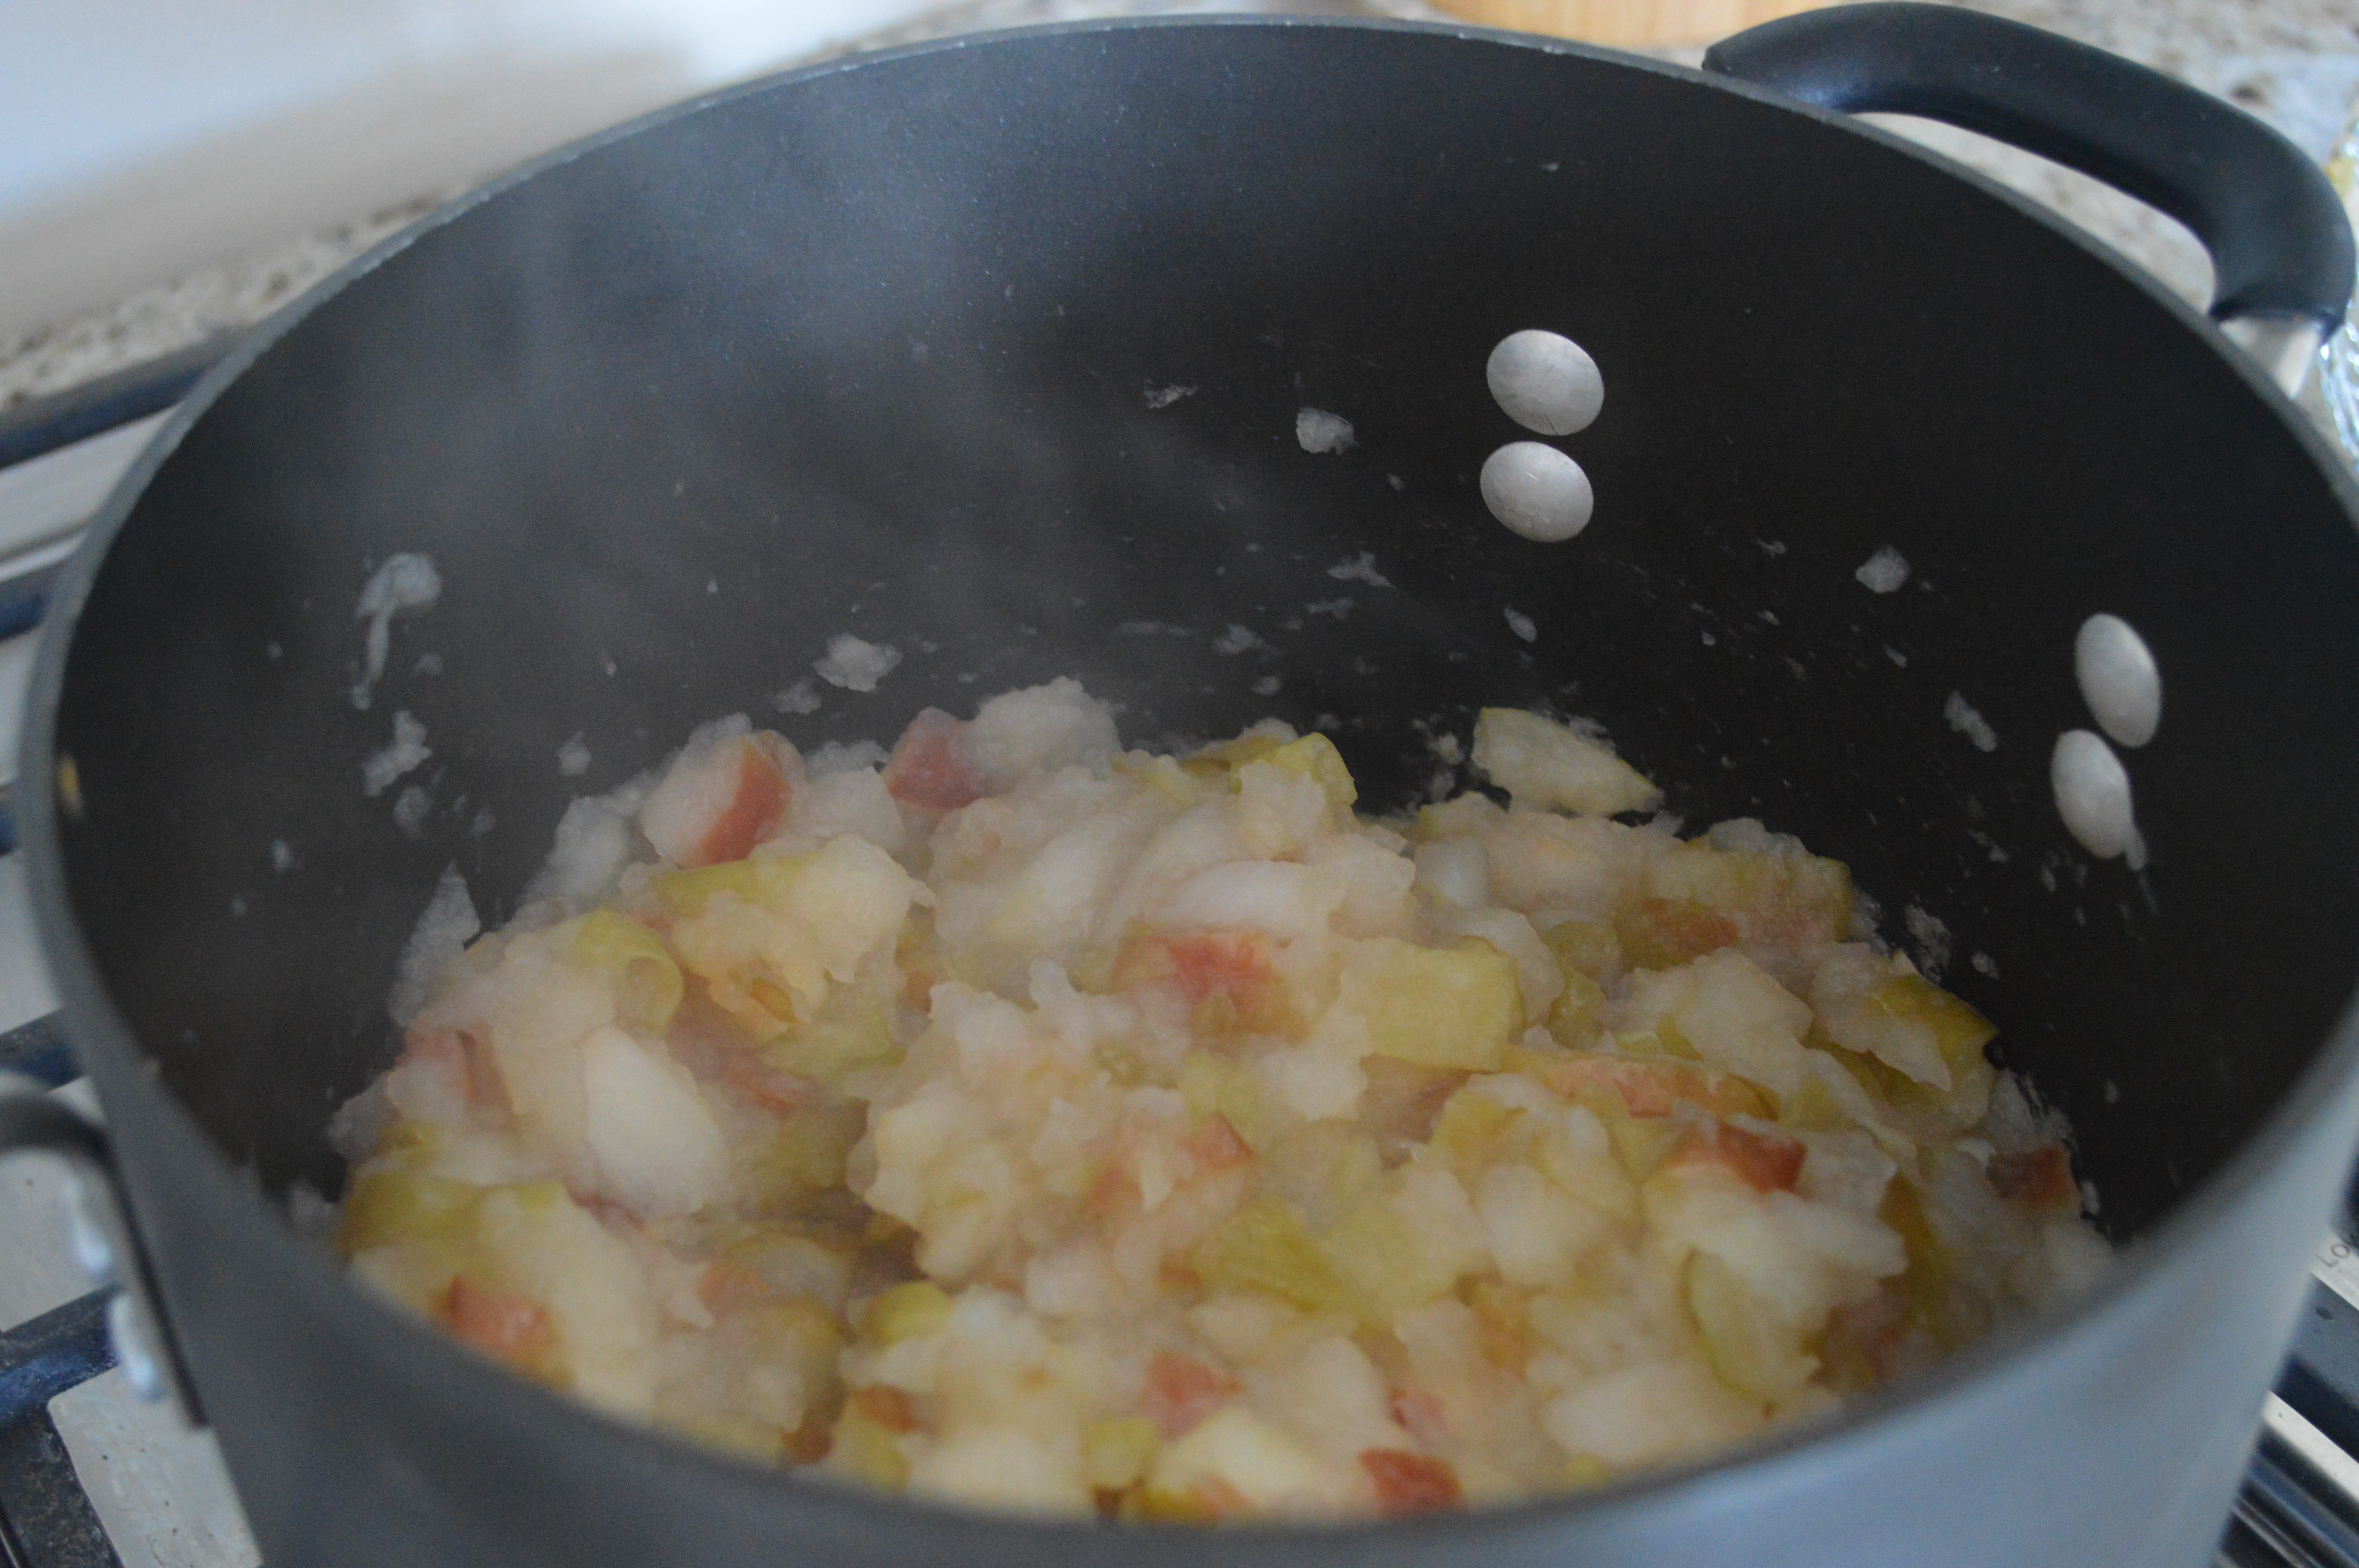
  3. Add apples, salt, cumin, coriander, ginger, cayenne, black pepper, stock and the water. Bring mixture to a boil then reduce to a simmer for about thirty minutes or until the vegetables are soft.
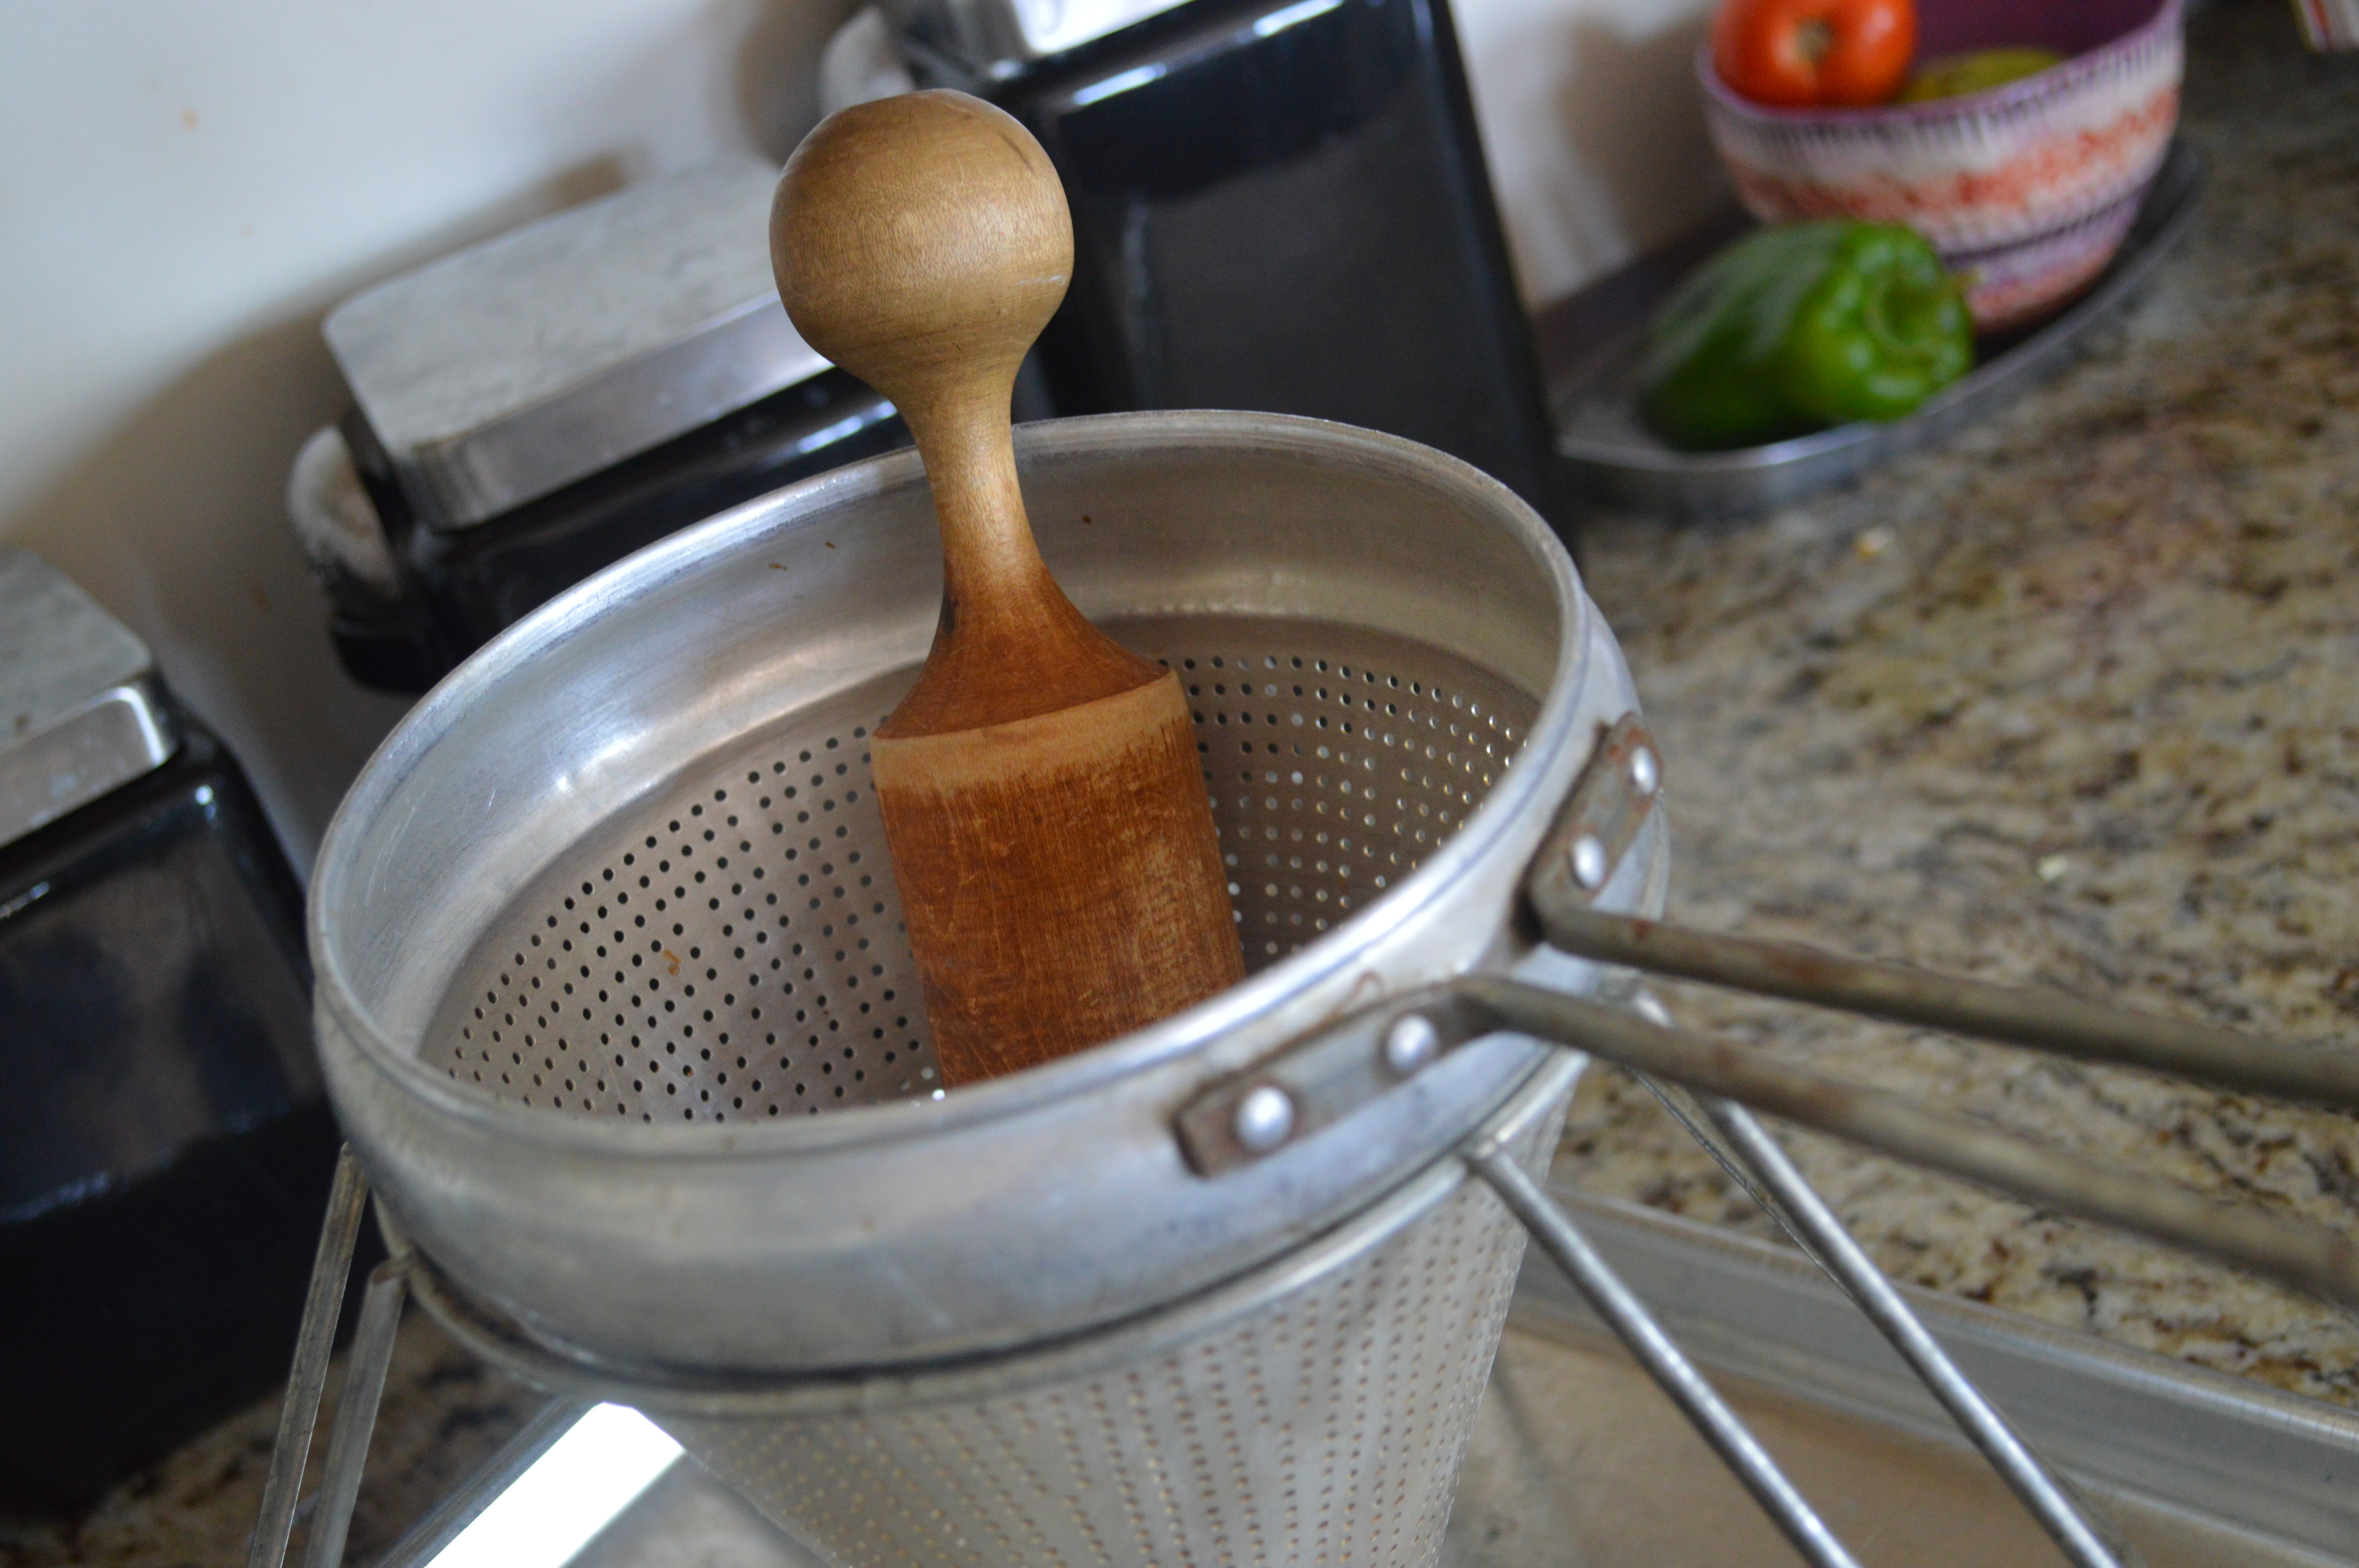
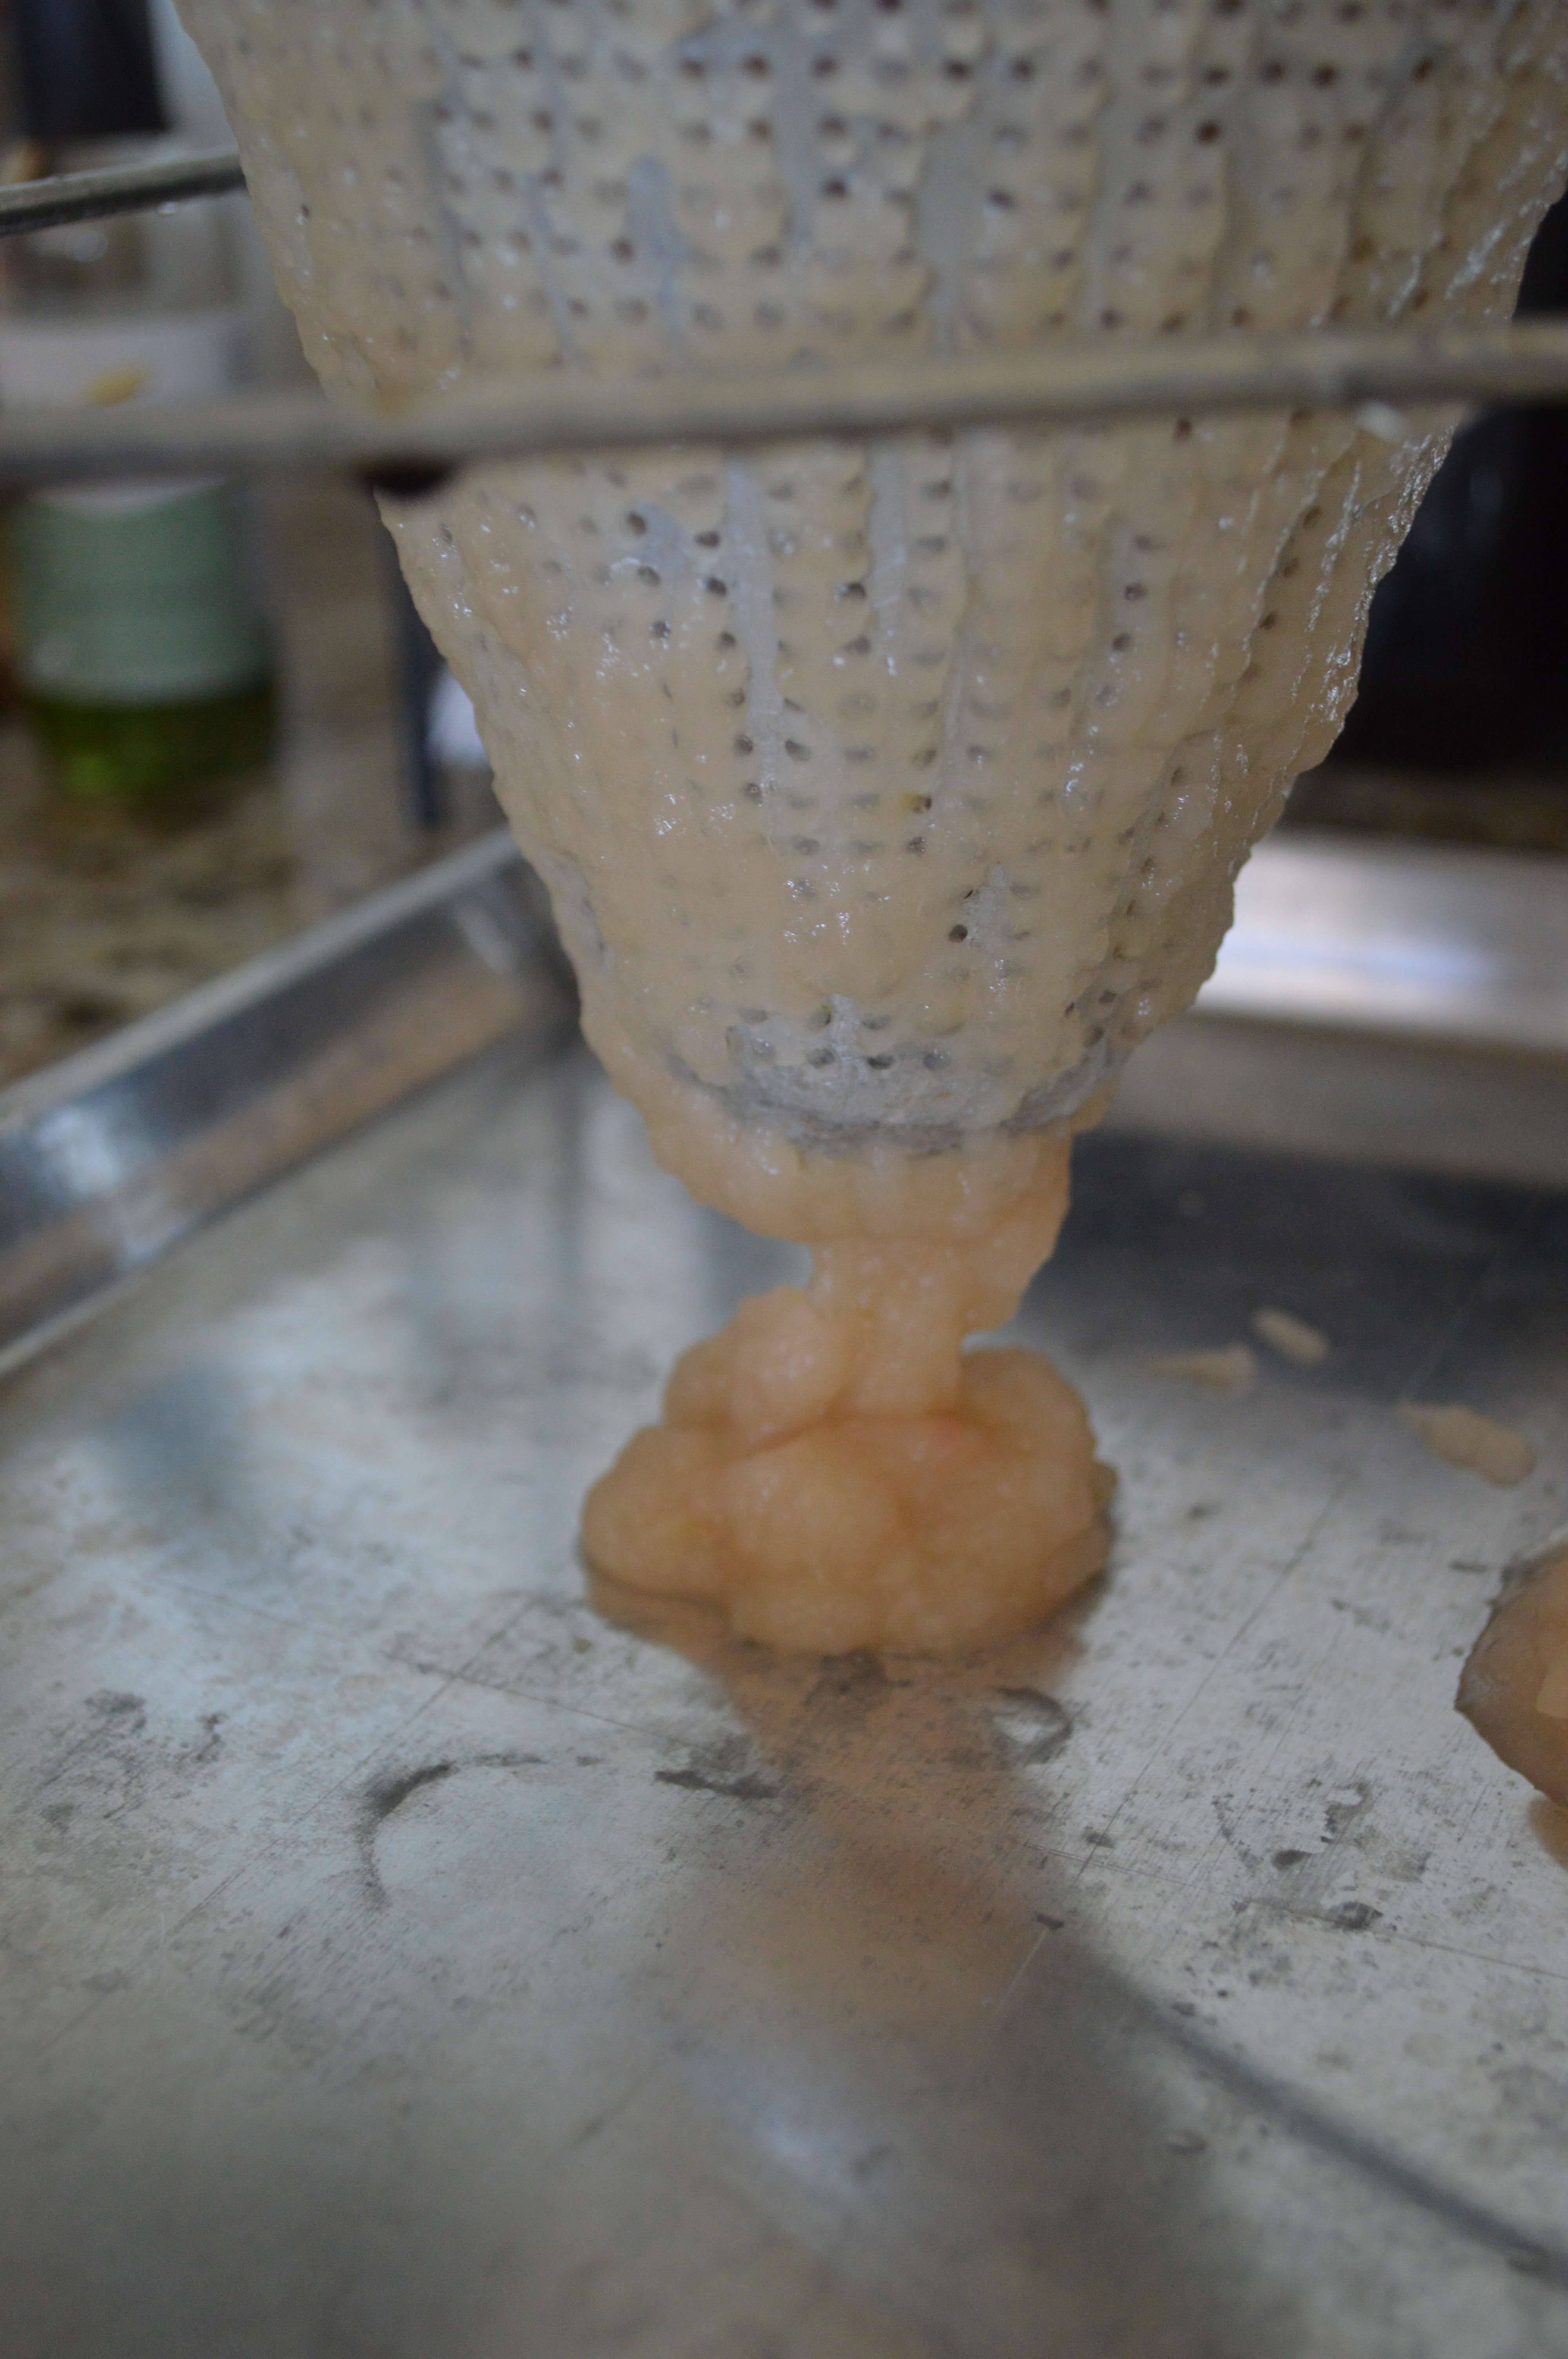
  4. Puree using an immersion blender or in batches using a food processor or blender and then return to the pan.
  5. Heat pureed soup on low and thin with more water, if needed.
  6. Serve in bowls and garnish with hot pepper and sour cream.
Notes
  1. An immersion blender is a game changer for homemade soups. It's one of my favorite tools.
Adapted from Martha Stewart
Bloom. https://www.theblogbloom.com/

Filed Under: Uncategorized Tagged With: backyard Garden, butternut squash, Fall, fall crop, Gardening, soup, squash

Fall Flavors

October 13, 2015 by theblogbloom.com Leave a Comment

One of my current favorite internet phenomenon’s is Matt Bellassai’s “Wine About It.”

Matt works for Buzzfeed. Fun, right??

That means he gets to do research for things like this (Boiler up!) and create things as sweet as this.

And, in his newest project, Matt sits at his desk, drinks loads of wine, complains about things like going out, shopping for clothes, and being an adult… you know, everything that you think is the worst too, and he records it for the internet’s viewing pleasure.

You guys. He get’s paid for this.

And, his getting kind of “internet” famous. So basically, he is going to be set for life with appearances, hosting gigs, wine labels, a bar franchise, action figures, etc… Uh, Hello?!… #dreamjob.

He posts his videos every Wednesday and this past week he shared why fall is the worst.

Full disclosure: He cusses quite a bit a lot, so tell the kids to put on their headphones.

But, it’s funny… because it’s true. Everyone is always so stoked for fall. And, everyone can’t ever get over how great fall is even when it’s here.  So, I got to thinking, why are we so fall obsessed?

Sure.  I love feeling the first chill in the air, throwing on a big cozy sweater and the first fire in my fireplace. But, I also get a little sad when fall comes around because that means that it’s all down hill from here to winter.

… Evidently, I am a little glass half empty about fall… So, maybe I am not the best person to ask why we all fall in love with fall year after year.

Instead, I referenced the past couple weeks of my Facebook and Instagram newsfeed and it hit me.  

We all love fall because of the food.

No other season has such quintessential flavors.  Pumpkin. Chai Tea. Caramel. Spice. Apples. Butternut squash.  Sage.

All classically fall.

Now, I know I may gain a few haters, but I have to side with Matt on his views on pumpkin.  It’s just not my favorite.  I have tried.  I have purchased a PSL.  I can appreciate a pumpkin donut.  But… Ehh.

Apples on the other hand?  We don’t really see eye to eye.

I am a big fan of apples in the fall.  I enjoy going to the local orchard.  I enjoy trying all the different varieties.  And, I love making fun treats with them.

I also think hot apple pie with cool, melty vanilla ice cream is so iconic and so good.  But, it’s also kind of predictable.

Instead, this fall, I tried something new but used apple pie with ice cream as inspiration.

DSC_2373 (2)

And, instead of vanilla I went with another one of my favorite ice cream flavors: Salty caramel.  I was introduced to the salty caramel flavor at Jeni’s Ice Cream as a young girl in Columbus, Ohio and the flavor also pairs really well with apples.  Not to mention, it’s delicious.

DSC_2405

It served as a perfect accompanist to these buttery, gooey, and fall spiced apple bars.

These bars were super simple to make so don’t get intimidated by the ingredient list. It looks like a lot; but, really, most of the items were already in my pantry and there are items that are repeated in the different layers of the bar.  

And, it’s a good thing that these bars are so easy to make because they didn’t last long and they have been requested twice since the last one disappeared last week.

DSC_2380

… maybe it was a squirrel! 

Apple Bars with Salty Caramel
2015-10-13 15:42:09
Write a review
Save Recipe
Print
Crust
  1. 1/2 cup unsalted butter
  2. 1/4 cup sugar
  3. 1 teaspoon vanilla extract
  4. 1/4 teaspoon salt
  5. 1 cup flour
Filling
  1. 2 apples, peeled and thinly sliced
  2. 2 tablespoons flour
  3. 1 tablespoons sugar
  4. 1 teaspoon ground cinnamon
  5. 1/8 teaspoon ground nutmeg
Topping
  1. 1/2 cup old-fashioned oats
  2. 1/3 cup packed brown sugar
  3. 1/4 teaspoon cinnamon
  4. 1/4 cup all purpose flour
  5. 1/4 cup unsalted butter, cold and cubed
  6. Salty Caramel in notes
Instructions
  1. Preheat the oven to 300 degrees.
  2. Line the bottom of an 8x8 baking pan with parchment or aluminum foil leaving enough to hang over the sides.
  3. For the Crust: Combine melted butter, sugar, vanilla and salt in a medium bowl. Add the flour until just combined. Press the mixture evenly into the prepared pan. Bake for 15 minutes while you make the rest.
  4. For the Filling: Combine the sliced apples, flour, sugar, cinnamon and nutmeg in a large bowl. Toss until the apples are well coated.
  5. For the Topping: Combine the oats, sugar, cinnamon and flour in a medium bowl. Add the chilled butter and cut into the mixture with two forks or your fingers until mixture forms coarse crumbs.
  6. Remove the crust from the oven and turn the heat up to 350 degrees.
  7. Layer the apples on the warm crust. Make sure they are tight and even. You may need to press down to make them fit.
  8. Sprinkle the apples with the oat topping and bake for 30-35 minutes.
  9. Let cool for at least 20 minutes once removed from the oven and then chill in refrigerator for a few hours or overnight.
  10. Lift the parchment or foil to remove from the baking pan and cut into even bars.
  11. Drizzle the salty caramel over the top. Enjoy warm or cool!
Salty Caramel
  1. 1 cup sugar
  2. 6 tablespoons salted butter, cut into 6 pieces
  3. 1/2 cup heavy cream
  4. 1 teaspoon salt
  5. Heat sugar in a medium saucepan while constantly stirring with a heat resistant rubber spatula or wooden spoon. Sugar takes on clumps and then melts into a thick brown liquid. Keep stirring so that the sugar does not burn.
  6. When sugar is completely melted, add the butter, but use caution as the mixture will bubble up when the butter is added. Stir until completely melted.
  7. Slowly, drizzle in the heavy cream. The cream is cooler than the caramel and will bubble up.
  8. Allow the mixture to boil and rise for one minute then remove from the heat and stir in the salt.
  9. Let cool a bit before using.
  10. This is great on ice cream or as a gift! It keeps about two weeks.
Bloom. https://www.theblogbloom.com/

Filed Under: Uncategorized Tagged With: apple orchard, Apples, buzzfeed, Dessert, Fall, wine about it

Harvest Hues

September 28, 2015 by theblogbloom.com 5 Comments

I have spent a bit of time on the road the last couple weeks. Two trips to Ohio, one to Chicago and lots of bouncing around Indiana has racked up quite a few miles on my car.

Fortunately for me, these drives have actually been pretty enjoyable. There’s just something about the great colors in the Midwest this time of year.

The leaves are still a week or two away from really changing, so their greens dance along the bright blues of the clear sky. The crops have just changed to a yellow gold. And, the sunsets have been beyond amazing. Only those in the Midwest know the spectacular, yet underrated, beauty of a harvest sunset.

But, it’s not just on the road where the colors have been breathtaking. At home, plenty vibrant colors are found the garden.

Great tomatoes that hang like bright Christmas ornaments are still coming in… even though my canning motivation has majorly slowed.

Purple and white eggplants still hang from their plants like costume earrings.

The carrot’s, beet’s and sweet potatoes pinks, purples and oranges are like finding buried treasures when pulled from the ground.

Peppers are changing from green to deep reds.

Yellow spaghetti squash and creamy butternut squash dot the ground and their fire-orange blossoms still bloom.

But, my favorite?

The Swiss Chard.

DSC_2226

I wrote about Swiss Chard this time last year with a little disappointment. I was hoping for rainbow Swiss Chard but had planted just plain, old green. Nothing was wrong with it. And, it made for great side dishes and additions to fall soups. I was just hoping for the fun element of the bright colors.

This year, I did my due diligence and made sure I had the right seeds. I have been obsessed with my symphony of almost highlighter-bright pink, yellow, red, and orange chard.

DSC_2233

Thanks to their long growing season, we will get to enjoy their beauty- and flavor- well into the fall.

I recently read in a culinary magazine that Swiss Chard “is like the vodka of vegetables;” It pairs well with just about anything.

DSC_2237

… I love a good cocktail analogy just as much as I love versatile garden veggies.

Swiss Chard can be used as a substitute to kale, spinach or other leafy greens. It works in a variety of dishes be it salads, slaws, soups, sides, or sandwiches.

Because of it’s convenience in my backyard, I rely on it often for lunch.

DSC_2241

Also conveniently located in my backyard these days are fresh, colorful eggs from the now laying spring hens.

Together they make a nutritious, easy and, thanks to the bring chard and bold egg yolks, colorful lunch.

DSC_2246 (2)


Sauteed Chard and Runny Eggs
2015-09-28 10:00:06
Write a review
Save Recipe
Print
Ingredients
  1. 2 Tablespoons Olive Oil
  2. 1/2 cup chopped onion
  3. 1/2 pound of fresh chard
  4. 2 cups mushrooms sliced (shiitake if possible)
  5. salt and pepper
  6. 2 large eggs
Instructions
  1. Remove ribs from the chard. Chop into 1/2 inch pieces and place in a bowl. Add the unions and mushrooms to the bowl.
  2. Slice the chard leaves into one inch ribbons using a chiffonade technique. (See notes)
  3. Heat olive oil in a large pan (with cover) on medium high heat. Add the ribs, onions and mushrooms. Saute for about five minutes or until the onions are tender and translucent.
  4. Add the chard leaves to the pan and combine well so that the leaves are coated with the olive oil and the mushrooms and onions are mixed in.
  5. Add salt and pepper.
  6. Spread the mixture evenly throughout the pan. Crack the two eggs over the chard. Lower the head and cover. Cook for about three minutes.
  7. When the egg whites are cooks, remove the pan from the stove top.
  8. Use a spatula to remove the eggs and chard gently and serve right away.
  9. Cut the runny yolks so that they serve almost like a sauce.
Notes
  1. Chiffonade is a French cutting technique when herbs or leafy greens are cut into thin, long strips. To do this, stack the leafy greens and then roll them up (similar to a cigar) and slice in desired width.
Bloom. https://www.theblogbloom.com/

Filed Under: Uncategorized Tagged With: backyard Garden, backyard hens, easy recipes, eggs, Fall, harvest, lunch, swiss chard

Souper Soup Accompanist

October 9, 2014 by theblogbloom.com 1 Comment

Ladies and gentlemen… Soup season is upon us!

Colder, dreary, gray days are brighter and cozier with a scratch made soup warming on the stove top.

Last weekend was a prime example: the weather was mean. It was windy. Brutally cold for the first weekend of October. And apparently, Chicago even saw snow…!

Miserable? Kinda… Okay, yes. But, a perfect weekend for soup.

And I hit it kind of hard.

I had soup for every meal (besides breakfast…) from Friday dinner to Monday lunch. There was a tomato soup that I had canned a few weeks ago with the garden tomatoes. A trip to Panera where I settled on black bean soup because they were out of broccoli cheddar and chicken noodle soup. (Apparently I wasn’t the only one with soup on the mind…) Adam even got on board with the desire for soup and made a chicken gumbo straight out of this months Bon Appetit using the garden’s carrots, celery and herbs.

Side Note: The gumbo was fab. Pick up a copy today. The tailgating story the recipe was a part of was so neat and made both Adam and I kind of wish we had gone to school in the south. Not that we don’t love our Boilers… but… yeah. It looked pretty fun.

As I was out by the herbs snipping a few sprigs of thyme for Adam’s gumbo, I also snipped a tall sprig of rosemary.

DSC_1339

My rosemary has done amazingly well in comparison to last year. This time last year I had given up on it. But, this year, I am considering bringing my container of rosemary inside when the temperature dips below freezing to see if it will continue to grow throughout the winter.

I fanned the sprig of rosemary by my nose.

It’s piney scent reminded me instantly of Christmas. Some say that rosemary’s scent is good for your memory and if that’s true I don’t find it ironic at all that it transports my memory to Christmas time.

My mom was good about making gifts for the neighbors, family friends, people at church and our teachers at Christmas time. Some years it was cookies, others maybe candies and gourmet coffee grounds. But, one year in early high school, she made loaves upon loaves of rosemary focaccia bread. It smelled like I was walking into the freshest bakery every time I came home that December.

And, not only did the bread smell great, it tasted great too. Mom would, of course, also make plenty of loaves for the family and freeze them. They would be brought out throughout the winter on Sunday afternoons when she would make soup for lunch and it was awesome because it would feel like Panera in my own home.

As I ran my fingers along the piney leaves of the sprig I decided that it was time to make my rosemary parmesan focaccia.

DSC_1342

(Plus, I was due for something other than soup…)

Every winter, by January, I have this recipe memorized. But, since I hadn’t made it for about six months, I was a little rusty and had to dig the recipe out of the archives.

It’s a little labor intensive (just a little, I promise) and isn’t something you can make quickly, but it is absolutely perfect for a Sunday afternoon as a soup simmers on the stove top or in the crock pot.

The recipe also makes a lot of dough so I typically make two loaves and it freezes great.  So, it is good for a crowd… or for saving for the next Sunday when you want to be a little lazy.

DSC_1350


Rosemary Parmesan Focaccia
2014-10-09 09:16:41
Write a review
Save Recipe
Print
Ingredients
  1. 1 3/4 cup warm water
  2. 1 package dry active yeast
  3. 1 TBS sugar
  4. 3 cups flour
  5. 2 cups bread flour
  6. 1 TBS salt, plus more for adding to top
  7. 1/2 cup olive oil, plus more for lining bowl and topping
  8. 3 TBS fresh rosemary, chopped
  9. 1/2 cup grated parmesan cheese
  10. Freshly cracked black pepper for adding to top
Instructions
  1. In a small bowl, dissolve the sugar into the warm water. Add the package of yeast and lightly stir with a wooden spoon. Set aside until the yeast is foamy. This will take at least fifteen minutes.
  2. Using a stand mixer fitted with a dough hook bowl, combine the flours, salt, oil and yeast mixture.
  3. Mix until ingredients just come together.
  4. Once the dough forms a ball and pulls from the sides of the bowl, increase the mixer's speed to medium and knead for about ten minutes. The dough should be smooth. If it is too wet, add a little flour. Too dry, add a bit of water.
  5. Transfer the ball of dough to a slightly floured surface and knead a couple times by hand.
  6. Coat the inside of the mixing bowl with oil and put the ball of dough into the greased bowl, turning it to coat the dough with oil.
  7. Cover the bowl with a damp towel or plastic wrap and let the dough rise until it doubles in size. This will take about an hour.
  8. After an hour, prepare a pan (I divide the dough and use two round cake pans but you could use a jelly roll pan) with a little oil and spread dough out in the pans using your hands.
  9. Once dough is fitted to the pan(s), poke holes throughout the top using your fingers.
  10. Cover pan(s) with plastic wrap or a slightly damp towel and let rise for another hour.
  11. Preheat oven to 400 degrees.
  12. Top the bread with a drizzle of olive oil and sprinkle on chopped rosemary and parmesan cheese. Season with salt and pepper.
  13. Bake about thirty minutes, or until the top is golden brown. Rotate the pans halfway through to ensure even browning.
  14. Let bread rest twenty minutes after removing from oven.
  15. Cut and serve or store in a container or wrapped in foil for about a week. To freeze, wrap tightly in foil after completely cooling and use within three months.
Bloom. https://www.theblogbloom.com/

Filed Under: Uncategorized Tagged With: bread, Fall, Herbs, Rosemary, soup

“Basic” Apple Crostata

September 30, 2014 by theblogbloom.com 1 Comment

The term “Basic” has kind of moved from an internet buzzword to a cultural phenomenon in the last couple weeks. Do I dare call it this months ice bucket challenge?!

“Basic” is used to describe a woman, likely in her twenties and was very eloquently defined recently in New York Magazine as “a terminally boring Sex and The City viewer and consumer of Pumpkin Spice Lattes.”

Everyone knows a “basic” girl.  They are all over Facebook and definitely Instagram.  In fact “#basic” has been used just about one million times on IG.

You can even take quizzes to find out just how “basic” you are.

Admittedly, I got sucked in and had to participate. Surprisingly, the quiz said I wasn’t that basic.

However, I am pretty sure I was automatically disqualified the instant I said juice cleanses don’t interest me.

Or that I swore off diet coke years ago. (However, I probably still got partial points for calling it a “DC” in my mind…)

Definitely disqualified when I said that I am not just not a fan of Jennifer Lawrence, but that I kind of hate her. And not in the “Oh my gosh.  I can’t even… She’s flaw-less.” kind of hate her… But rather the, “She’s beyond obnox and I am pretty sure she is faking it” kind of hate her.

…. More partial points for the abbreviated “obnoxious.”

The thing is, any woman from 17-32 is a little basic.

I still quote Mean Girls… daily.  I woke up early to watch Kate Middleton’s wedding and I will tell my daughters about how fabulous it was.  And, really… what is SO wrong with a boozy brunch?!

So, I have decided, we all need to stop being so ashamed about it.

Especially this time of year. In the start of autumn, us “basic bitches” need to stick together.

I get the rush and excitement you get about your first Pumpkin Spice Latte and I don’t even like PSL’s.

The first Pumpkin Spice Latte translates to the excitement for fall.

(However, if it’s eighty degrees and you are ordering it “iced?”  I am sorry.  Stop.)

I feel the same excitement the instant I put on my first over sized, cable knit sweater of the season, which is apparently very “basic” of me.

And so is enjoying a fall spiced candle.  

Or putting a decent amount of time into the perfect handmade Halloween costume.  

Or enjoying a bonfire on a crisp night.  

Or wearing boots, leggings and a flannel to said bonfire.  

… I’m sorry.  It’s a bonfire.  What am I supposed to wear!?

So, whatever.  

It’s probably super “basic” of me to respond with “whatever… but, what—ever.

I like going to the apple orchard.  Seeing the trees where my apples grew.  Meeting the farmers.  Loving on their cozy gift shop full of apple butter, mulling spices and cider.

photo

I love taking the apples I picked out and making this delicious and super basic (basic… as in simple to create basic.  Not as in totally awesome chick who is probably my best friend already “basic.”) rustic Apple Crostata inspired by Ina Garten.

DSC_1257

PS- Ina is the author of “Back to Basics.”  Ahead of her time? Maybe… 🙂

A crostata is an Italian baked tart, similar to a pie.

DSC_1263

… but a little less basic.

Apple Crostata
2014-09-30 17:19:36
Write a review
Save Recipe
Print
For the Crust
  1. 1 cup flour
  2. 2 tablespoons sugar
  3. 1/4 tablespoon salt
  4. 1 stick of very cold butter, diced
  5. 2 tablespoons or ice water, plus more if needed
For the Filling
  1. About 3 large (1 1/2 pounds) macintosh, Macoun, or Empire apples
  2. 1/4 teaspoon grated orange zest
  3. 1/4 cup flour
  4. 1/4 cup sugar
  5. 1/4 teaspoon salt
  6. 1/4 teaspoon ground cinnamon
  7. 1/8 teaspoon ground allspice
  8. 4 tablespoons or 1/2 stick of cold butter, diced
For the Crust
  1. Place the flour, sugar, and salt in the food processor fitted with a steel blade. Pulse a few times to combine.
  2. Add the butter and pluse about 15 times.or until the butter is similar in size to peas.
  3. With the motor running add the cold water through the feeding tube.
  4. Pulse to combine but stop before the dough becomes a solid mass.
  5. If more cold water is needed, add only 1/4 a teaspoon at a time.
  6. Place the dough on a well floured surface and shape into a disk.
  7. Wrap disk in saran and refrigerate for at least an hour.
  8. Preheat oven to 450 degrees.
  9. Flour a rolling pin and roll the dough into a circle on a lightly floured surface. Transfer it to a baking sheet.
  10. Peel, core and cut the apples into eighths and then cut each wedge into three chunks.
  11. Toss the apple chunks with the orange zest in a bowl.
  12. Cover the dough with the apple chunks leaving a 1 inch border.
  13. Combine the flour, sugar, salt, cinnamon and allspice in the bowl of a food processor with a steel blade with a few pulses.
  14. Add the butter and pulse until crumbly.
  15. Rub filling through your fingers until it begins to hold together and then sprinkle over the apples.
  16. Fold the dough border over the apples to enclose the crostata.
  17. Bake for about 30-35 minutes or until the crust is golden and the apples are tender.
  18. Great to serve warm or at room temperature.
Notes
  1. I used Macoun apples. They were recommended by the orchard as great baking apples as well as just for eating.
Adapted from Ina Garten
Bloom. https://www.theblogbloom.com/

Filed Under: Uncategorized Tagged With: apple, apple orchard, Apples, basic, Fall, pumpkin spice lattes

Happy Fall, Ya’ll!

October 6, 2013 by theblogbloom.com 2 Comments

Unlike much of the rest of the world, I have not fully come to terms with the fact that it is Fall.

Now, before you choke on your Pumpkin Spice Latte, let me say that I do love Fall.

I love all of the seasons. And, yes, Fall is wonderful. Football, chili, over-sized sweaters, colorful leaves… Love it.

But, let me also remind you that, in Indiana, it was a muggy, eighty degrees all last week.

Not exactly the kind of weather that makes you want to carve pumpkins or pick apples (… or have a PSL, for that matter), but it is time to welcome Autumn with open arms and give it a try.

Recently, my parents were visiting and I was trying to figure out how to entertain the Ex-Chicago Yuppies in the country. I thought about the little apple orchard I drive passed nearly every day that is just around the corner from our home, but have never been to. So, I suggested a trip to the apple orchard.

They took me to pick apples as a kid so I thought what better way to kick off fall and return the favor.

Some fun shots from a trip to an orchard just outside of Chicago in 1991.  My little sister couldn't have been much more than a month or two old.

Some fun shots from a trip to an orchard just outside of Chicago in 1991. My little sister couldn’t have been much more than a month or two old.

photo (81)

photo (82)

We took the whopping two minute drive to Farlow’s Orchard, drove up a gravel driveway past rows and rows of apple trees to a small barn with open doors.

Inside it looked like a basic gift shop. There were lots of different varieties of apples around the room that you could buy as a bushel, peck, or individually. There was also a cooler full of ciders and many apple desserts like apple dumplings or caramel covered apples.

We were greeted by an older man in bib overalls. He explained they don’t have a “You-Pick” operation to preserve the orchard. He mentioned that Farlow’s is the oldest apple orchard in the state of Indiana. The orchard was created by his wife’s family three generations ago.

I knew I wanted to make something with the apples and had recently scanned through the Canning for a New Generation book. There was a recipe for applesauce that had caught my attention in the “Fall” chapter.

099

I asked which apple was good for making apple sauce. He said lots of them were, but his wife’s favorite for apple sauce is the Cortland variety.

Good enough for me. A woman who grew up on an apple orchard and continued to live there well into adulthood? She probably knows what’s best.

080

My dad treated me to my apples and got himself an Apple Slush, basically an apple Slurpie.

“Mmm, that’s good,” he said offering me a sip. It was.

He thought for a moment. “A suggestion?” the marketing extraordinaire questioned the orchard owner, “A little caramel in here would really just make it incredible.”

“They sell pretty well enough on their own,” the orchard owner bluntly replied.

Welcome to the country, Dad. If it ain’t broke, don’t fix it.

Another thing that clearly had not broken was the cash register. It looked like it was at least a hundred years old. It was a huge machine covered in ornate designs and complete with a big hand crank. The owner said he tried to use a computer once, but this worked better.

Again, if it ain’t broke, don’t fix it.

I took this mind set home with me and prepared to make applesauce. After cutting, boiling and mashing the apples I pushed them through an old, aluminum sieve with a wooden mortar that belonged to Adam’s grandmother.

113

Adam found it in his childhood home after his parents moved out and had to hang onto it. It had still not been used since it was in our possession so I decided to give it a try.

Oh my gosh. I discovered muscles in my forearms that I didn’t even know existed. It was crazy, hard work. But, with my peck of apples (… Minus a few for snacking.) I made two jars of apple sauce.

118

Here is what I did:

Get about about six pounds of apples (Not as many as you would think once you weigh them.)

Core apples, cut into 1-inch chunks

107

Add to a pot with about 1 ½ cups water

109

Heat on high, bring to a boil and stir occasionally. As the apples cook down, the peels will separate from the apple. Cook for about forty minutes.

110

111

Pass through a food mill (or sieve). I had the puree fall onto a deep cookie sheet. You can use a bowl as well.

114

Bring puree to a boil for five minutes.

Can, if you would like. I did not, just because I didn’t make that much. If you were to water bath can apple sauce, process the jar in the boiling water for fifteen minutes.

The apples and applesauce were a perfect first taste of fall.

083

Now, time for chili… And maybe even a Pumpkin Spice Latte.

Filed Under: Agroturism, Plant, Recipes, Uncategorized Tagged With: Apple Sauce, Apples, Cortland Apples, Fall, Farlow's Orchard, Plant

Meet Claire

Hi, thanks for visiting! I am Claire and I have been sharing my life and thoughts on Bloom since 2013. Welcome to 2023's project, The Farmers Market and The Library. For more about me...

Follow Bloom.

RSS
Follow by Email
Facebook
Twitter
Pinterest
Instagram

Be a Bloom Insider

Enter your email address to subscribe to Bloom and receive notifications of new posts and a bi-weekly love letter from Claire by email.

Archives

Copyright © 2025 · Foodie Theme by Shay Bocks · Built on the Genesis Framework · Powered by WordPress