Two years ago, Adam and I began to discuss having backyard chickens.
We read a lot, watched a lot of YouTube videos, and learned so much.
A couple of the reasons that we finally decided to give it a go were that their composted droppings are great for gardens and that they are pretty easy to take care of.
We have found both of those reasons to be very true.
However, we also have learned a lot since owning our little flock of hens that we never found in our research.
Based on what I have learned as the owner of backyard chickens, I have decided that backyard chickens need to come with Warning Labels.
If you are thinking of getting chickens or already have baby chicks… prepare yourself.

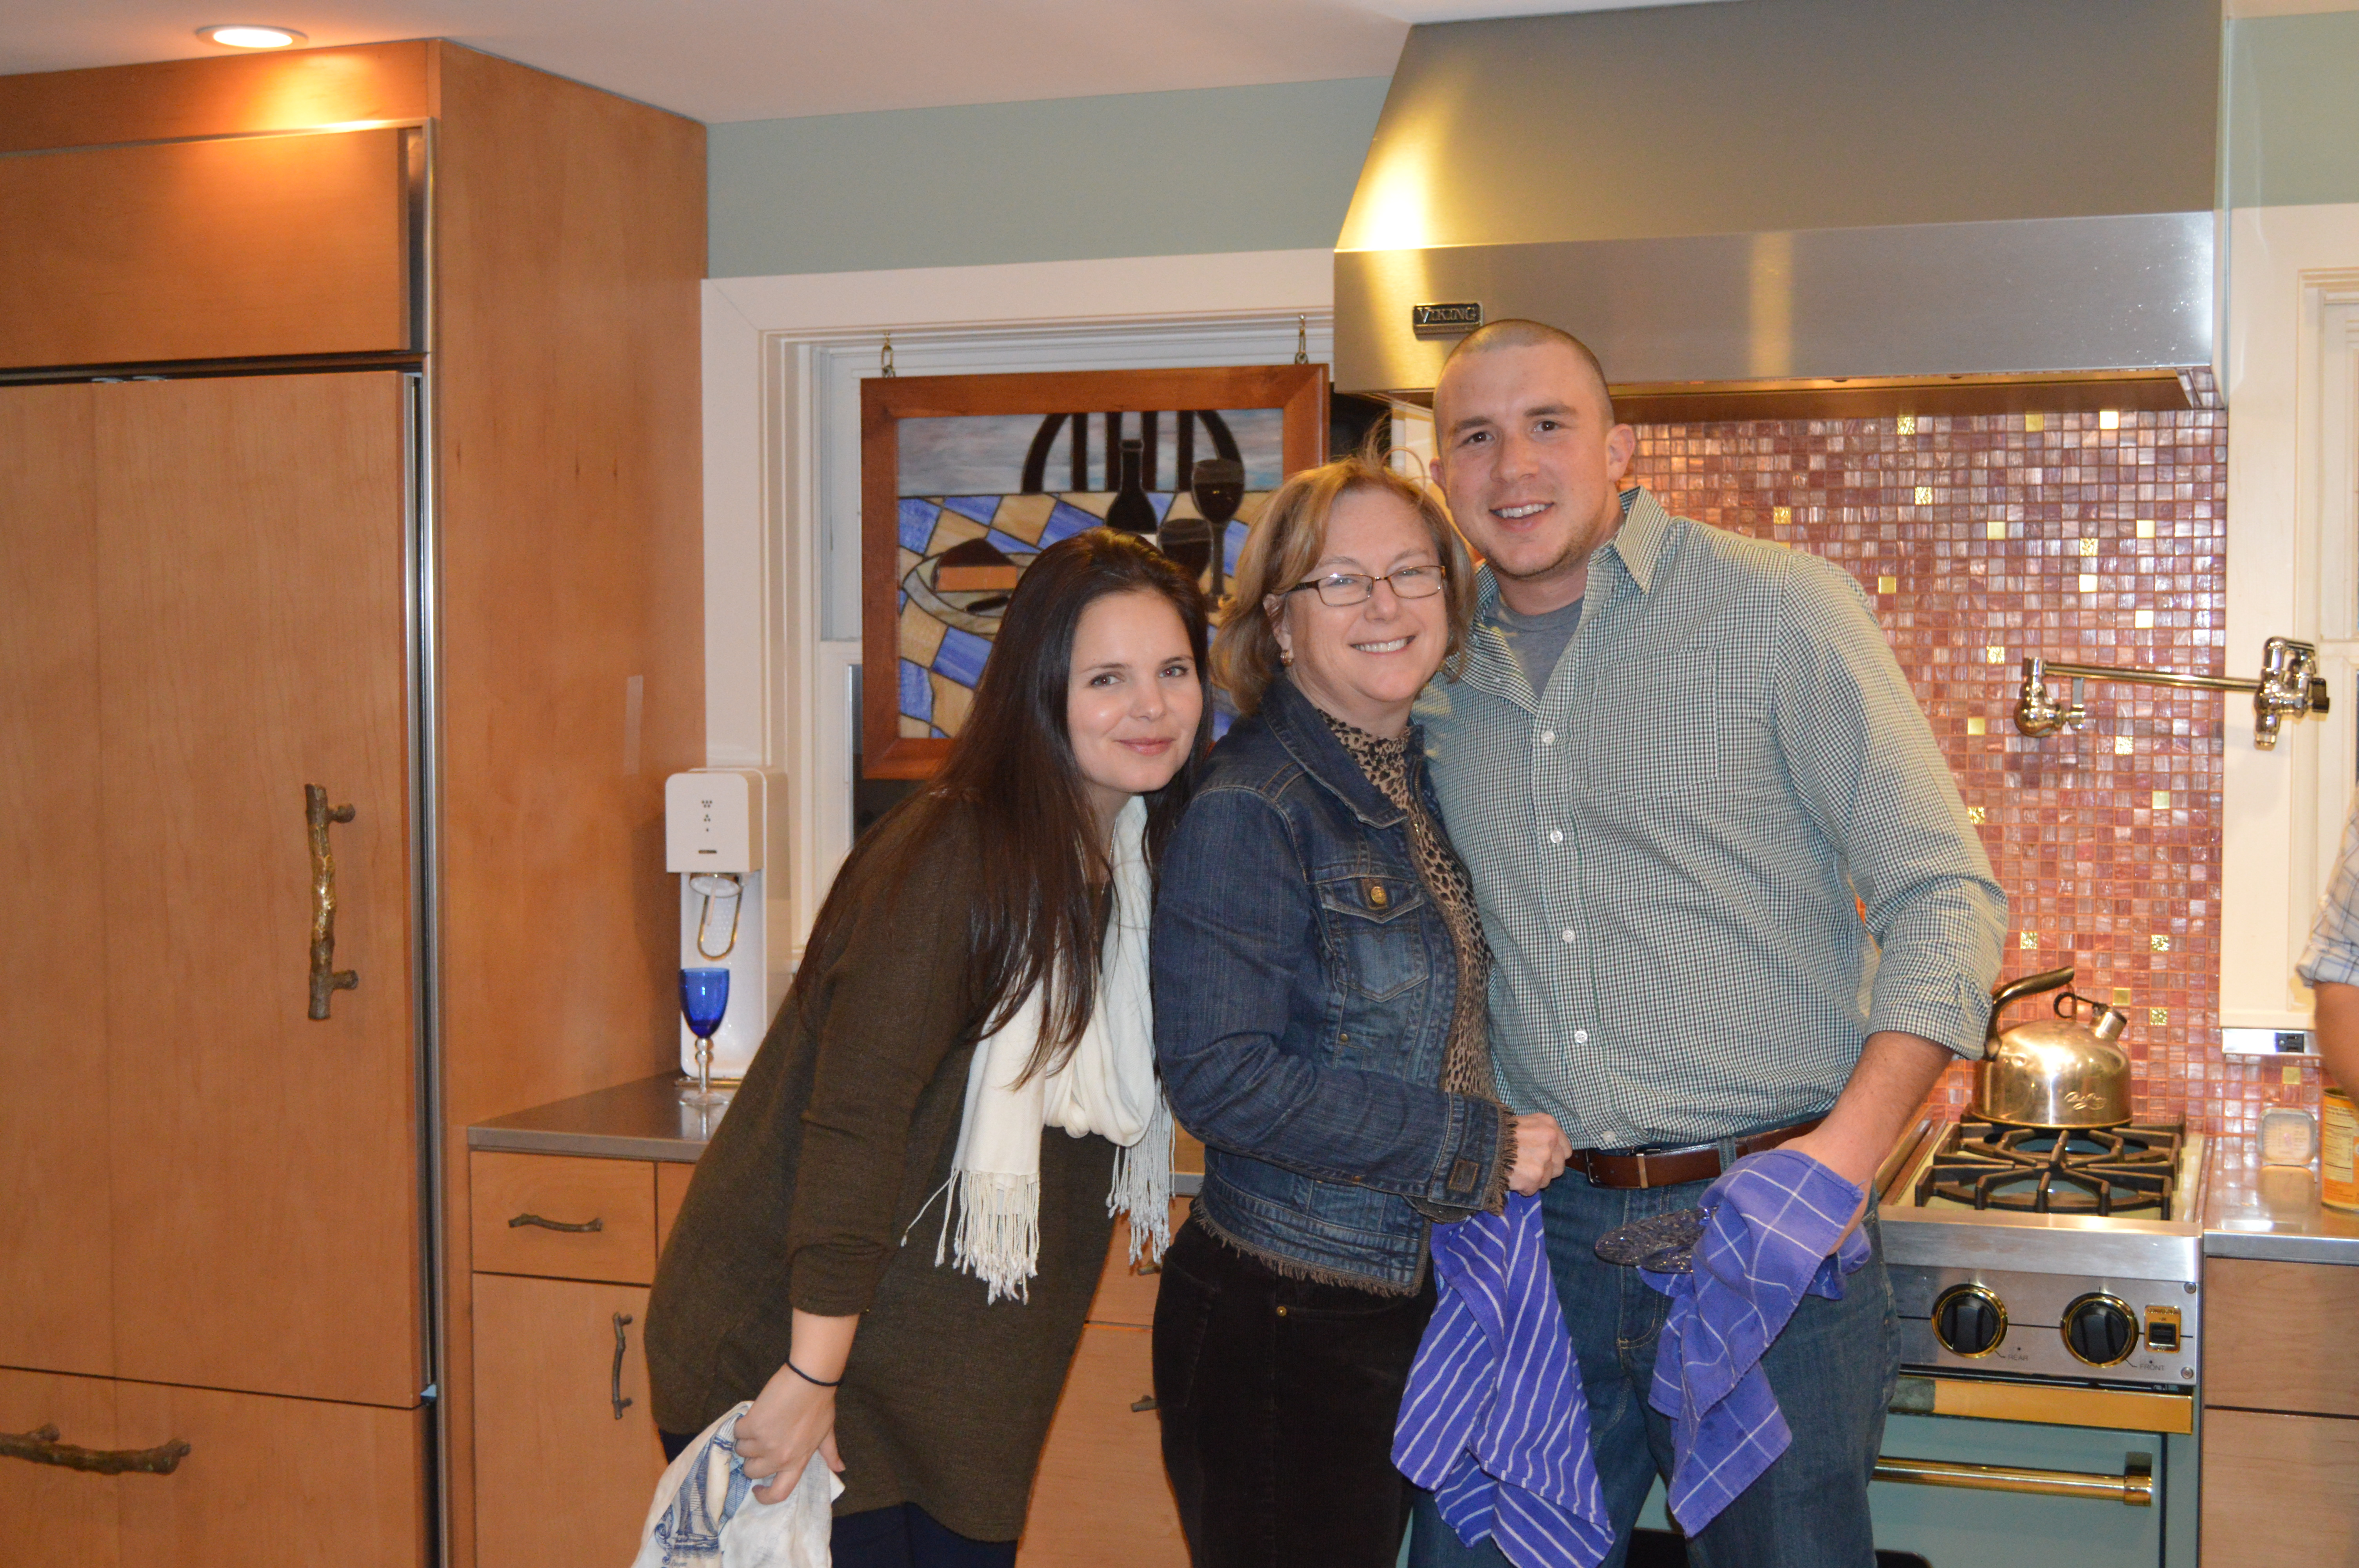
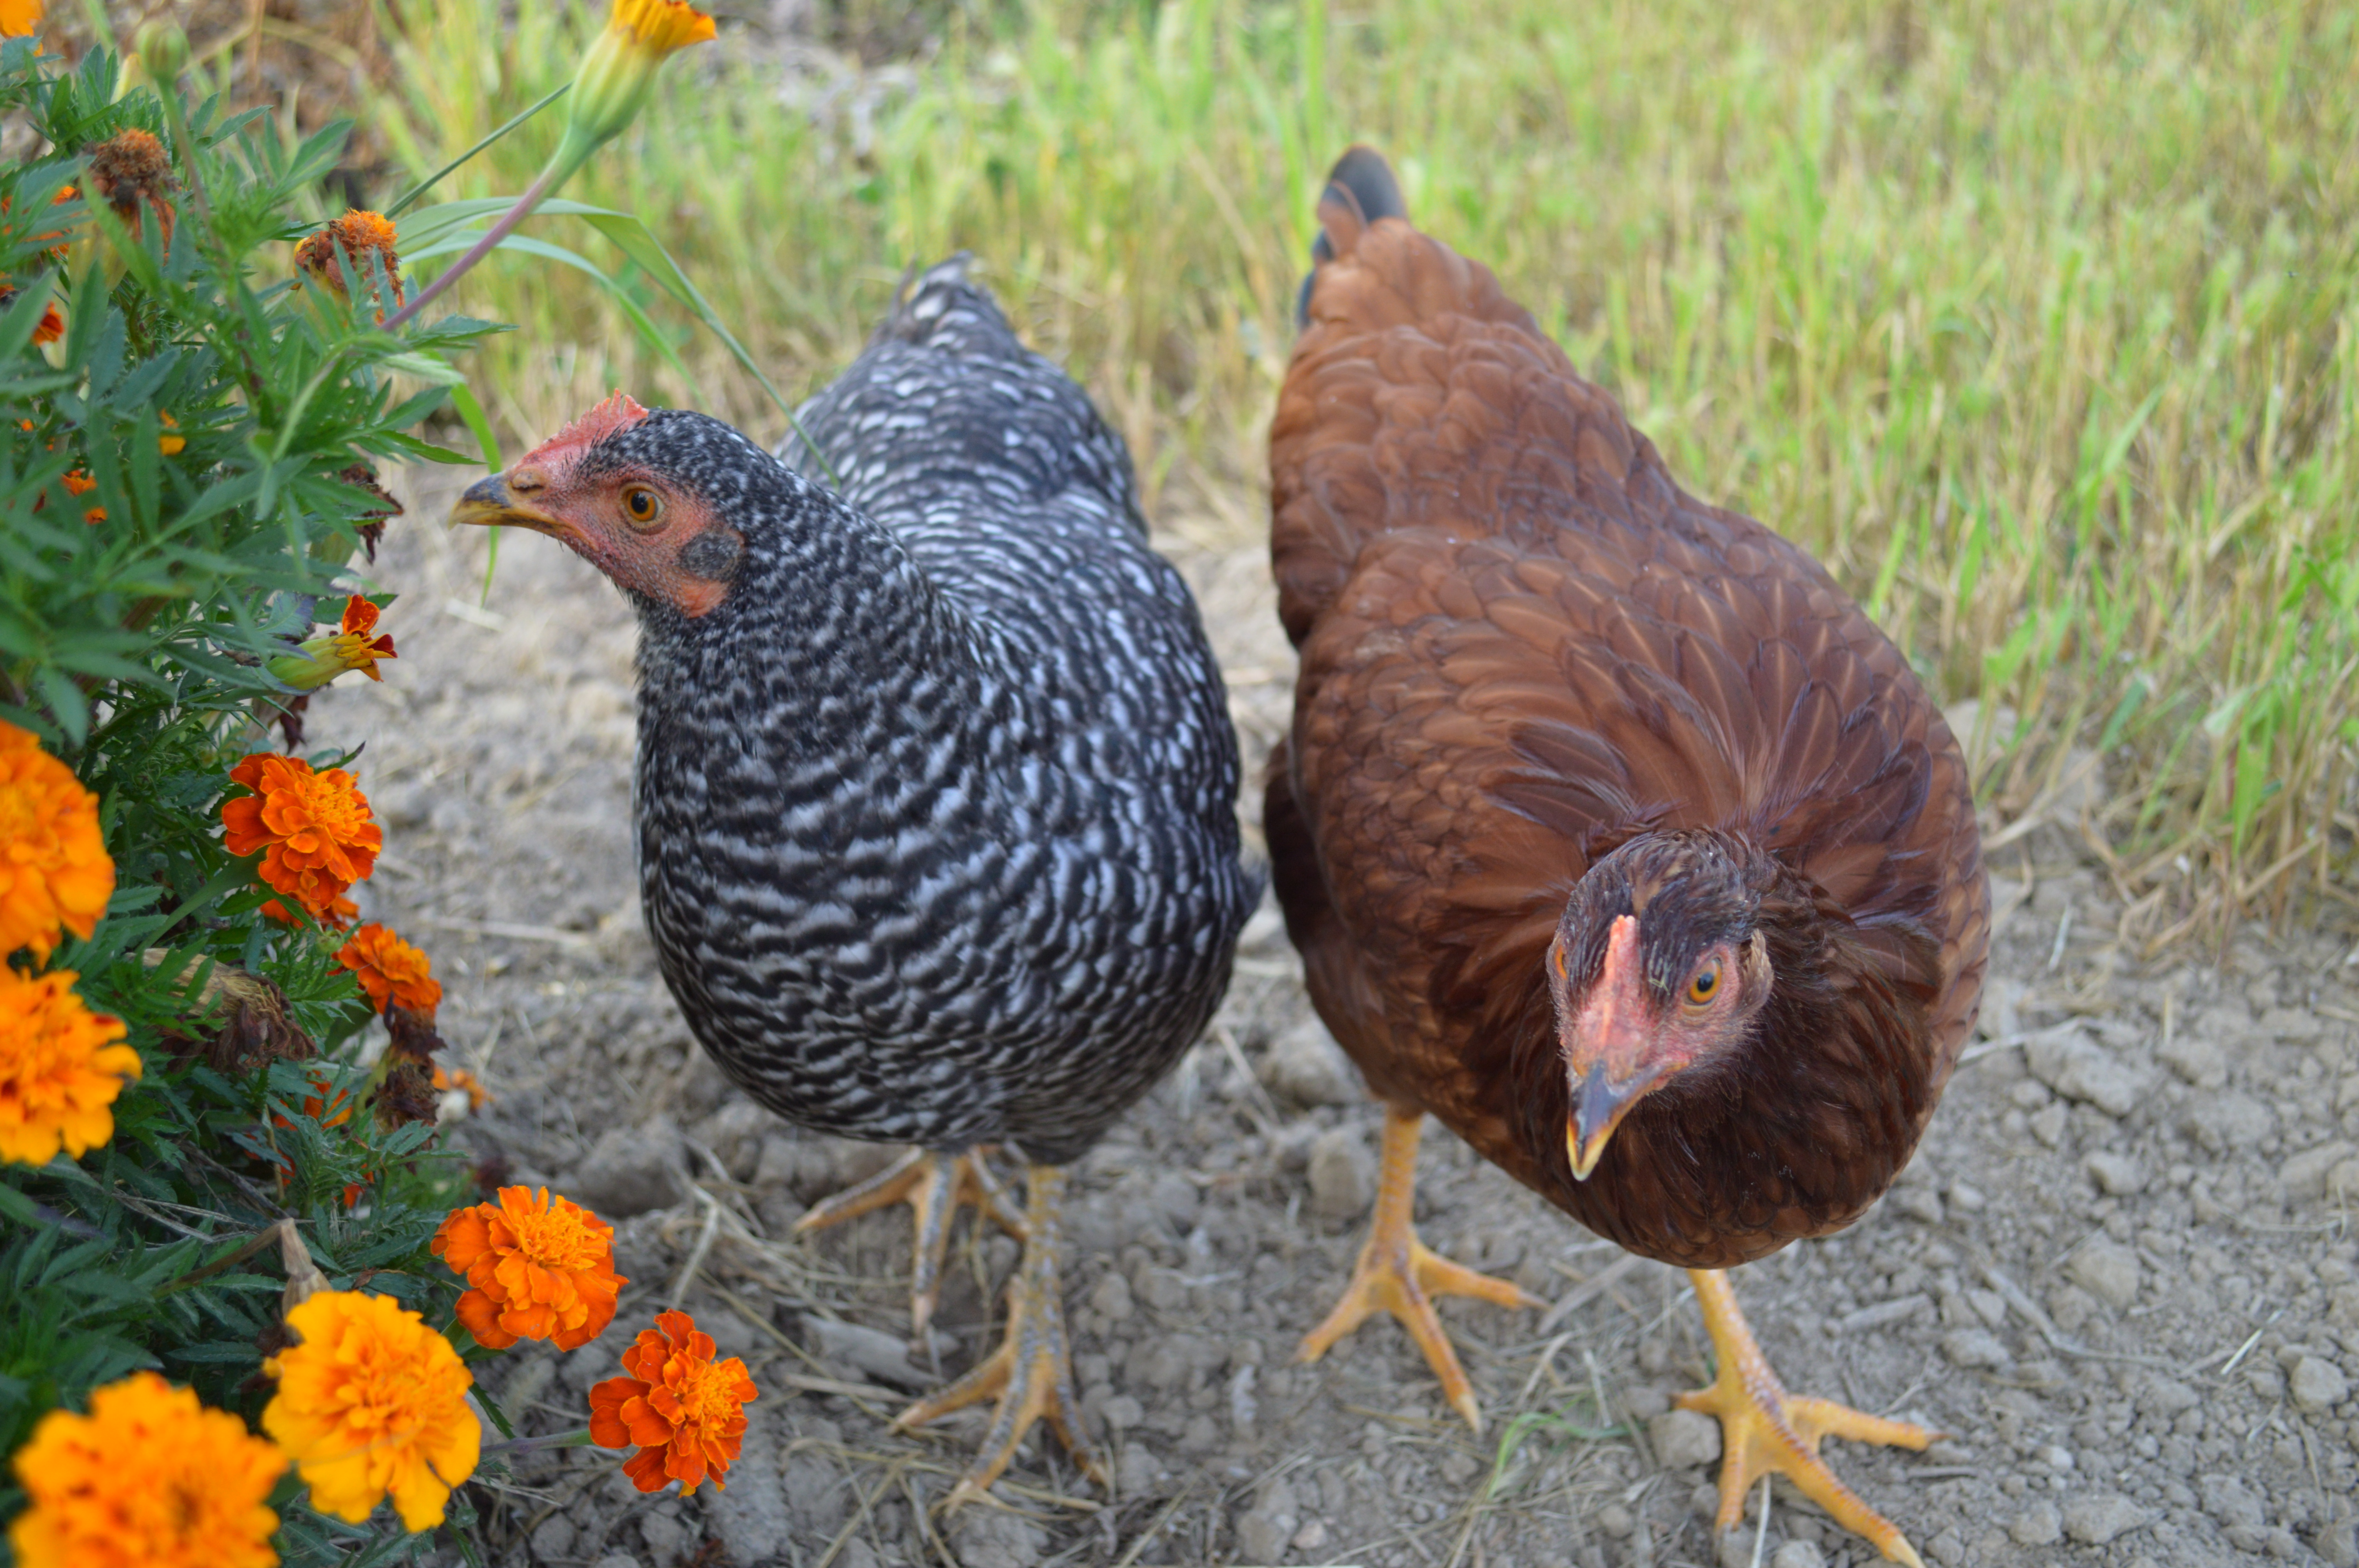
Photo by Hive and Honey Photography
Warning #1: People will think you have gone insane.
We have had people have no problem telling us everything from “Eww, what about the poop?” To “Why work so hard?” To, plain and simple, “You are making a huge mistake.”
(I mean… What if people said these things about babies??)
And that’s from the people in the country… People who have actually seen a chicken outside of a petting zoo or a kitchen decoration.
Where I grew up, the HOA allowed only two dogs and two cats per household. Max. Chickens were not a topic of discussion.
Just imagine what the people I grew up with must think if they have heard that over fifty chickens have called my backyard home at one time.
In-sane.
Warning #2: You may be the sweetest person on the planet, but you will become incredibly stuck up.
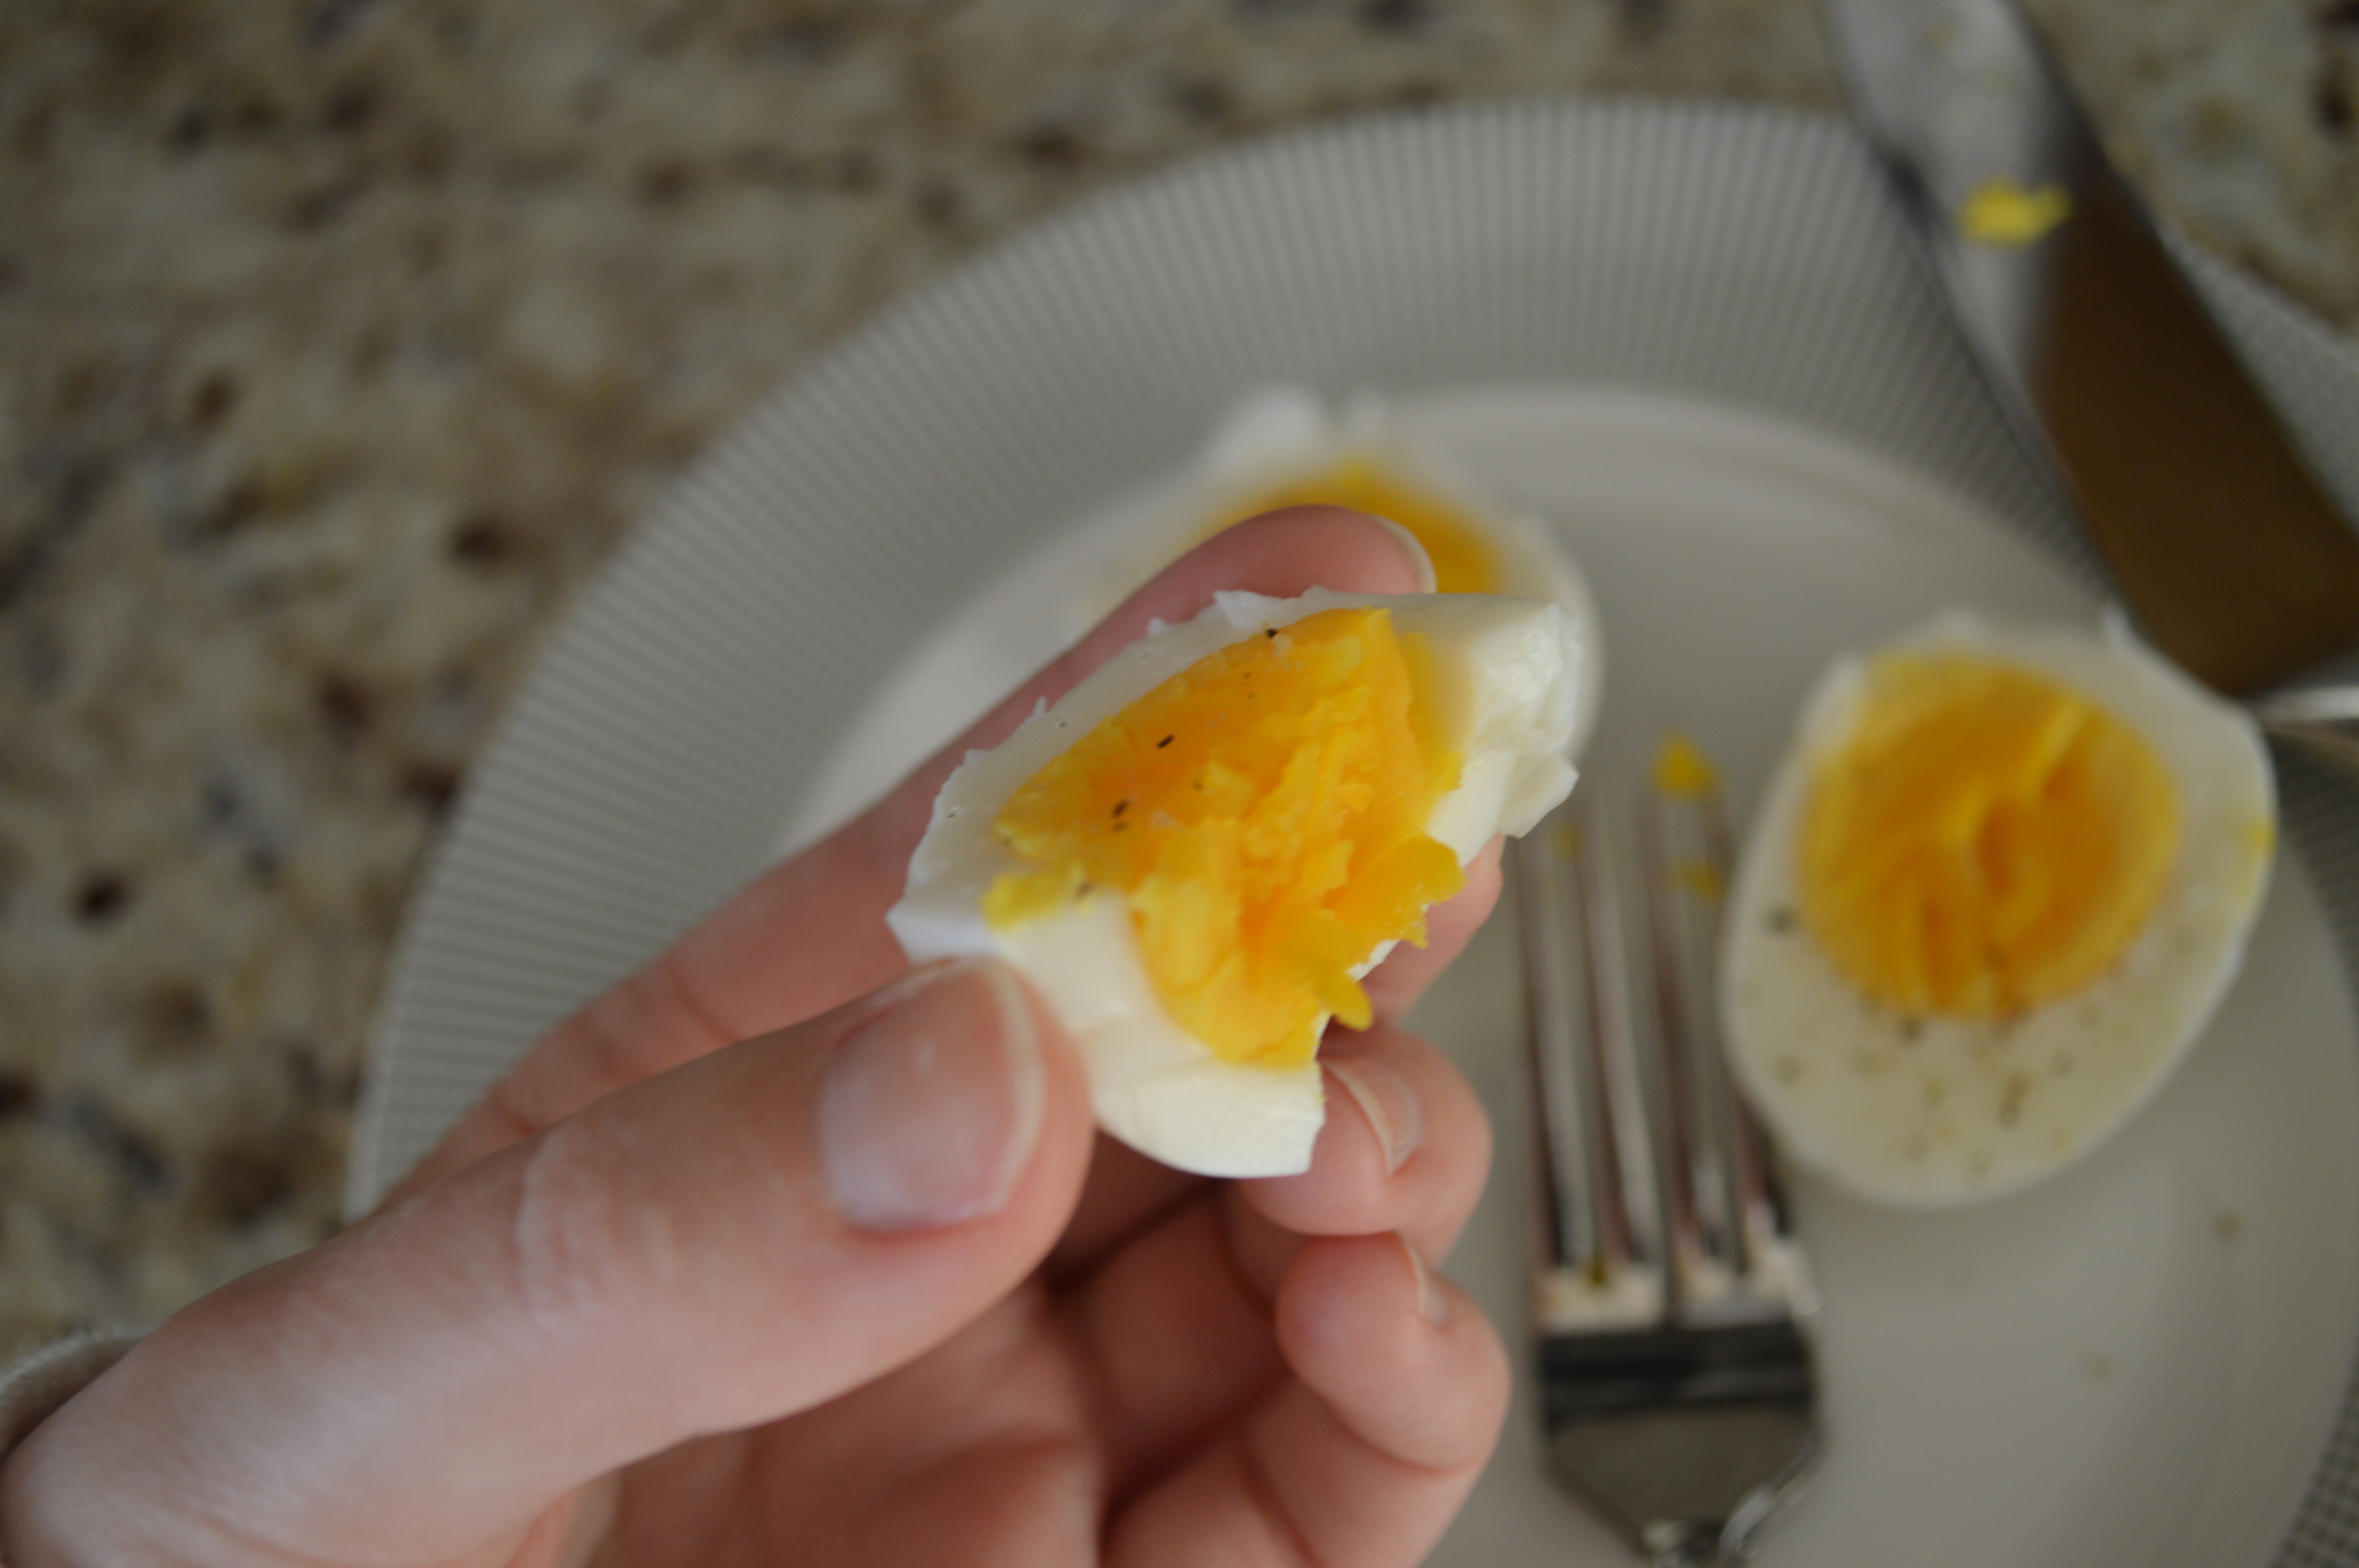
No one really talks about it, but I think it’s very common for owners of backyard chickens to suffer from a phenomenon called “egg snobbery.”
On your business trip you will cringe at the site of the scrambled eggs made from egg beaters at the hotel’s very generic continental breakfast.
You will turn up your nose as you walk down the egg aisle at the grocery store knowing that your eggs at home are far superior.
And, when someone Instagrams a shot of their homemade brunch with two very sad sunny side up eggs with shapeless and dull colored yolks you will smirk and say sarcastically to yourself, “That’s cute…”
Warning #3: You will also become a paranoid freak.
I don’t have children, but, thanks to the chickens, I have gotten a sneak peak of what parenthood is all about.
Spoiler Alert: It’s a 24/7/365 anxiety attack.
Any threat of bad weather, be it extreme cold, snow, high winds, tornadoes, extreme heat, whatever, my mind goes to the hens… and that they are going to die.
Any dog, cat, raccoon, and owl within a two mile radius of the coop is the enemy.
I am sorry. I don’t care how cute your dog is. I probably hate it until I know that it doesn’t think my sweet hens are a chew toy.
PS- Just today I heard on the radio that a six foot boa constrictor escaped from it’s cage and is on the loose somewhere in the local listening area.
You guys... HOW AM I SUPPOSED TO DEAL WITH THIS!?!?
Warning #4: Anything pop culture will suddenly become very uninteresting.
That check you write to the cable company each month will seem like a huge waste.
You haven’t been Keeping Up with the Kardashian’s… You have been Keeping Up with the Chickens.
The day you bring them home you will begin to see each chicken’s unique personality.
And as they grow, you would rather spend your time watching them roam the yard than watch that movie getting Oscar Buzz. The movie could be a flop. But, watching the chickens you might catch that hilarious moment when one might slurp up a huge worm like a piece of spaghetti and the others come rushing over in a fit of jealousy. Somebody call the Academy!
Oh. And, you will post things like this on Facebook and it will be 100% true:

Warning #5: Once you get that first chick, you will be a chicken owner the rest of your life.
Admittedly, I have never been a huge fan of animals.
In fact, as a kid, animals made me kind of nervous.
My uncle loves to tell the story of when I was a toddler… my foot was dangling by my moms hip as she held me and his weimaraner licked my foot. I apparently screamed like bloody murder and was convinced that the dog bit me.
(To my credit, a weimaraner to a three year old might as well be a fierce looking horse.)
As an adult, and thanks to a fabulous (thirty pound…) family dog in my childhood, I have warmed up to animals.
I am really excited for the day that we get a dog. And I understand that to make Adam happy this dog will be larger than thirty pounds… and I am okay with that.
Because we have enjoyed our dabbles in homesteading, we have been talking about getting a couple cows and even pigs just to give it a try.
Dogs will likely come and go, depending on our future children wants, and we may find other kinds of livestock exhausting.
But, thanks to the wonderful eggs…
The funny way the ladies interact with one another…
The way it feels like they are able to almost communicate with Adam and me when we are in the garden…
The pure joy in any of our friend’s kids faces when they are chasing the hens…
The joy that I cannot wait to see in my own children… and grandchildren’s faces…
I know that for the rest of my life, I will be the proud owner of a flock of backyard chickens.

Photo by Hive and Honey Photography
You have been warned.