Bloom.

Navigation
  • About

Cool Carrots

October 19, 2014 by theblogbloom.com 7 Comments

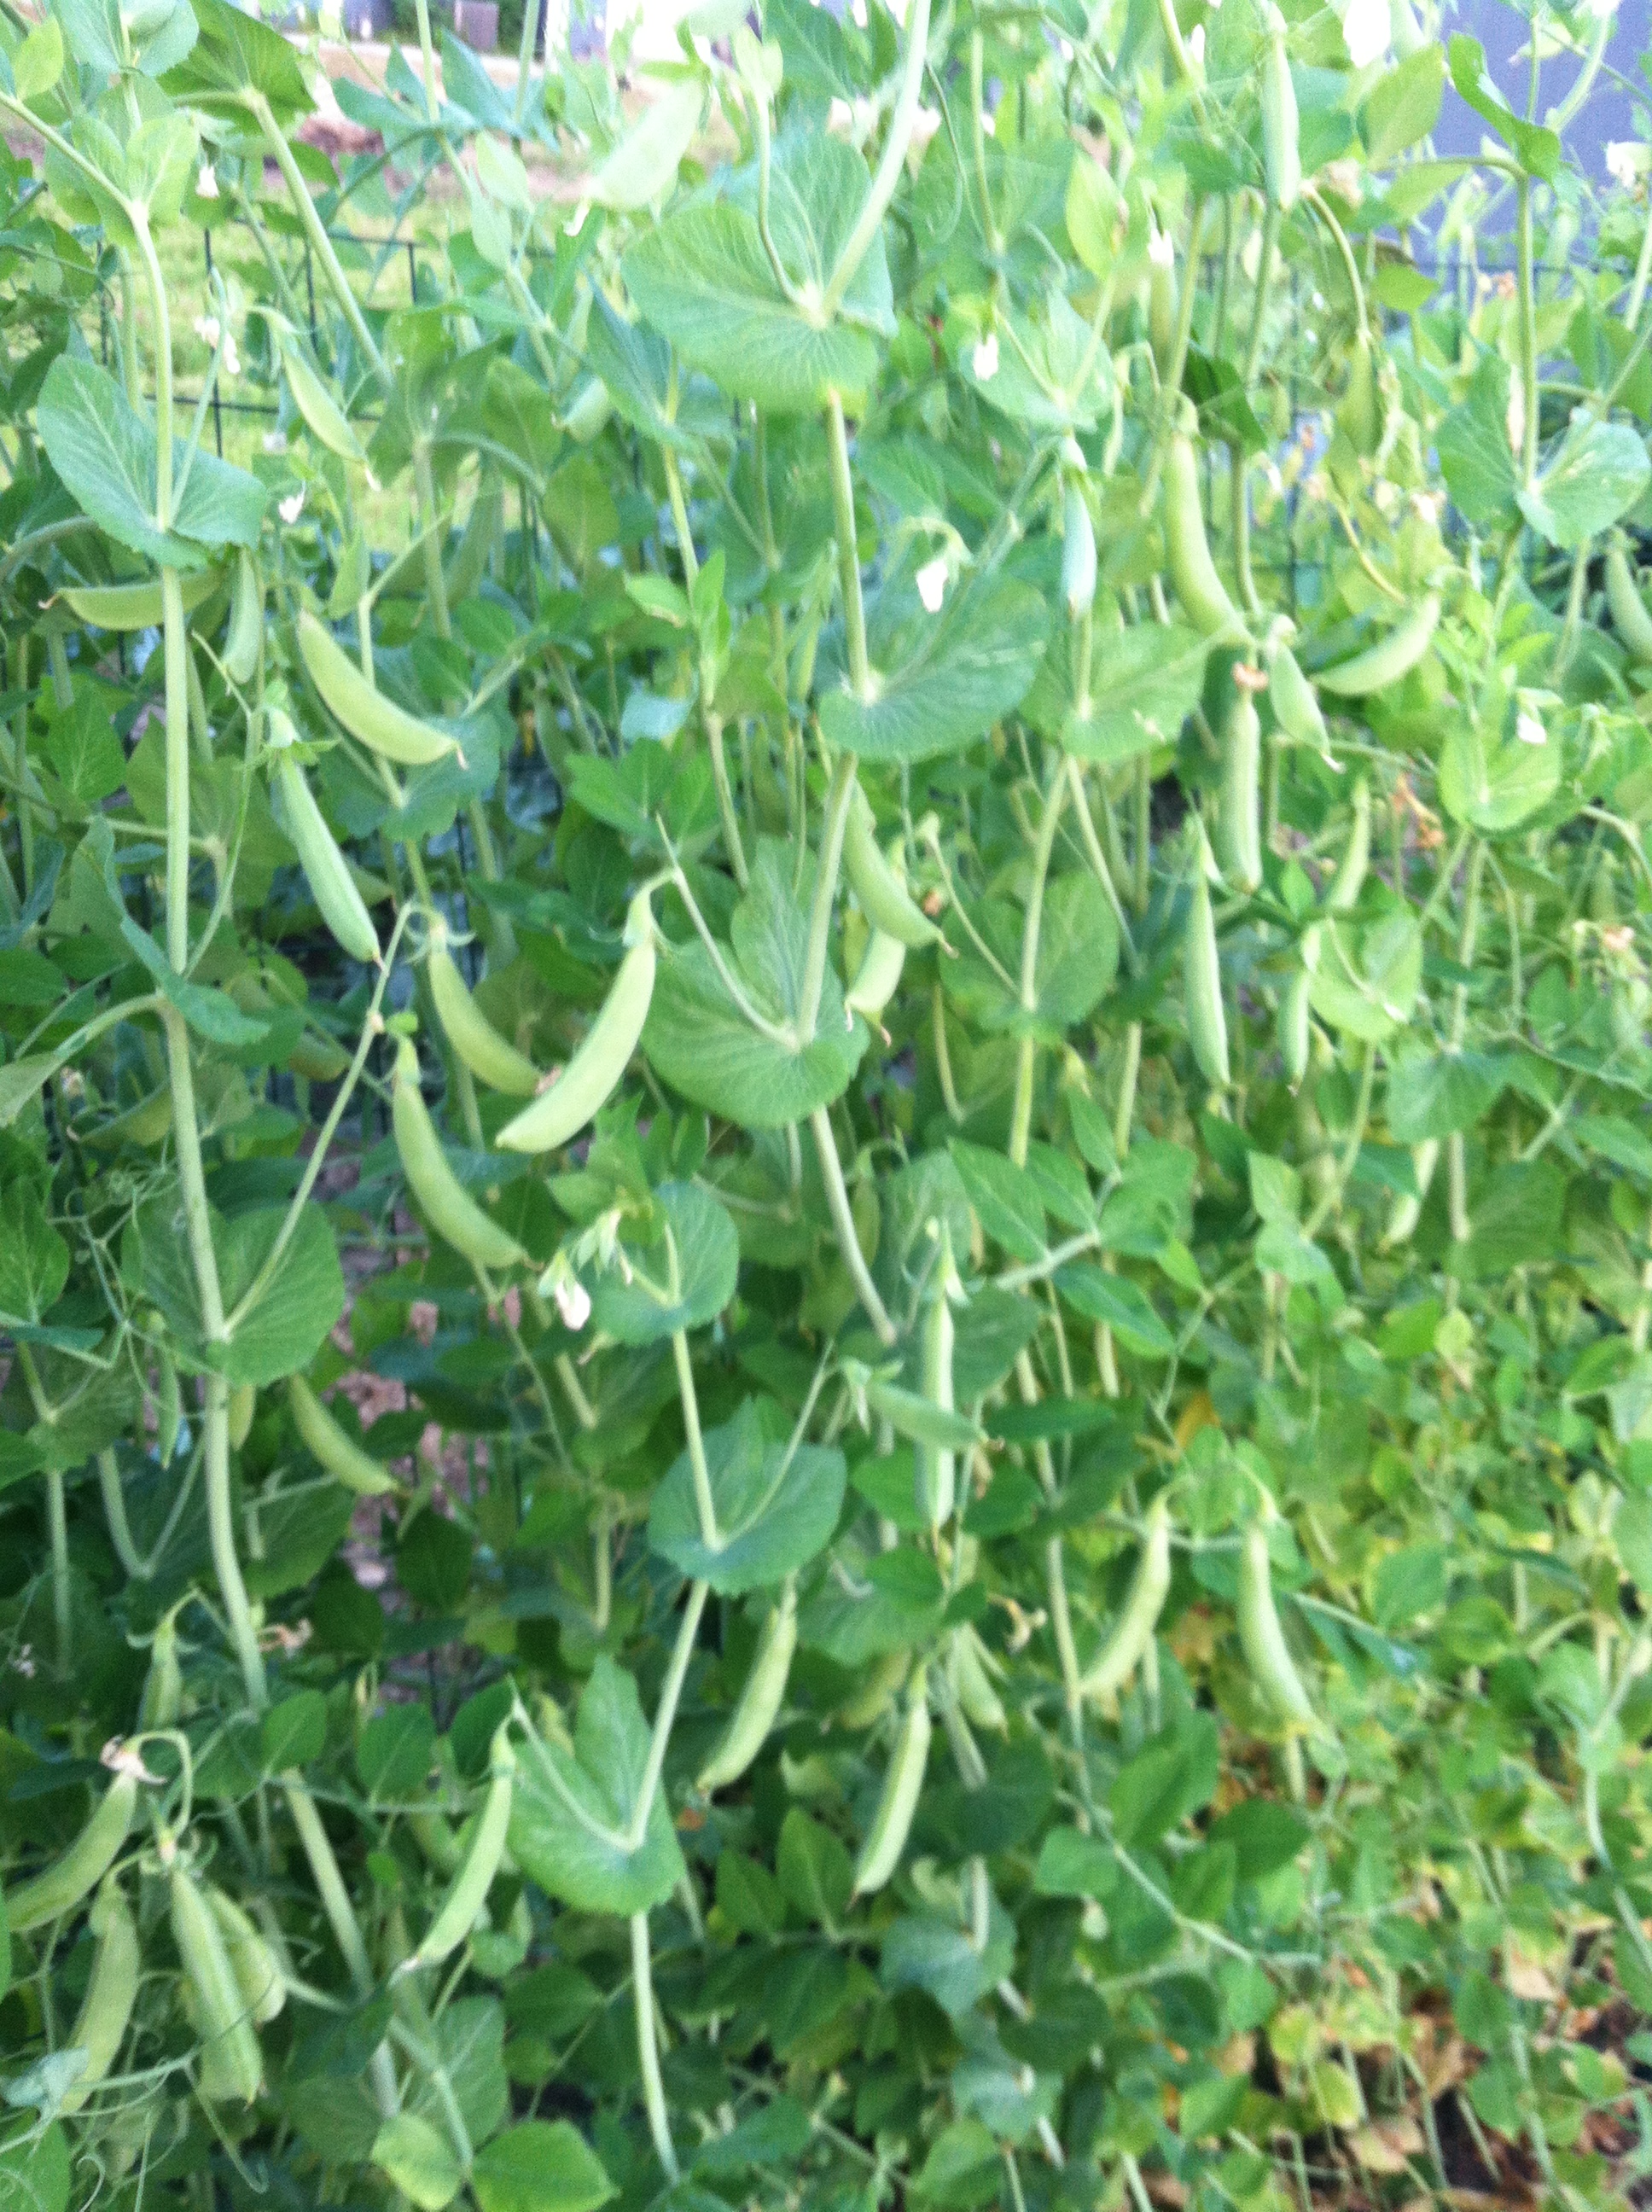
Carrots are definitely Adam and my favorite vegetable we have grown in the garden.

Oooh. But, I do love tomatoes.

And, growing our own garlic is pretty cool.

Oh… and having lettuce straight from the backyard is kind of awesome.

Oh geeze. I can’t forget about how great it felt to slice into that first spaghetti squash either.

Okay, so it’s hard to pick just one, but carrots… are a (one of many) favorite(s).

Carrots have also been a favorite of any guest to the garden.

When we had photos taken last month, the photographers were blown away with how great the carrots looked.

Hive and Honey Photography

Hive and Honey Photography

So was Adam’s mom when she stopped by to pick some this summer. She laughed as she pulled carrot after carrot with his sister, Amanda.

Amanda described pulling the carrots from the ground as “magical.”

DSC_1390

And, when Stephanie, my friend from Chicago, visited for a weekend I think she felt the same way. She excitedly pulled so many carrots from the ground I wondered how we were ever going to eat them all fast enough. … Cue the veggie dip!

Summer 2013 was the first year we grew carrots and both Adam and I were blown away by the amazing flavor in our homegrown carrots versus the carrots we had been eating our whole lives. The flavor of a carrot is best right after it is pulled from the ground. In fact, some say the flavor diminishes within hours of being harvested.

The good news is that carrots don’t typically last much more than two hours at my house anyway.

But, this is bad news too. In 2013, we only planted a half of a garden bed in carrots. They were all ready mid summer and then they were gone.

So this summer, with one year of carrot growing experience under our belts, Adam and I decided to see how we could extend our carrots into the fall… and, at this rate, we should be good for the winter too!

Carrots are planted straight into the ground and they need good, light soil to penetrate the earth as their roots grow. They are pretty hands off throughout their growing process needing normal amounts of water, sun and a little thinning when the tops start sprouting.

DSC_1385

This year, we planted carrots in a couple different beds in different rounds to extend our carrots throughout the growing season. It’s currently a couple weeks out from Halloween and we have plenty of carrots still in the ground… and I am in no hurry to get them out.

They do need to come out of the ground before the ground freezes solid (or good luck getting them out ’til spring…), but they are incredibly cold weather resistant and can eve handle freezing temperatures. Carrots are full of natural sugars and those sugars act like an anti-freeze in the cold weather so that ice crystals cannot disrupt or damage the carrot. In all our reading, we have also learned that freezing temperatures actually make carrots sweeter!

We are still frost free, but it’s likely only a matter of time until we can find out first hand.

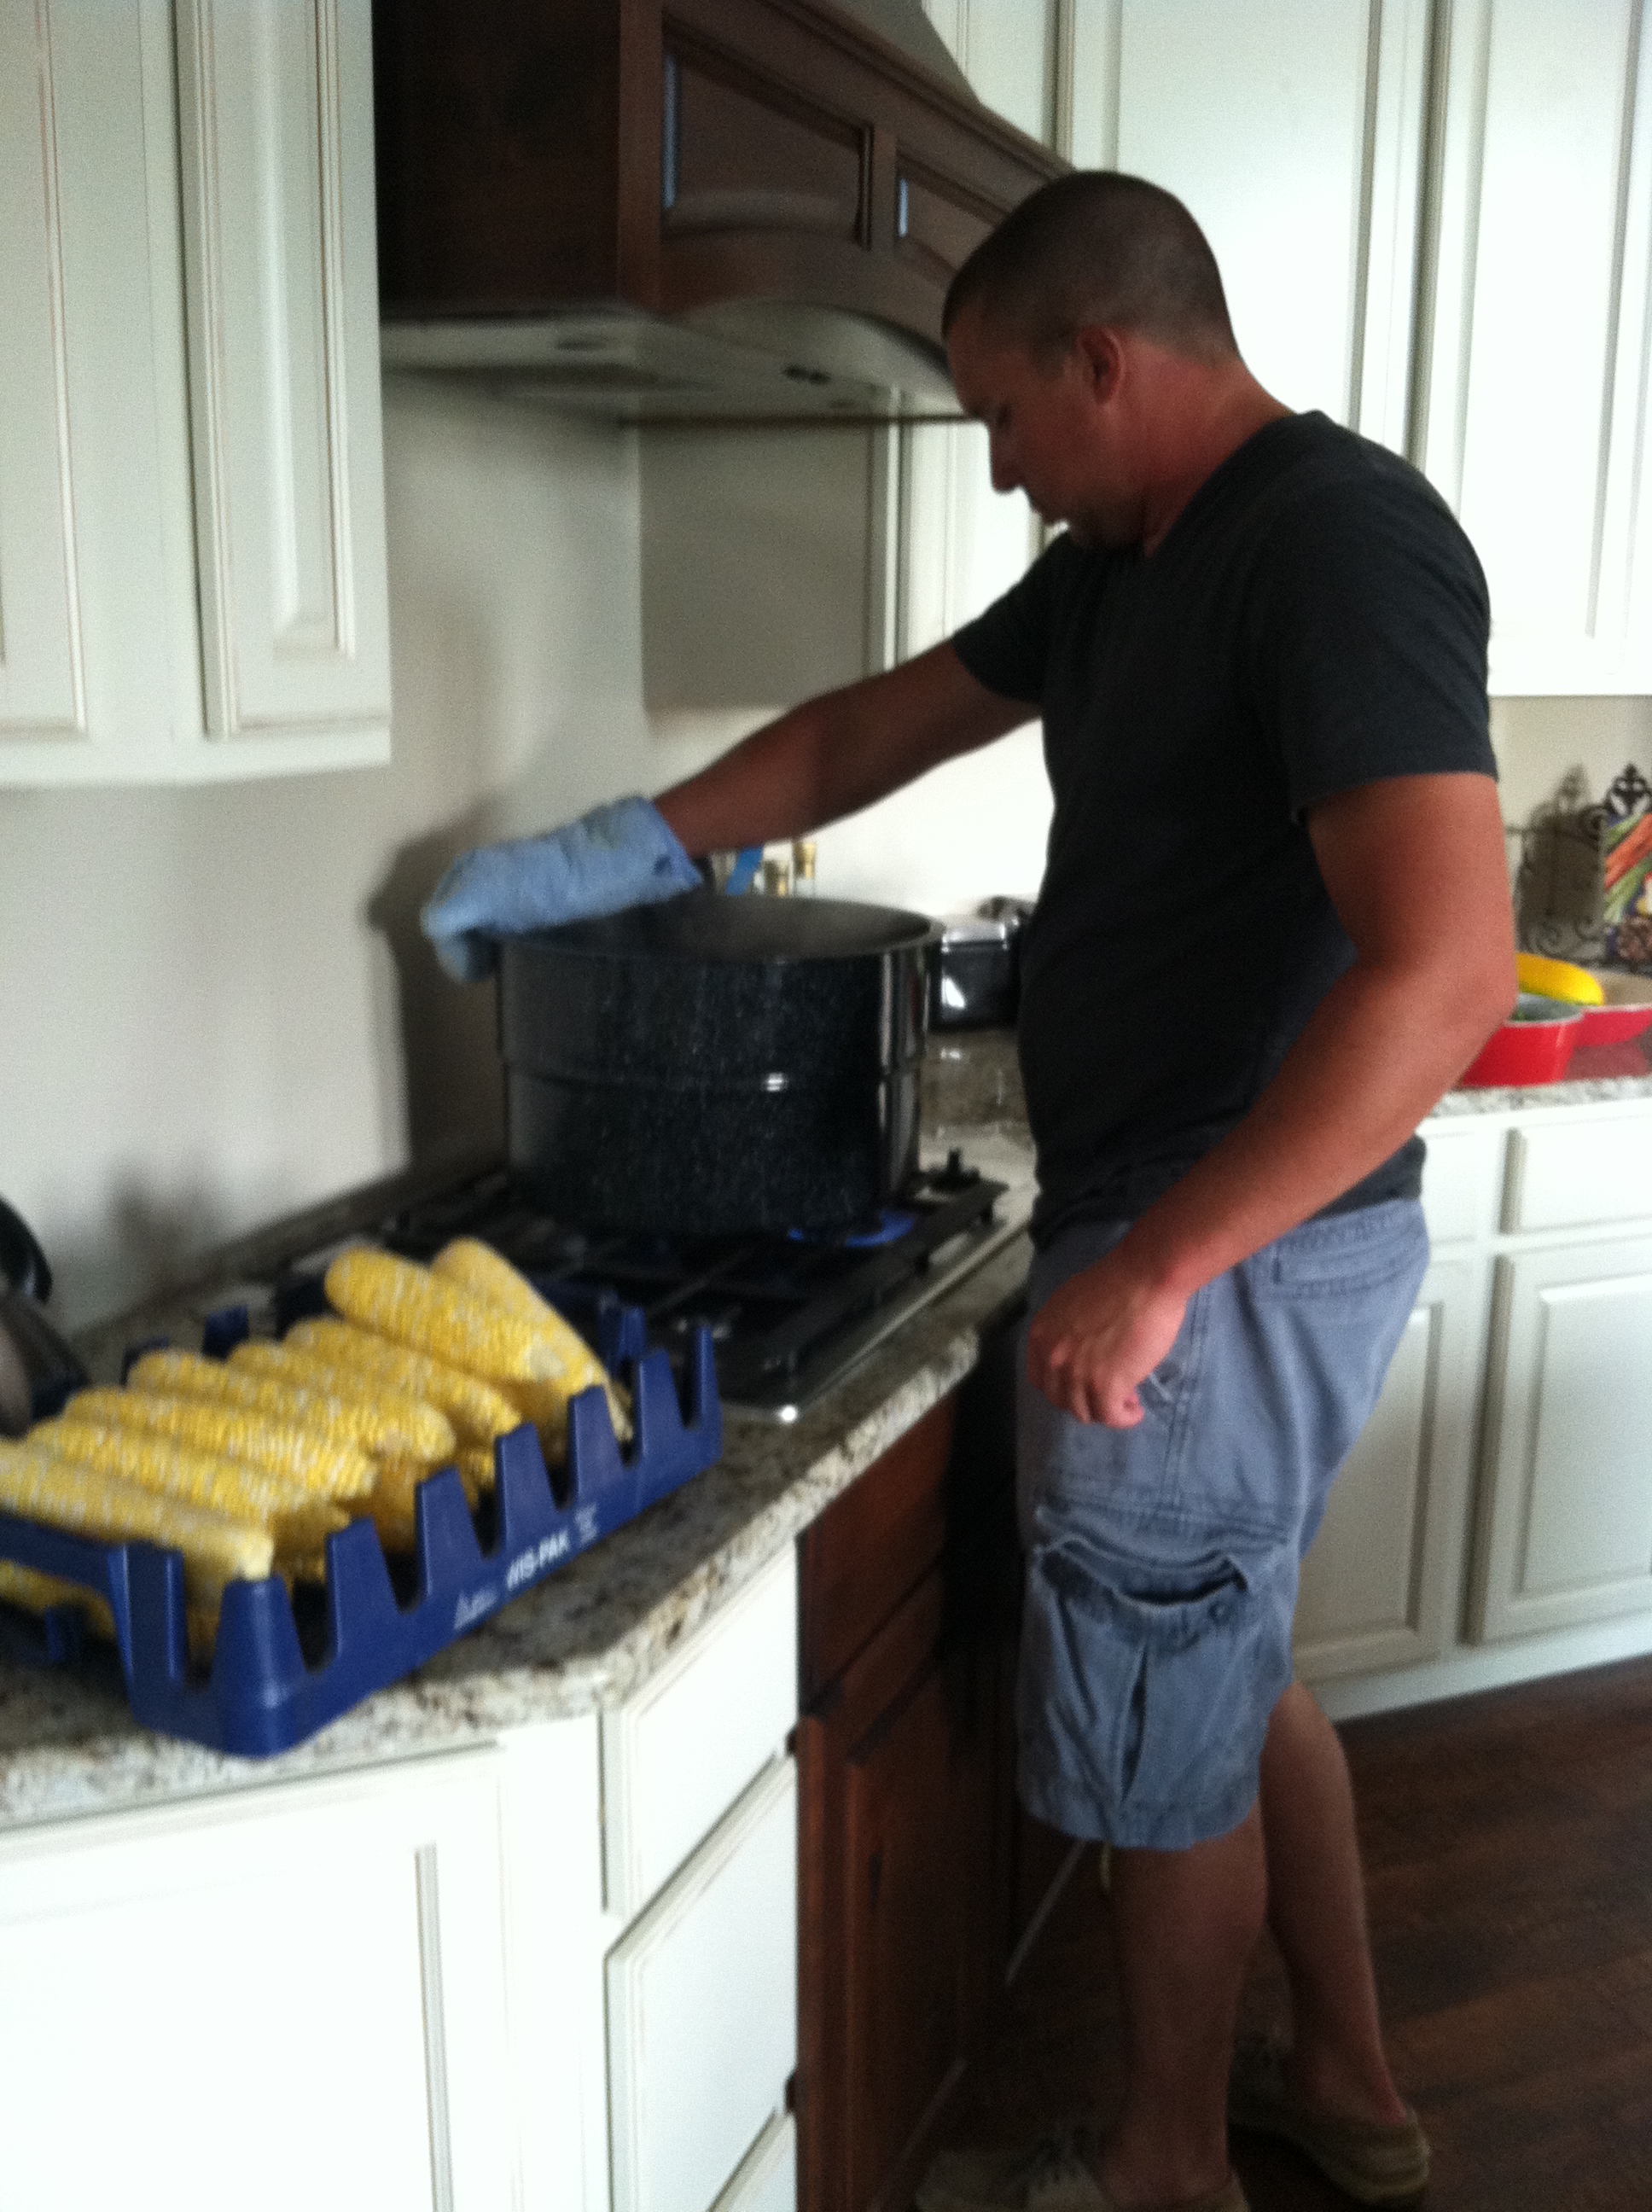
I have also blanched and frozen some of our carrots throughout the late summer and early fall. Blanching and freezing is one of the easiest things that you can do to preserve vegetables from the garden.

Here is how I do it:

Clean, peel and slice carrots into small coins, discarding the tops and ends.

DSC_1173

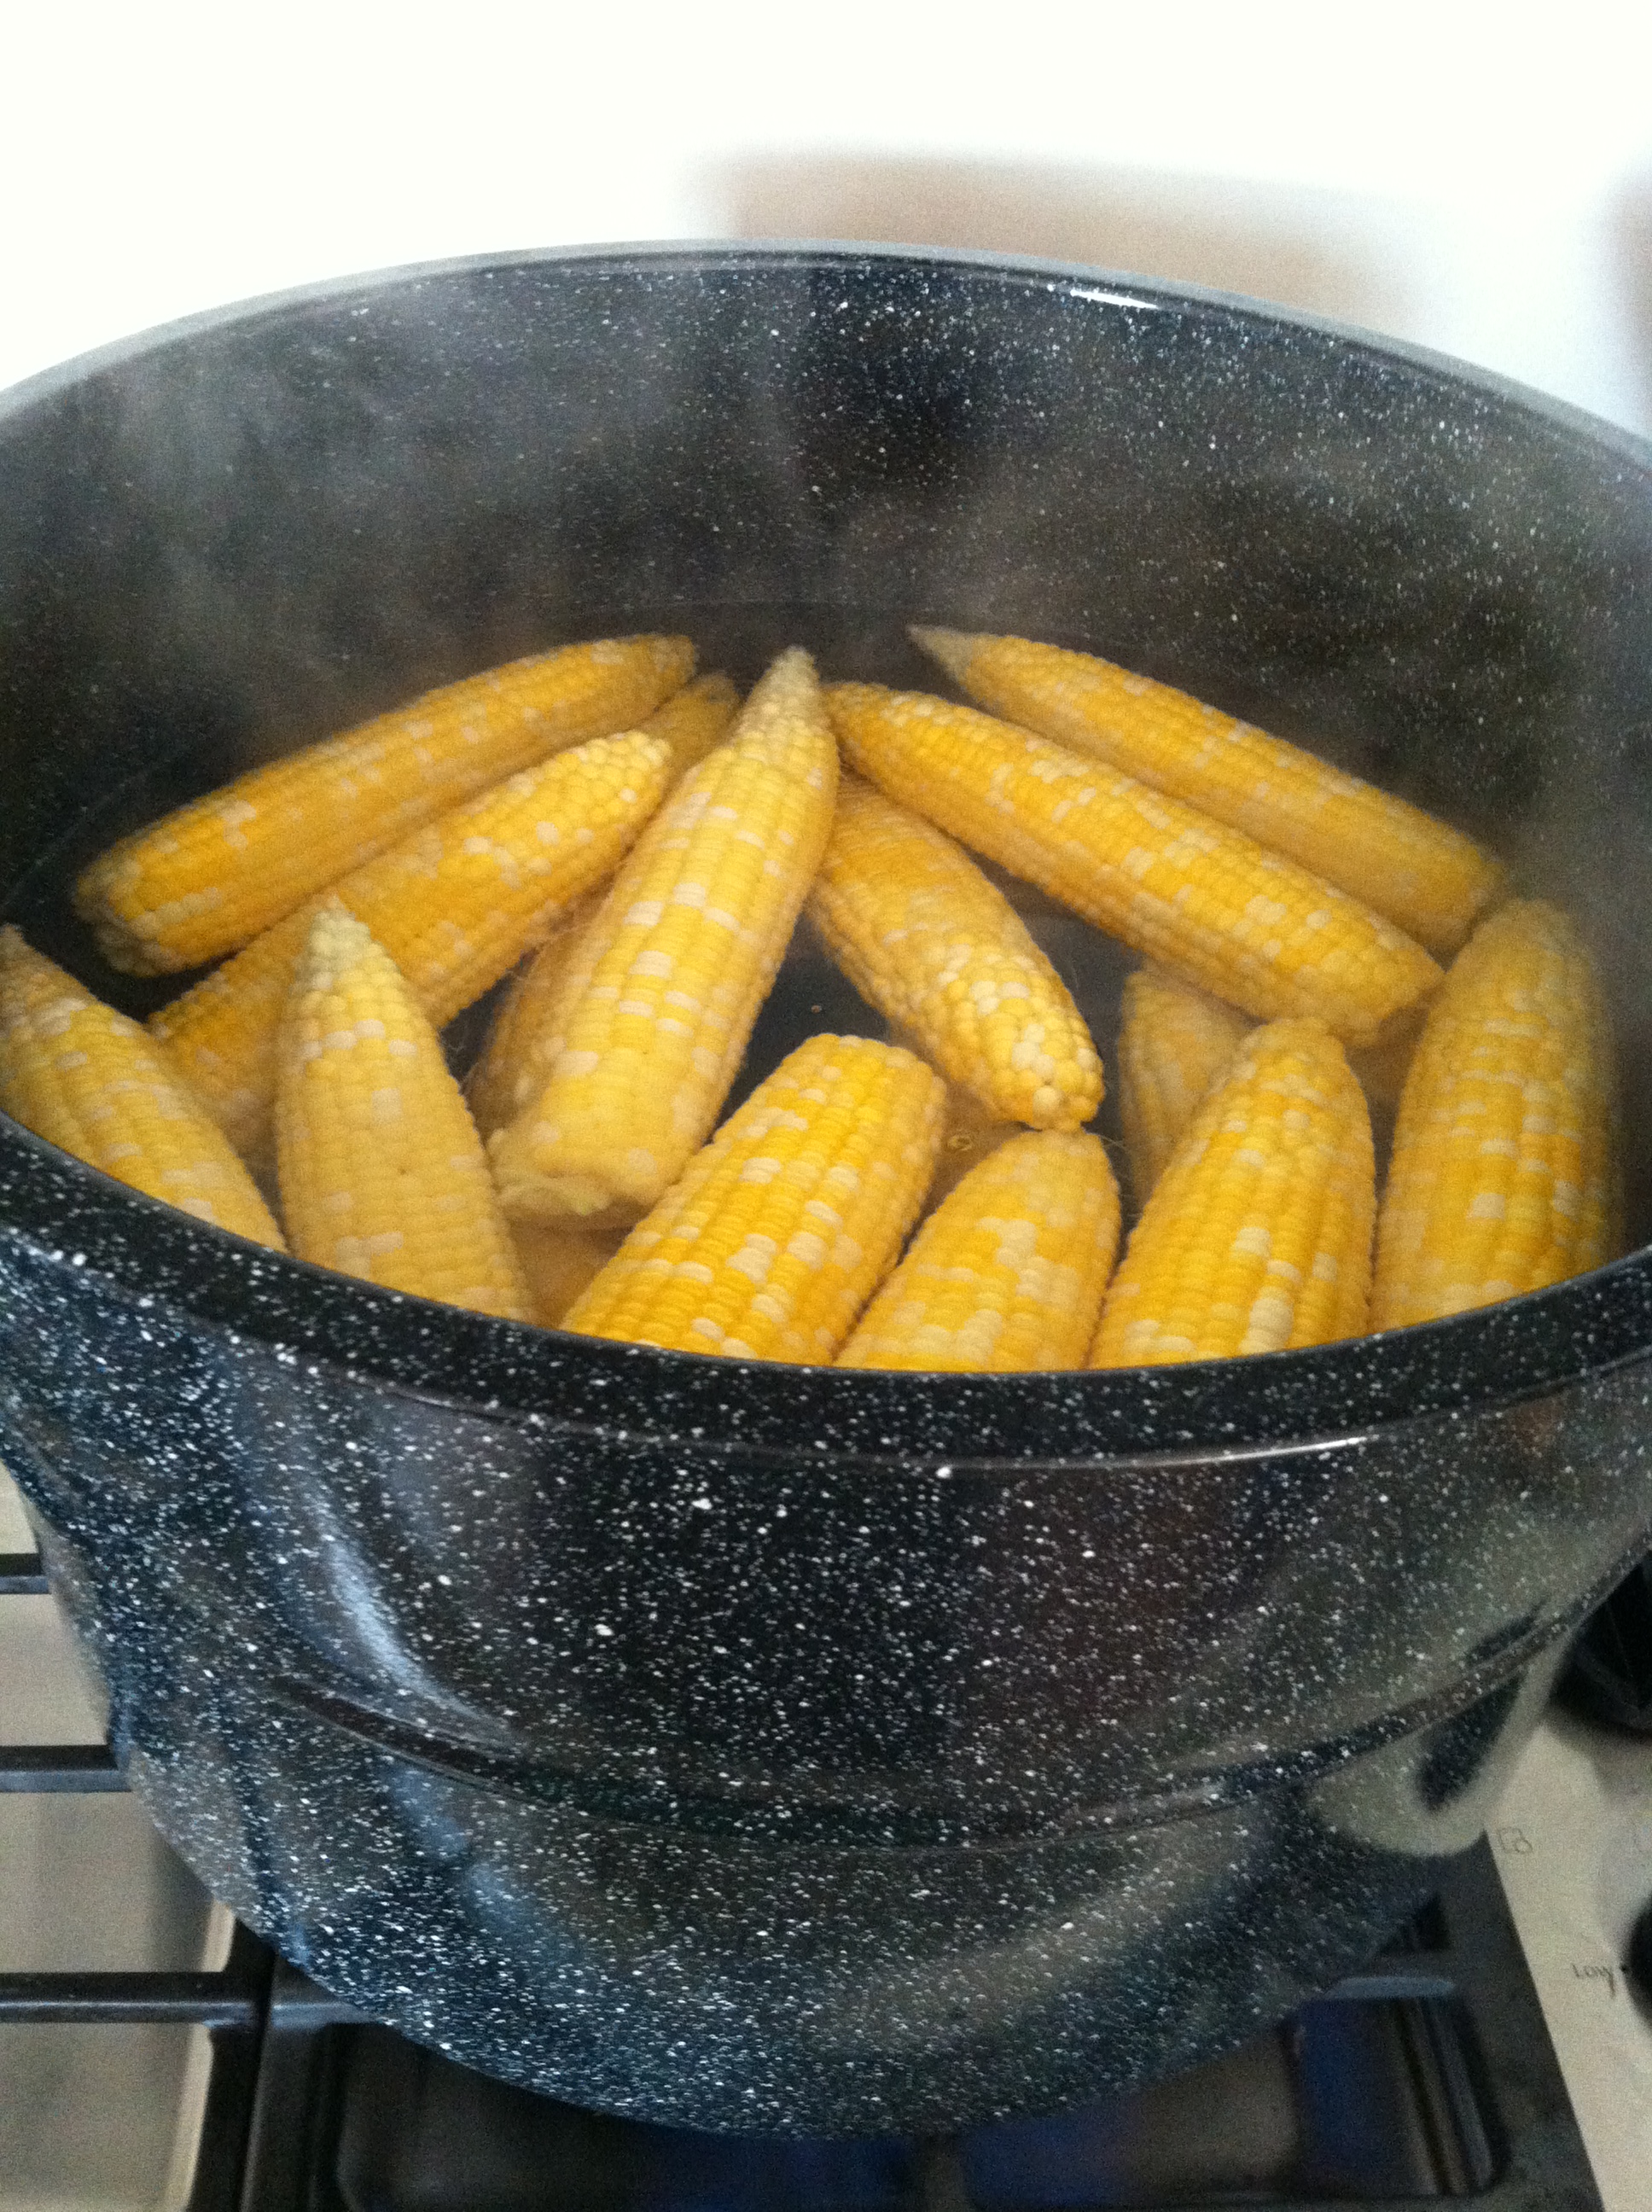
Place carrot coins in a pot of boiling water for about two minutes.

Remove the carrots and immediately cool carrots in a bowl of ice water to stop the cooking process.

DSC_1175

Drain and dry well. Lay coins out on a cookie sheet and set in freezer overnight.

DSC_1176

Working quickly, remove the carrot coins from the cookie sheet, put into a gallon ziplock bag and place in freezer. Use within a year.

I am excited to have my carrots, preserved at the peak of their freshness, for chicken noodle soups and vegetables soups all winter long.

Filed Under: Uncategorized Tagged With: Carrots, fall crop, Freezing, Preserving, root vegetable

A Corny Post.

September 4, 2013 by theblogbloom.com 2 Comments

I first visited the home Adam grew up in about five years ago. We were about to go on a canoe trip and he needed to pick up some of his camping supplies. While there, he also decided to change the oil in his truck.

(… I have said it before and I will say it again: The guy is handy.)

It was pre smart phones so I got bored rather quickly. While he was elbow deep in his truck, I decided to walk around. His childhood home was surrounded by fields that are farmed each year rotating between soybeans and corn. That year it was corn. We were there in late August and the corn was as tall as Adam.

033

As I walked towards the edge of the driveway and up to the start of the corn field, I remember being so surprised. Each stalk only had one ear, maybe two, of corn.

032

Really? That’s it?

As a Midwestern girl, born and raised, I have driven on highways surrounded by corn fields all my life. I could have sworn there were at least six ears to a stalk.

I walked back into the garage and squatted down to Adam’s level.

“Hey Bud. Random question… Are there really only one or two ears of corn on a corn stalk?” I asked.

Adam slid out from under his truck with a confused look on his face.

“Well, I thought there would be, like, six or seven ears. The corn out there only has one.” I tried to explain, what apparently was, a weird question.

“Yep. Just one. Sometimes two. Depends.”

Hmm, I thought looking back at the field.

Field corn surrounding our new home.  (And the chickens.  Arn't they cute?!)

Field corn surrounding our new home. (And the chickens. Arn’t they cute?!)

Now I was the confused one. “It seems kind of inefficient. It’s just, a stalk takes up a lot of space. And you only get one ear?”

“Yep,” Adam said, sliding back under the truck.

Still looking out at the corn, still perplexed, I asked another question: “So, when can we eat it?”

Adam laughed.

“Babe. We won’t eat that. That’s not sweet corn. It’s field corn. Sweet corn is a different kind of plant. It’s mainly grown in the south.”

Umm. What?

All these years of driving around Illinois, Indiana and Ohio I thought I was looking at what would wind up at a picnic and here I am, at twenty-one years old, learning all this?

Later, I shared my newfound knowledge with my east coast raised father. In his mid fifties, he had the same reaction to the news that corn stalks only have one or two ears: “Really? Never knew that. That seems inefficient.”

That’s what I am saying..!

However, he was in on the sweet corn versus field corn thing…

And while Indiana is home to acres of field corn that will eventually become oils or ethanol, many farmers and home gardeners in Indiana do grow sweet corn.

However, this year, Adam and I were not one of them.

Sweet corn is a little challenging to grow. Its success relies on the amount of rain during the growing season and the amount of attention the grower is able to give it. Two things we couldn’t guarantee at the beginning of the summer.

But, it was okay. We also knew we wouldn’t be without corn. Everyone around us grows sweet corn. It pops up on every other corner within ten miles of our home at temporary farm stands throughout the late summer.

Fortunaly, rain was not an issue this summer. Everyone who grew sweet corn had success. Many of Adam’s clients grew sweet corn and he would receive ears of it by the bushel every day. Free of charge.

We couldn’t eat it fast enough so we decided to freeze it. Freezing any vegetable, especially corn, is a great way to lock in fresh, natural flavor.

Here is how we did it:

Note: You want to either eat or process corn as soon as possible. The longer ears of corn sit untouched the more nutrients and flavor are lost.

Step One: Shuck all the corn. Pull all greens and silks from the ears.

IMG_1675

Step Two: Get set up. Bring a pot to a boil and get a bowl of ice and water ready. We actually used a clean cooler filled with ice water because we were working with so much corn.

photo (68)

Step Three: Boil corn for about five minutes.

photo (69)

Step Four: Remove corn from boiling water and immediately place into ice water. This will stop the cooking process and ensure all the sweet corn flavor that you know and love will remain with the corn.

photo (70)

Step Five: Remove corn from ice water after about five minutes. Remove kernels from corn cob.

There are a lot of neat gadgets out there to make the removal of corn kernels easy, but a knife works just fine. What we did here was turn a small bowl upside down and place in the center a large skillet. Running the knife along the cob as it’s held on top of the small bowl, the kernels will fall into the skillet making collecting the kernels (and clean up) easy.

photo (71)

Step Six: Place corn onto baking sheets and freeze. Once frozen, use a spatula to remove corn from baking sheet and fill into freezer bags, squeezing out as much air as possible. Keep in the freezer for up to a year.

photo (72)

The flavor of sweet corn frozen at home is so much sweeter and authentic than corn from major frozen vegetable companies. This is because those companies remove so much of the corn’s natural sugars in their processing as it can make their continually used equipment very sticky. Not to mention, they would have to get the corn frozen much more quickly than they do. Otherwise, they are going to go into whiskey making business fast.

But there are some businesses trying to break the traditional manufactured sweet corn mold.

Last week, I had the opportunity to meet two incredibly inspiring Indiana entrepreneurs who are trying to bring the “Home-Preserved” fresh flavor of sweet corn to the commercial market. I even got to tour their brand new processing facility.

Working the big hair net on the tour... Looking good, right?!

Working the big hair net on the tour… Looking good, right?!

Through their new business, Husk, they are purchasing sweet corn straight from farmers just around the corner from their processing plant. With a little creativity (Example of this? French friers full of boiling water versus oil to cook the many corn cobs received every day.) and a ton of motivation they are changing the frozen corn market in Indiana.

1157614_631641993520893_1738933582_n

Since their inception at the start of this year’s sweet corn season, they have cut and frozen 60,000 pounds of sweet corn. Check them out: http://huskfoods.com/

And, Hoosiers, If you can’t find their product at your favorite grocery store, request it!

Filed Under: Canning and Preserving, Plant, Uncategorized Tagged With: Corn, Freezing, Husk, Indiana, Plant, Preserving

It’s 95 Degree’s Out and I am Freezing…

July 17, 2013 by theblogbloom.com 3 Comments

For the last week or so we have had HUGE takes from the garden every day. While this is exciting, it’s also a tad overwhelming. I finally had the feeling of, “Oh, geez… How are we ever going to eat all this food?”

The baby shower was great timing last weekend because I was able to use plenty of produce from the garden. I made a big salad with the mixed greens and just had different toppings and dressings so people could make it their own. I also prepared this great cucumber salad we have already made multiple times this summer. It’s really simple to make and only requires a few ingredients. That’s always a win for me.

photo (32)

Recipe: http://www.takingonmagazines.com/cucumber-salad-from-all-you/

Another recipe that we made for the party is also a go to in the summer is this sautéed zucchini side dish. We have been making this recipe for two years now; I pretty much know it by heart. The flavors go together so well and compliment any meal.

… Sorry no awesome iPhone picture. But, there is one at this link to the recipe: http://www.tasteofhome.com/recipes/Garden-Zucchini—Corn-Saute

Thanks to the bounty of produce accumulating on my counter top, I decided it was time to do some freezing. Freezing is a great way to preserve fruits and vegetables and is much simpler than canning. Frozen veggies are good for about twelve months.

Or, so I read.

I, of course, had never done this before, but it really didn’t seem too bad.

I started with snap beans because ours were towering and full of peas. I have been picking them for about two weeks. They make great additions to salads and even serve as a great snack with some hummus or without. The flavor of these peas has been incredible.

photo (24)

After work I spent about thirty minutes picking as many of the larger beans that I could find (…in the massive heat wave that is hitting the Midwest currently) I headed in to get to work in the kitchen.

photo (25)

I cleaned and snipped the end of the beans with a knife.

photo (23)

Next, I got everything set up to blanch the beans.

Blanching is when you heat up veggies and then quickly cool them to lock in flavor and nutrients. I actually had not blanched anything since lab courses in college, but it is, fortunately, really easy.

I set a pot on the stove top to bring to a boil, a big bowl full of ice and cold water, and a cookie sheet lined with paper towels. The beans were put in boiling water for two minutes. I then lifted them with a large straining spoon and dunked them into the ice water.

photo (28)

The instant they hit the water they turned a bight, beautiful green, just like I remembered would happen from that early morning lab. The beans were in the ice water for two minutes as well. I then strained them out and placed them on the cookie sheets. The paper towels quickly absorbed their moisture.

photo (27)

I repeated the process until my many snap beans were blanched and drying on the cookie sheets. I took another paper towel and pressed it on top of them to pick up any remaining water.

Next, you can put them directly into a ziplock bag to freeze or you can freeze them on the cookie sheets, then put them in ziplock bags after they had frozen. I choose the put them in the freezer on cookie sheets because it will prevent the beans from freezing stuck together.

photo (29)

I am so looking forward to using a handful of these summer beans throughout the winter in side dishes or stir fry’s.

Next, it was onto the zucchini. I thought I was in the clear with zucchini after the shower. I had sliced the nine zucchini’s I had in my kitchen to serve the crowd. After all that I was certain I wouldn’t have to worry about zucchini for little while.

Silly me…

Today- two days later- there were already six on my counter top.

photo (26)

You can blanch sliced or diced zucchini and it is great for stews and casseroles, but my poor little refrigerator ice maker needed to play catch up after the ice bath for all the snap beans. Maybe some other day.

Instead, I grated two zucchini’s and portioned them into ½ cup servings.

photo (30)

photo (2)

I wrapped each portion in saran wrap, put them into a zip lock bag, and placed them in the freezer. (Helpful Tip: Be sure to date and label whatever you freeze. This will help you out nine months from now when you cannot remember what you did today!)

photo (31)

This grated zucchini will be great for all sorts of baked goods, like zucchini cakes or muffins. I put them in half cup portions to make it easy to add to any batter. I was able to get eight cups out of two zucchini’s.

All in all, not bad and it really didn’t take too long. Now I can combat that feeling of panic that we will never be able to eat everything by knowing we will be eating from this garden all year long.

I already cannot wait to use these frozen items on a day in December, when I am feeling frozen myself, and remember how HOT it was today.

Filed Under: Canning and Preserving, Plant, Recipes Tagged With: Cucumber, Freezing, Garden, Plant, Preserving, Recipes, Snap Peas, Zucchini

Meet Claire

Hi, thanks for visiting! I am Claire and I have been sharing my life and thoughts on Bloom since 2013. Welcome to 2023's project, The Farmers Market and The Library. For more about me...

Follow Bloom.

RSS
Follow by Email
Facebook
Twitter
Pinterest
Instagram

Be a Bloom Insider

Enter your email address to subscribe to Bloom and receive notifications of new posts and a bi-weekly love letter from Claire by email.

Archives

Copyright © 2025 · Foodie Theme by Shay Bocks · Built on the Genesis Framework · Powered by WordPress