Bloom.

Navigation
  • About

Green Beans and Very “Green” Vlogging

December 9, 2014 by theblogbloom.com 1 Comment

Without the garden to keep me occupied, I have been exploring other projects to fill my free time.

My home office is finally about 90 percent complete. It’s nice to have a good space for all the papers in my life in our huge new filling cabinet and to get frames on the wall. It’s now a space that I actually want to work in instead of being the house “catch all.”

My gym recently closed (Wah! I am still sad about even though they announced it two months ago.), so I have spent my evenings gym hopping hoping to find a new gym that I love. While annoying, it has been fun trying new things like reformer Pilates and getting back into swimming.

And, of course, the down time is a great time to give Bloom a little TLC. Photography books and blogs have become my reading material as well as advice on social media outlets and SEO. But, more exciting to me, is thinking of what else I could bring to Bloom to make it more interactive and valuable to the readers. Ideas like eBooks, personal shopping at farmer’s markets and meal planning, and even Video Blogging are on the table.

Recently I enlisted Adam’s help. I wanted to experiment and see if something like Vlogging was the right direction to take.

Scratch that.

I wasn’t even there yet.

At this point, I just wanted to make sure I could talk and cook at the same time. And that I didn’t sound too stupid doing it.

It wasn’t perfect.

There were things like this:

http://www.theblogbloom.com/wp-content/uploads/2014/12/My-Movie-1.mp4

… And, I learned my lesson to leave Adam out of my projects if it’s Sunday and football is on TV.

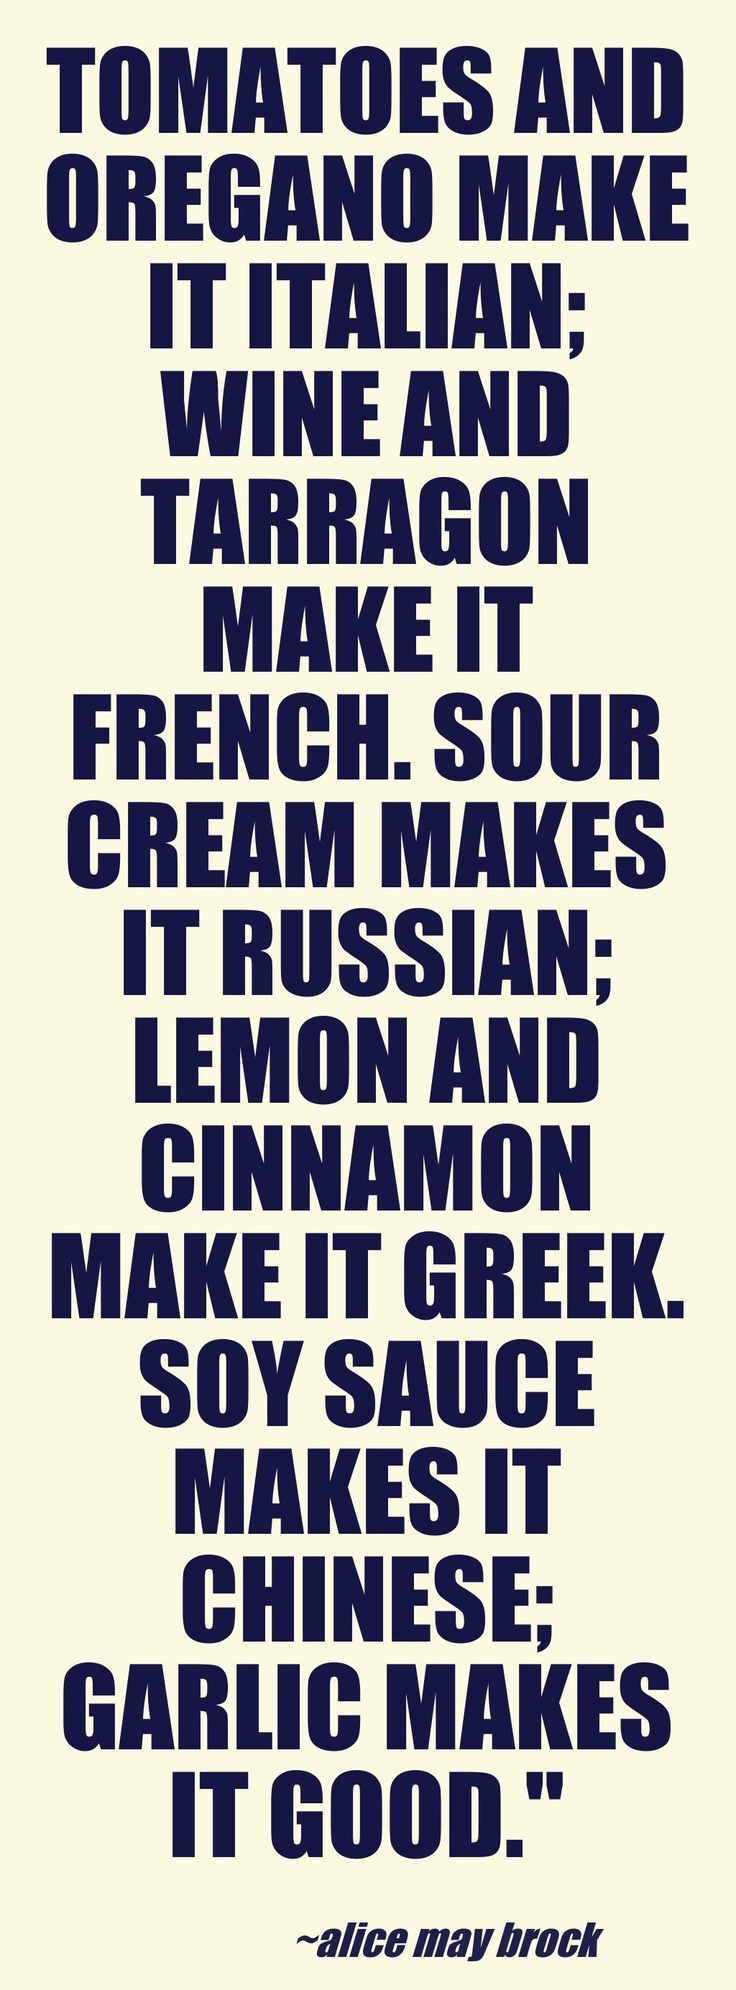
But, between his “Take Ninety-Seven!”‘s on Take Three and us bickering over if “garlicky” is a word or not, we got things like this:

http://www.theblogbloom.com/wp-content/uploads/2014/12/My-Movie-2.mp4

Did you learn something?!

Not too shabby for a first timer and just an iPhone.  (Minus that expression on my face in the beginning…) 

And I also got a great, super simple green bean recipe out of it all.

DSC_1449 (2)

So, who knows? Maybe there are more “vlogs” in my future.

But, one thing I know to be for sure is that, in my very immediate future there will be more garlicky green beans.

(Sorry, Trost. Auto correct recognized it. “Garlicky” is a word.)

This recipe is the easiest way to add some flavor and to do something a little different with fresh green beans. I used green beans that I blanched and froze this summer, but fresh green beans from the store with their ends trimmed off will work great too.


DSC_0945

Garlicky Green Beans
2014-12-10 08:18:14
Write a review
Save Recipe
Print
Ingredients
  1. 1 pound Green Beans, ends trimmed
  2. 2 tablespoons butter
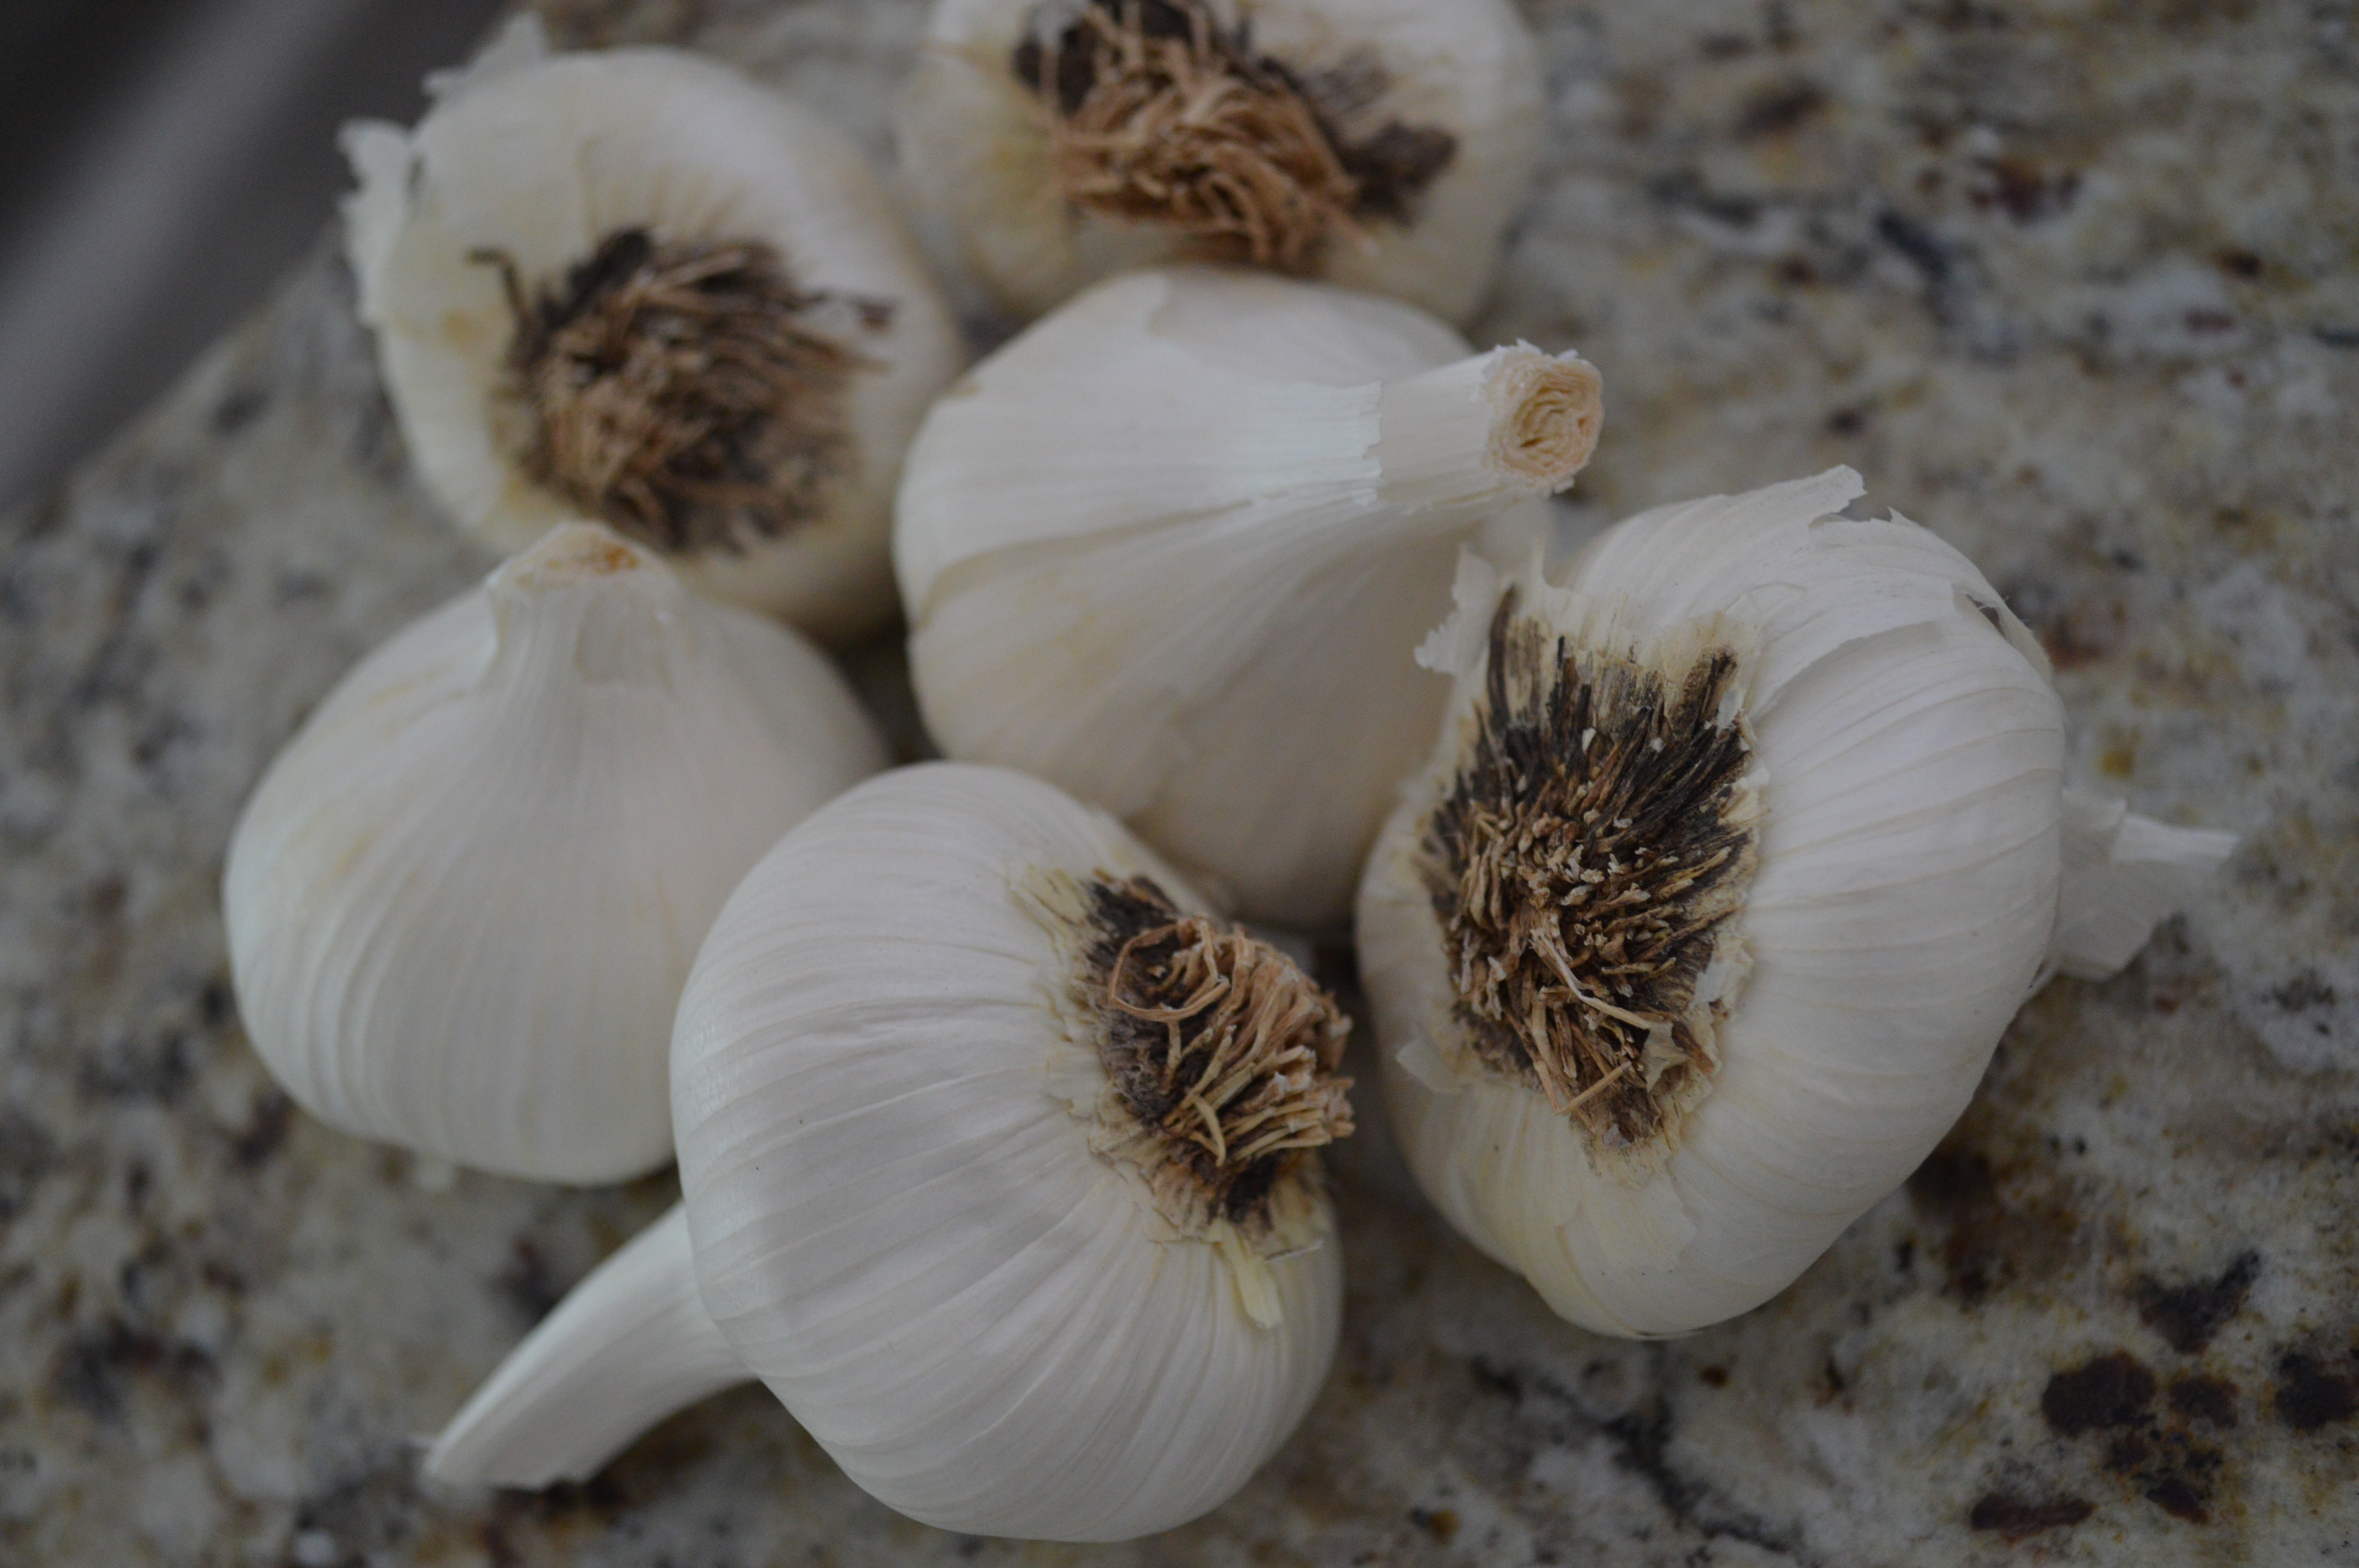
  3. 2 garlic gloves, minced
  4. 1 tablespoon lemon zest
  5. 1 tablespoon grated Parmesan
  6. salt and pepper
Instructions
  1. Steam green beans until nearly tender, but still have a bite.
  2. Melt butter in a skillet on medium heat, add garlic and cook until tender and fragrant.
  3. Add steamed green beans, salt and pepper to the skillet.and continue to saute until the beans are coated in butter and garlic.
  4. Top with lemon zest and Parmesan.
Bloom. https://www.theblogbloom.com/

Filed Under: Uncategorized Tagged With: backyard Garden, blogging, Garden, garlic, green beans, Local, video blog, vlogging

Keeping Vampires Away

October 31, 2013 by theblogbloom.com 2 Comments

Happy Halloween!

This Halloween is the first Holiday that I really put up decorations since Adam and I got married two and a half years ago. We were in the process of building our home and lot of things were in boxes, not just decorations. It always seemed like too much energy to sort through everything and put them up in a place that was always temporary.

It’s fun to get a little festive.

071
… haha, ignore the fact that I am still in the market for some new knobs.

074

078

089

Something we also did recently that fits in with Halloween festivities, thanks to some old folklore, was plant garlic.

Let me rephrase that, we planted one hundred cloves of garlic.

Anyone we tell this to responds with something along the lines of, “Good God. Are you guys trying to keep vampires away?!”

002

Well, fortunately, we have not been too concerned about the threat of vampires. (… Phew!) But, it still made me curious to see where this connection between vampires and garlic was made.

Turns out it goes back far in history, but was made popular by the novel “Dracula” in the late 1800s when characters wore garlic around their necks to protect themselves from vampires.

The theory was used in real life as well and was based on the idea that vampires are symbolic of mosquitoes. Mosquitoes suck blood and spread diseases. One of the common diseases spread by mosquitoes is Malaria. Victims of malaria appear to be drained and suffer from anemia, much like eerie Dracula stories describe victims of vampire bites.

Garlic is often associated with longevity, good health and also happens to be a mosquito repellent!

This is why garlic would be worn, hung, or rubbed on doors, windows, chimneys, and keyholes… People felt as though they needed to repel vampires.

Like I mentioned, vampires have not been too much of a concern, but it could be because I cook with garlic nearly every evening.

Okay, so maybe it’s not the best thing to have on a first date, but it is so versatile. Garlic goes well in almost any dish. Asian. Mexican. Italian. You name it. Not to mention, Adam and I think it is delish.

I love this quote about garlic.

garlic

SO TRUE.

Thanks to our passion for garlic (… and five years together, making garlic breath a non-issue) we decided to plant the hard-neck garlic variety in the backyard. Hard-neck garlic grows best in cooler climates and it is also what I am most familiar cooking with.

When planting garlic, you want to plant in the fall so that the roots can develop before the winter. Plant only the large, plump cloves. The small inner gloves will likely not develop correctly.

001

Make sure your garlic bed will receive good sun and water.

005

Create three inch deep holes spaced eight inches apart and place the flat end of the clove down, pointy tip up, in the hole.

012

Cover the cloves with two inches of loose soil then about four inches of straw. The straw will help prevent damage from frost and cold weather to your growing bulbs. The straw will be pulled away in the spring.

In the spring, we will also thin the garlic and pull out every other when they begin to look like scallions. The bulbs will likely be harvested in late summer.

So, yes, it sounds crazy to plant one hundred cloves, but we will likely only get fifty bulbs. Which I am pretty confident we will be able to use.

And, if not?

We will use them to keep the vampires (and pesky mosquitoes) away.

Post done...!  Time to go hang with some "Party Bones."

Post done…! Time to go hang with some “Party Bones.”

Filed Under: Plant, Uncategorized Tagged With: Garden, garlic, Halloween, Plant

Natural, Roasted Chicken. It’s What’s for Dinner.

August 21, 2013 by theblogbloom.com 7 Comments

It’s hard to believe that it really is late August.

School has started and is in full swing.

The sun is down before nine.

The corn is tall.

And the garden is full of produce.

Like these peppers.

002

And tomatoes.

003

Tomatoes.

009

Tomatoes!

009

With so much naturally raised produce in the kitchen I decided to cook the naturally raised chicken from my Farmer’s Market trip in July for dinner on Monday night.

I had never cooked a whole chicken and used the website 100 Days of Real Food as a stepping stone. I visit this site often as it is a great resource for cutting out over processed food from your diet. The author takes a realistic and relatable approach as she has (precious) kids and she doesn’t want to “worry” about food, but rather be confident in her family’s food choices.

On the website there is a post about roasting a whole chicken: http://www.100daysofrealfood.com/2013/05/14/recipe-how-to-roast-whole-chicken-safely-defrost-meat/

Perfect.

A chicken seasoned with lemons, garlic and rosemary.

Even more perfect. Some of my favorite flavors and I already had local rosemary and garlic in the house.

The post begins with how to properly defrost a chicken. She mentions that even though she has lived to tell about defrosting meat on the counter, the USDA recommends that meat should be defrosted slowly in the refrigerator.

… Something that made this ServSafe certified, hospitality professional proud.

Once defrosted, I mixed the herbs, seasonings, and oils together in a small bowl.

The next order of business was to remove the “giblets or bag of ‘parts’ that may be stored inside the chicken.”

The chicken man at the market had mentioned the “giblet bag” was in there. I remember thinking when I made the purchase, “Oh wow. That’s nice. He bagged those up and put them back in. I bet there are people who want to keep those.”

I looked in my defrosted chicken’s butt. I didn’t see any evidence of a ziplock baggie or saran wrap like I was expecting.

Weird.

I opened the rear end more. A sleek brown, jelly-ish mass was in plain sight.

I had just read the chapter in “The Omnivore’s Dilemma” where Michael Pollan processes free range chickens on Joel Salatin’s Virginia farm. Pollan wrote about removing the chicken’s insides after the bird bleeds out.

I knew what I was looking at… it was the bird’s liver.

There was no actual “bag.”

I had been lied to…? Maybe he just forgot to bag up this one…?

Or, it’s an expression. Slang, if you will.

… For chicken organs.

I also remembered from my read that removing these organs needs to be done carefully. Pollan warned that a ruptured gall bladder can be a big mess.

“What the heck am I supposed to do?” I thought, desperately wishing Adam was home. He could handle this.

I looked at the clock. Adam wouldn’t be home for about an hour. And the bird would take that long in the oven. I couldn’t wait.

So, I did what every girl who didn’t know what 4-H was until she was eighteen would do: I Googled it.

The first page I saw said to “Gently reach in and simply remove the giblets.”

Seriously? That’s all you got, Google?!

After many other failed searches and confusing youtube videos, I decided to suck it up.

“Like a band aid,” I told myself, sticking my hand in the bird’s rear end. I wrapped my fingers around the bundle in the cavity of the chicken, wincing, eye’s shut and gave it a pull.

“Ohhhhmyyyygodddd,” I squealed out loud as my hand emerged.

Browns, pinks, yellows and blues made up the still slightly frozen mass. (Thank God. Had that been any squishier we would have had issues.)

Just be glad I didn’t take a picture.

Once I recovered (and threw the giblets away), I brushed the bird with the herbed oil marinade, stuffed the lemon peels in the chest cavity, and placed him in the oven for about an hour.

001

Right around the time Adam got home from work the chicken had reached 170 degrees. I let it rest on the stove top while I chopped up some tomatoes and cucumbers to serve as a side with a splash of red wine vinegar. Light and easy.

The aroma of the rosemary, garlic, and lemon married well with the chicken, filled the kitchen and demolished any traumatizing mental images of giblets.

010

By the time I plated everything I couldn’t wait to give it a try.

It seems crazy, but the natural, free range bird did taste different than the chicken breasts from the grocery store that I am used to. It was moist, flavorful, and felt as though I could really taste the chicken.

012

I am looking forward to having more natural birds from our own backyard this winter.

… And having someone else do the processing.

Filed Under: Plant, Recipes Tagged With: August, Chicken, Cucumber, Farmers Market, food blog, free range chicken, garlic, michael pollan, naturally raised, Pepper, Plant, recipe, Rosemary, Tomato

Pesto Changeo.

August 13, 2013 by theblogbloom.com 2 Comments

You know that article that every woman’s magazine runs at least once a year sharing the buzzwords to watch for so that you avoid “calorie overload” when ordering a meal at a restaurant?

Crispy. AKA Fried.

Smothered. Probably with colossal amounts of cheese.

Creamy. Unnecessarily calorie dense.

So on and so on…

Here are the buzzwords used in menu items that I just can’t avoid:

Goat Cheese. So rich and so delicious.

Truffle. The epitome of decadence.

Avocado. Yes, like much of America, I to, am Avocado Obsessed. “Have you seen my new Avo-CAR-do?” Cracks me up. I love a good food pun.

Pesto. I just can’t get enough of it.

I can’t get enough of pesto at home either. It is great on nearly any kind of meat. Works well as a sauce for pizza or pasta. And even compliments some vegetables.

Thanks to my basil plants looking abundant as ever, I decided to give making pesto a try. My mom makes and freezes pesto often. This allows her to enjoy her basil plants throughout the winter.

I visited her over the weekend and asked for her recipe.

She laughed.

“Oh, that’s easy. Just some oil, garlic, parmesan, pine nuts and your Cuisinart.”

… Easy for the Pesto Pro to say.

Wanting to be a little more precise I looked it up on Google and sure enough, that really was it. And it really was easy. Quick too.

So, I am now a Pesto Pro.

… Or maybe more a Pesto Magician because it seemed like the instant I hit the “On” button my ingredients turned into a beautifully, green and delicious pesto paste.

Here is what I did:

Gather two cups of fresh basil (Basil should be packed pretty well.)

1/3 cup olive oil

½ cup grated Parmesan Romano Cheese

½ cup Pine Nuts (… I read online that you could also use walnuts or almonds. The wonderful Barefoot Contessa uses both walnuts and pine nuts. Things I will try next time.)

3 cloves garlic (I used some from the Farmer’s Market and the cloves were huge! I would tone it down next time if I were working with such big garlic cloves again.)

A touch of salt

I threw it all in the food processor, turned it on and then the magic happened.

7

Instantaneously, I had pesto.

6

I stopped it twice to push down the pesto on the sides with a spatula until it was nearly smooth.

From there you can either put your pesto in the fridge and enjoy it within three days or you can freeze it like I did. (Although, I am sure I would have had no problem finishing it all well before three days were up… the flavor was amazing.)

There are a few ways you can freeze pesto.

I scooped small mounds of the pesto onto a cookie sheet lined with parchment paper and put the sheet into the freezer. Once solid, I removed the mounds from the parchment paper and put them into a ziplock bag. This way I can grab a serving to add to whatever I am cooking.

5

My friend’s mom uses an ice maker mold to freeze the pesto and then stores them in ziplock bags once frozen.

Baby food jars also work well.

I did reserve a little pesto to use with our meal last night. Adam grilled shrimp that I had coated with the fresh pesto. As I scooped the pesto on to the shrimp I told Adam to give it a try.

I also dressed some shrimp with BBQ sauce and others with lime and tequila.

I also dressed some shrimp with BBQ sauce and others with lime and tequila.

As he did his face lit up. “Mmm,” he admired, “You made that?”

Heck yes I did!

Another thing that magically changed last night was me. I went from twenty five to twenty six.

2

My good friend Betsy came up to our house from Indianapolis with these amazing cupcakes from The Flying Cupcake, a local and very successful cupcake chain in Indy. I had the Birthday Cupcake, of course. Adam and Betsy both had the one that looks like a “Ho-ho.”

3

But, what was even more magical than the pesto or slipping into my upper twenties was the awe-inspiring sunset we were blessed with as a backdrop for my celebratory dinner.

Cheers to twenty six!

Filed Under: Plant, Recipes Tagged With: Basil, birthday, cupcakes, garlic, pesto, Plant, recipe, shrimp, sunset

Meet Claire

Hi, thanks for visiting! I am Claire and I have been sharing my life and thoughts on Bloom since 2013. Welcome to 2023's project, The Farmers Market and The Library. For more about me...

Follow Bloom.

RSS
Follow by Email
Facebook
Twitter
Pinterest
Instagram

Be a Bloom Insider

Enter your email address to subscribe to Bloom and receive notifications of new posts and a bi-weekly love letter from Claire by email.

Archives

Copyright © 2025 · Foodie Theme by Shay Bocks · Built on the Genesis Framework · Powered by WordPress