Bloom.

Navigation
  • About

Go Garden: Tools Needed

April 23, 2014 by theblogbloom.com 15 Comments

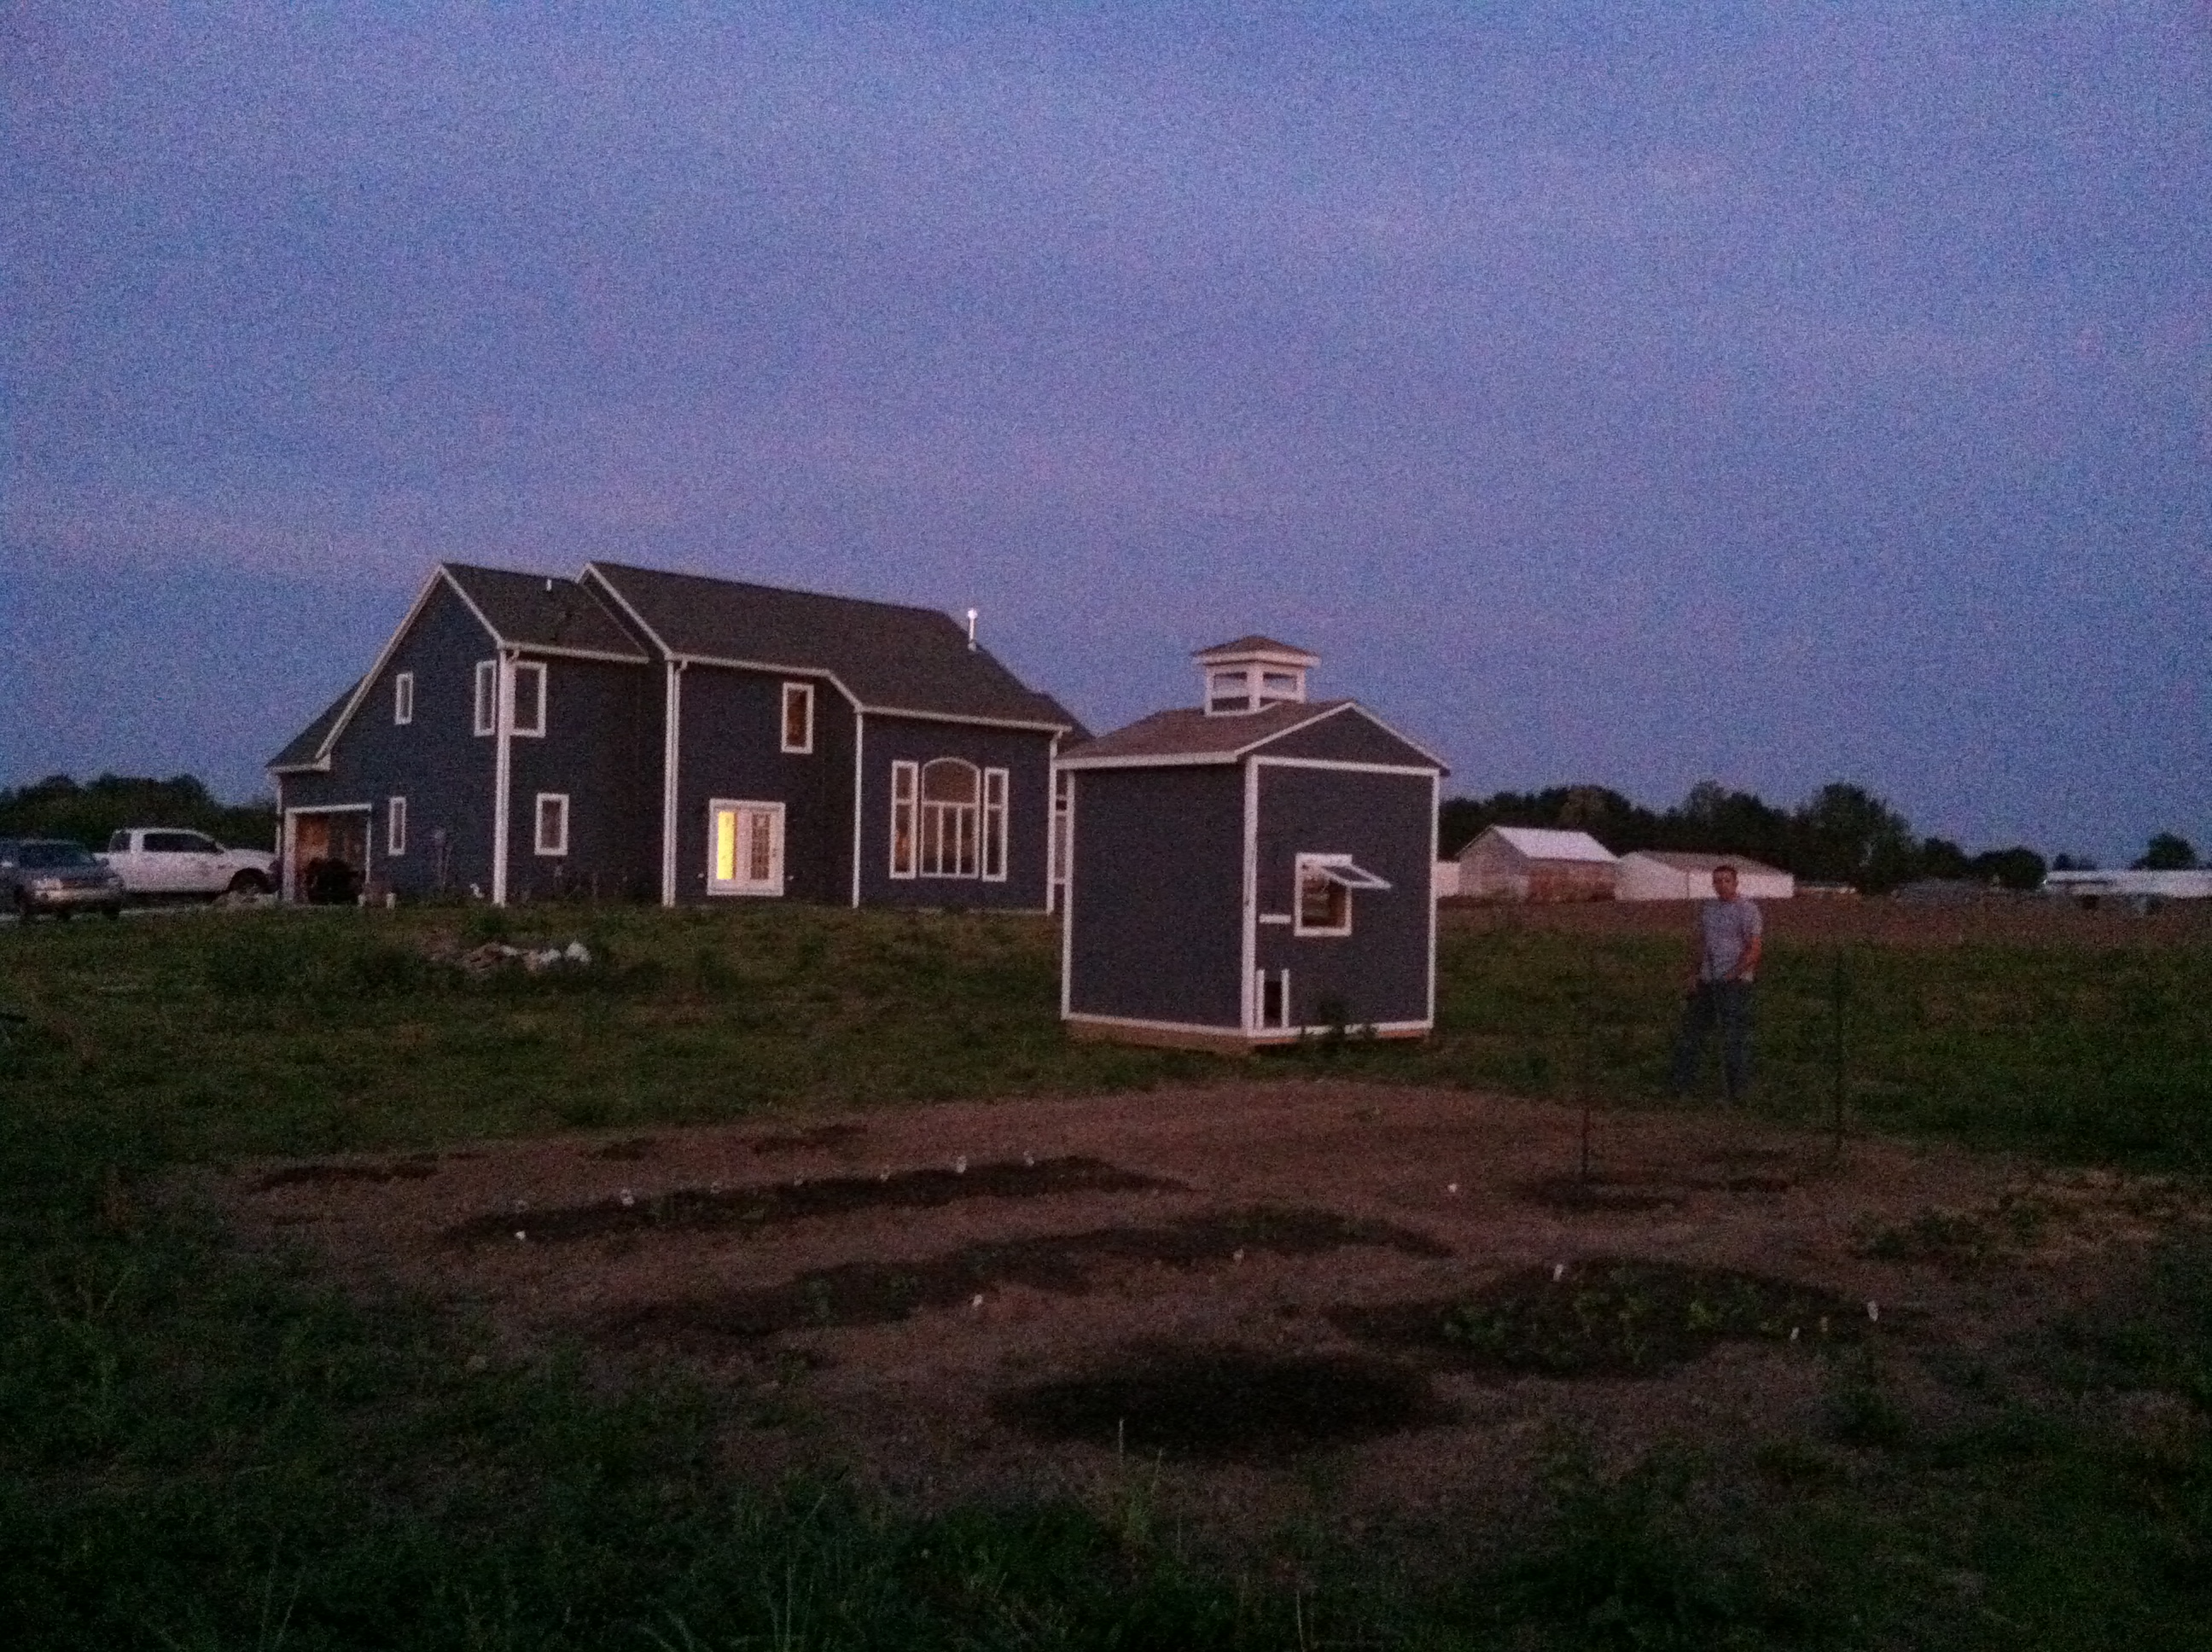
Last night, to celebrate Earth Day and because “it’s time,” Adam wanted to till up the soil in our garden beds. Tilling the soil is important because it makes it easier to work in compost to help enhance the soil and makes seeds or seedlings easier to plant.

Because we have so many garden beds and they are so large, we like to use a rototiller. But, the rototiller was not feeling very festive and, last night, it decided that it didn’t want to work.

Adam was upset. We could use a shovel to till the ground but, the rototiller is a tool that makes our lives so much easier.

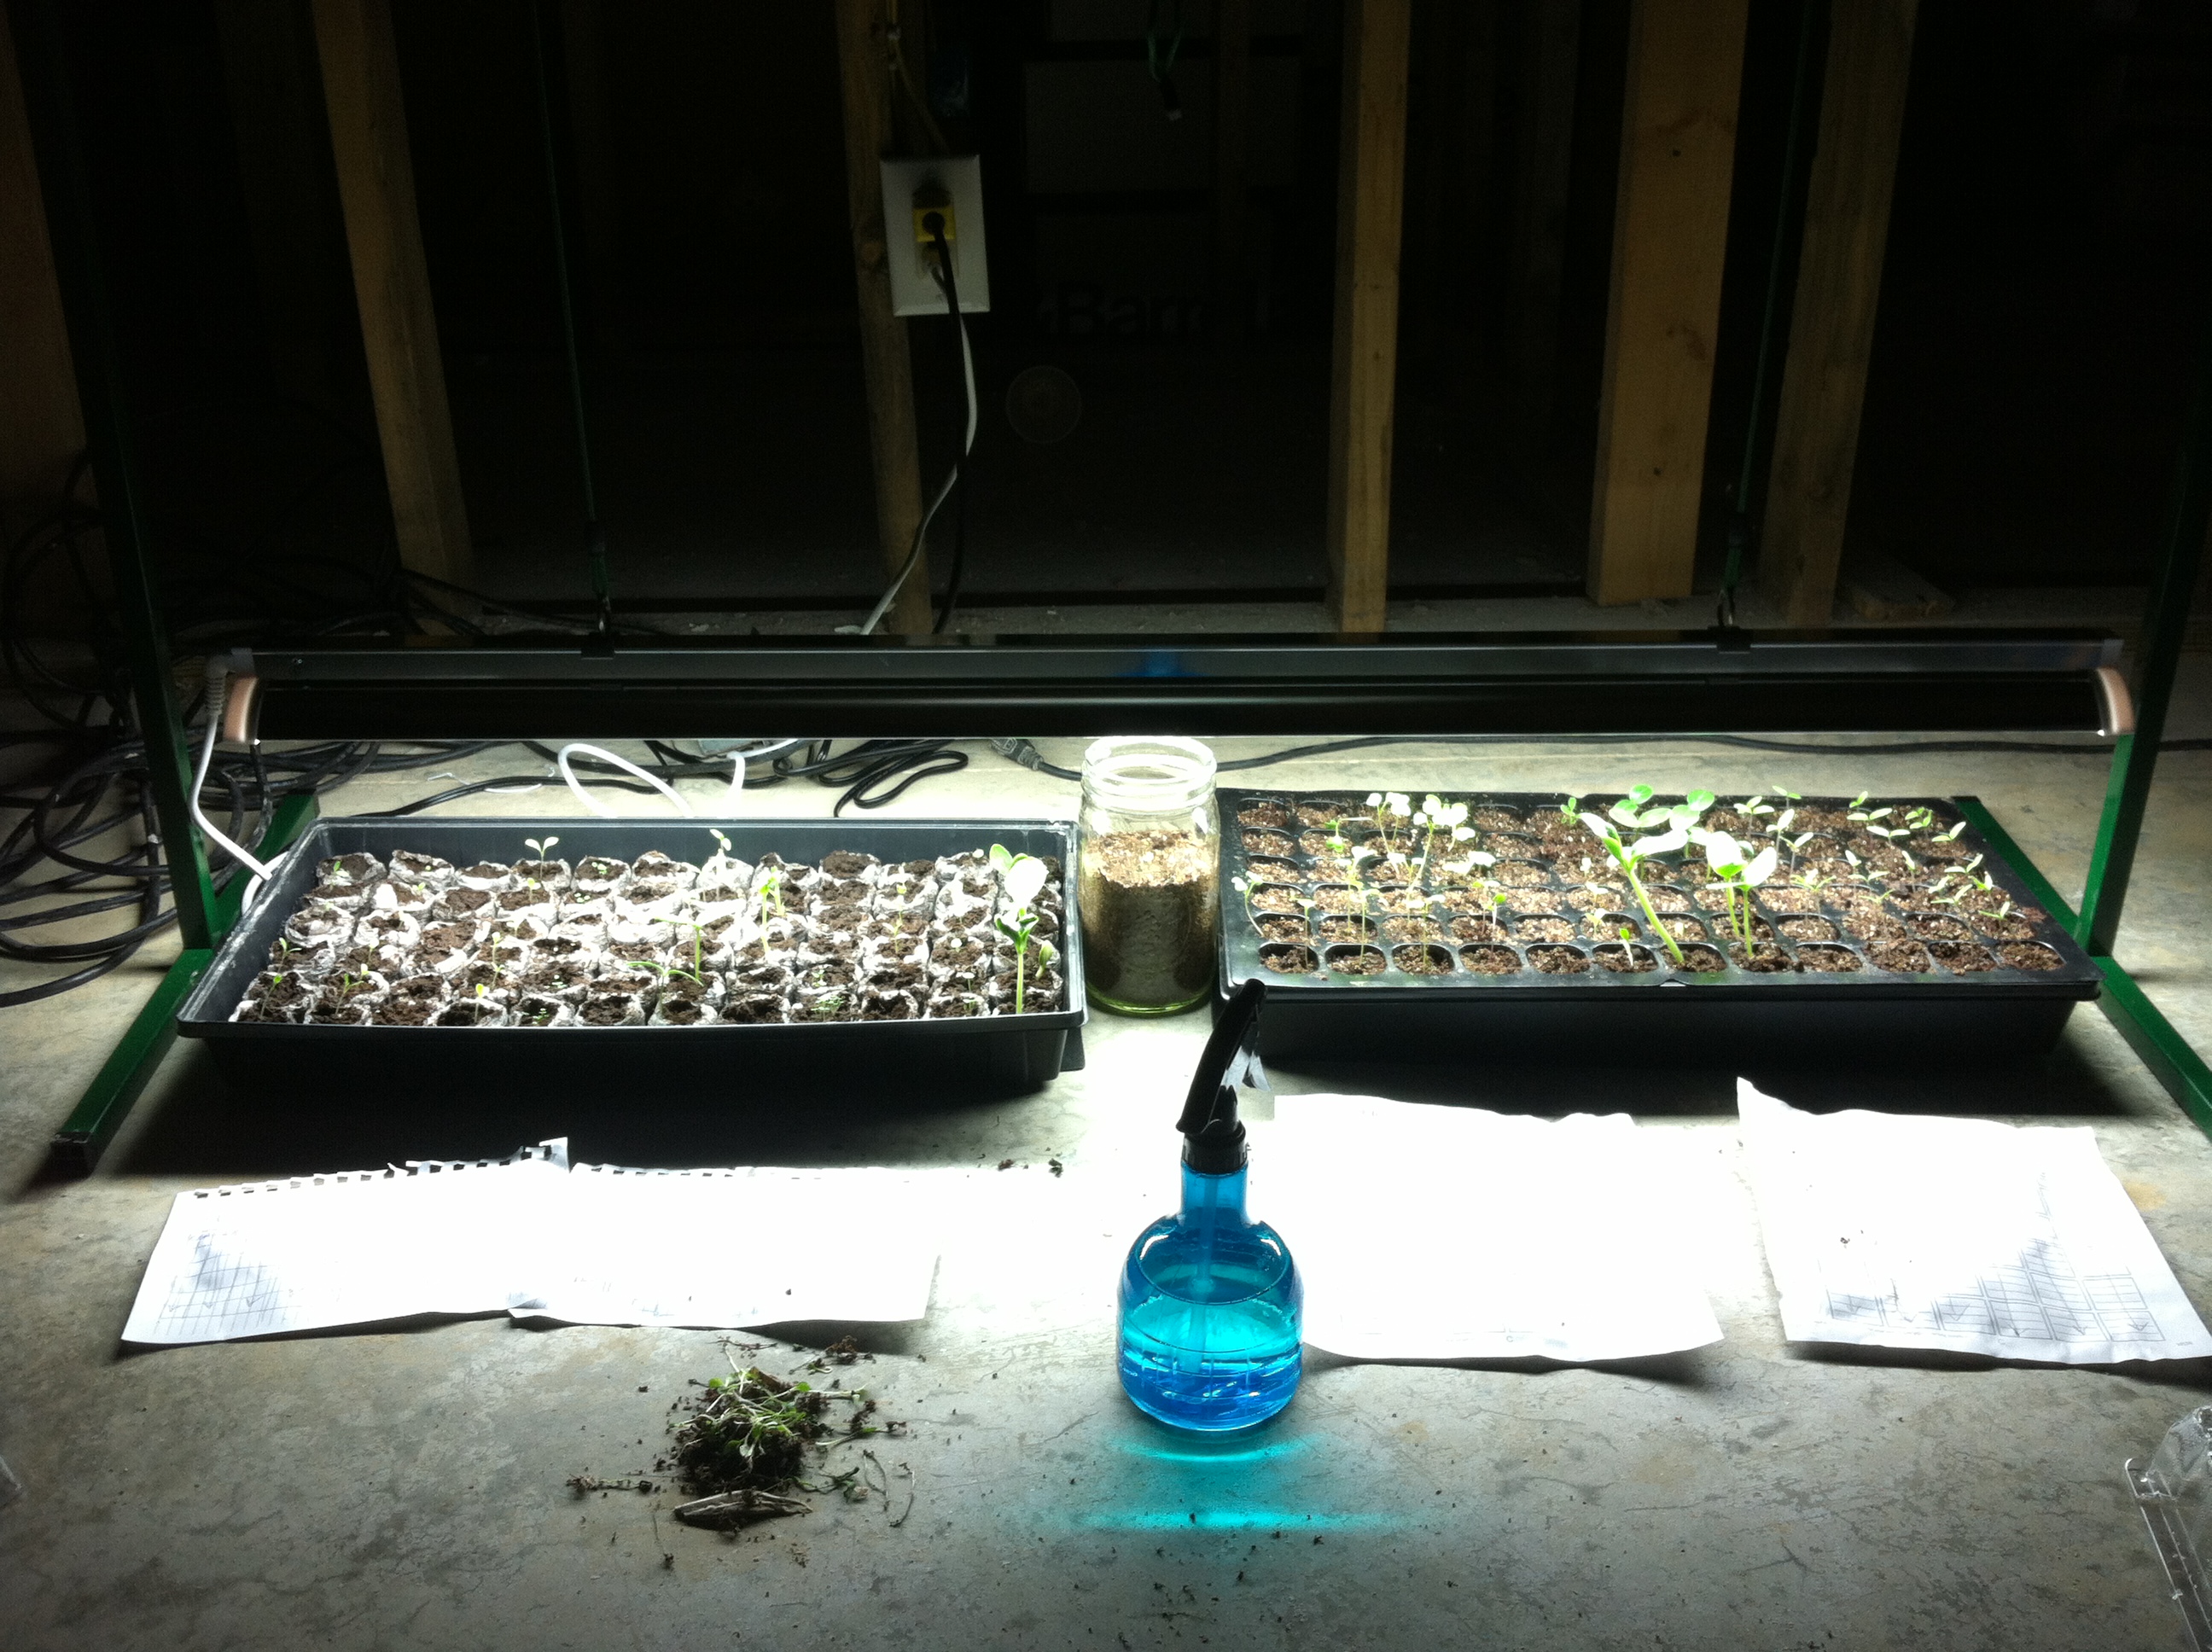
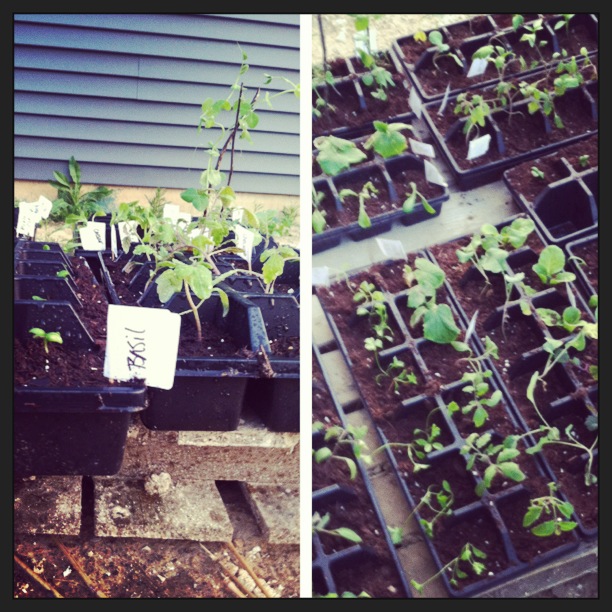
Some other garden tools that I found really useful and important to have in our first year of gardening are the following:

Work Gloves: Just like a cook’s best tool, a gardener’s best tool is their hands. However, in the garden your hands might need protection from branches, thorns, etc. You can spend a lot on gloves if you really wanted to, but a good fitting pair of cotton gloves with grips work great and won’t break the bank.

006

Kneeler Pad: This will save your knees and quads when gardening. Even as a young, athletic person this was a life saver. You can also find them in cute patterns which always makes things fun!

011

Hose with a Spray Nozzle: Watering cans look very “classic gardener,” but the amount of water needed to water a decent sized garden would likely require many trips back and forth from your outdoor tap. Be sure to measure the distance from an outdoor tap to the garden to ensure you purchase a long enough hose. Also look for nozzles with a rain spray option for gentle, thorough amount of moisture.

003

Trowel: This one is super important. It will help with planting, weeding, incorporating compost into soil, and more. A trowel is in the garden with me at all times.

010

Pruning Sheers: I use mine to harvest produce such as lettuce, so that it will regenerate itself, zucchini’s and peppers. They are also great to have for flower arranging and trimming landscaping.

007

There are so many tools out there to help a gardener, but I feel these are the best to invest in first.

001

A few other of my favorite tools that I would recommend investing in as you continue to grow your garden are:

Wheelbarrow
Hand Fork/Cultivator
Garden Hoe
Rake (… the one you use for leaves in the fall will work just fine)
A good shovel or spade
Rototiller
Compost bins

… Oh, and don’t forget sunscreen and a hat!

015

I learned that one the hard way…

Are there any garden tools that you swear by?

Filed Under: Uncategorized Tagged With: backyard Garden, Go Garden, tools

Go Garden: Sprouts Have Sprung!

April 5, 2014 by theblogbloom.com Leave a Comment

Just a quick little update on the seedlings.

We planted these seeds about ten days ago. Since then, things have germinated and the little plants are looking good and green.

016

We have thinned out the seedlings so that the strongest sprout is growing and there is only one seedling per space in the flat.

You can see that a couple of these spots had multiple seedlings going.  I would pull the weaker seedling very gently, so not to disturb the roots of the stronger plant.

You can see that a couple of these spots had multiple seedlings going. I would pull the weaker seedling very gently, so not to disturb the roots of the stronger plant.

We continue to check on the seedlings everyday and get them water. We also raise the heating lamp as the seedlings grow so that they don’t run into it.

I will check back in with these on the blog in a couple weeks when we begin hardening the seeds off.

Who else has seeds going? I would love to hear what you are growing!

Filed Under: Uncategorized Tagged With: Go Garden

Go Garden: Starting Seeds

March 25, 2014 by theblogbloom.com 7 Comments

Last night, we started seventeen different seeds.

DSC_0442

Things that we will not be starting indoors are items like root vegetables such as carrots, beets and radishes. We saved some lettuces to sow right into the ground as well.

A good rule of thumb is that seeds should be started indoors about six to seven weeks before the last frost. The last chance of frost in my area is May 11 (…Here’s hoping!). So, I am right on track as it’s about six and half weeks out.

Starting seeds is relatively easy. And, garden companies make it even easier.

We use plastic seed starter flats that you can get at any grocery or home improvement store. Some have soil pellets in the containers when you purchase them. We used these last year and I didn’t have any issues or complaints. They were great. But, this year we added natural and organic seed starter soil to our starter flats.

DSC_0430

DSC_0432

Once soil is in each container in the flat, be sure to water the soil thoroughly before planting. Make sure the soil isn’t too packed or becomes too wet.

DSC_0435

Seed companies have really made seeds easy to use. The back of the seed packets have all the basics like when to plant, how deep to plant a seed, if it can grow well in a container or if it needs to be transplanted into the ground and more.

DSC_0431

DSC_0440

We planted about three to four seeds in each individual container. Once they germinate, we will thin the weaker plants. Sometimes seeds will not germinate, and having more seeds in each individual container will help ensure you get a healthy plant.

Once complete, put plastic lid on the kit and place it in a warm (65-75 degrees) area of your home away from direct sunlight. You do not want to use light until the seeds have germinated.

DSC_0445

Check your seeds daily. Make sure soil is moist, but not wet. You should see signs of germination in about 7 to 10 days. Then, you should move the seeds to a heated lamp or sunlight.

Two other little tips I have picked up from my second year of planting seed indoors:
– Make a “Cheat Sheet” to show were everything is. Even once the seedlings begin growing, it will be hard to tell what is what for a while.

DSC_0443

– Mark numbers on each side of the starter kit and mark them on your cheat sheet. The kit can get flipped around or backwards. You will want to know if that’s the side with tomatoes or not.

DSC_0434

Next time you see these babies there should be some GREEN!

Note: There are many, many other ways to begin seeds. Some people like to reuse recycled yogurt containers. Others, have natural wooden flats that they use year to year. Some make up their own starter soil with compost, worm casings, etc. Do what works best for you. I believe this is the most approachable start for the “Rookie/Novice Gardener.”

Filed Under: Plant, Uncategorized Tagged With: backyard Garden, Garden, Go Garden, starting seeds

Go Garden: Getting Started

March 12, 2014 by theblogbloom.com 1 Comment

The major focus on Bloom in February was “Why Garden?”

We talked money, health, and reducing your impact on the earth and, if I did my job right, you are convinced.

Right…?!

If not, read the money one again.

Okay, all you Garden Believers… This month’s focus will be “Go Garden!”

This works really well because it’s just about time to get plans going for this summer’s garden and to get seeds started.

I like to start my seeds inside because it means I will have vegetables earlier and take full advantage of Indiana’s growing season.

Getting seeds started last spring.

Getting seeds started last spring.

Before you get seeds planted, it’s important to know your area’s last frost date.

For me, it is May 11. (Although, based on today’s snow and cold temps the critic in me says not to hold my breath…)

The USDA’s website has a great tool for finding your last frost date.

Most seeds are ready to transplant into the ground after about six weeks. So, I will be starting seeds indoors within the next few weeks and will be posting about the whole process.

If you want to get growing and follow along with me, here are a few things you should do before we get “dirt”-y!

1. Determine what you want to grow

First year veteran caveat: Start small.

Reasons? Too much too soon can be overwhelming. There’s weeding, pest control, watering, etc. needed for every plant. Not to mention, it can also mean you are swimming in produce before you know it and your good food could go to waste.

Holy Tomatoes.

Holy Tomatoes.

Note: A solution to too many garden veggies? After annoying your friends and family members to “Pleeeeease take some zucchini” and/or ding dong ditching your neighbors leaving behind baskets full of cucumbers (Hmm… just me??), take them to your local food pantry. We have a church down the street that serves our community and they love to have fresh veggies because they are not seen often.

Another thing to keep in mind, and it should be common sense but, only plant things you want eat. Even though Butternut Squash is becoming super trendy, but it will never grace my garden. (Okay, never say “never…”) But, for now… I just can’t. The texture. Bleh.

2. Plan a good spot for your garden

Our plants grow in the ground, but you could use containers on your deck or create raised beds. Whatever works with your situation, be it a yard or just a balcony.

Our garden in late May 2013.  Seeds had recently been transplanted into the ground.

Our garden in late May 2013. Seeds had recently been transplanted into the ground. Our garden faces west in order to receive plenty of sun.

Surprisingly, plants don’t need too much space.

But, they do need three key things in their designated location:

– At least six hours of sunlight a day. But, if you don’t have full sun in your yard don’t feel like a garden is a lost cause. Plants like leafy greens do great with shade.
– Water… Unless you really want to work on your biceps and walk back and forth with a full watering can, make sure your hose can reach the garden beds. You can thank me later for that one.
– Good Soil (We will talk more about creating nutrient rich soil once it warms up a bit.)

3. Get materials needed for starting seeds

There are great seed starting kits that can be found at any home improvement or garden store. These kits make it super easy. There are directions right on the kits. Some even have “greenhouse” covers to help keep heat in, replicating the warmer, summer temperatures.

Seed packets can also be found at home and garden stores. I even saw them at the grocery store today.

Last year all our seeds were packaged by Burpee. I enjoyed them and they worked out great. Burpee is an excellent brand and you will be able to find their products easily. We will be growing many different Burpee seeds this spring.

However, there are lots of other seed companies out there. Adam and I are planning to try a couple different companies, such as Gurney’s. Their seeds come through the mail.

Many of the seed companies out there also have Certified Organic seeds, if that’s something you are interested in.

Also, Adam and I use Grow Lamps to provide artificial light and heat to plants in the beginning. I have a friend who puts her starter kits right by a window that gets a lot of light throughout the day. Her plants do great.

It’s up to you and how much you want to invest. You can find Grow Lights in many different sizes and levels of quality so their prices can range from $50-$500.

Our Grow Lamp, starter kits and spray bottle in 2013.  Label sheets are on the floor in front of the kits.

Our Grow Lamp, starter kits and spray bottle in 2013. Label sheets are on the floor in front of the kits.

Other small items to have ready to go before you get sow seeds:

Labels and a marker: I made ours last year with toothpicks and label stickers so that they looked like little flags.

IMG_0901

Spray bottle: These are super cheap and you can find them anywhere. Make sure they didn’t hold any cleaning chemicals before you use them to water your plants.
Watering Can
Potting soil

Alright snow… get out of here. We have garden’s to plant!

Filed Under: Plant Tagged With: Garden, Garden Planning, Go Garden, Seed starter kits, starting seeds

Meet Claire

Hi, thanks for visiting! I am Claire and I have been sharing my life and thoughts on Bloom since 2013. Welcome to 2023's project, The Farmers Market and The Library. For more about me...

Follow Bloom.

RSS
Follow by Email
Facebook
Twitter
Pinterest
Instagram

Be a Bloom Insider

Enter your email address to subscribe to Bloom and receive notifications of new posts and a bi-weekly love letter from Claire by email.

Archives

Copyright © 2025 · Foodie Theme by Shay Bocks · Built on the Genesis Framework · Powered by WordPress