Bloom.

Navigation
  • About

Yes, You Can Can!

September 19, 2013 by theblogbloom.com 1 Comment

Can we talk about how it is almost October?

Where has September gone!?

My September, so far, can be summed up pretty quickly: Work and canning.

I recently told a few women at work that I needed to get some canning done over the weekend. They stared at me with blank faces.

“Claire, don’t take this the wrong way,” one of the ladies started, “You just don’t…hmm? How should I say this? You don’t seem like the kind of girl who would be into canning.”

Another chimmed in, “Yeah. I would never think you raised chickens or had a garden.”

The first lady continued, “You’re just really domestic. It’s just you don’t look like a girl who would do that. You are young and… pretty.”

Embarrassment burned in my cheeks and with a little laugh, I quickly changed the subject.

I got back to my office and began to question everything.

… Do I come off as a young and dainty ditz who only cares about my appearance?

What does someone with chickens look like?

… Okay, stereo-typically speaking, probably not like me in my business casual attire. Sure.

What does someone who cans look like?

That’s when it hit me.

Those women were imagining their grandmothers.

Those middle age women may have never canned because they didn’t have to. Their grandmothers, before food processing reached its prevalence, had to.

While canning today is not mandatory, it sure is rewarding. Not to mention, fun!

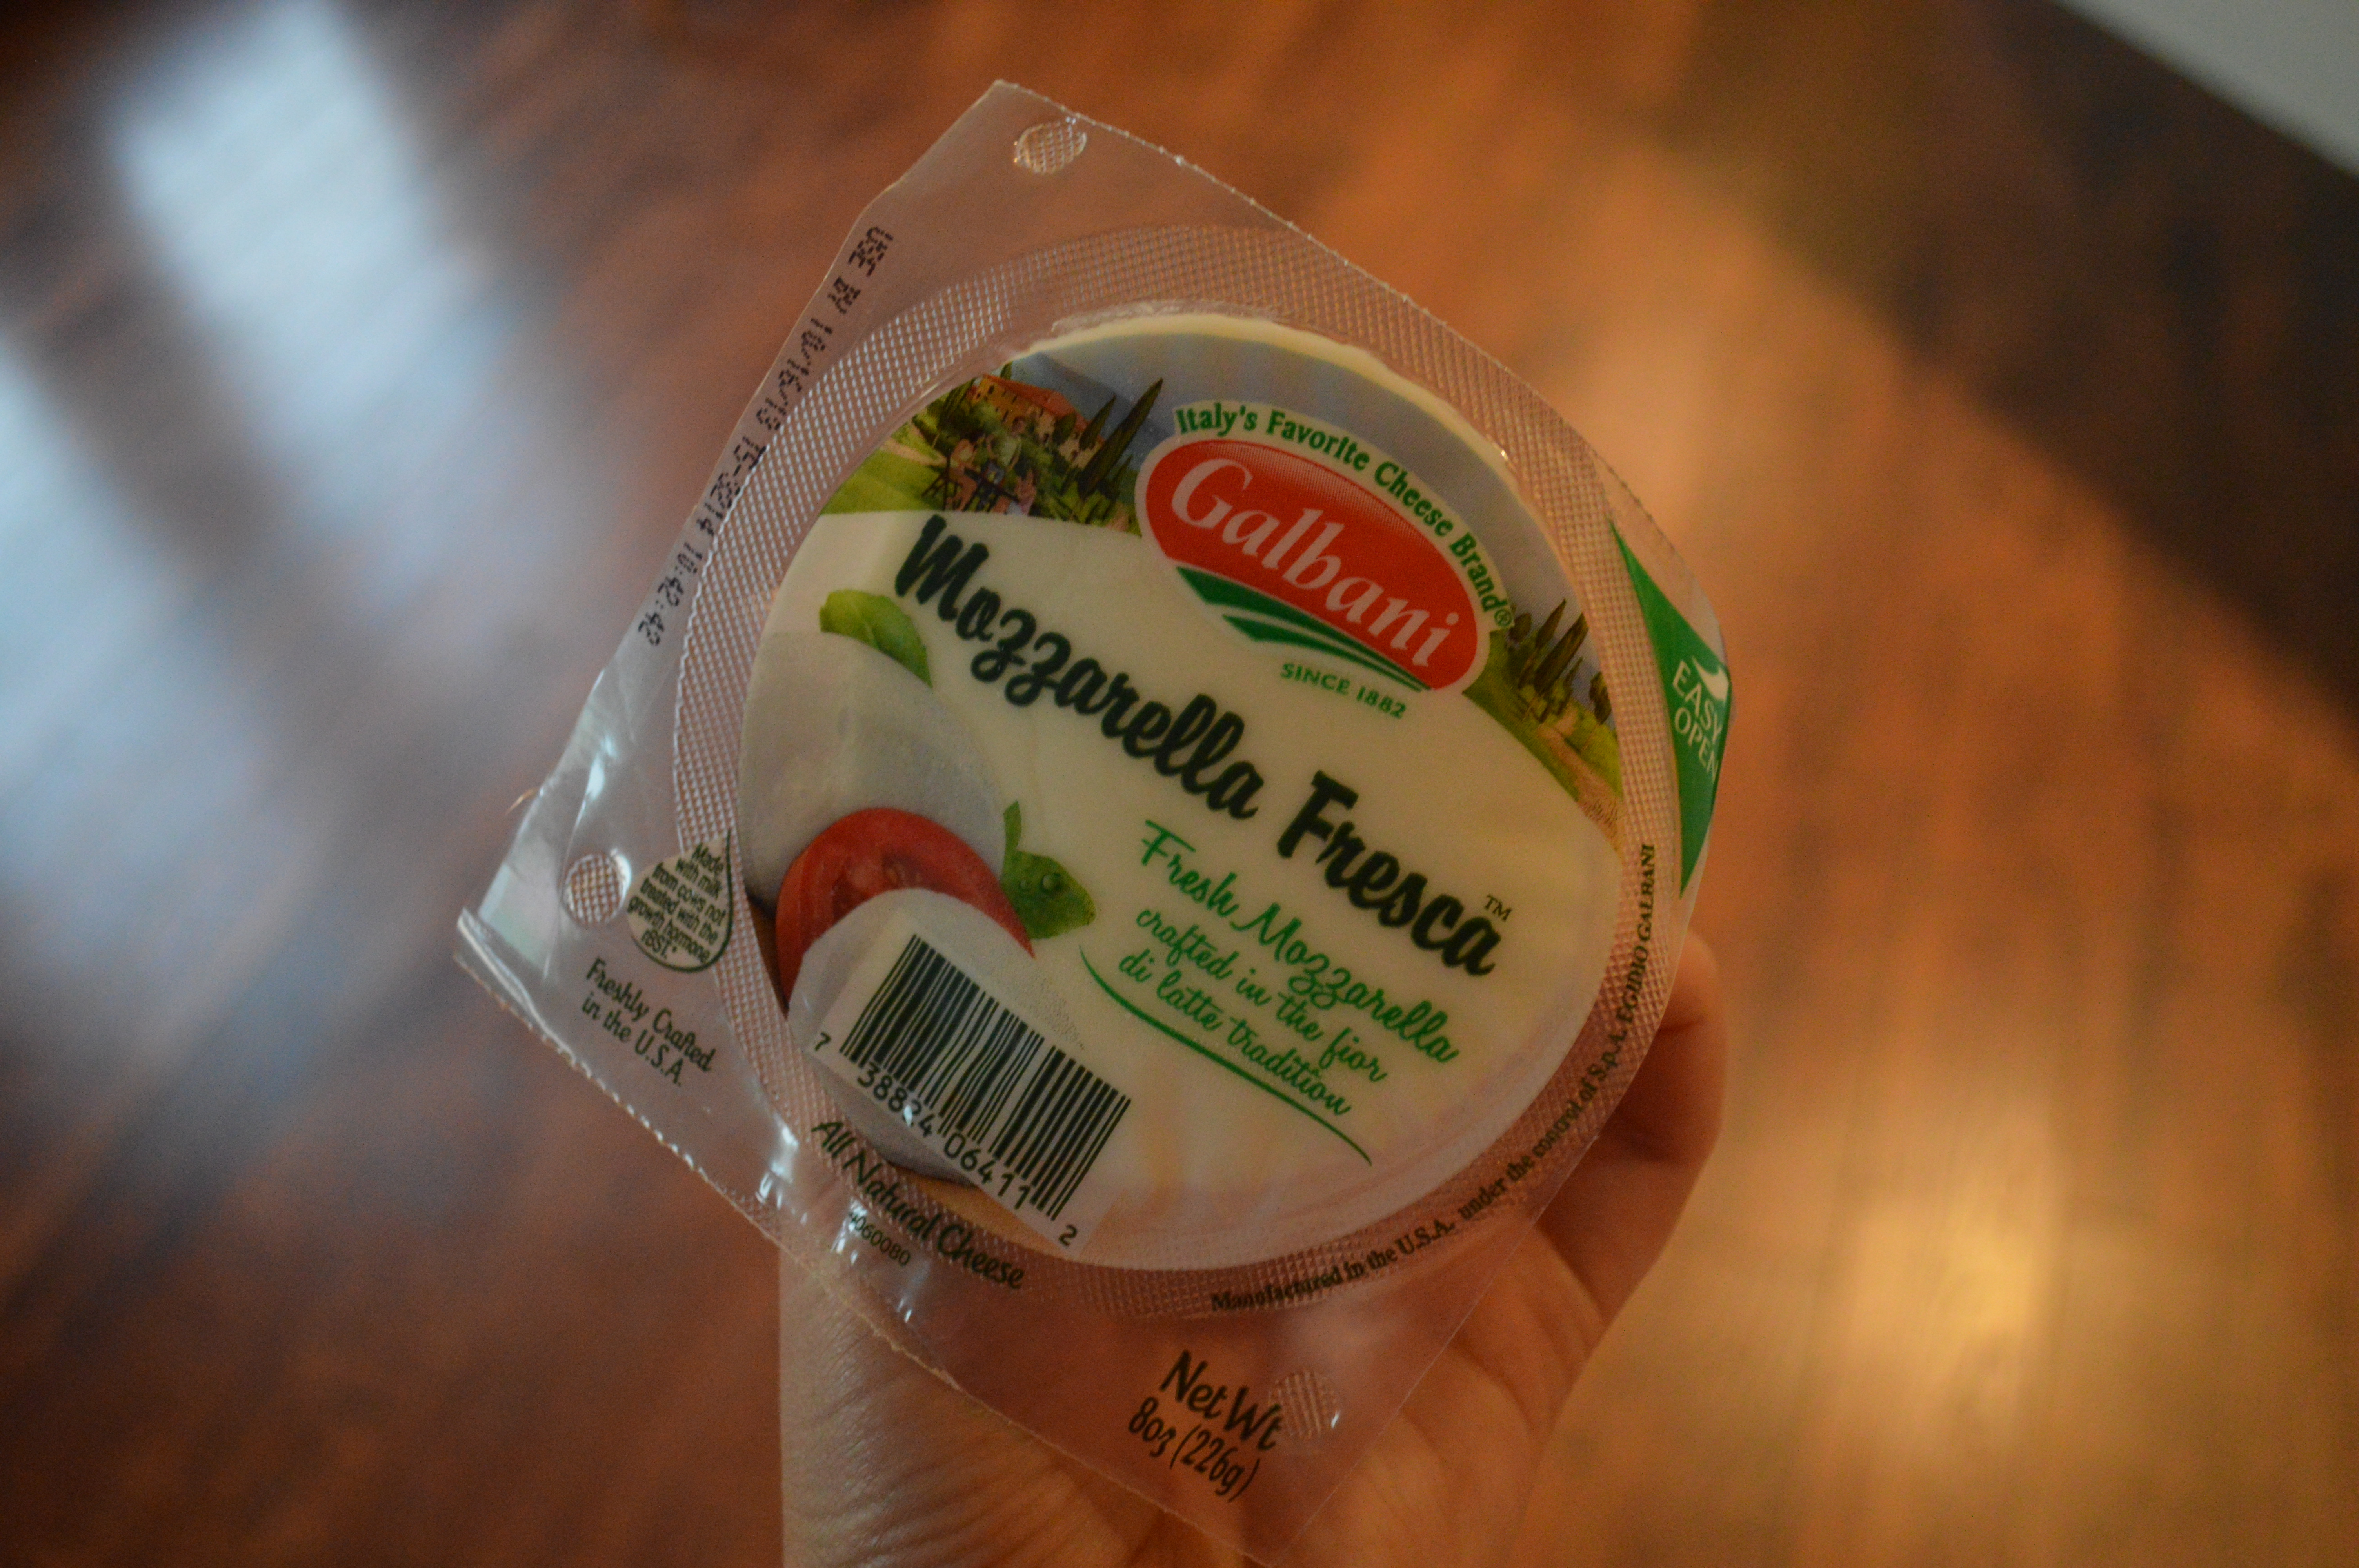
I recently purchased Linana Krissoff’s, Canning for a New Generation. The tips, recipes and photos all looked great. Plus, it just seemed appropriate… 😉

102

It’s a great resource for newbie canners.

There are also tons of other great resources all over the internet, but be cautious in your searches. Anyone can write a blog (… this can be a positive thing too. I am living proof!) and canning incorrectly can potentially be dangerous as botulism can live and grow in improperly processed cans. Eek!

That being said, don’t be too scared to can at home. Just do your homework and study up.

I had never canned anything before this summer and would suggest checking out Ball Jar’s website or the USDA’s recommendations found here: http://nchfp.uga.edu/publications/publications_usda.html

Here are a few other good things I picked up from my rookie canning adventures:

Make sure you have all the tools you need. I have a canning kit that has a jar lifter, a funnel, a magnetic lid lifter, and a jar wrench. These kits are sold at any kitchen or home improvement stores. This time of year is a great time to get a canning kit on sale. I got ours a year ago at an end of season sale at a major discount.

003

The funnel is great for keeping products in the jar and off the rims.

The funnel is great for keeping products in the jar and off the rims.

The magnet helps place the lids onto the jars without using your fingers.

The magnet helps place the lids onto the jars without using your fingers.

Tongs are key when canning.  It helps in placing jars into the water bath and removing them at the end of processing.

Tongs are key when canning. It helps in placing jars into the water bath and removing them at the end of processing.

I also use water bath, which is a huge pot. It can take some time to bring to a boil, so plan accordingly.

002

Be sure you are working with clean jars. I always inspect the jars before sterilizing them in the water bath for chips that could prevent the lids from sealing.

015

Jars and rings can be reused, lids cannot. Ball sell’s lids individually so you don’t have to invest in new jars every year.

There are a lot of seasoning packets that make creating different flavors of pickles, salsas, and sauces easy. They also include cooking times for the product you are creating so it takes out a lot of the guess work. I used these often, but did manage to create a handful of batches from scratch.

Once canning is complete, let jars sit. I leave ours alone on a cooling rack for twelve hours just to ensure they seal correctly.

076

Finally, be certain to do a victory dance for every “Pop!” you hear indicating the jar has sealed…!

Bonus Tip from Adam: Be prepared for a lot of dishes.

… I laughed when he told me to add this. It’s funny and true. We did it 100% without a dishwasher because our house is new and we don’t have power in our island yet. If we can do it, you can do it. (Although, I am sure a dishwasher helps.)

Even with the many rounds of dishes, canning is so gratifying.

I look at our dining room table, covered in Ball jars and smile.

068

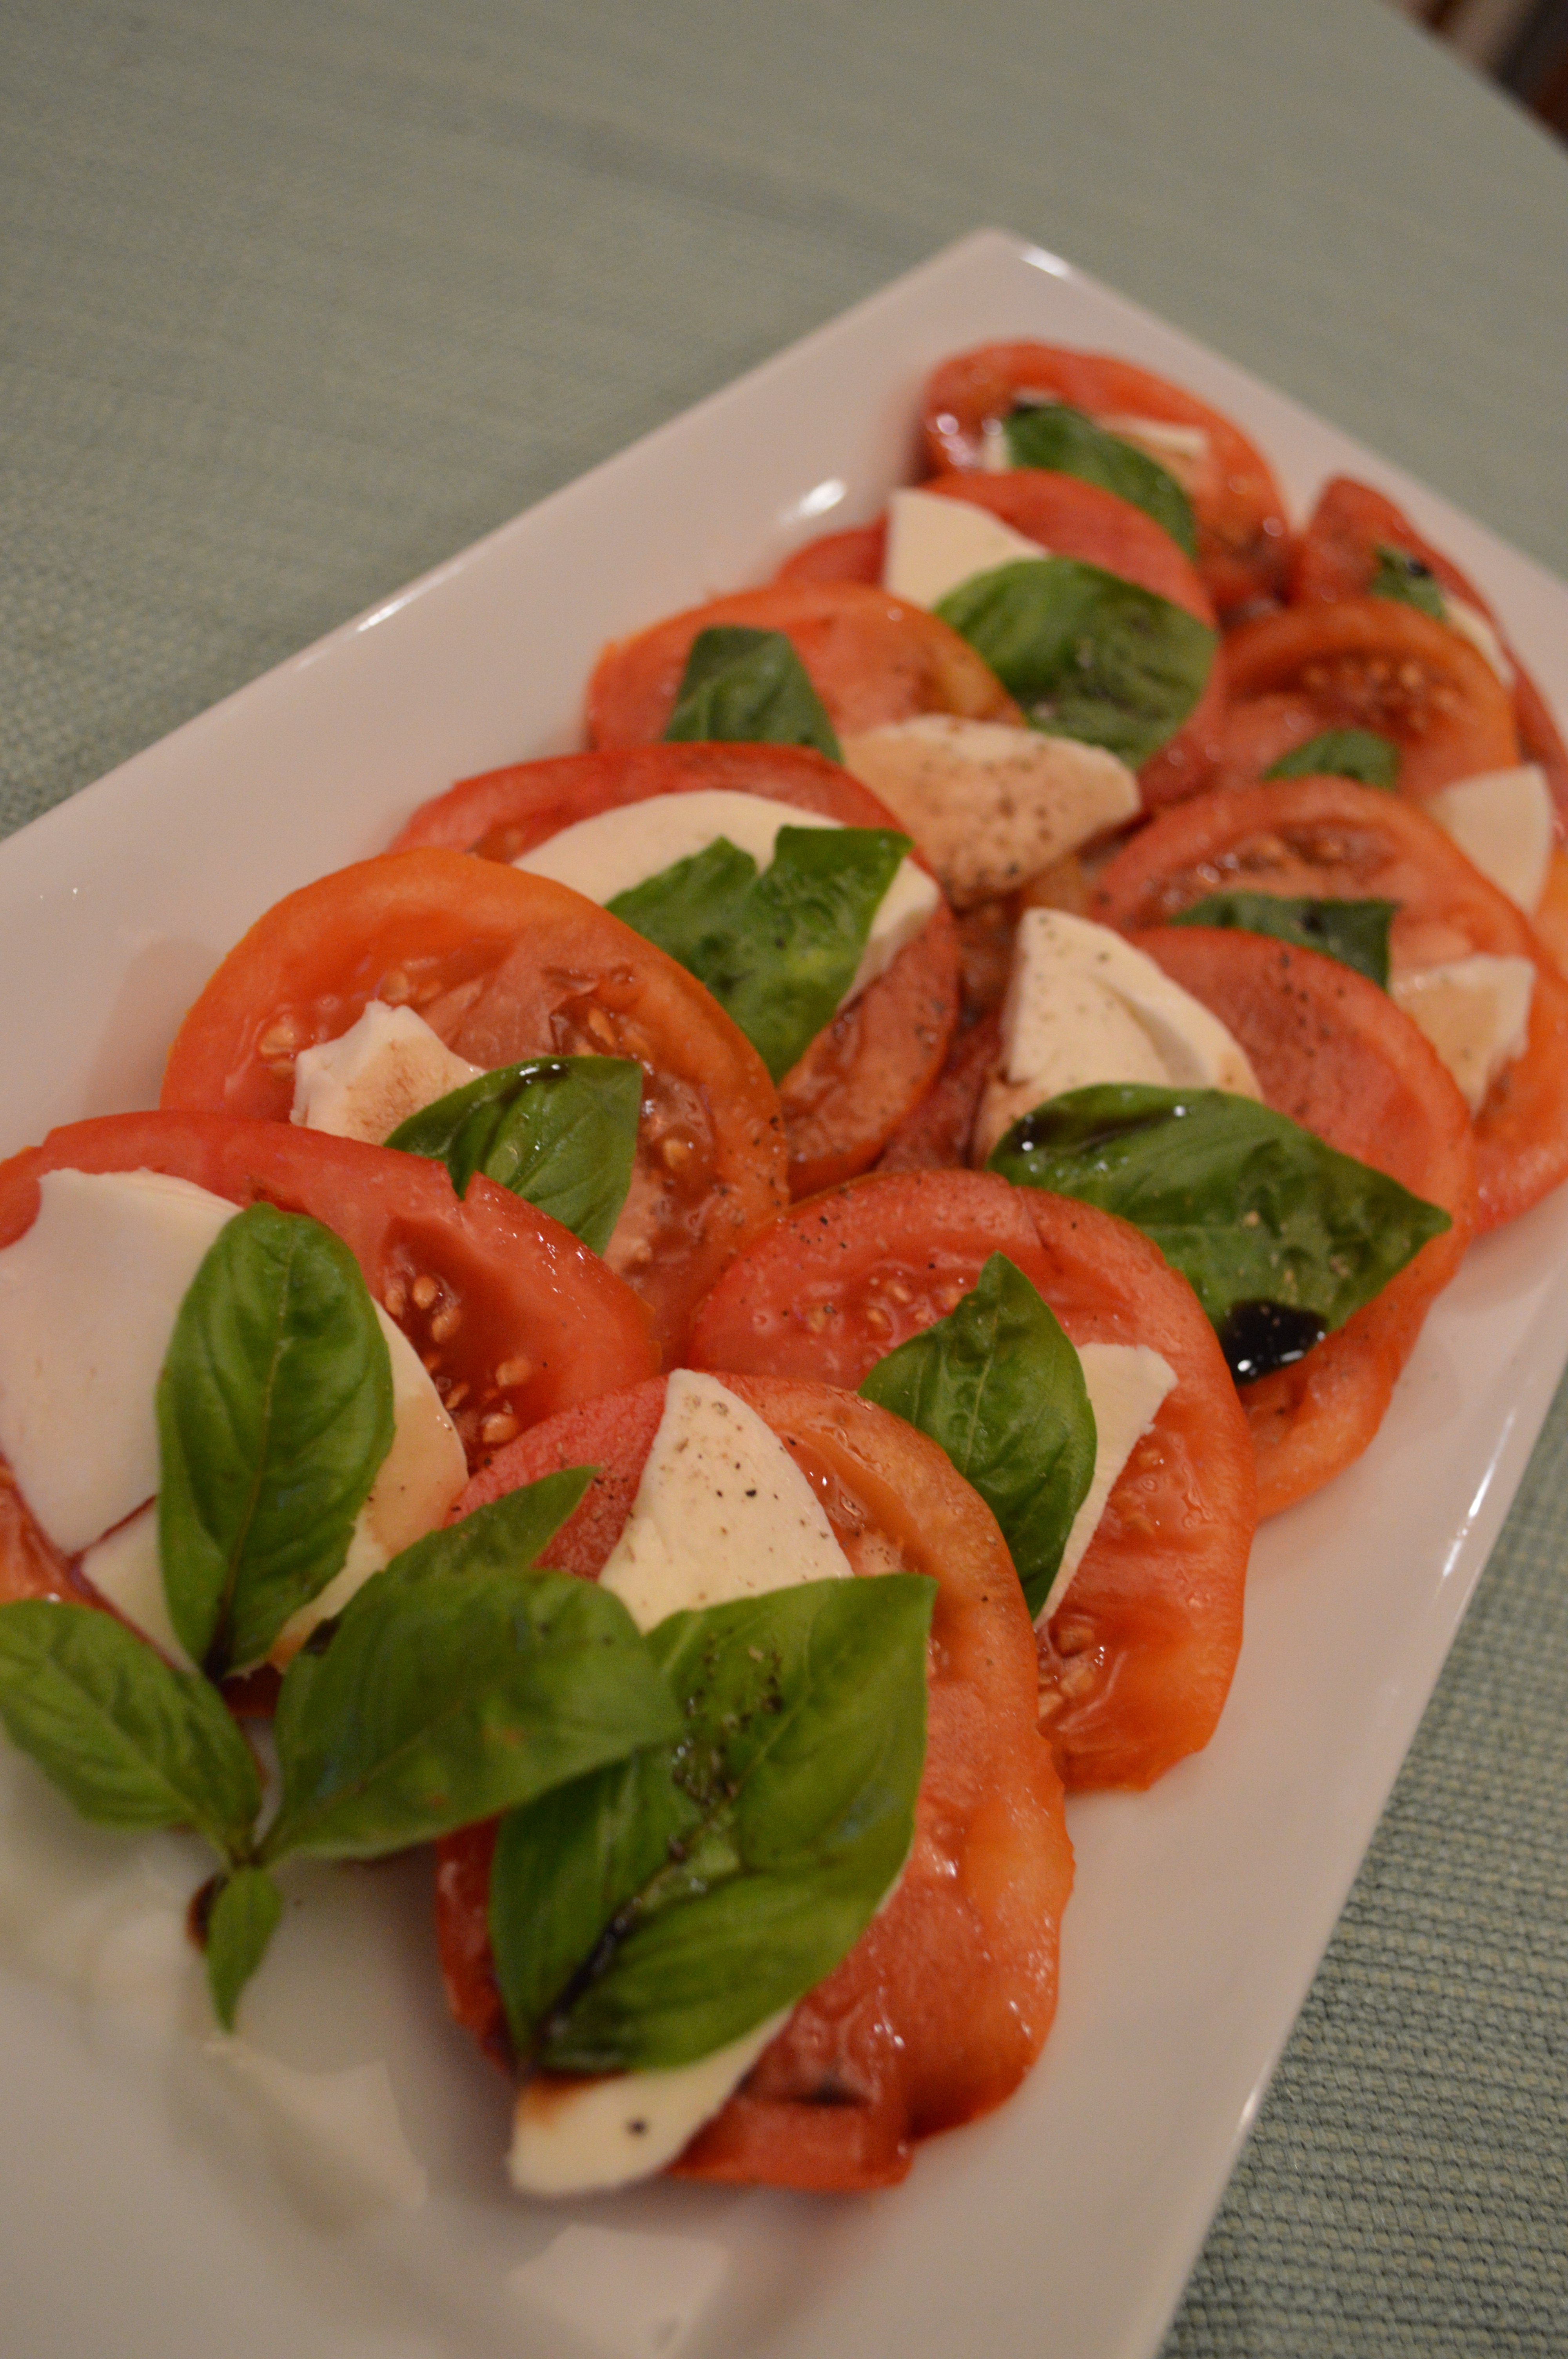
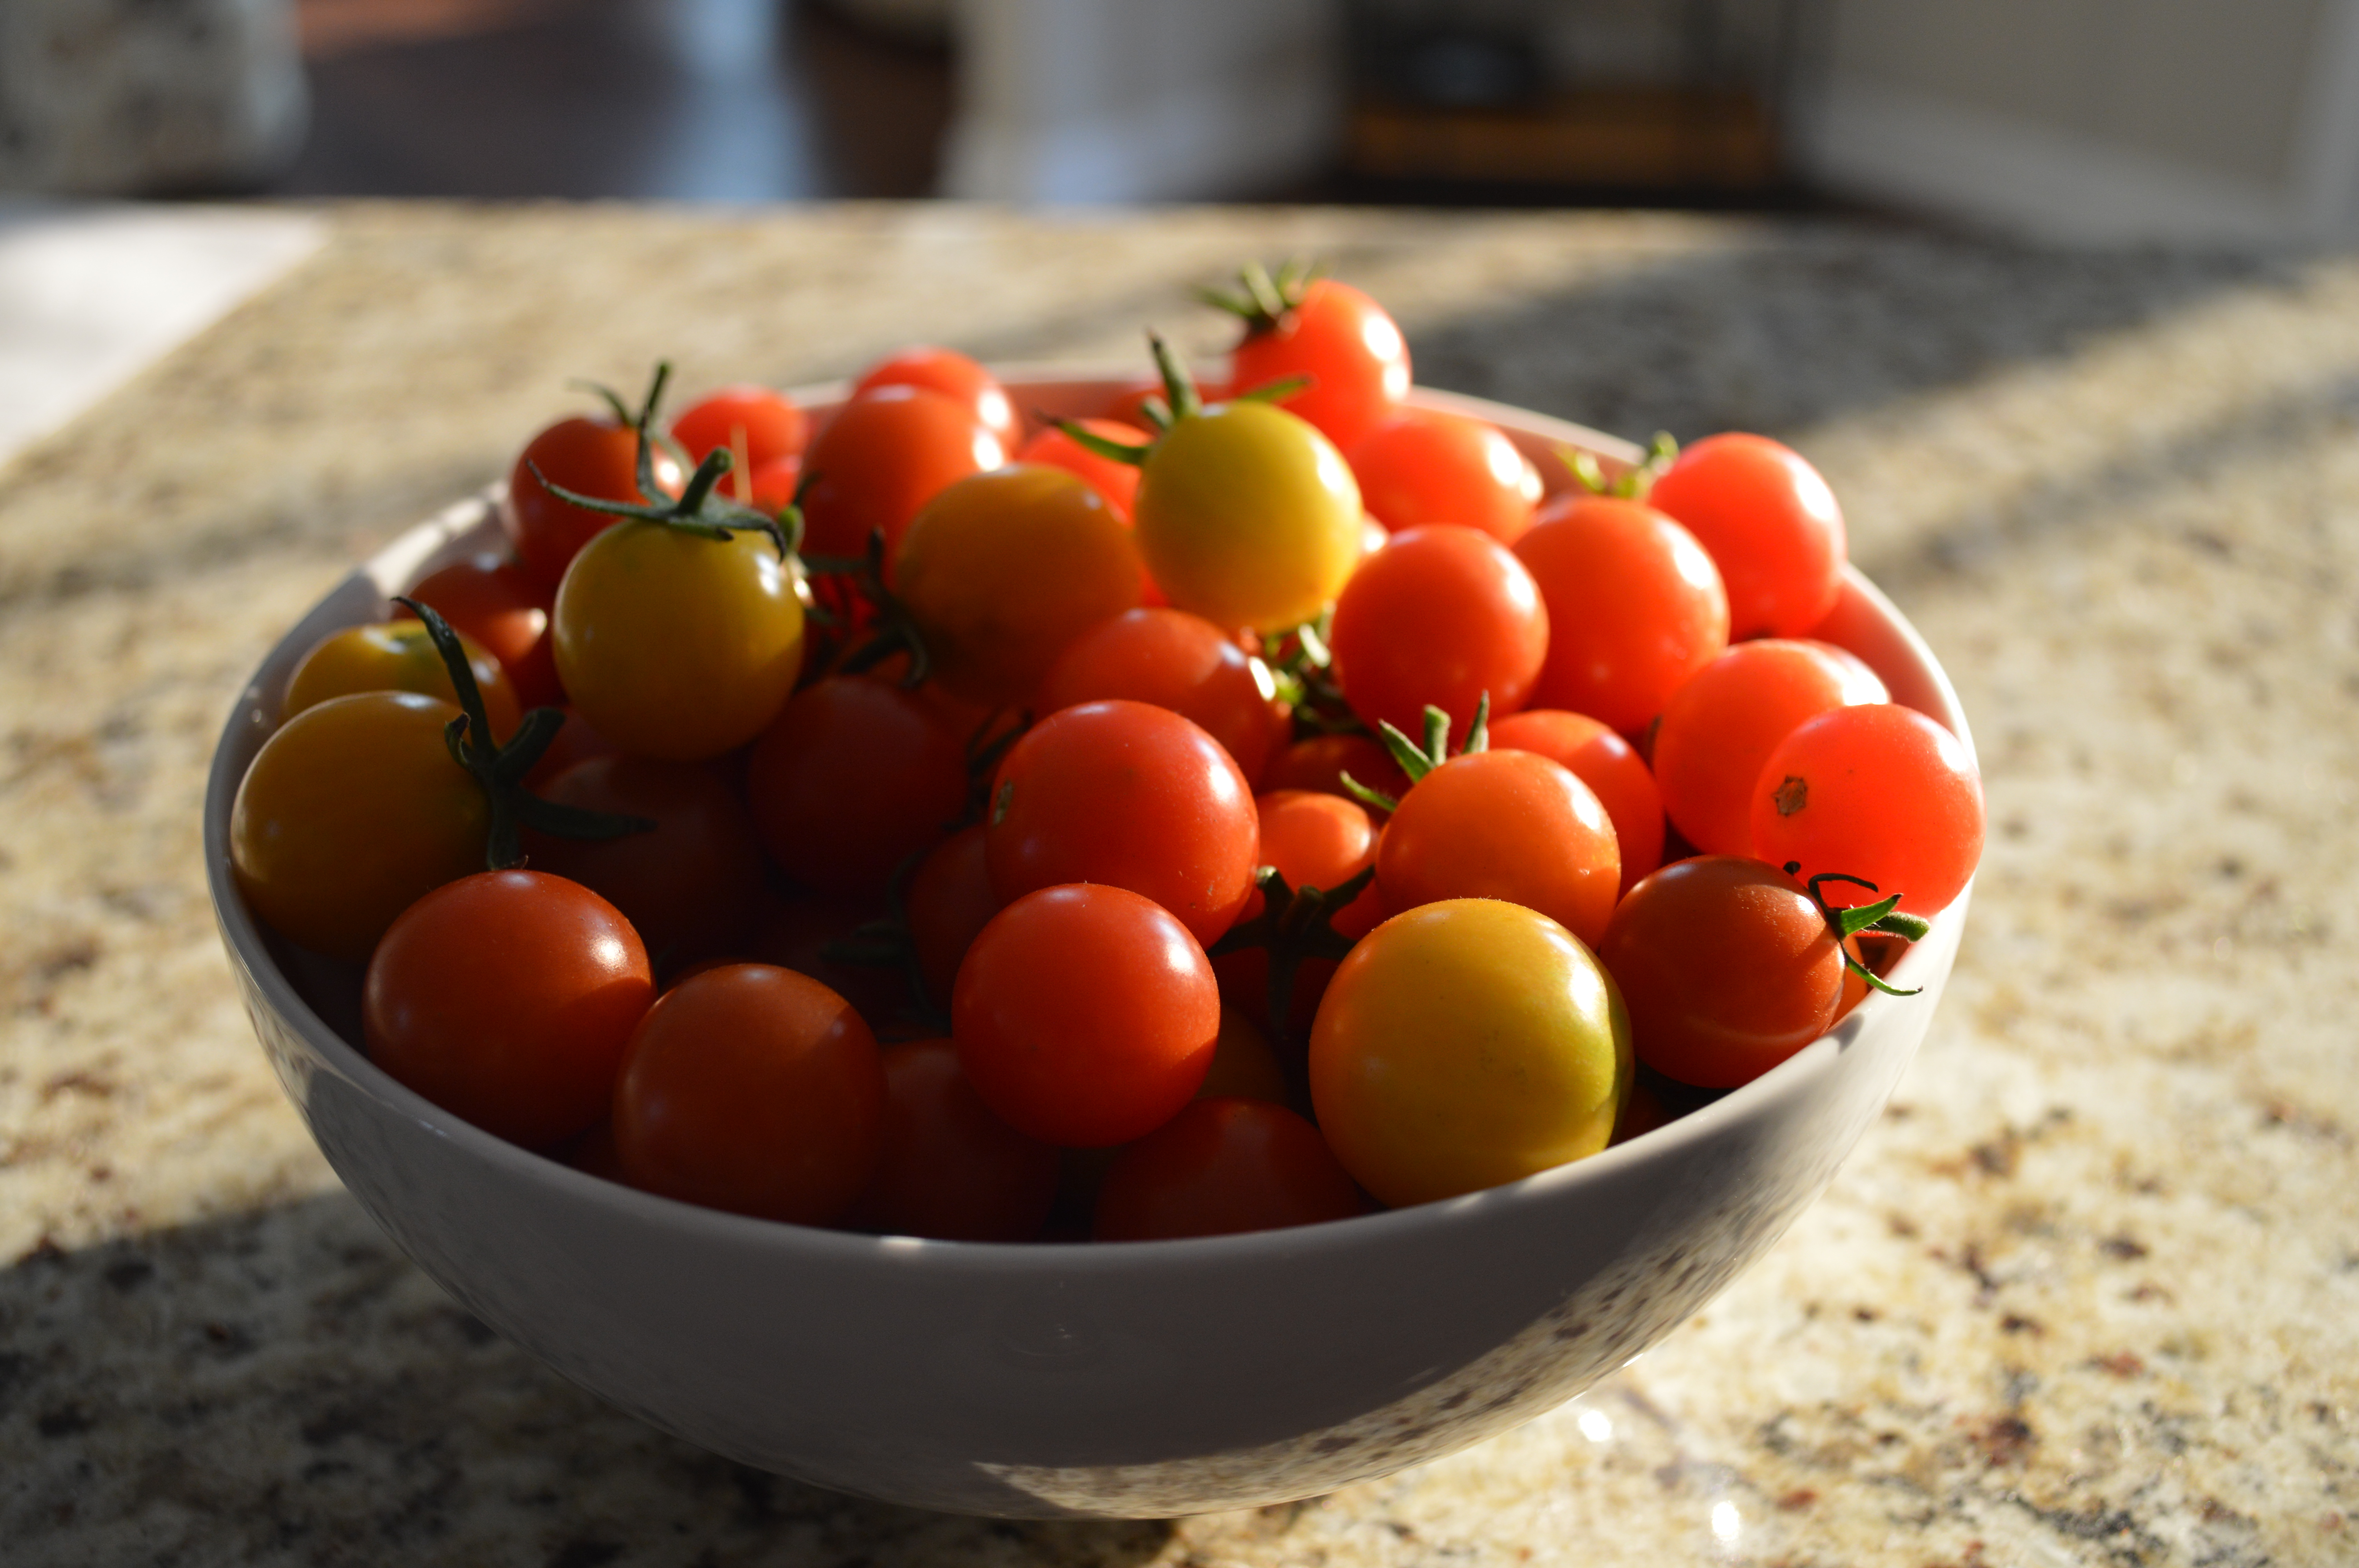
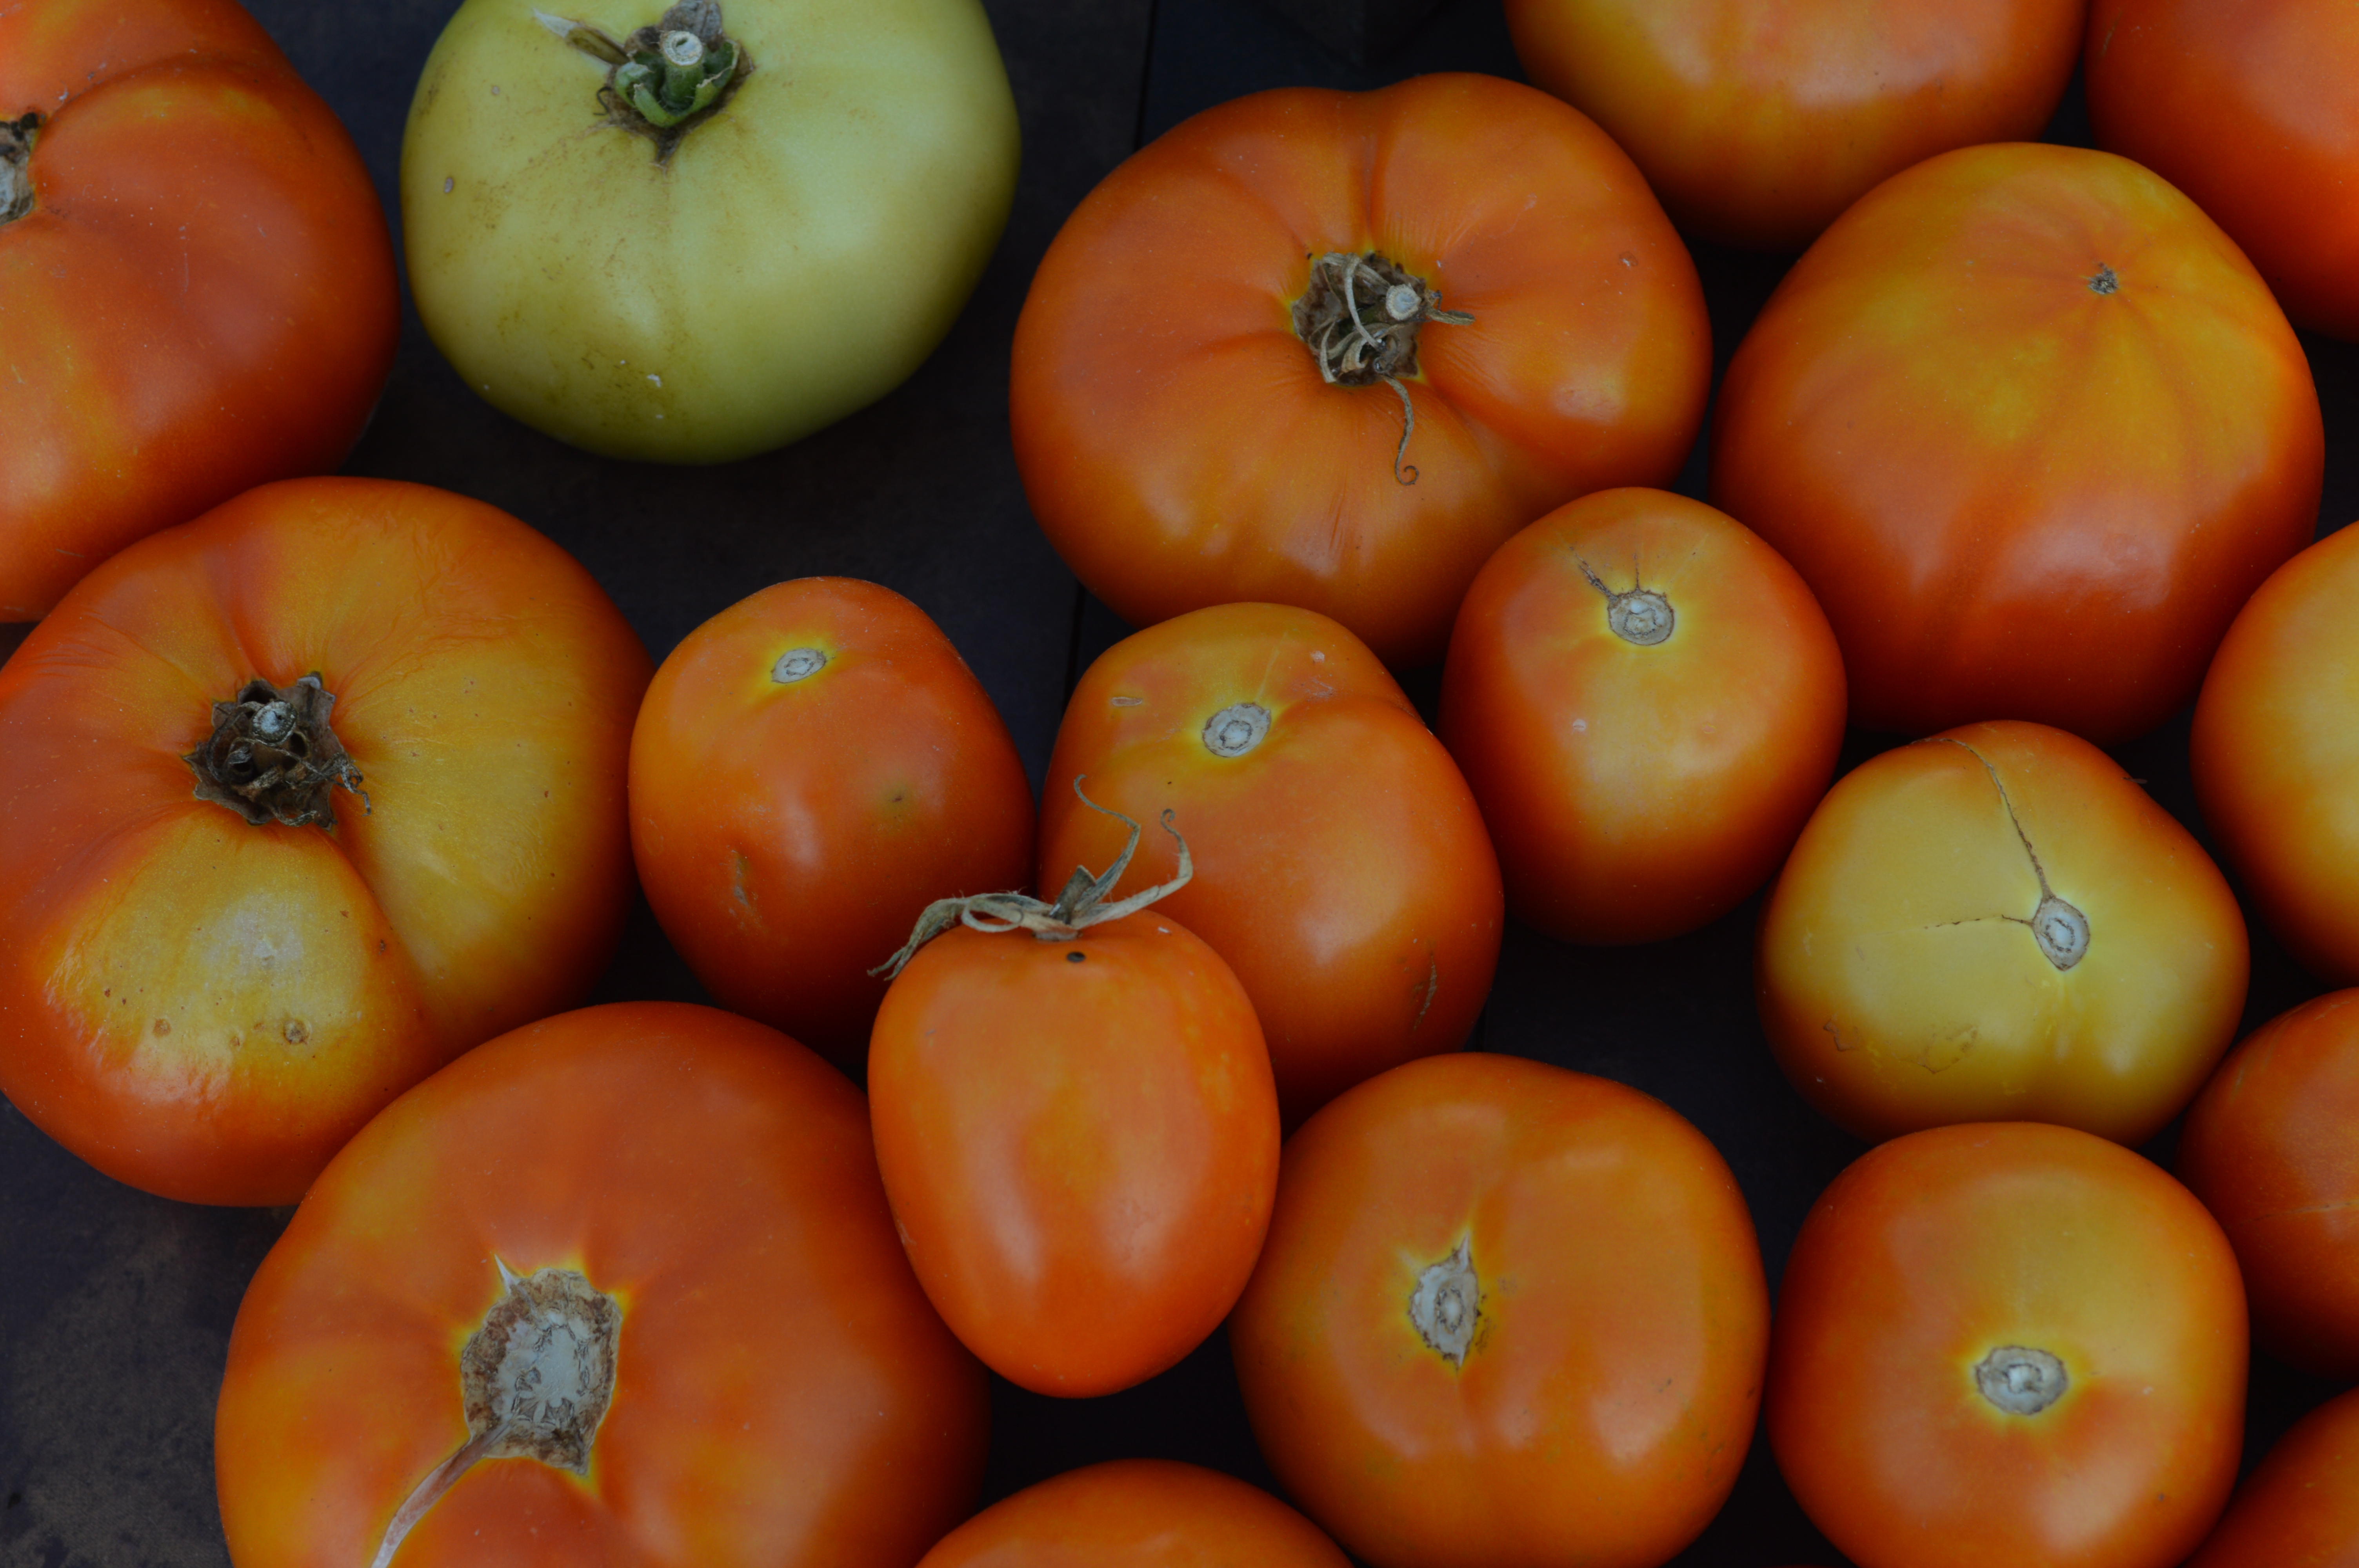
The sauces and salsa’s made from our garden ingredients will be welcome in the winter when a fresh, flavorful tomato is hard to come by. I also can’t help but wonder if this will help keep our grocery bills down.

014

Don’t be scared or intimated.

Break down the stereotype.

You can can!

... And can in Charlotte York style!

… And can in Charlotte York style!

Filed Under: Canning and Preserving, Plant Tagged With: Ball Jars, Canning, Cookbook, Plant, Preserving, Salsa, Sauce, Tomato

Sunday Funday.

September 8, 2013 by theblogbloom.com 5 Comments

Happy First Football Sunday!

… Or Merry Christmas, if you are speaking with my husband.

Adam looks forward to this day all year long.

With harvest picking up, Sunday’s are his only day to relax and not worry (…too much) about work.

Adam and I have established a little bit of a tradition for early Sunday afternoon football games that date back to my first apartment in Indianapolis. It’s fabulous. We take our time waking up, make brunch, throw something in the crock pot for an early dinner after the game, all while drinking Bloody Mary’s.

011

Adam has spent the last few years trying to perfect the Bloody Mary.

And he really has done some research. He has befriended bartenders and expert tailgaters at football games and NASCAR races. (AKA all the professionals in this field.)

Ingredients have included everything from Pepper and Bacon vodka, pickle juice, horseradish, Worcestershire sauce, pickled okra, bacon and many others.

016

PS- it’s been a really hard job being the taste tester for all these cocktails…

Adam’s grandmother recently shared her recipe for tomato juice with me after seeing how tomatoes were taking over my counter tops. While reading through the ingredients, I thought how it would make a great Bloody Mary base.

When I shared this with Adam, his passion for the perfect Bloody Mary came to life and he instantly got to work canning his own Bloody Mary mix.

009

Here is what he did:

021

Ingredients:

Approximately 20 Tomatoes (Adam used a few different kinds, including Roma and Beefsteak)
Two cloves garlic, minced
Two yellow onions, minced
Three ribs celery, chopped
1 Bell pepper, chopped
1 Poblano pepper, chopped (Any spicy pepper, like a jalapeno, would work)
1/3 cup prepared horseradish (Not horseradish sauce)
1 ½ teaspoons of crushed red pepper flakes
1 tablespoon Tobasco (Any red pepper sauce could work)
¼ cup sugar
1/3 cup lemon juice
½ tablespoon salt
½ tablespoon celery salt

Heat tomatoes in boiling water for about three minutes. Place immediately into ice water bath. Core, skin and cut tomatoes into wedges.

Add all ingredients, including blanched tomatoes, to a large stock pot. Cook over medium heat. Simmer for 40 minutes, stirring occasionally.

Vegetables should cook down and turn to juice.

Strain (we used a mesh strainer), pushing out as much juice as possible. After straining, return juice to the pot and bring strained tomato juice to a boil.

Put juice into 1-quart jars. (Make sure jars are clean and sanitized before processing begins. Ensure all lids are clean and unused.)
Process in boiling water bath with a half inch of water over the top of the sealed jar for forty minutes.

Remove from water bath and place on cooling rack for at least four hours. Make sure each jar seals. If jar does not seal, consume the mix in the next three days.

Today we tried to Bloody Mary mix for the first time. We mixed in about a shot glass of vodka and a splash of spicy pickle juice.

009

Perfectionist Adam said he liked them, but he still needed to work on it as he dug through the fridge for more Tobasco.

... annoying photographer.  I know...

… annoying photographer. I know…

I, however, thought they were great. I loved the fresh flavor. It didn’t taste watered down or too salty. The pickle juice was perfect. There was enough spice to keep it interesting. Perfect.

024

And the Colts won! So, who knows?! Maybe this Bloody also has a splash of luck.

027

Filed Under: Canning and Preserving, Plant, Recipes Tagged With: Bloody Mary, Canning, cocktail, football, Plant, recipe, Tomato

Mozzarella and Marinara: An Irish Girl’s Attempt at Italian

August 27, 2013 by theblogbloom.com Leave a Comment

There is a little part of me that has always -secretly- wished I was Italian.

But, I am Irish.

Very Irish.

My name is Claire, after County Clare in Ireland. My sister is Kerry, after County Kerry (the home of Dublin). And my brother is Danny… Danny Boy. My maiden name? Sullivan.

My dad was raised the sixth of eight Irish Catholic children and went to Notre Dame for undergrad. “Cheer, Cheer for ole Notre Dame” was in my childhood repertoire, just behind “The ABC’s” and “Twinkle Twinkle, Little Star.” I even went to high school in Dublin, Ohio where our mascot was “The Shamrocks.”

Very Irish.

As a housewarming gift my dad gave me this little garden fairy.

My "Green Gal"

My “Green Gal”

He said, “It’s an Irish Fairy for your garden!”

Let’s be serious for a quick second… The “Luck of the Irish” is not exactly what anyone wants in their garden.

The Irish are famously bad at gardening. Umm, hello?! That’s why we are all here.

Not to mention, we are not that good on the culinary front. Outside of Shepard’s Pie and Guinness, it’s pretty bleak.

Don’t even try to argue with me on this one. Especially with Irish Soda Bread.

In third grade we had “Culture Day” where we had to bring in food from our background. I remember my mom looking over the assignment and reluctantly saying, “Well, I guess we could make Irish Soda Bread…?”

She knew something I didn’t know.

But, I was excited. Soda and bread? Mixed together? My ancestors had it right!

Boy, was I in for a surprise.

On top of the weird flavor in something that looked like a dessert, there were raisins in there. Yuck.

Not something to build a deep connection back to the homeland on…

I have been to Italy twice and, despite my Irish roots, I couldn’t help but fall in love with their lifestyle and food culture. The fresh, light food. The importance and enjoyment of a meal. The wine. The gelato. At times it has felt like I was meant to be there.

And with my dark skin and dark hair I could maybe pull it off?

At Trevi Fountain cerca 2008

At Trevi Fountain cerca 2008; caught by papparazzo Dad.

So, last week I decided to give Italian my best effort. With tomatoes flowing from the garden I was confident this would be great.

photo (67)

I started my Italian adventure with canning marinara sauce made completely from scratch.

I used this recipe I found on Pinterest: http://www.theyummylife.com/marinara_sauce

I chose it because it featured lots of fresh herbs like parsley and basil. I was excited to use these in addition to the tomatoes from the backyard.

photo (66)

The recipe also called for a cup of red wine, which obviously called for a cup for me too. I figured this was what a true Italian would do.

photo (65)

This marinara is flavorful and sweet. I am excited to have it in the pantry for quick weeknight dinners in the winter.

The Italian adventure I was most eager to try was making mozzarella. I know, it sounds crazy, and a little ambitious, but I really wanted to make a caprese salad with my tomatoes, my basil and my mozzarella.

In Animal, Vegetable, Miracle, Barbara Kingsolver writes about a family vacation when they visit “The Cheese Queen.” She was located in New England, and while there, they all learned to make mozzarella. Ever since reading the book last winter, I had been looking forward to making my own mozzarella.

The Cheese Queen is a woman named, Ricki Carroll. Ricki has established a true name for herself in the world of making cheese. She puts on workshops in her Massachusetts home for new and experienced cheese makers. She also sells cheese making supplies and kits online.

I purchased the citric acid and rennet on her website that I needed to make mozzarella. After the supplies arrived at my post office, I couldn’t wait to get started.

I went straight to the grocery store to grab a gallon of milk and head to my kitchen.

Making mozzarella is a little scientific. You have to dilute the citric acid and rennet in water before adding it to the milk. The temperature has to be controlled, and the milk cannot get too hot, too fast. Thank goodness Adam was willing to help. It requires a lot of hands at the stove.

photo (62)

I was following this recipe from the Pioneer Woman: http://thepioneerwoman.com/cooking/2012/07/making-fresh-mozzarella/

By the time I got to the point where we “cut the cheese” (…which Ree and her friends thought was hilarious. My friends –embarrassingly- would too), I knew we were doing something wrong. The cheese wasn’t becoming solid. It was runny and resembled ricotta when I tried to drain it from the whey.

Blast!

I had failed.

photo (64)

I had a lump of cheese that didn’t want to hold together and by no means was mozzarella. It did taste like cheese.

The blog world said at this point we had cheese spread. So I added some seasonings, busted out some crackers and another glass of wine and sat down at the computer with Adam to see what we had done wrong.

Ten minutes later Adam and I looked up from our designated screens.

“You want to try again?” I asked.

“Yes,” Adam responded without hesitation.

Adam went back to the store to get more milk and I prepared the stove top.

We got the milk mixture going following directions from The Cheese Queen’s website: http://www.cheesemaking.com/howtomakemozzarellacheese.html

We made it to the “cutting the cheese” step, same result.

What the heck?!

We read that over pasturized milk can be the problem. Whole milk is a necessity, which we had been using all along.

This “cheese spread” became part our dinner as I whipped up a quick pizza using a splash of the marinara that didn’t fit into the canning jars, cherry tomatoes, and basil from the backyard.

photo (63)

Overcome with determination, I arrived at a natural food store the next morning ten minutes before they opened. I bought the most expensive gallon of milk I had ever bought in my life. It was from a local Indiana dairy and had minimal processing.

“This is it,” I excitedly thought as I got to work back at home.

Same result.

Grainy cheese curds that wouldn’t come together.

Now I really did resemble an Italian lady. “Fired up” was the best way to describe me. I had not had so much trouble trying to make anything since a lab in college where I had to make chocolate mousse with chocolate (… that I had to chop off the largest, most dense block of chocolate ever) and eggs on an industrial kitchen double boiler. I continually wound up with chocolate scrambled eggs. YUCK.

I remembered the gallons of raw milk at the natural food store. Raw milk isn’t processed at all. It is straight from the cow. It had to work, so I went back to the store to give it a try. I continued to talk myself into the $8.00 purchase by saying this is probably what cheese mongers in Italy use too.

Raw milk is actually illegal in Indiana for human consumption. As scary as it was reading that on the label, I got to work. I figured I was altering the milk. The heat would kill anything lingering in there… right?!

Within twenty minutes I had the same blob I had seen three other times.

Scusami!

This was the last straw.

This cheese blob was thrown in the corn. Mainly out of frustration… and, if we are being honest, a little bit out of concern of the illegal raw milk.

So, all in all, my attempt at being an authentic Italian was a failure.

But, what is so great about being an Irish American is that I can still enjoy the Italian food I love without having to pretend to be anyone.

… And, that the grocery store sells mozzarella year round for less than a gallon of raw milk.

august 27 001

You could say that I can have my caprese and eat it too.

... and so I did.

… and so I did.

Or you can say this Irish Meal Time Prayer:

“Bless us with good food,
The gift of gab,
And hearty laughter.
May the Love and Joy we share
be with us ever after.”

And if that’s the Irish Food Culture, I am proud to be a part of it, and I know it’s where I am meant to be.

Filed Under: Canning and Preserving, Plant, Recipes Tagged With: Barbara Kingsolver, Basil, caprese, Italy, Marinara, Milk, mozzarella, Plant, The Cheese Queen, The Pioneer Woman, Tomato, wine

Natural, Roasted Chicken. It’s What’s for Dinner.

August 21, 2013 by theblogbloom.com 7 Comments

It’s hard to believe that it really is late August.

School has started and is in full swing.

The sun is down before nine.

The corn is tall.

And the garden is full of produce.

Like these peppers.

002

And tomatoes.

003

Tomatoes.

009

Tomatoes!

009

With so much naturally raised produce in the kitchen I decided to cook the naturally raised chicken from my Farmer’s Market trip in July for dinner on Monday night.

I had never cooked a whole chicken and used the website 100 Days of Real Food as a stepping stone. I visit this site often as it is a great resource for cutting out over processed food from your diet. The author takes a realistic and relatable approach as she has (precious) kids and she doesn’t want to “worry” about food, but rather be confident in her family’s food choices.

On the website there is a post about roasting a whole chicken: http://www.100daysofrealfood.com/2013/05/14/recipe-how-to-roast-whole-chicken-safely-defrost-meat/

Perfect.

A chicken seasoned with lemons, garlic and rosemary.

Even more perfect. Some of my favorite flavors and I already had local rosemary and garlic in the house.

The post begins with how to properly defrost a chicken. She mentions that even though she has lived to tell about defrosting meat on the counter, the USDA recommends that meat should be defrosted slowly in the refrigerator.

… Something that made this ServSafe certified, hospitality professional proud.

Once defrosted, I mixed the herbs, seasonings, and oils together in a small bowl.

The next order of business was to remove the “giblets or bag of ‘parts’ that may be stored inside the chicken.”

The chicken man at the market had mentioned the “giblet bag” was in there. I remember thinking when I made the purchase, “Oh wow. That’s nice. He bagged those up and put them back in. I bet there are people who want to keep those.”

I looked in my defrosted chicken’s butt. I didn’t see any evidence of a ziplock baggie or saran wrap like I was expecting.

Weird.

I opened the rear end more. A sleek brown, jelly-ish mass was in plain sight.

I had just read the chapter in “The Omnivore’s Dilemma” where Michael Pollan processes free range chickens on Joel Salatin’s Virginia farm. Pollan wrote about removing the chicken’s insides after the bird bleeds out.

I knew what I was looking at… it was the bird’s liver.

There was no actual “bag.”

I had been lied to…? Maybe he just forgot to bag up this one…?

Or, it’s an expression. Slang, if you will.

… For chicken organs.

I also remembered from my read that removing these organs needs to be done carefully. Pollan warned that a ruptured gall bladder can be a big mess.

“What the heck am I supposed to do?” I thought, desperately wishing Adam was home. He could handle this.

I looked at the clock. Adam wouldn’t be home for about an hour. And the bird would take that long in the oven. I couldn’t wait.

So, I did what every girl who didn’t know what 4-H was until she was eighteen would do: I Googled it.

The first page I saw said to “Gently reach in and simply remove the giblets.”

Seriously? That’s all you got, Google?!

After many other failed searches and confusing youtube videos, I decided to suck it up.

“Like a band aid,” I told myself, sticking my hand in the bird’s rear end. I wrapped my fingers around the bundle in the cavity of the chicken, wincing, eye’s shut and gave it a pull.

“Ohhhhmyyyygodddd,” I squealed out loud as my hand emerged.

Browns, pinks, yellows and blues made up the still slightly frozen mass. (Thank God. Had that been any squishier we would have had issues.)

Just be glad I didn’t take a picture.

Once I recovered (and threw the giblets away), I brushed the bird with the herbed oil marinade, stuffed the lemon peels in the chest cavity, and placed him in the oven for about an hour.

001

Right around the time Adam got home from work the chicken had reached 170 degrees. I let it rest on the stove top while I chopped up some tomatoes and cucumbers to serve as a side with a splash of red wine vinegar. Light and easy.

The aroma of the rosemary, garlic, and lemon married well with the chicken, filled the kitchen and demolished any traumatizing mental images of giblets.

010

By the time I plated everything I couldn’t wait to give it a try.

It seems crazy, but the natural, free range bird did taste different than the chicken breasts from the grocery store that I am used to. It was moist, flavorful, and felt as though I could really taste the chicken.

012

I am looking forward to having more natural birds from our own backyard this winter.

… And having someone else do the processing.

Filed Under: Plant, Recipes Tagged With: August, Chicken, Cucumber, Farmers Market, food blog, free range chicken, garlic, michael pollan, naturally raised, Pepper, Plant, recipe, Rosemary, Tomato

Meet Claire

Hi, thanks for visiting! I am Claire and I have been sharing my life and thoughts on Bloom since 2013. Welcome to 2023's project, The Farmers Market and The Library. For more about me...

Follow Bloom.

RSS
Follow by Email
Facebook
Twitter
Pinterest
Instagram

Be a Bloom Insider

Enter your email address to subscribe to Bloom and receive notifications of new posts and a bi-weekly love letter from Claire by email.

Archives

Copyright © 2025 · Foodie Theme by Shay Bocks · Built on the Genesis Framework · Powered by WordPress